
Home
Shop
Tools
Empennage
Wings
Wings 2
Fuselage
Fuselage 2
Fuselage 3
Forward Fuselage
Rudder/Brake Pedals
Floor Stiffeners
Baggage Area
"Rolling the Canoe"
Fitting Top Skins
Installing the Steps
Crotch Strap Bracket
Fuselage 4
Fuselage 5
Fuselage 6
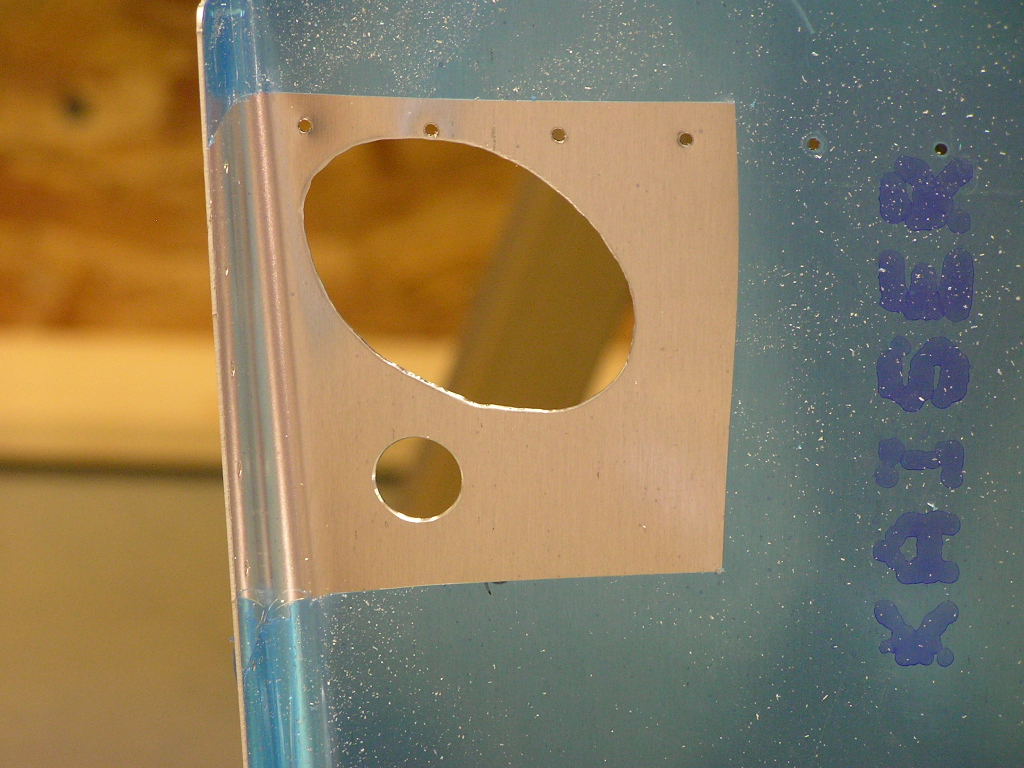
Panel
Firewall Forward
Canopy
Wiring
Miscellaneous
Fuselage 3
|
Date |
Description of Task | Hours | |||||||||
| Forward Fuselage | |||||||||||
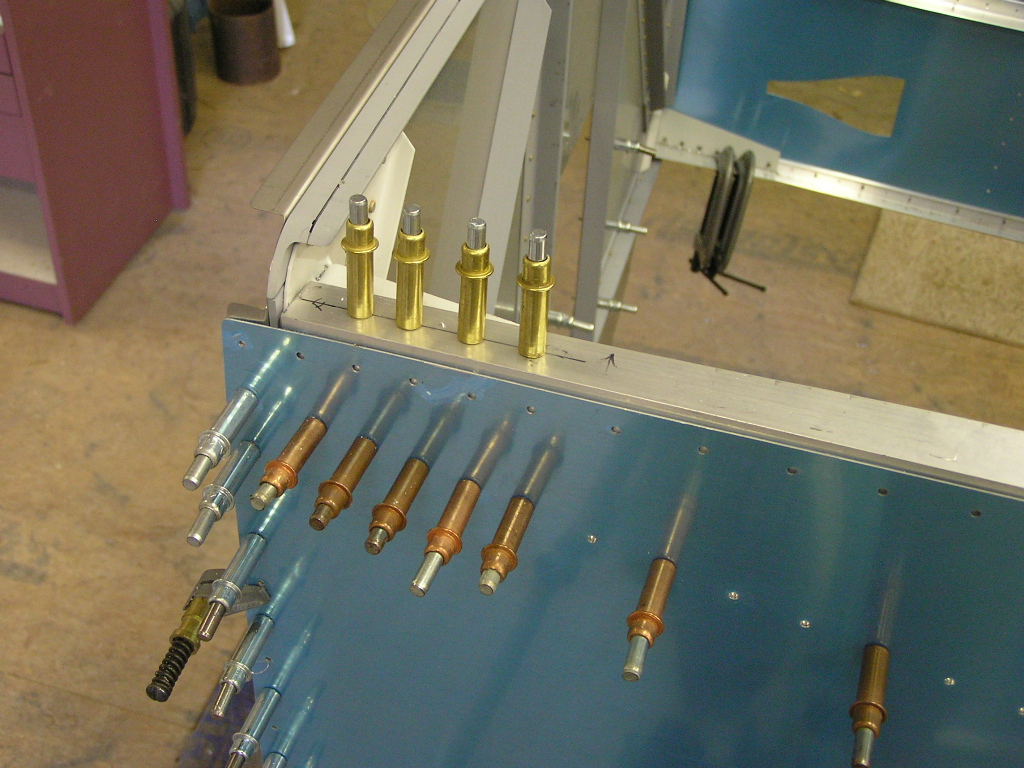
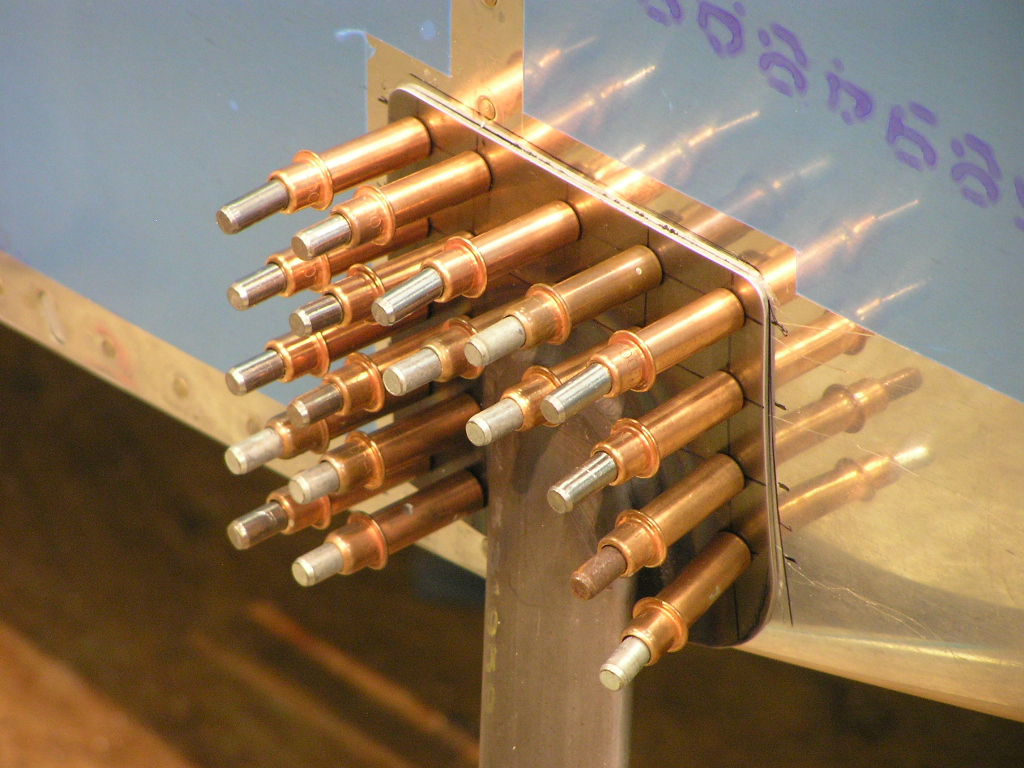
| 6/18/07 | Fabricated the four F-904L straps. |
.5 | |||||||||
| 6/19/07 | I got Lynne to help me drill the four F-904L
straps. |
.5 | |||||||||
| 6/20/07 | To celebrate my birthday today I hung the
firewall! I clamped the firewall to the longerons and
installed the bottom skin. I drilled the bottom skin on
both sides to the firewall bottom angle and clecoed.
Finally, I installed the AN470-4-4 rivets in the side holes to
hold the firewall in the proper place.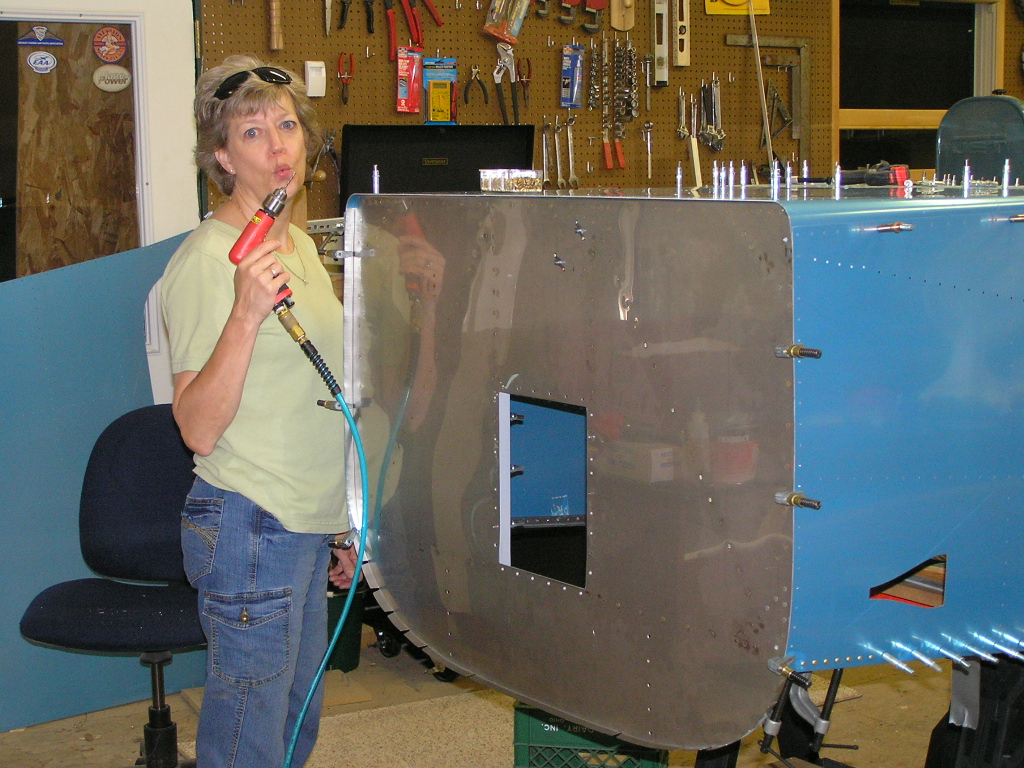 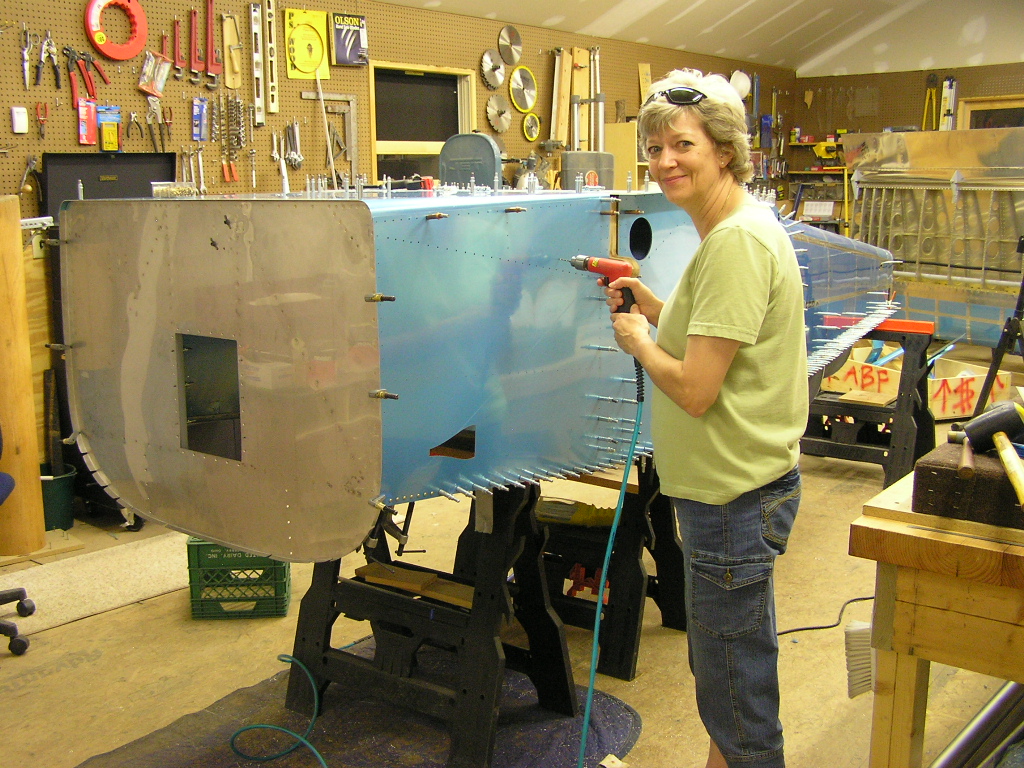 |
1.0 | |||||||||
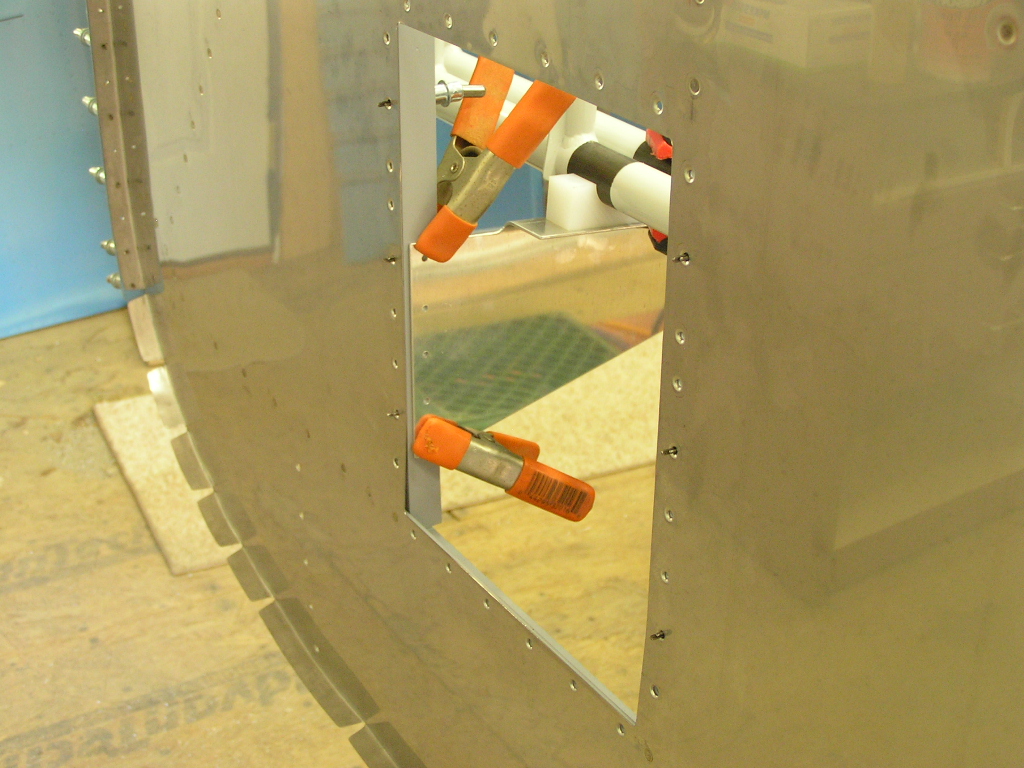
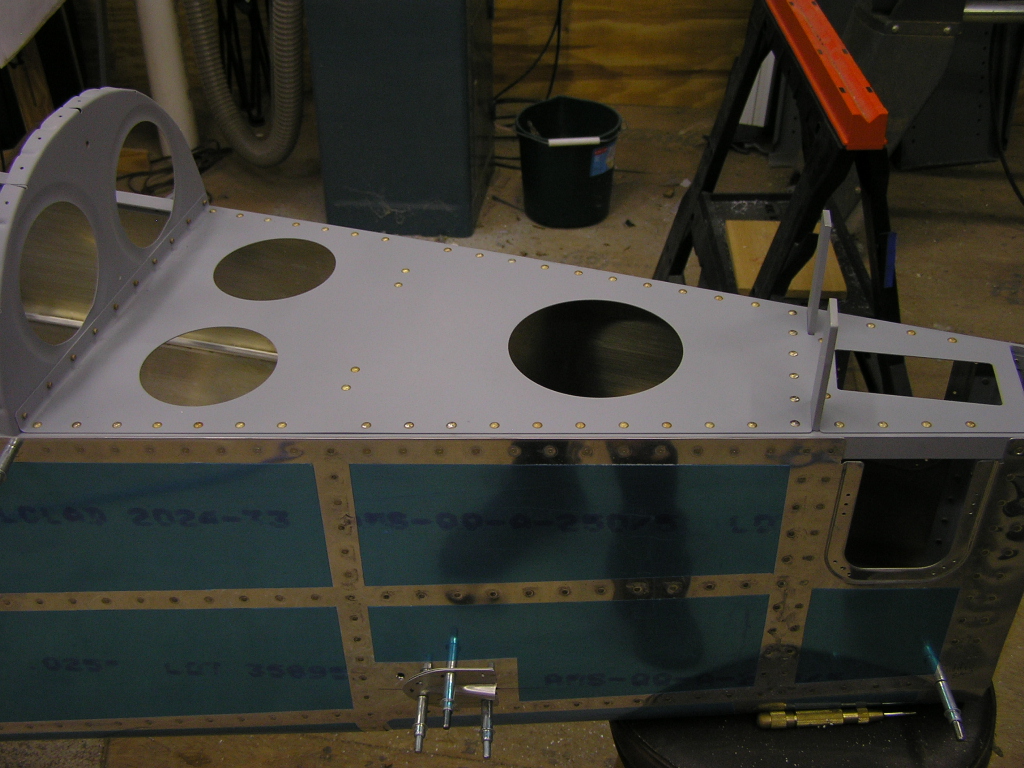
| 6/22/07 | After verifying the face of the firewall was
5/8" aft of the forward edge of the F-970 skin, I drilled the
F-970 skin to the firewall flanges. Drilled the F-970
skin, longerons and through the steel brackets. The steel
has to be drilled slowly and I used lots of BoeLube on the bit.
Removed the F-972 lower skin and traced the pattern for the
landing gear sockets and brake lines. After drilling with
a 1/2" bit I cleaned up the gear holes with the Dremel. I
drilled the brake line holes to full size with a step-drill to
5/8". |
2.0 | |||||||||
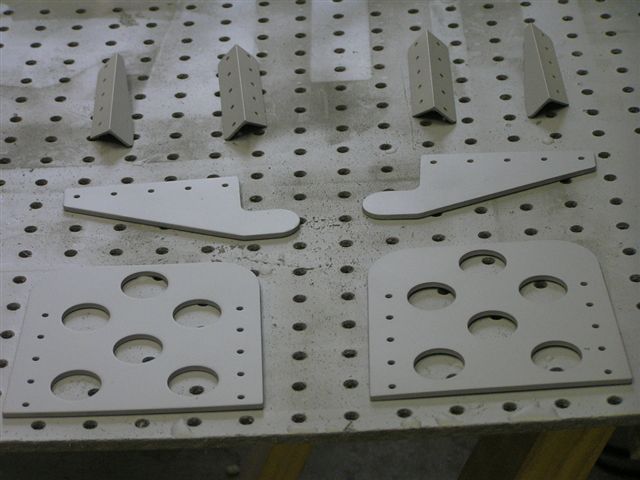
| Installing the Auxiliary Longerons and Forward Bulkheads | |||||||||||
| 6/23/07 | Installed the F-713 auxiliary longerons.
I drew a centerline on each longeron and also clamped in the
vise and twisted each one in order to let it fit right.
Drilled the auxiliary longerons and clecoed.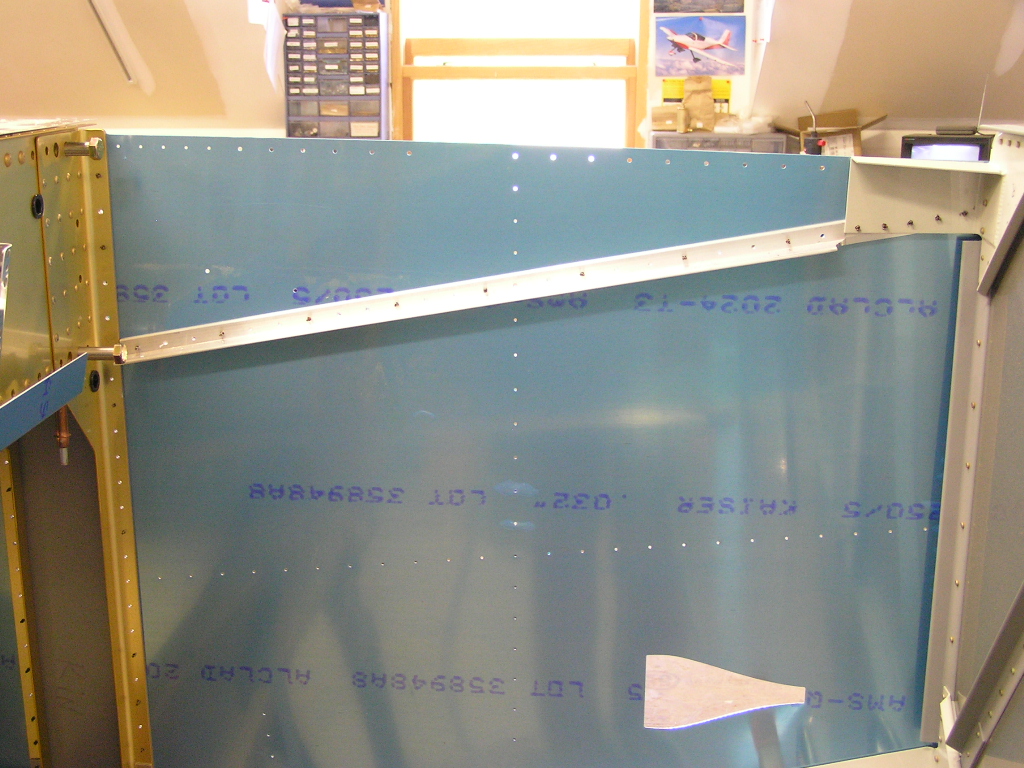 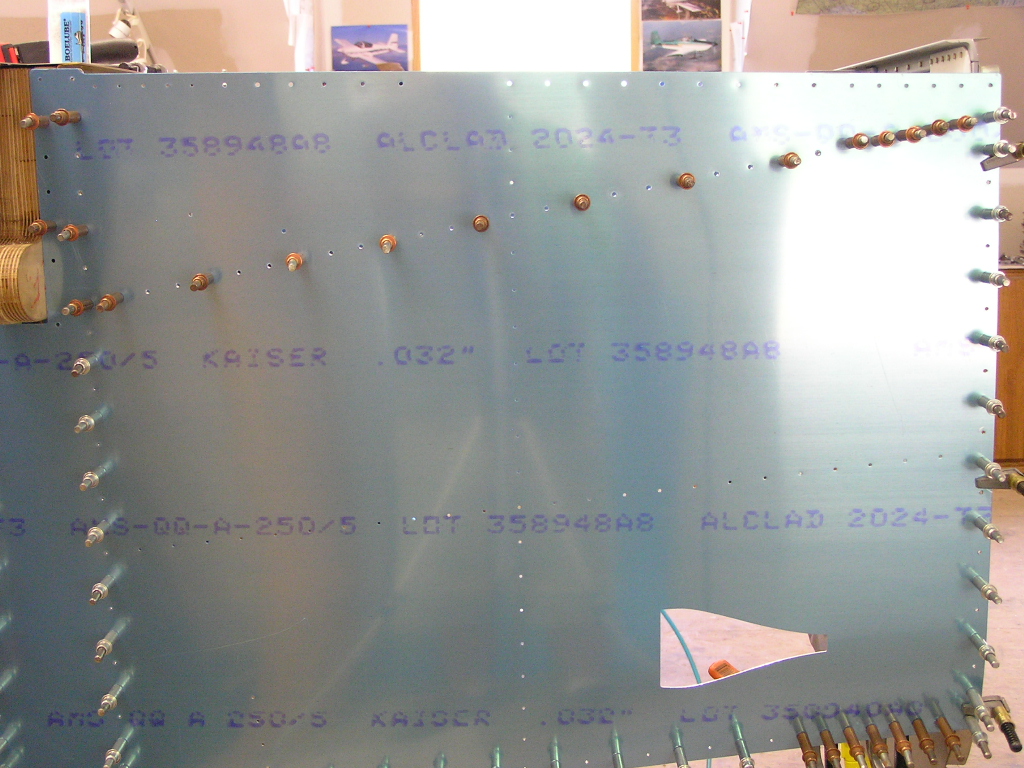
Made the F-719B angle clips and drilled them to the F-719 R&L
forward skin stiffeners. Made the F-917 R&L lower longerons by cutting to length and
then trimming them according to the plans. These also had
to be clamped and twisted slightly. I clamped each one to
the WD-603 and drilled for the AN-3 bolts. I spent a great deal of time fabricating the F-684 gussets.
Several builders have described how these things are easy to
screw up. After measuring, marking, cutting, trimming,
drilling, deburring and bending, I started fitting. After
a little tweaking I was satisfied with the fit. I was
crossing my fingers that after I drilled I would have sufficient
edge distance. I had to peel back the front of the side
skins in order to drill the gussets to the firewall angle but it
worked out fine. Yep, looks good. Installing the Forward Bulkheads I fluted the flanges on the F-902 L&R bulkheads and opened
the hole for the rudder cable to 5/8" with the step-drill.
I riveted the nutplates and clecoed in place. Clecoed the F-9101 gear attach web to the F-904 bulkhead.
Drilled the web and clecoed. |
8.0 | |||||||||
| 6/29/07 | Drilled and clecoed the top and bottom tabs of
the F-902 bulkheads. Made the F-996B spacers. Made
the F-996C reinforcement angles. Temporarily clecoed to
the F-9101 gear attach web and saw they were both about 1/4" too
short. Verified the measurements in the plans but they
were correct as far as the plans describe.
(Note: this is one of the areas where the
plans show a figure in *full-scale* where the dimensions called
out do not match the drawing. The solution is to ignore
the *full-scale* drawing and rely on the called-out dimensions.
Even with this, some degree of custom trimming/grinding will be
required in order to get a good fit.)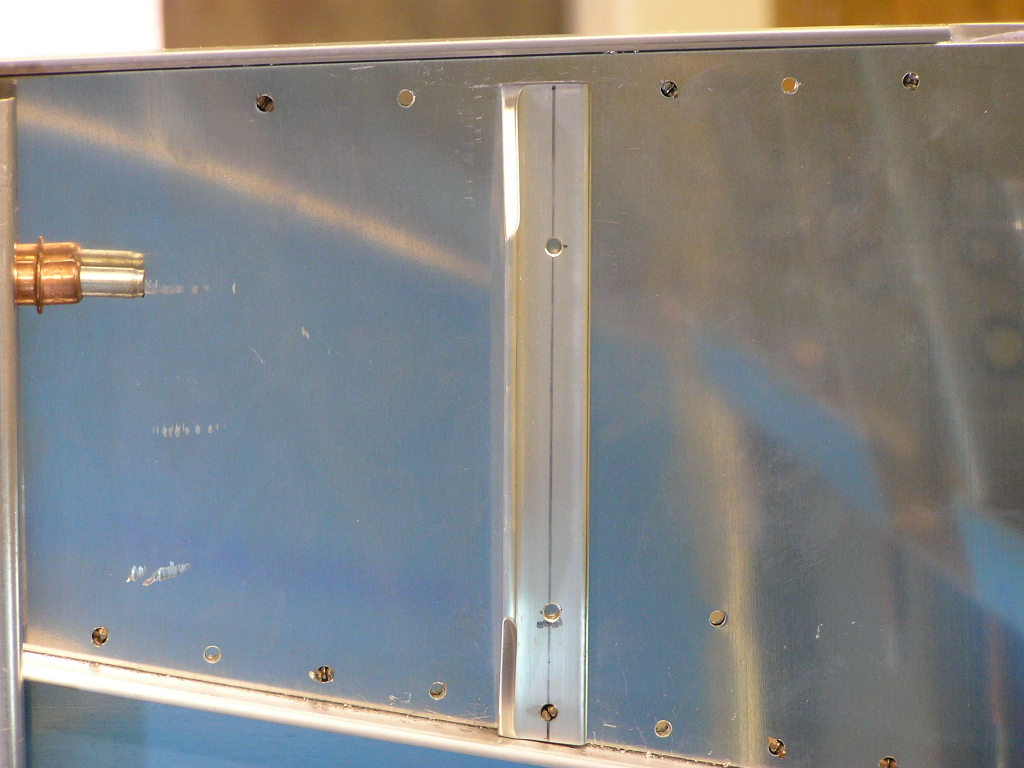 |
2.0 | |||||||||
| 6/30/07 | After checking a couple of builders' websites
and talking with Mike Behnke, I
decided to re-make the F-996C reinforcement angles but this time
I decided to make them about 1/4" longer than the plans
describe. I then test-fitted and ground them down a little
at a time until I was satisfied with the fit. Next, I
drilled the holes in the angle to #30 and clecoed to the F-9101
gear attach web. Match drilled and disassembled. I
clecoed the F-996B spacers and test-fitted but had to grind them
a little in order for them to fit between the lower longeron and
the auxiliary longerons. Finally, I got a good fit so I
disassembled, countersunk and deburred the F-9101 gear attach
web, F-906B spacers and the F-906C reinforcement angles. I
then scuff-washed, alumi-prepped and alodined. |
4.0 | |||||||||
| 7/2/07 | Riveted the F-9101 gear attach web, F-906B
spacers and the F-906C reinforcement angles and clecoed to the
fuselage. |
.25 | |||||||||
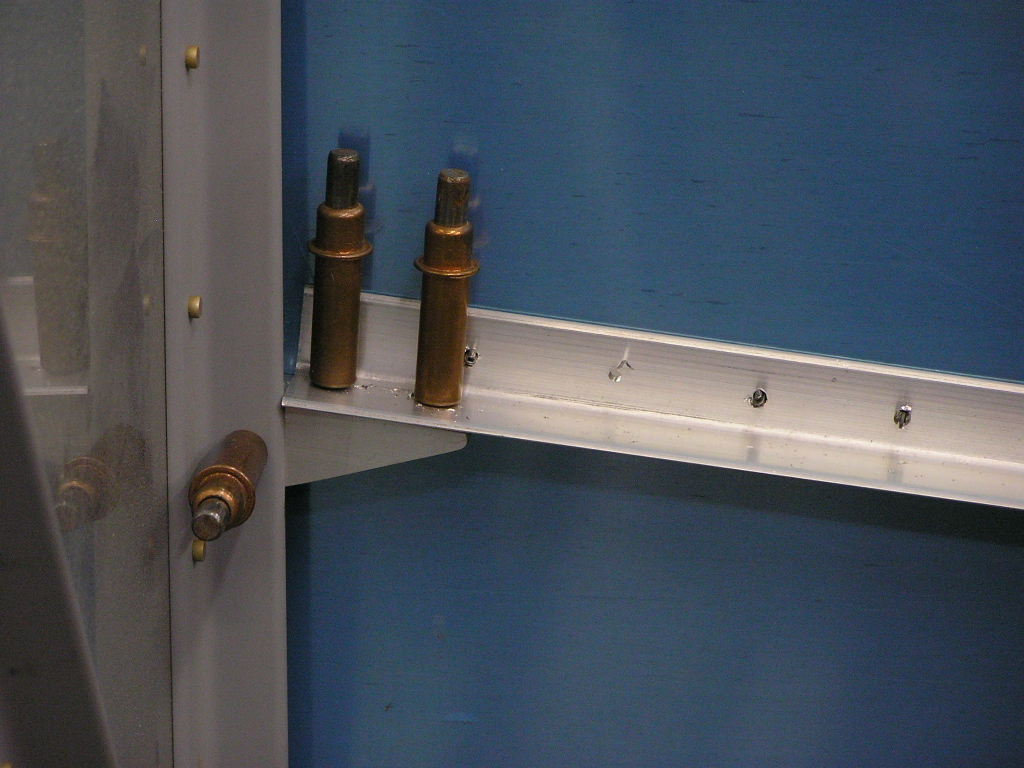
| Installing the Rudder and Brake Pedals | |||||||||||
| 7/2/07 | Drilled the F-6115 center rudder pedal bearing
block and the two F-6116 side rudder pedal bearing blocks.
Split the F-6115 block. Measured and marked the F-6118
rudder pedal brace for drilling and cutting. |
1.75 | |||||||||
| 7/4/07 | Fabricated the attachment angles for the brake
pedals. Drilled the brake pedals and clecoed. I then
scuffed in soapy water. I originally was considering
having the brake pedals anodized but after talking with
Mark Phillips, I will just prime
and paint with the interior paint. That's what he did and
after many, many hours of hard use, the pedals still look great.
KISS.  
Assembled the rudder pedals and clamped in the fuselage.
Trimmed the F-6118 rudder pedal brace and drilled and clecoed to
the firewall support bracket. After I drill the alternate
holes for the pedal positions I will trim the brace and cut the
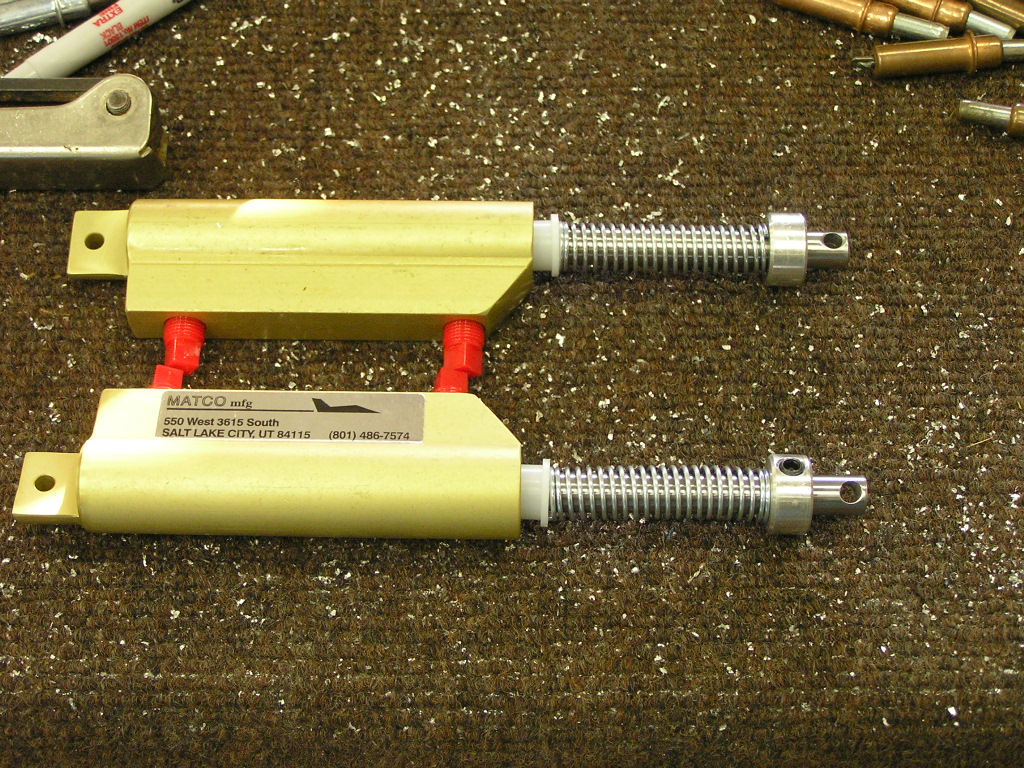
lightening holes. I previously ordered bushings, springs and stop collars
previously from McMaster-Carr in order to make a spring return for the
brake master cylinders. Others have reported problems with
their brakes dragging without the springs forcing the cylinders
to open. We'll see how well they work.
Several builders have emailed me asking for the parts list for
my order. Well, here it is:
|
6.0 | |||||||||
| 7/6/07 | I had a number of small tasks to complete to
finish up with the brakes and rudder pedals. I started by
removing the rudder pedals, auxiliary longerons as well as the
F-904 bulkheads. On the bench I drilled the attachment
holes (#10) using the bearing block as a guide. I then
used a 5" piece of .063 3/4 x 3/4" angle and match drilled the
holes. I then measured three additional positions at 1"
increments in both longerons. Based on other builder's
experience this should be enough adjustment for my needs. Next, I repeated the procedure and drilled the F-6118 rudder pedal brace bearing block and the three additional position holes. I measured out and drilled the lightening holes per the plans. I decided to not cut down the brace to shorten it. I bolted the bearing blocks in place and hand tightened the nuts. I set the rudder assembly aside. I primed the brake pedal components using self-etch primer. |
2.5 | |||||||||
| 7/7/07 | Lynne selected the final spray color for the
interior today. Looks like it will be a dark hammered gray
and the brake pedals will be hammered black. |
||||||||||
| 7/8/07 | I riveted the brake pedal components and
sprayed with the black paint... 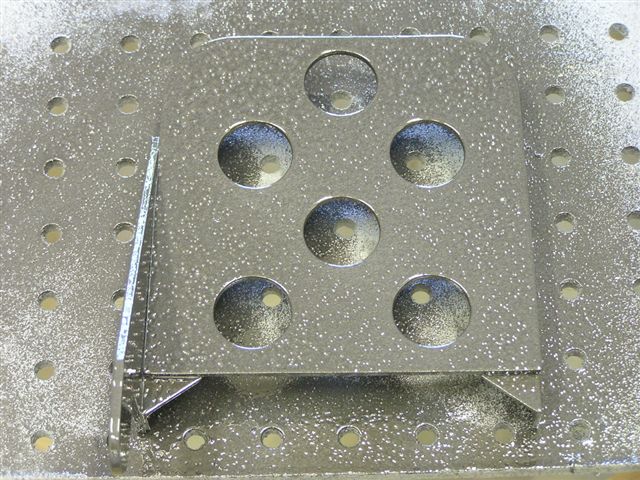 Installing the Floor Stiffeners I test fitted the floor angle braces. The innermost braces
required trimming in order to fit flush against the F-601J
angles. |
3.0 | |||||||||
| 7/9/07 | Tonight I got Lynne to help me drill the floor
stiffeners to the bottom skin while I held them in place. |
1.0 | |||||||||
| 7/10/07 | Finished by drilling the stiffeners to the
F-983 cover support ribs and the F-601J angles on the firewall
using the Dremel tool and a short #30 drill bit. |
.5 | |||||||||
| The Cabin | |||||||||||
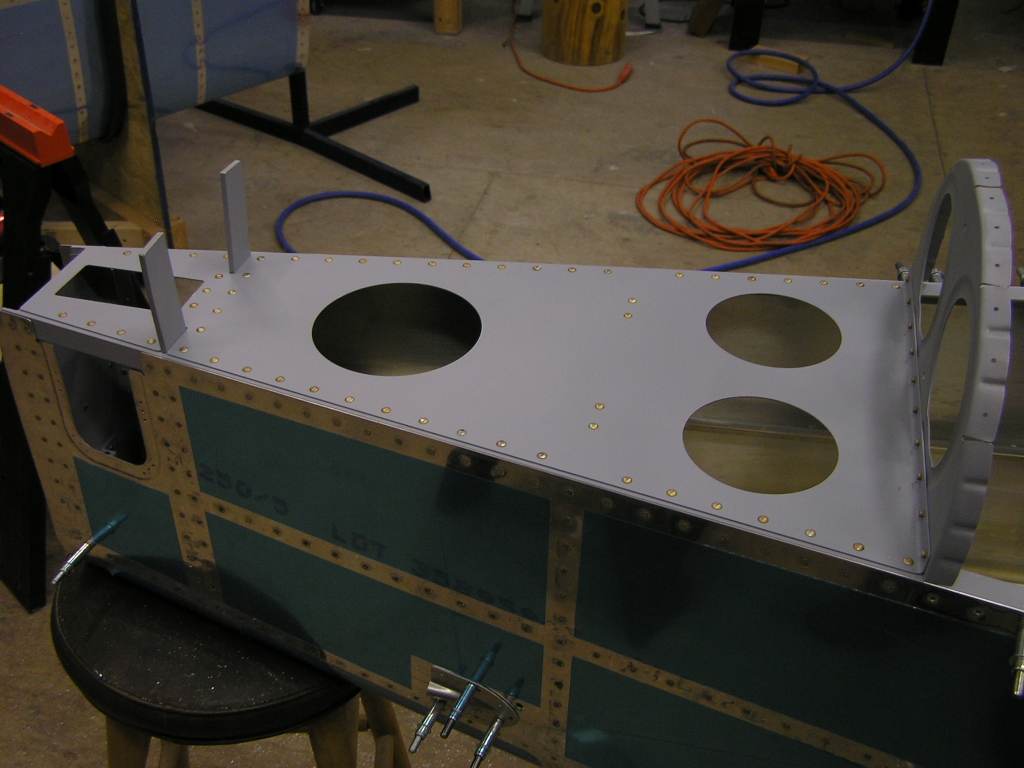
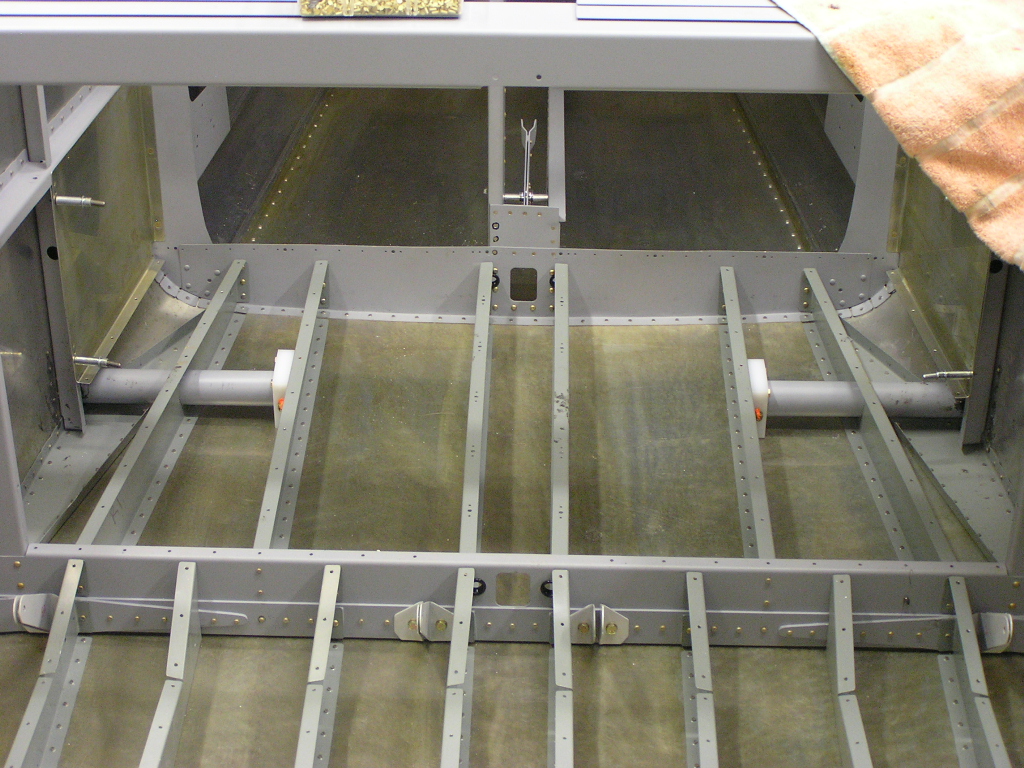
| Framing the Baggage Area | |||||||||||
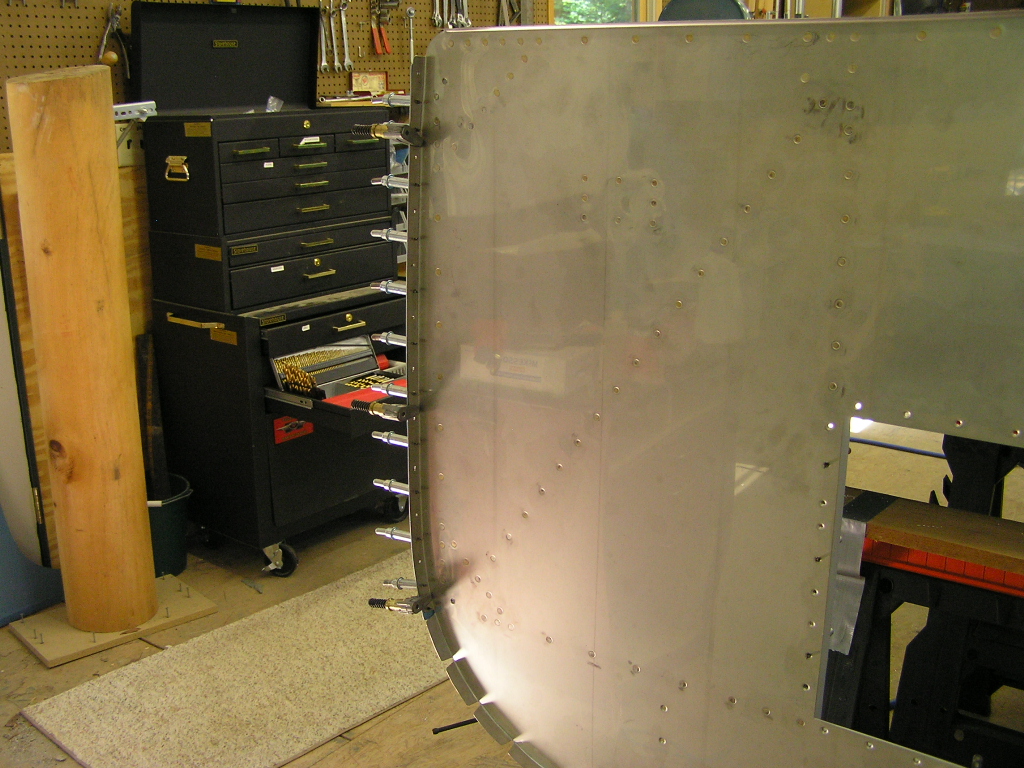
| 7/10/07 | Clecoed the F-722 horizontal ribs to the side
skins. Fluted the F-724 horizontal ribs and clecoed to the
side skins. Clecoed the R&L F-750 aft baggage side covers
to the F-722 and F-724 ribs.  |
.5 | |||||||||
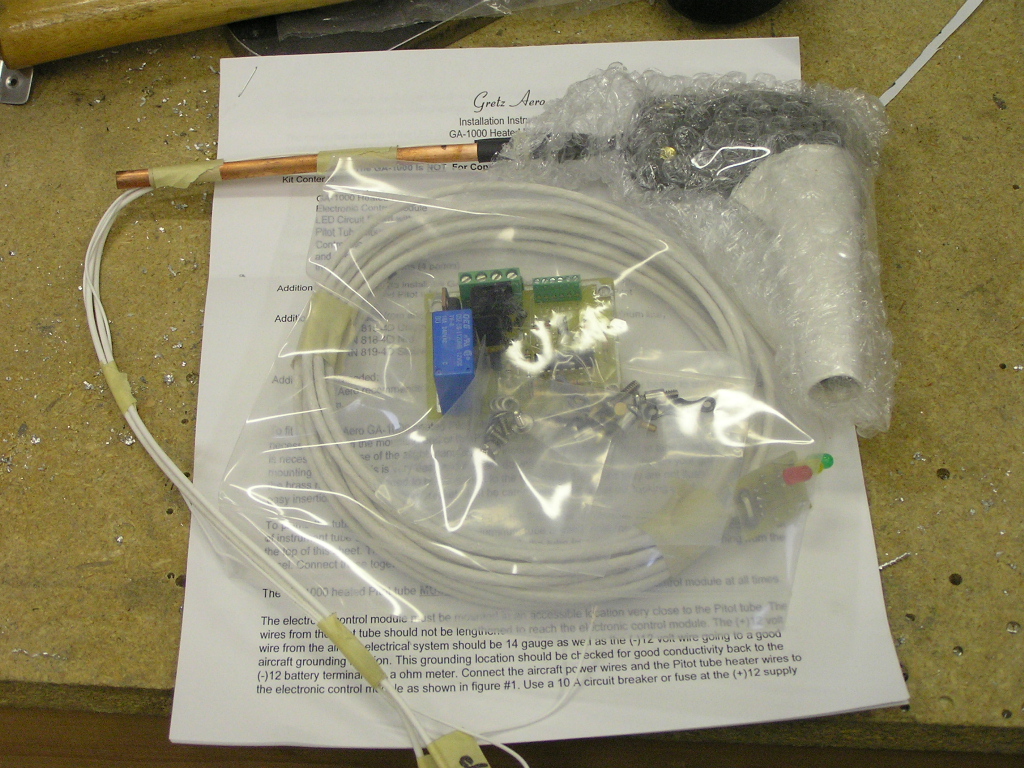
| 7/12/07 | I received my AN3-60 bolts I had ordered from
Wicks Aircraft today so I assembled the brake pedals to the
rudder assembly. The plans call for two short bolts on
each side of the brake pedal but several builders have stated
that over time, the bolts start to flex and deform the holes.
The simple solution (as well as a much better design) is to use
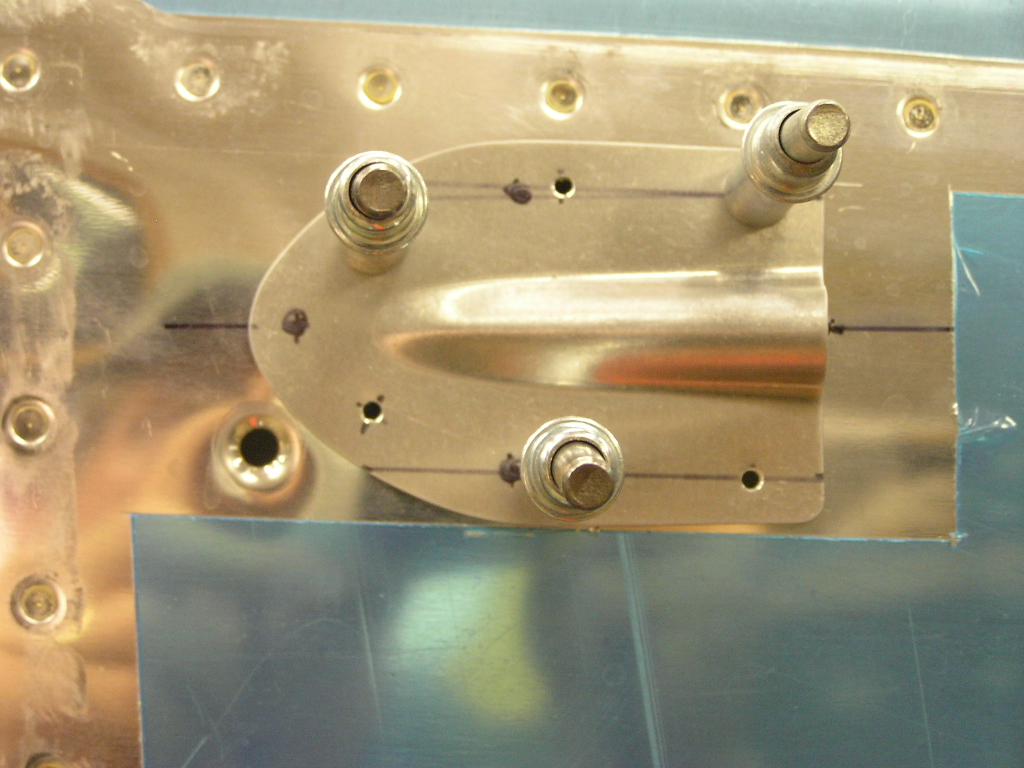
one long bolt through both pedal attachments. I also received my Gretz pitot tube. This is really a sweet piece
of engineering. I had previously ordered and received the
mounting tube and have already assembled it to the left wing. |
1.0 | |||||||||
| 7/13/07 | Tonight I match-drilled all the holes in the
forward fuselage I had put off doing. I also received my
rudder cable fairings from
Avery Tools.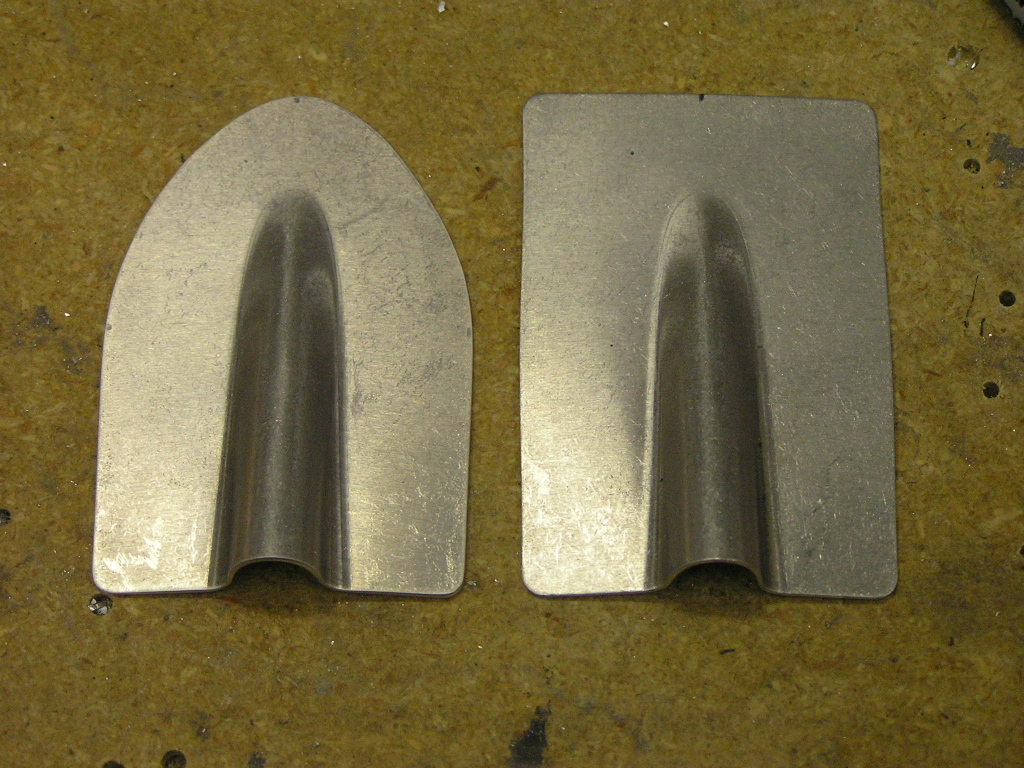
I trimmed each fairing and drilled them to the fuselage. |
2.5 | |||||||||
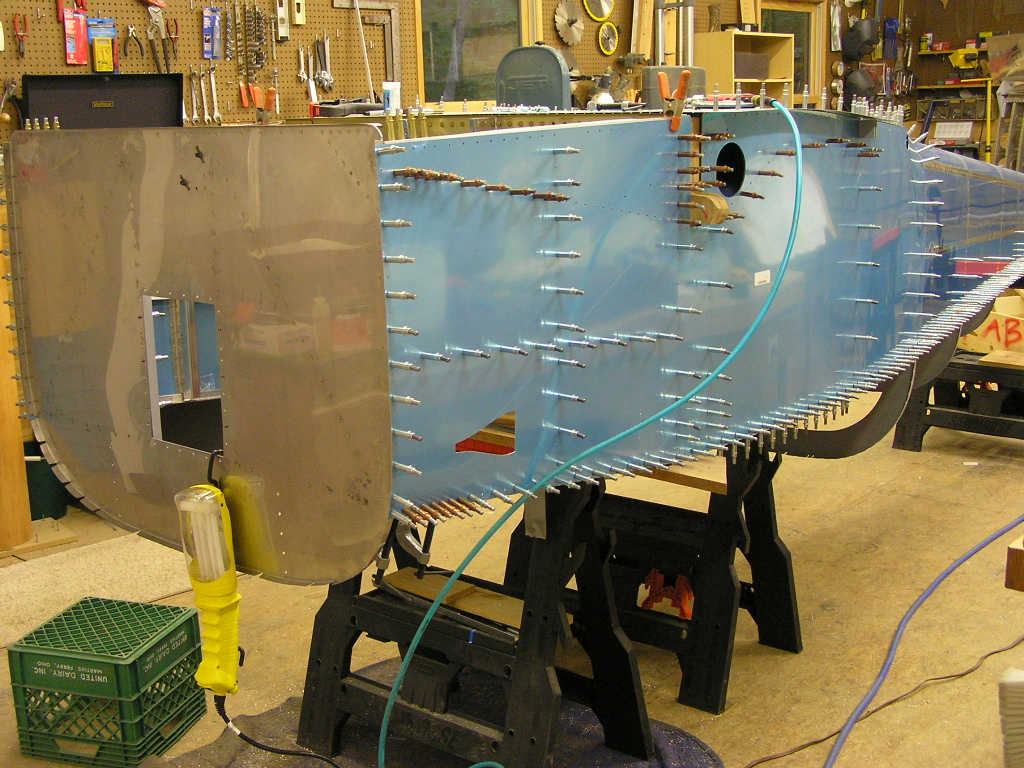
| 7/14/07 | Today I disassembled the forward fuselage for
deburring, dimpling and priming. Then it will be
re-assembled and riveted for good. The deburring, dimpling
and priming ritual is not particularly exciting so the next few
hours will be devoid of photos... |
2.0 | |||||||||
| 7/15/07 | More deburring and countersinking/dimpling... |
7.0 | |||||||||
| 7/20/07 | I decided to take a day off work in order to
get a jump start on the prep work. I finished
countersinking the longerons as well as the forward fuse angles.
I also deburred the firewall and the forward bottom skin.
Finally, I dimpled the bottom skin and separated the aft
fuselage and center section in order to deburr and dimple the
remainder of holes for riveting. |
6.0 | |||||||||
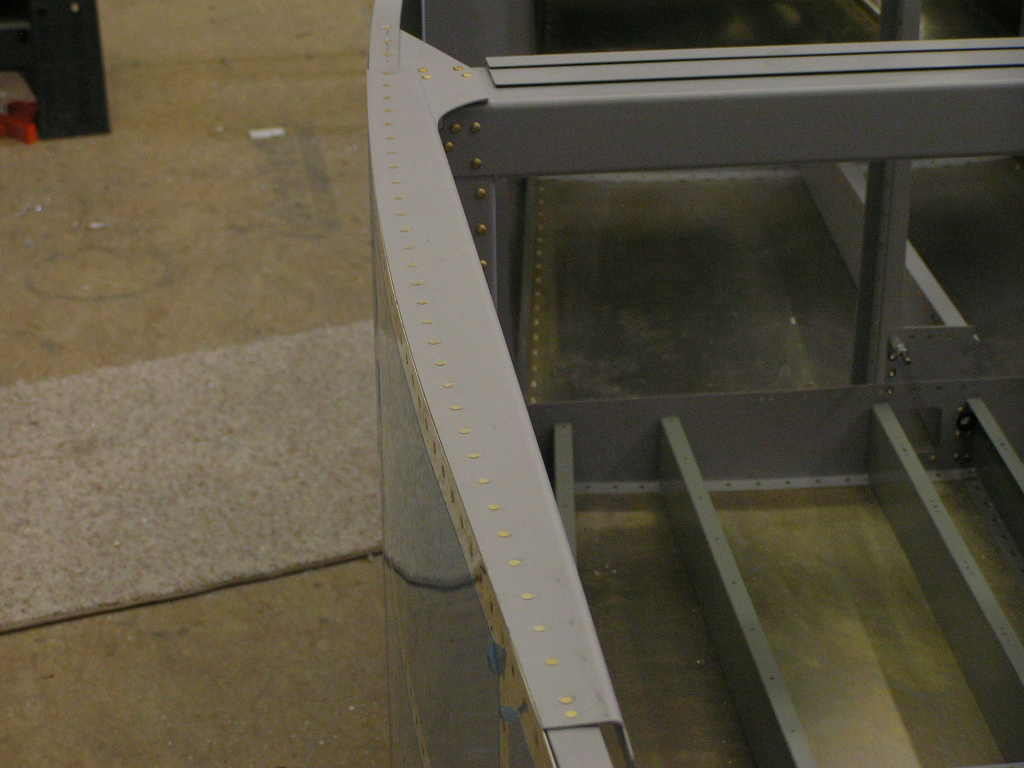
| 7/21/07 | Continued to deburr and countersink and dimple.
I beveled the bottom skin where it overlaps the aft fuselage.
I dimpled the remaining holes in the aft fuselage along the
longerons. I also scuffed the various parts and F-972
forward bottom skin with soapy water and then primed with SEM
self-etching primer.
I deburred the right side skin and drilled the 1" hole for
the fuel line. |
7.0 | |||||||||
| 7/22/07 | Today I dimpled the right side skin and started
deburring the left side skin. I also dimpled the flange of
the firewall. |
2.5 | |||||||||
| 7/25/07 | Deburred left skin and started dimpling. |
1.5 | |||||||||
| 7/27/07 | Finished dimpling the left skin. It was
an overcast morning so I set up the sawhorses out back and
scuffed the skins. I had never Sanchem'ed the wing top
skins so I drug them out and knocked it out along with the fuse
side skins.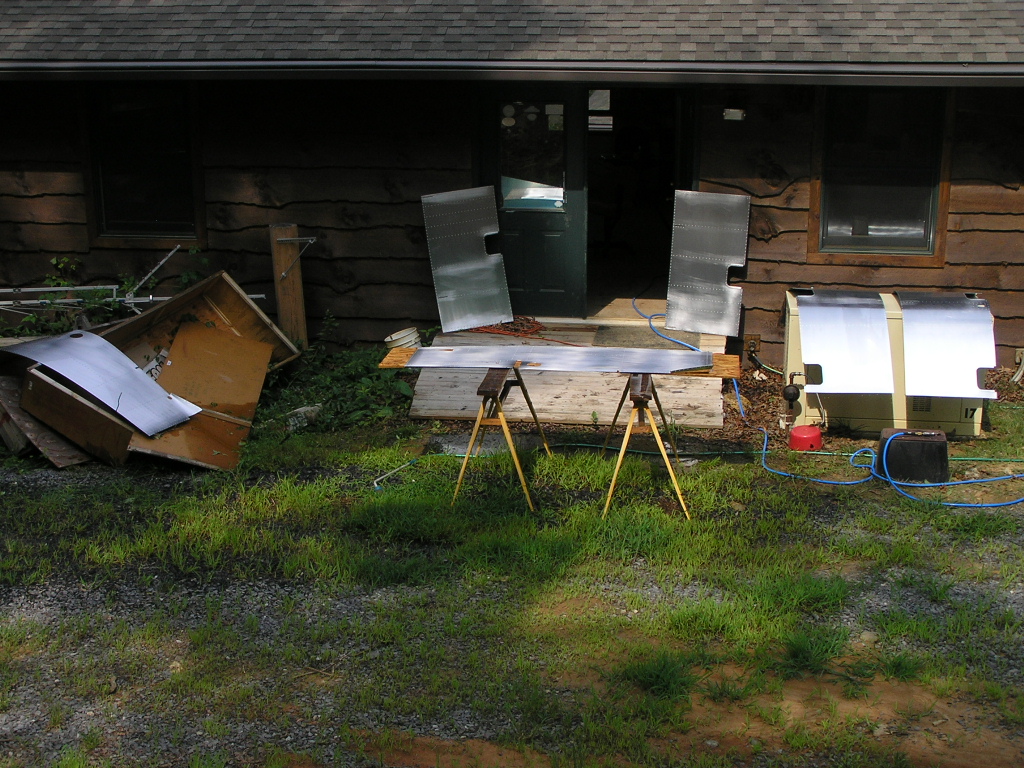
Next, I re-connected the aft fuselage with the center section
and re-installed the main longerons. |
4.0 | |||||||||
| 7/28/07 | Our good friends, Bill & Peggy Martin, came up
for the concert at the John C. Campbell Folk School Friday
evening and are spending the weekend with us so I drug Bill over
to the shop to help rivet. Lynne and Peggy played their
dulcimers all weekend. It was a toss-up as to who had a
better time. Bill and I were able to get the left side skin riveted and about half
of the right side. |
7.0 | |||||||||
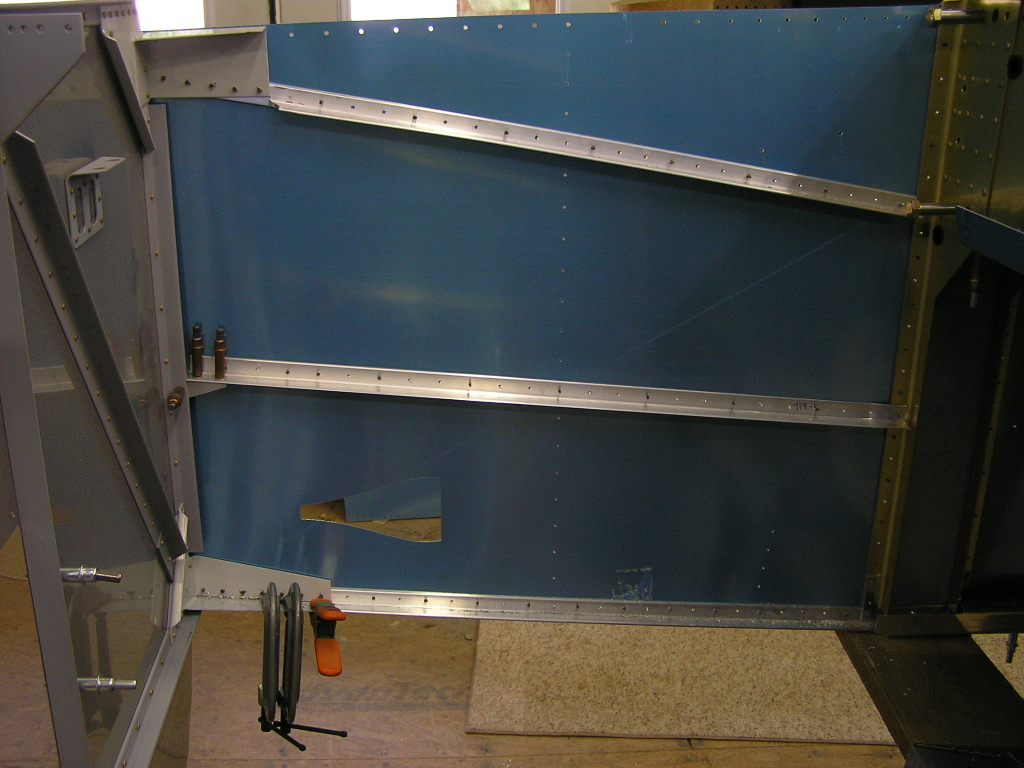
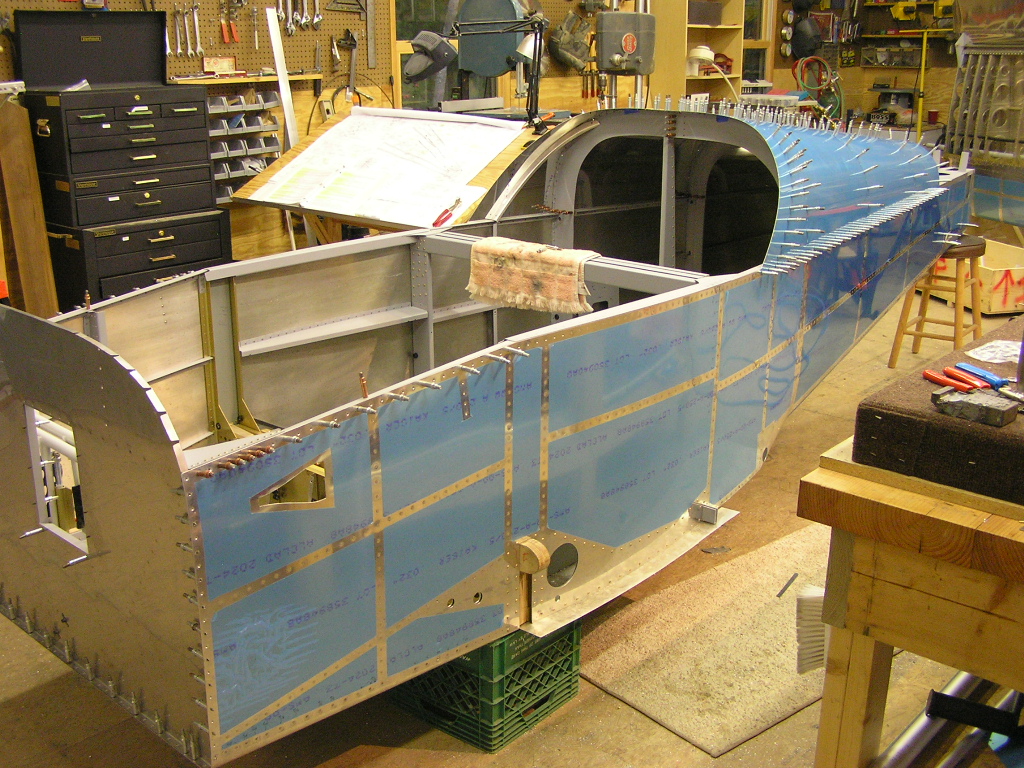
| Rolling Over the "Canoe" | |||||||||||
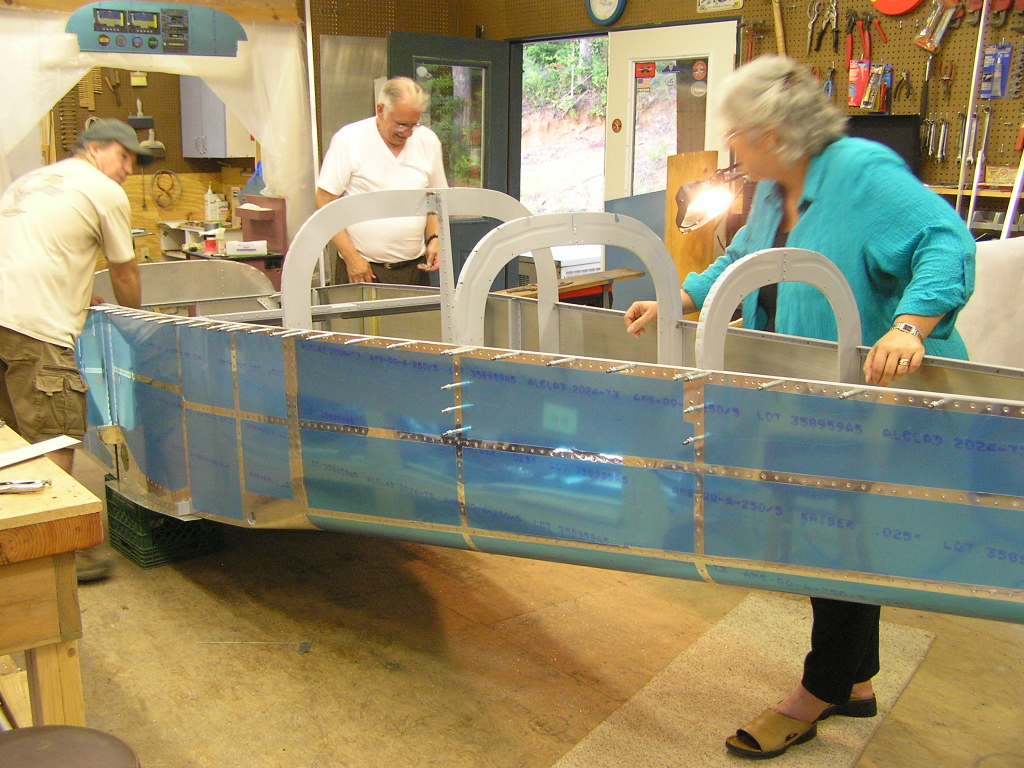
| 7/29/07 | Well, all I can say is that Bill got the "RV
Fever". He was determined that we were going to finally
roll the canoe and he told Peggy they were going to stay until
we were done. O.K., so early Sunday morning we were at it.
I have to admit, he was a tremendous help. 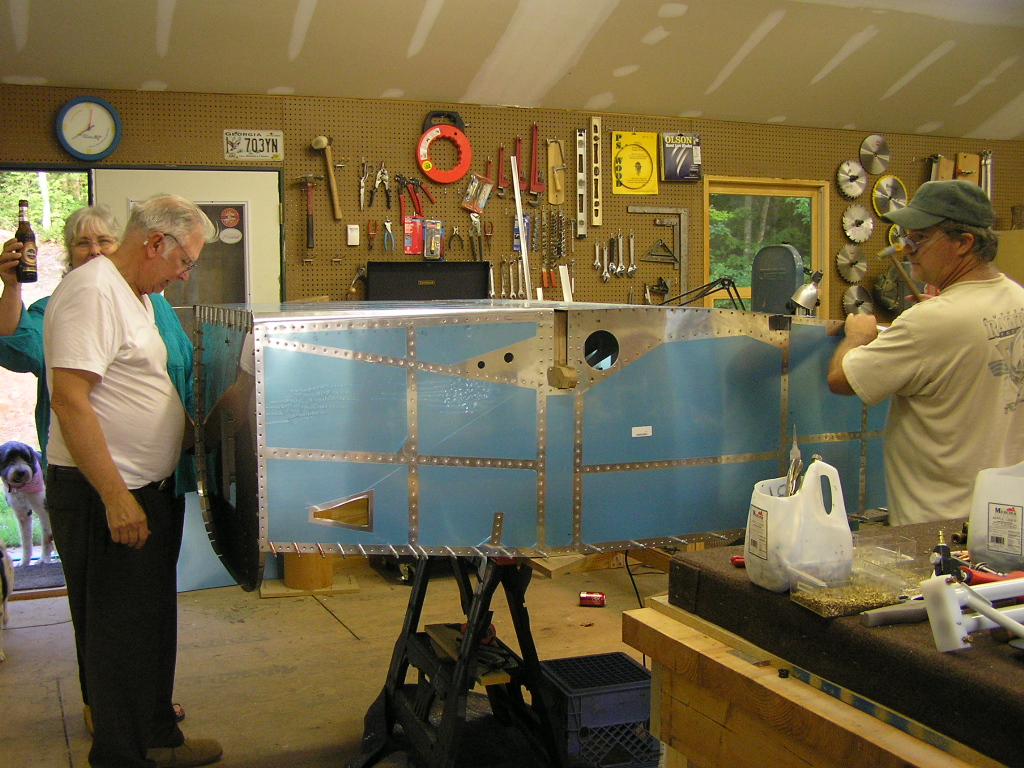
We finally drove the last rivet and flipped that puppy over.
Good times. |
10.0 | |||||||||
| 7/30/07 | Riveted the side skins to the longerons. |
1.0 | |||||||||
| 7/31/07 | Riveted the floor stiffeners to the firewall
brackets. |
1.0 | |||||||||
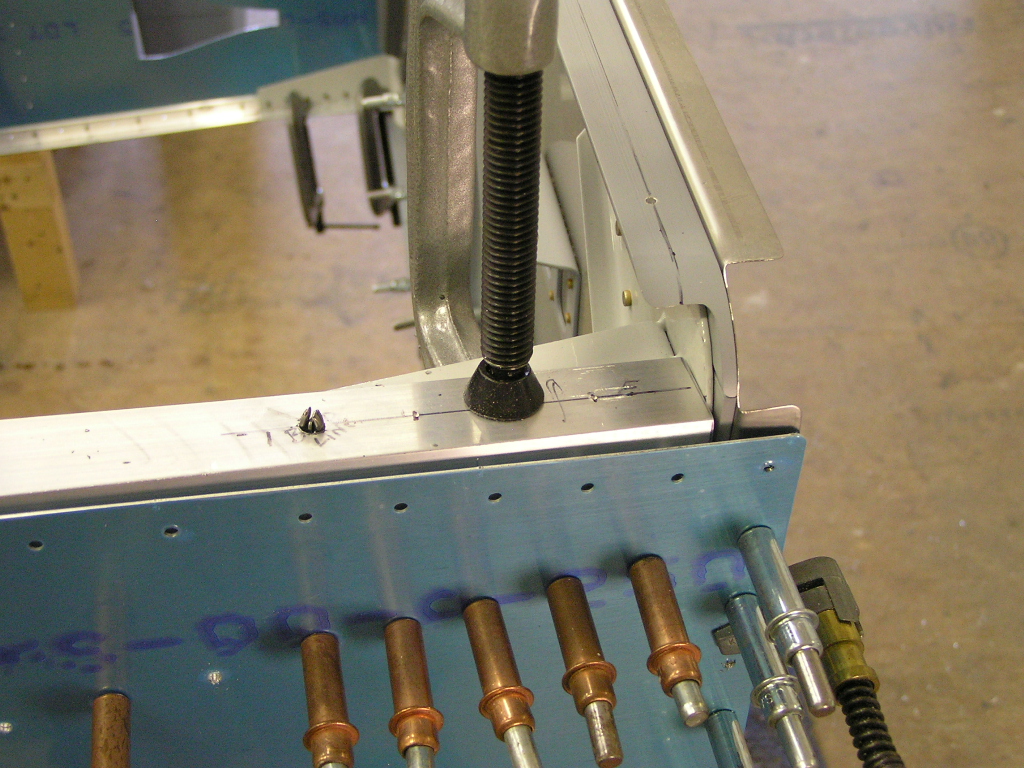
| 8/3/07 | My son, Dustin, is visiting so I got him to
help me with a few rivets I couldn't reach by myself. 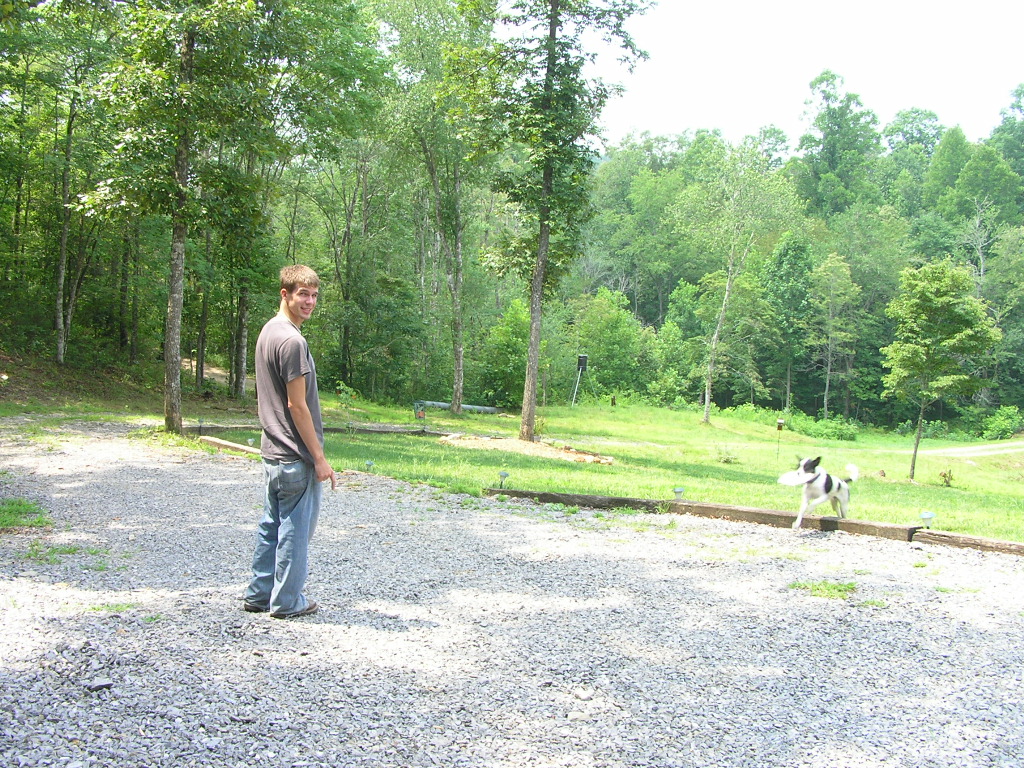 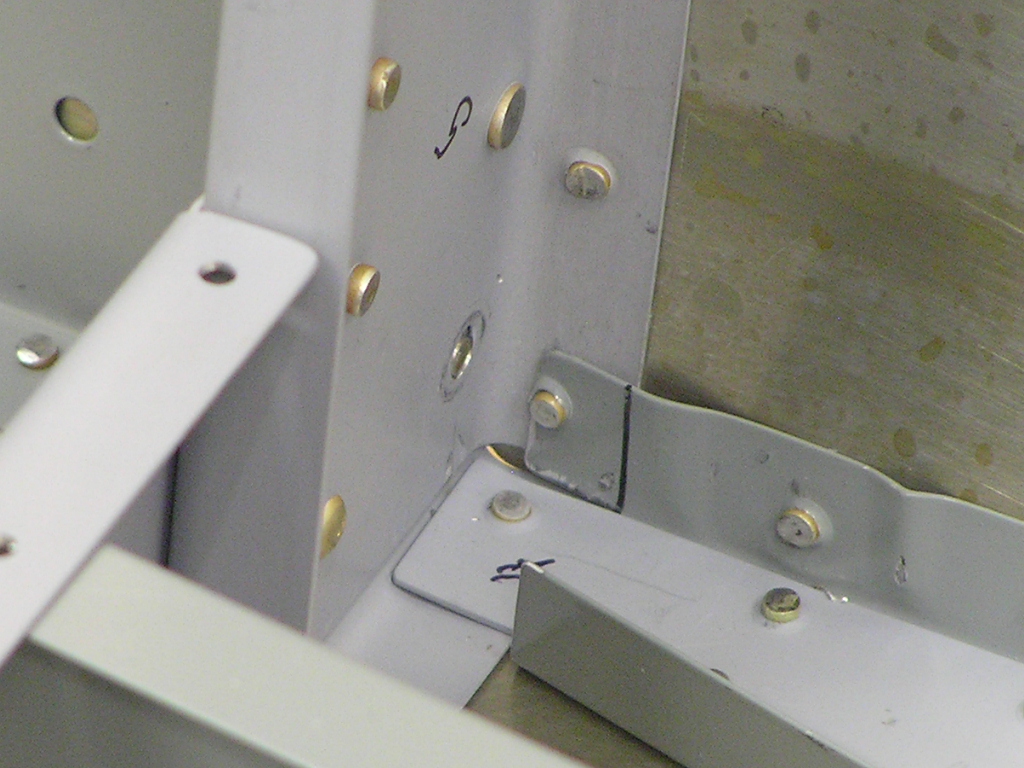 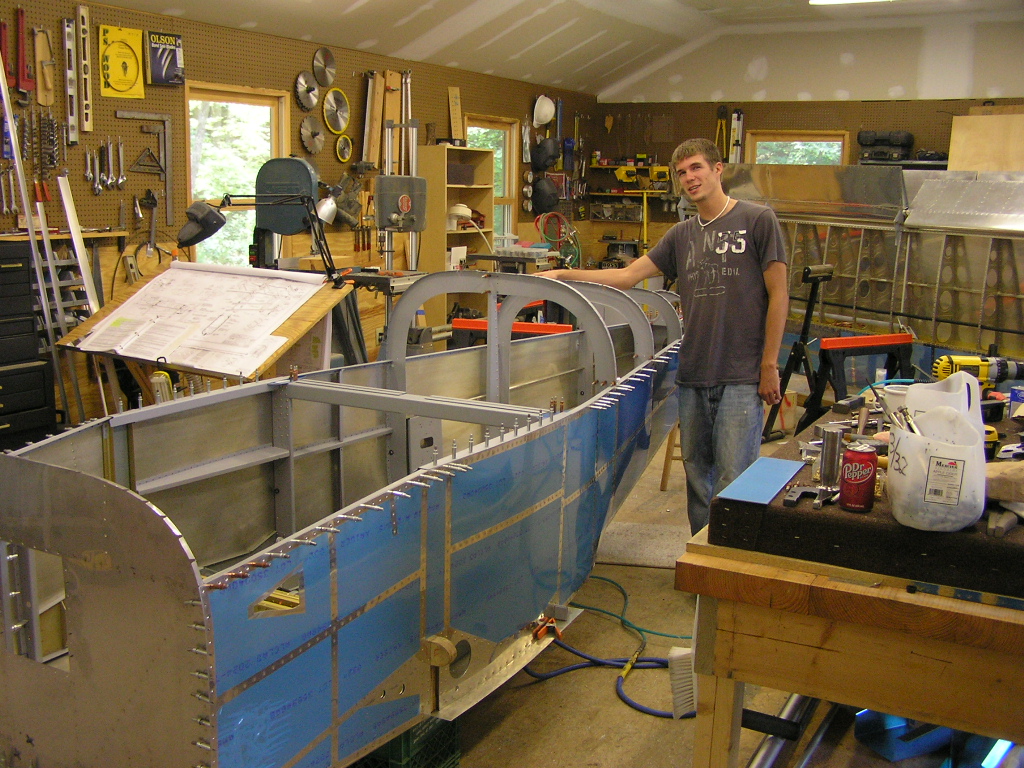
Next, I clamped the aft deck in place and drilled. I can't
locate the AS3 material I need in order to fabricate the aft
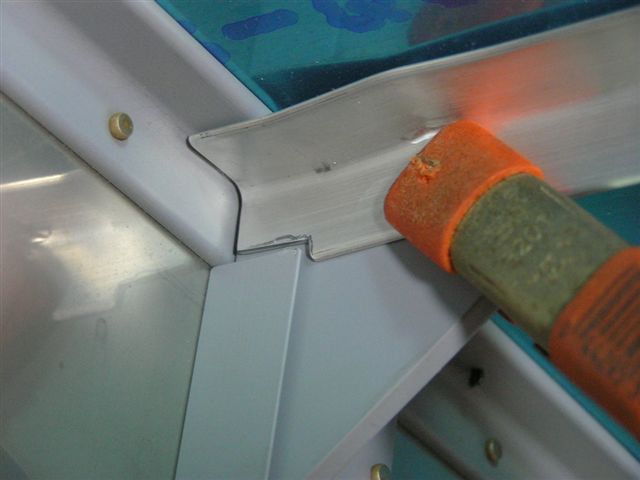
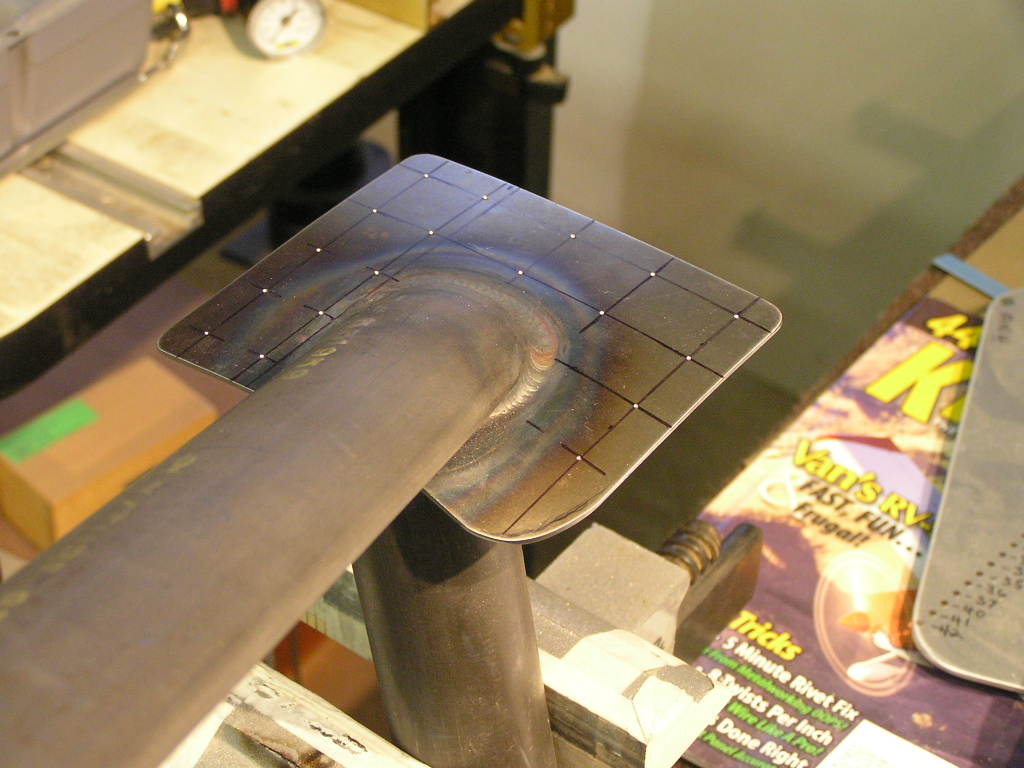
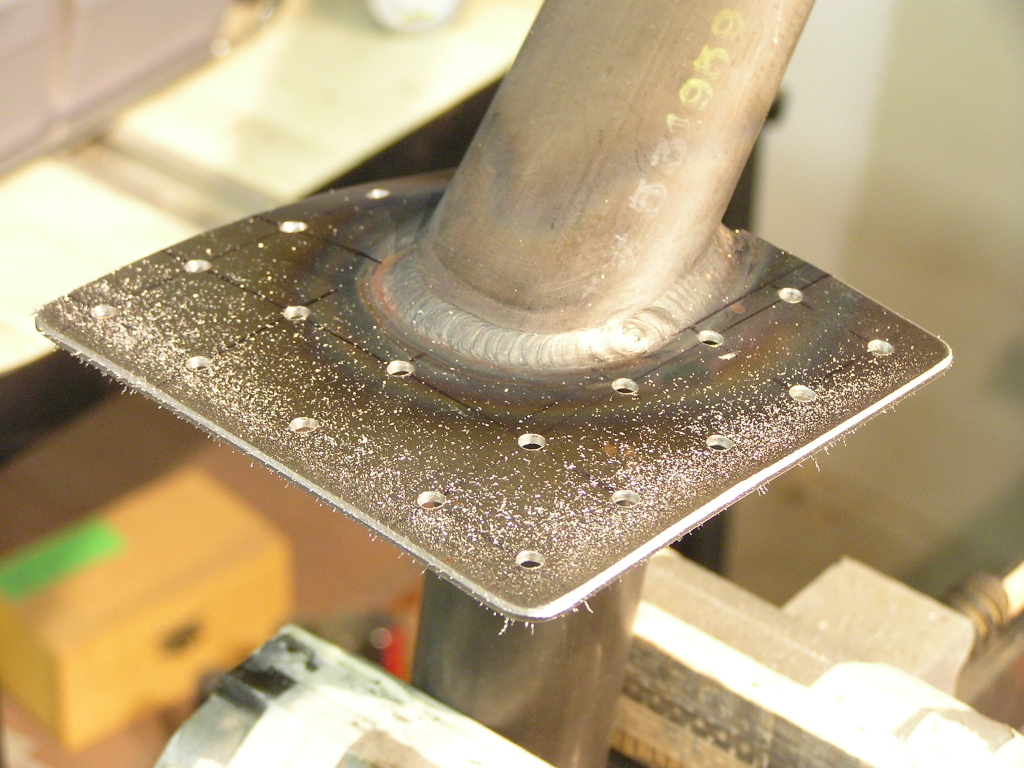
deck spacers so I called Vans and placed the order. I also finished attaching the brake pedals to the rudder
bars. Finally, I worked on the F757 gussets. After
fabricating and match-drilling, I was not satisfied with the
fit. The gusset has a gap of about 1/16" between it and
the F905 bulkhead. I fabricated a spacer out of .063 sheet and placed it below
the gusset. I like the fit much better now. |
4.0 | |||||||||
| 8/5/07 | I just heard from Bill
Repucci. Congratulations on the first flight of
his RV-9!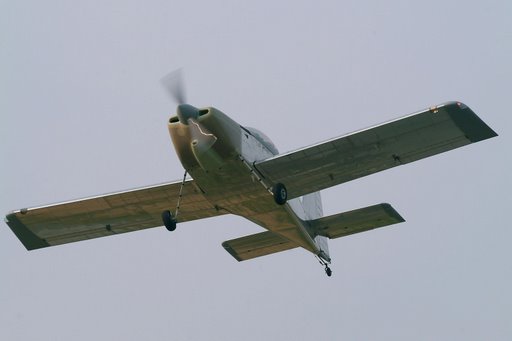
Tonight I trimmed, deburred, measured, marked and drilled the
F-695 forward fuselage gussets. |
2.0 | |||||||||
| 8/17/07 | I have not been able to work much lately.
My father, who lives in Lockhart, TX, is terminally ill so I
have been to see him this past week. Tonight I drilled the
rear seatbelt attachment brackets to the longerons. I also
removed the aft deck in order to fabricate the F-710C and F-711E
spacer bars.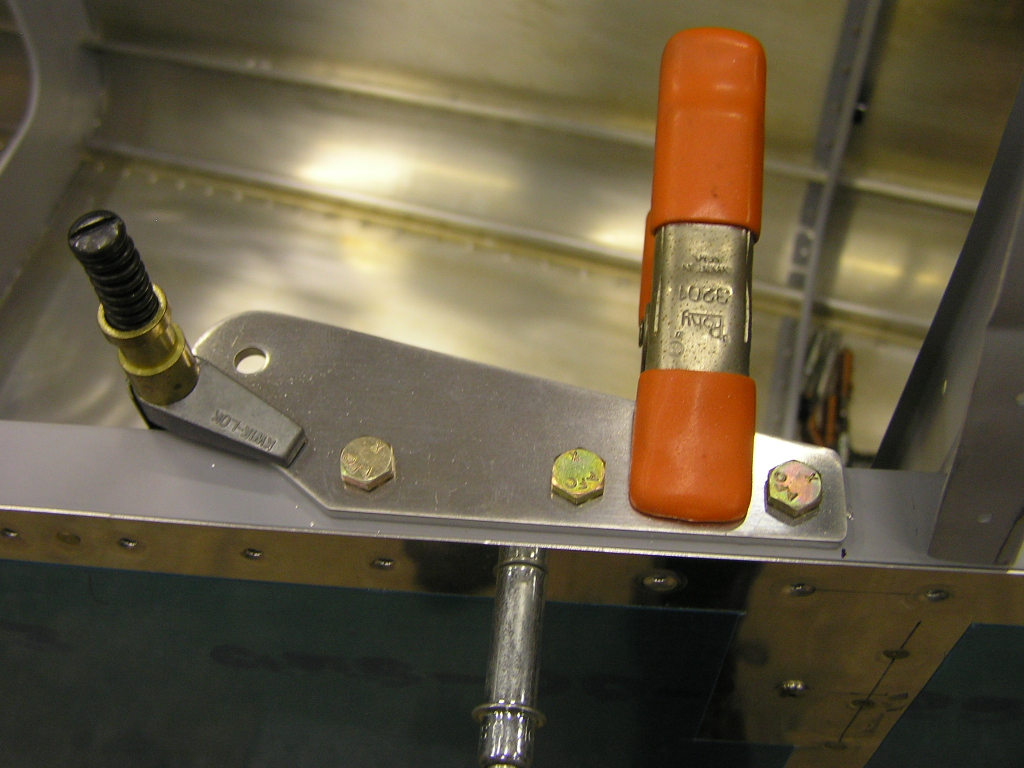 |
.5 | |||||||||
| 8/18/07 | I fabricated the F-710C and F-711E spacer bars
and back-drilled them through the aft deck. I took it all
apart and scuffed and deburred the spacers, aft deck as well as
the firewall gussets and the F-757 plates. Next, I
acid-etch primed. I riveted the aft deck permanently as well
as the F-709 bulkhead. I then riveted the firewall
gussets. Have I mentioned how having a pneumatic squeezer
is a joy? There were only two rivets per side I could not
reach with the squeezer. Can you tell which ones they are? |
6.0 | |||||||||
| 8/19/07 | I finally got around to riveting the baggage
floor ribs to the F-706 bulkhead. The problem here is that
only about half of the rivets can be reached with the squeezer
and the rest have to be shot and bucked. I took a lot of
time here to make sure the rivets were perfect since drilling
any out would have been quite difficult. I used the dremel
tool to clean up the hole for the snap bushings in the tunnel. 
I drilled the F-656 gusset plates to the F-706 bulkhead. I riveted the F-757 plates to the longerons as well as the
aft canopy decks. |
5.0 | |||||||||
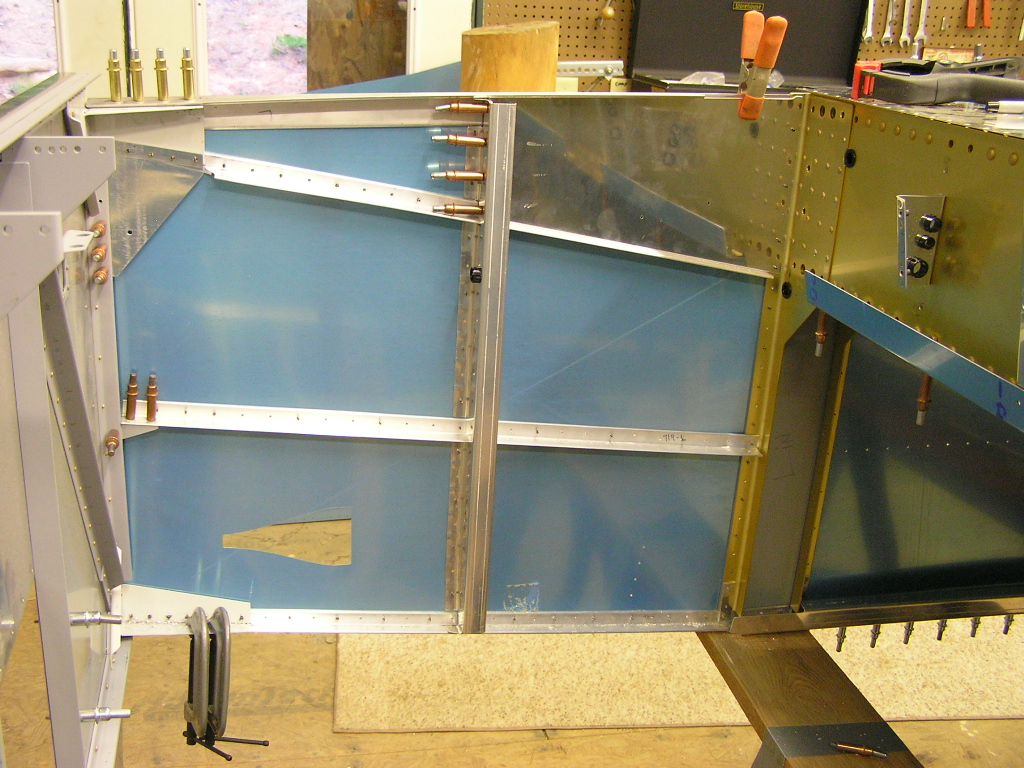
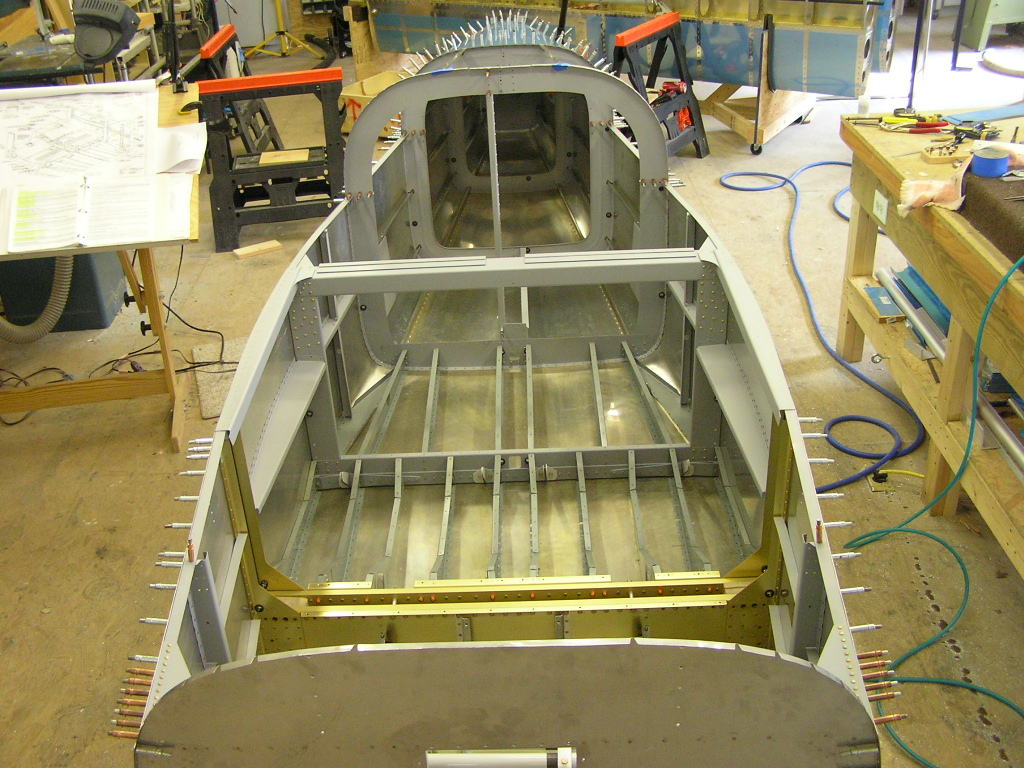
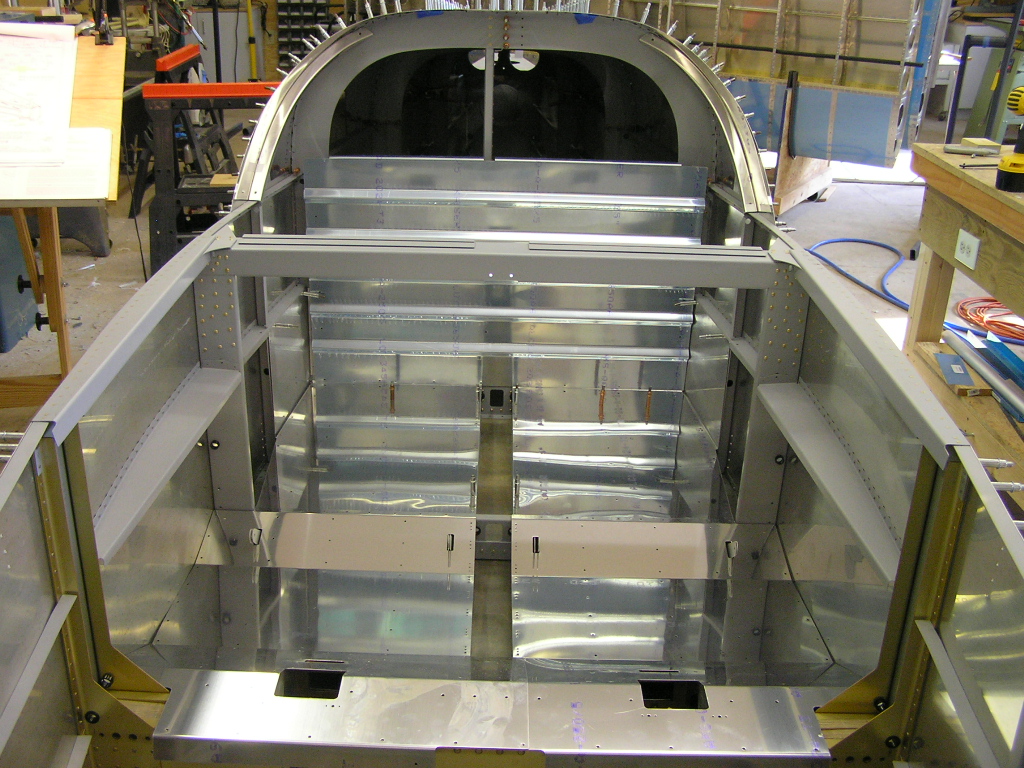
| Fitting the Top Skins | |||||||||||
| 8/19/07 | I clecoed the aft top skin.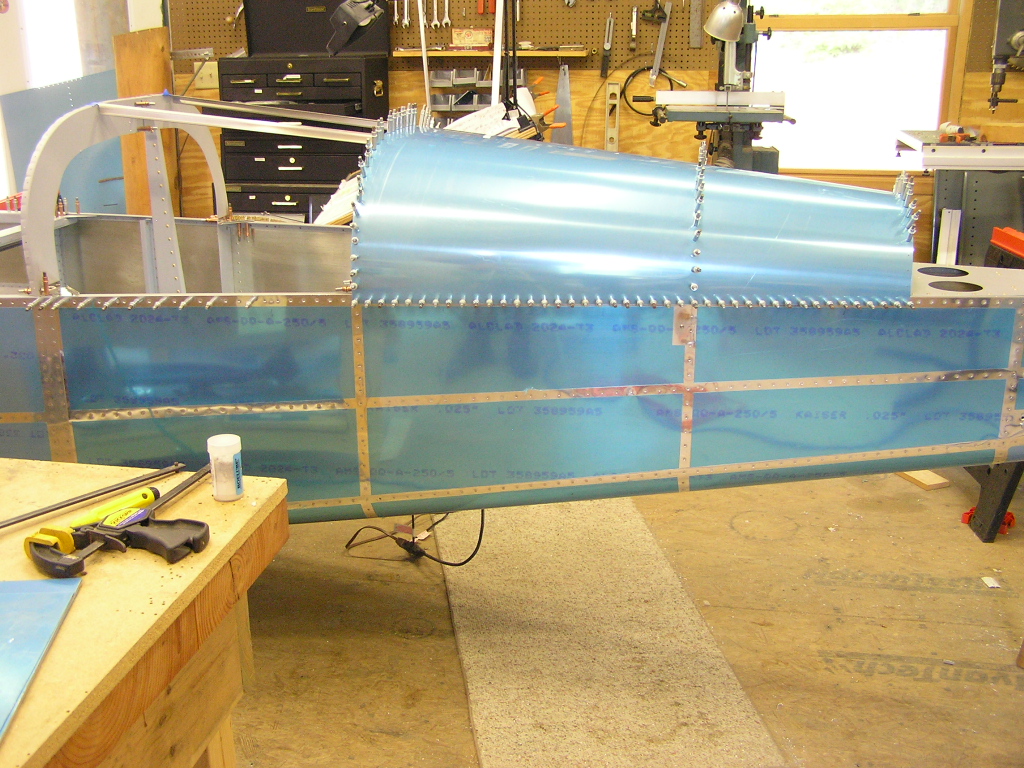 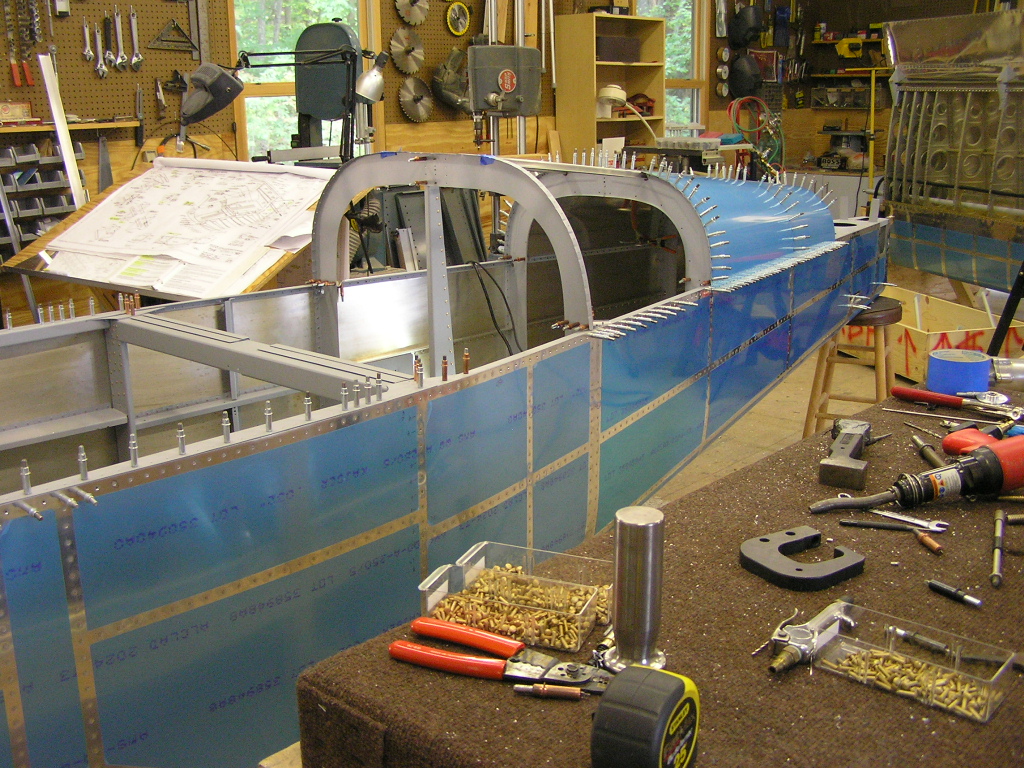 |
.5 | |||||||||
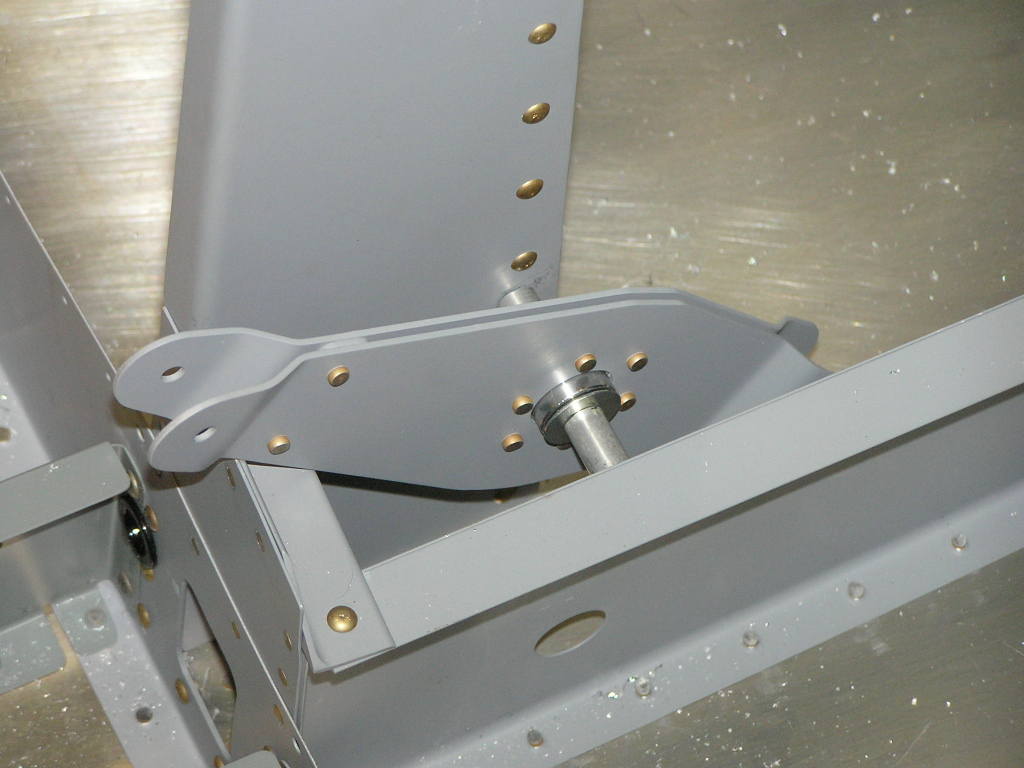
| 8/20/07 | I inserted two rivets remaining in order to
finish the bellcrank support. I fabricated the F-707B
angle clip and clecoed to the F-707 bulkhead. I clecoed
the F-787 stiffener web to the F-706 bulkhead and clamped the
aft end to the F-707 bulkhead. I fabricated the F-635 elevator bellcrank assembly and test installed.
The F-635 spacers were fabricated and trimmed for a nice snug
fit. I clamped and match-drilled the rear F-656 L&R gusset plates
to the F-707 bulkhead and longeron and clecoed. (I had
previously drilled and clecoed the forward gussets to the F-706
bulkhead). Clecoed the F-7112 Forward Top Skin to the F-707 and F-706
bulkheads. Installed the F-788 Gusset Plate. |
2.5 | |||||||||
| 8/23/07 | Today, I called
Craig Catto and ordered my prop. It will be a 3-bladed
wood/glass composite. The blades will be 66" and pitched
to 74". Craig builds the finest props in the world and
they are a work of art. I can expect delivery around
1/14/08. I match-drilled the top skins to full size and
drilled the J-stringers. I then un-clecoed the left side
and drilled the F-707 brace to the F-707B clip and clecoed.
I then drilled the F-707B clip to the F-707 bulkhead and
clecoed. |
1.5 | |||||||||
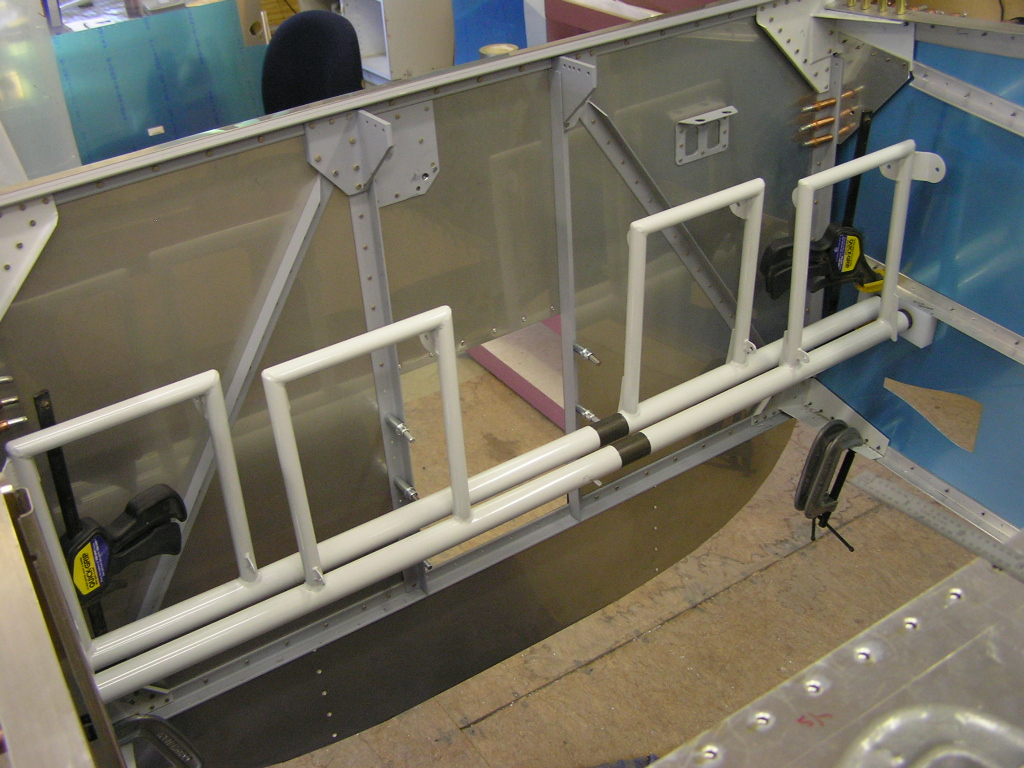
| 8/24/07 | I installed the F-6111 ribs by first marking
the centerline. I then ground the bottom of the ribs to be
flush with the top of the longeron. I then started at the
bottom and drilled each hole and clecoed as I went. At the
top I needed to grind each rib to allow them to sit against the
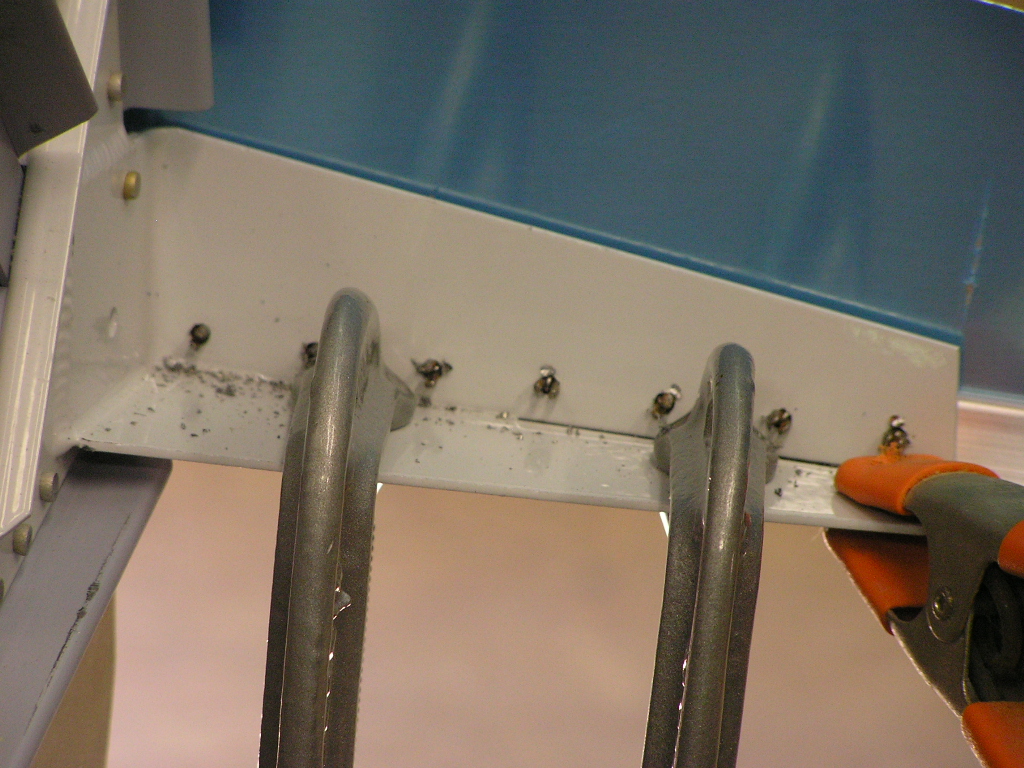
F-707 bulkhead.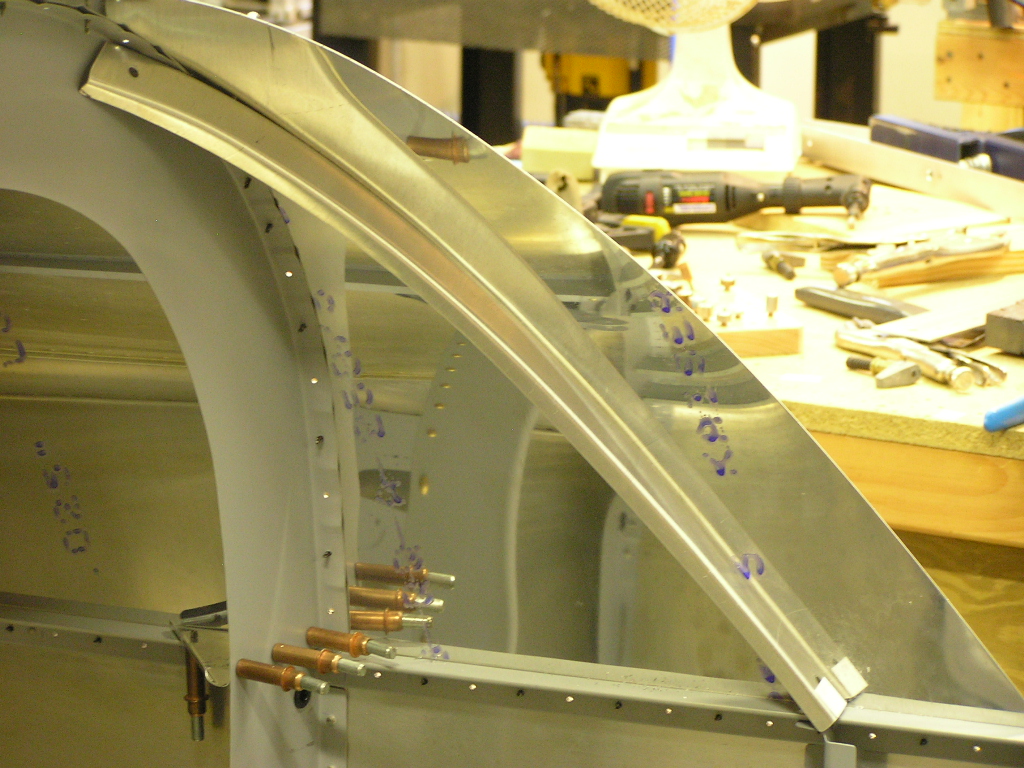 Installing the Steps I started with the left side and initially fit the step.
The tube was hitting the baggage rib web and was holding the
flange of the step about 1/8" away from the side skin. I
ground the tube until it was flush with the skin. I then
used a rubber mallet to bend the flange until the step rested
smooth against the side skin. I then rounded the corners
of the flange at the grinder. I marked the rivet lines
with a Sharpie being careful to align with the baggage side rib.
I drilled all 16 holes to #30 and deburred. I marked the
phenolic blocks and drilled to #11 on the drill press. I
then installed the step/block assembly to the fuselage and
carefully back-drilled to the side skin using the step flange as
a guide. After clecoing the step to the side skin I
back-drilled the phenolic block to the baggage floor rib using
the Dremel tool with a 90º
adapter to #30. I also drilled through the step
tube using the block as a guide. After disassembly I
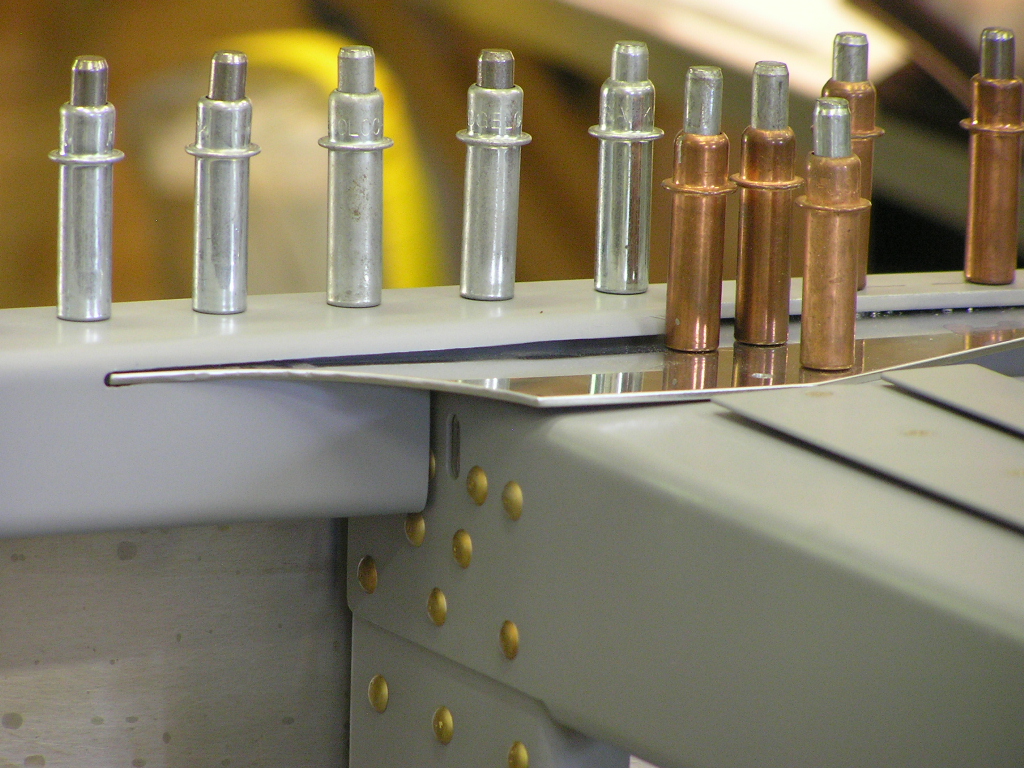
drilled the #30 holes to #11. Since the steps are going to get a lot of abuse I decided to
install a back plate behind the skin for additional support.
I used some scrap .032 and cut a piece about 2.75" x 3.00".
I trimmed for the step tube and deburred. Next, I
back-drilled using the holes in the skin as a guide. Finally, I will be installing the steps with flush rivets so
I countersunk the holes in the step flange. I finished by
using a file to bevel the edges of the step flange. I am spending a lot of time on the steps to make them as nice
as possible as this is one item on the plane that will get a lot
of abuse and is one of the main things people will look at.
When I finally install the steps I will use ProSeal behind the
flange before riveting to ensure a weather-tight seal with the
fuselage. One down, one to go! |
5.5 | |||||||||
| 8/25/07 | Today I installed the right step. The
process was almost identical to the left step. Afterward,
I washed and scuffed the steps and etch primed. I
initially planned to install the baggage floors with nutplates
to allow me to remove them for inspection but have decided to
follow the plans and move on. I will have to wrap the
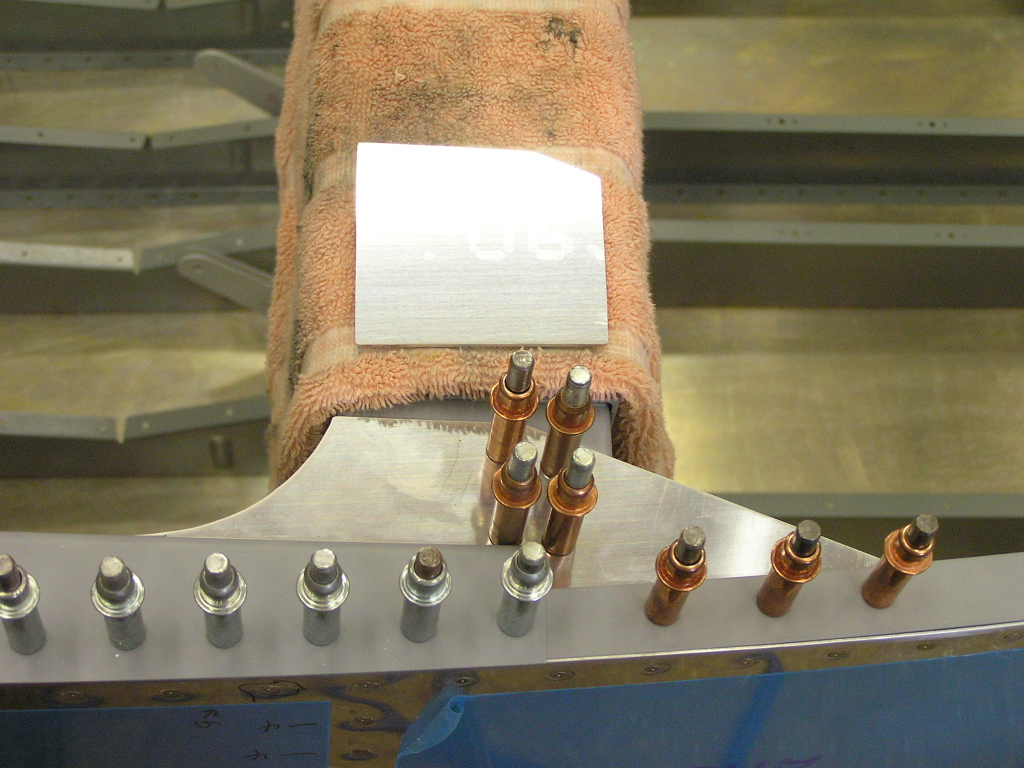
steps with a towel. Otherwise, I will be banging my shins
on them from now on.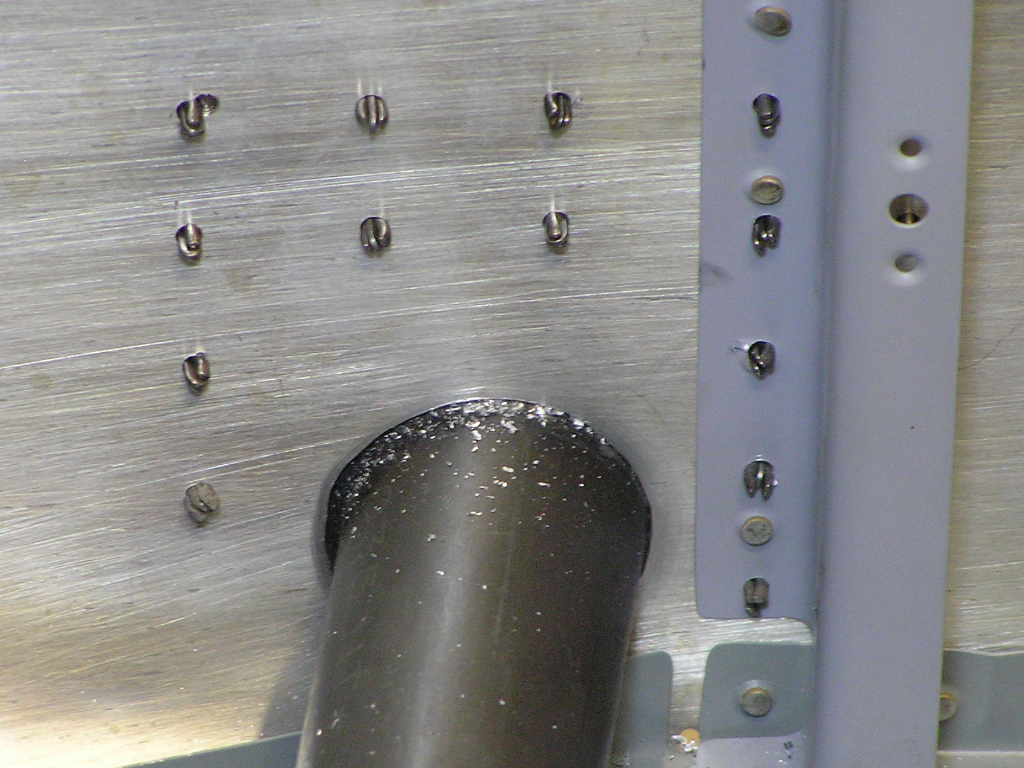 |
4.0 | |||||||||
| 9/1/07 | Taped off the area around the step flanges.
I'm concerned about water penetration behind the step flanges so
I am applying a bead of ProSeal around the edges of the flanges.
I got Lynne to help with the riveting. I back-riveted as
many rivets as I could then switched to the flush rivet set for
the rest.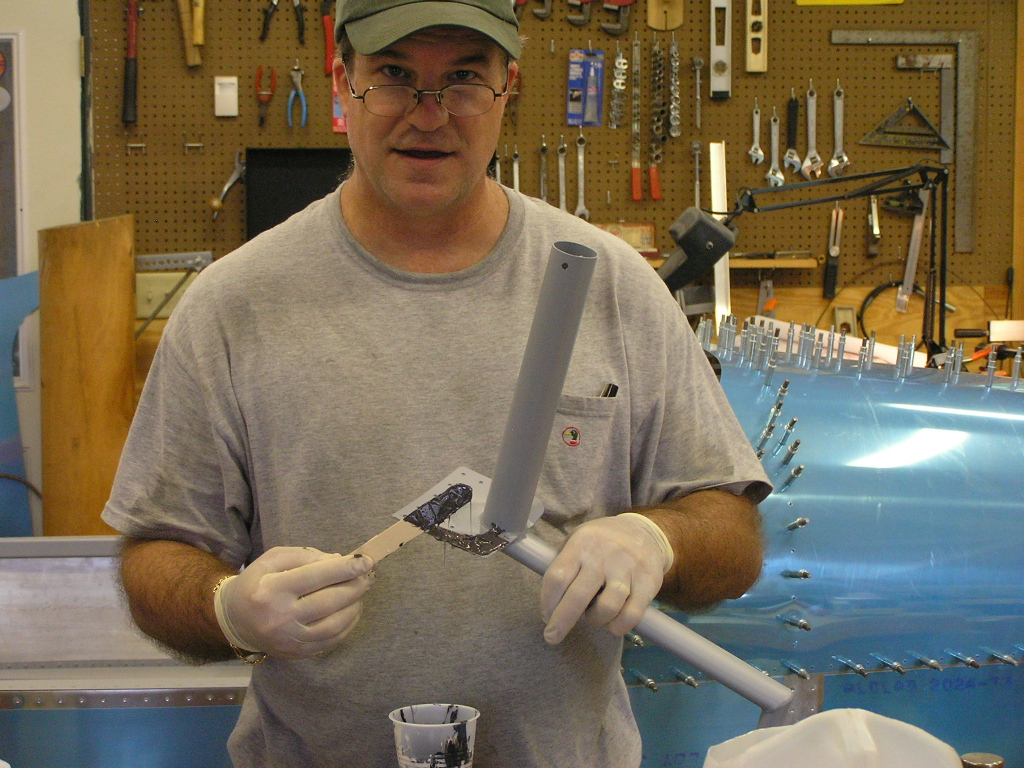 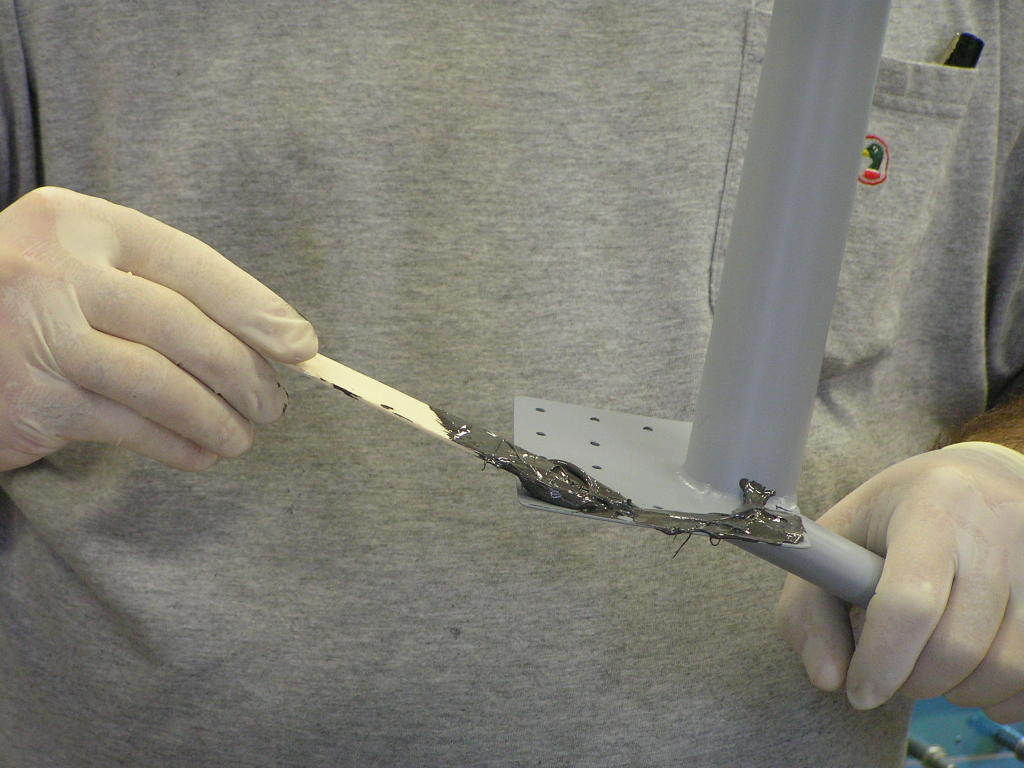 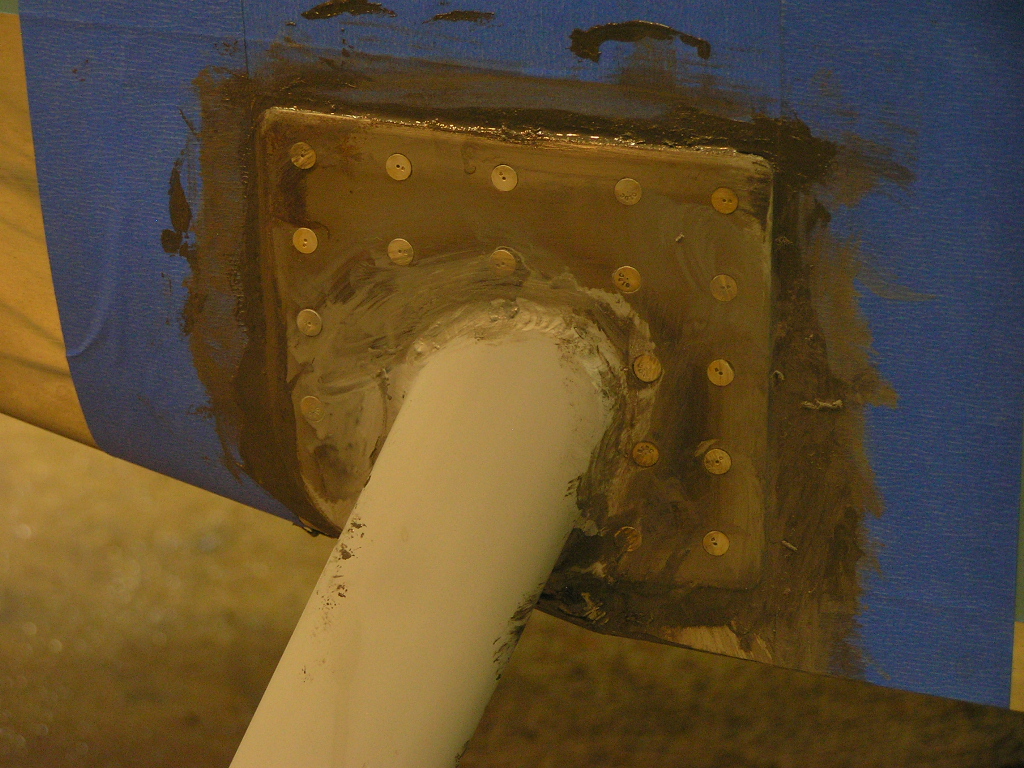 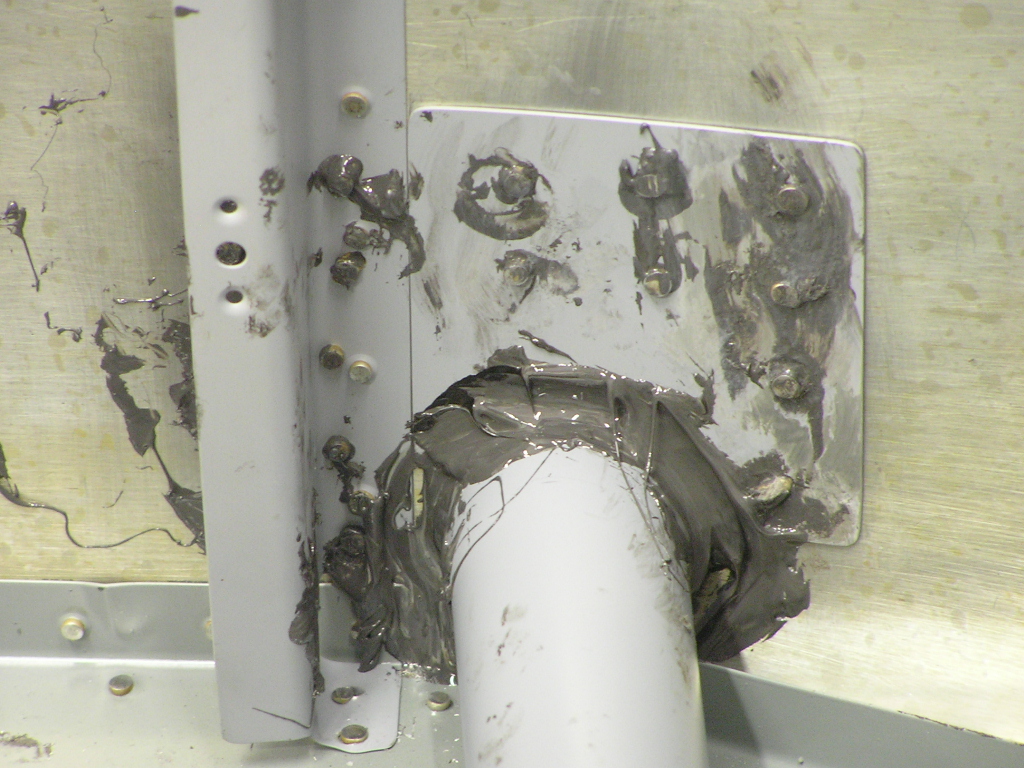
Finally, I bolted the steps to the baggage rib and torqued. |
2.0 | |||||||||
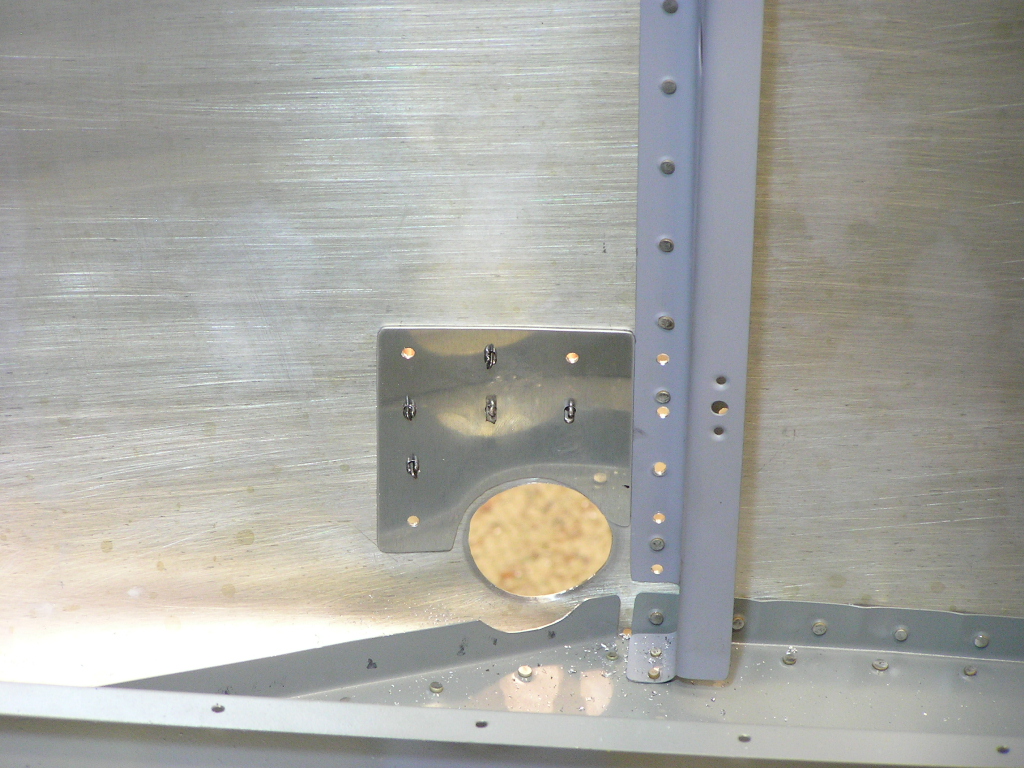
| Installing the Crotch Strap Attachment Brackets | |||||||||||
| 8/26/07 | I have several small tasks to complete before
moving on. Several weeks ago I purchased the crotch strap
attachment from Vans so now is a good time to install before
closing things up. The toughest thing about installing
these things is locating them exactly where they are supposed to
go. The area between the floor ribs is too tight for a
drill so I used my Dremel with the 90º
attachment. 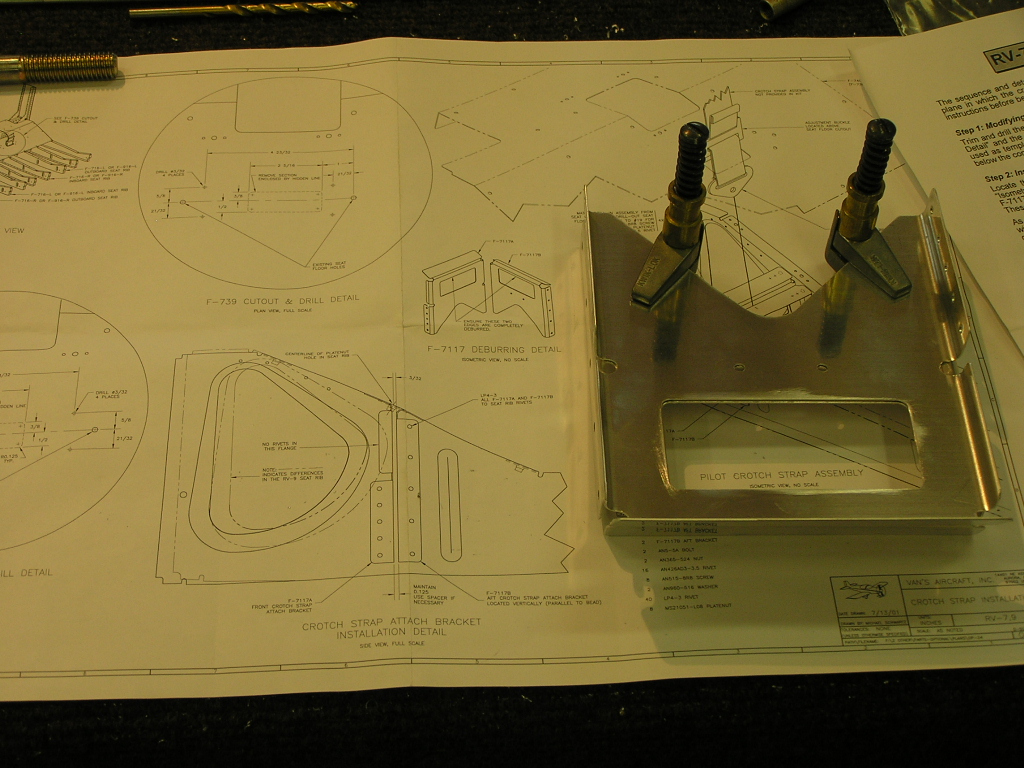 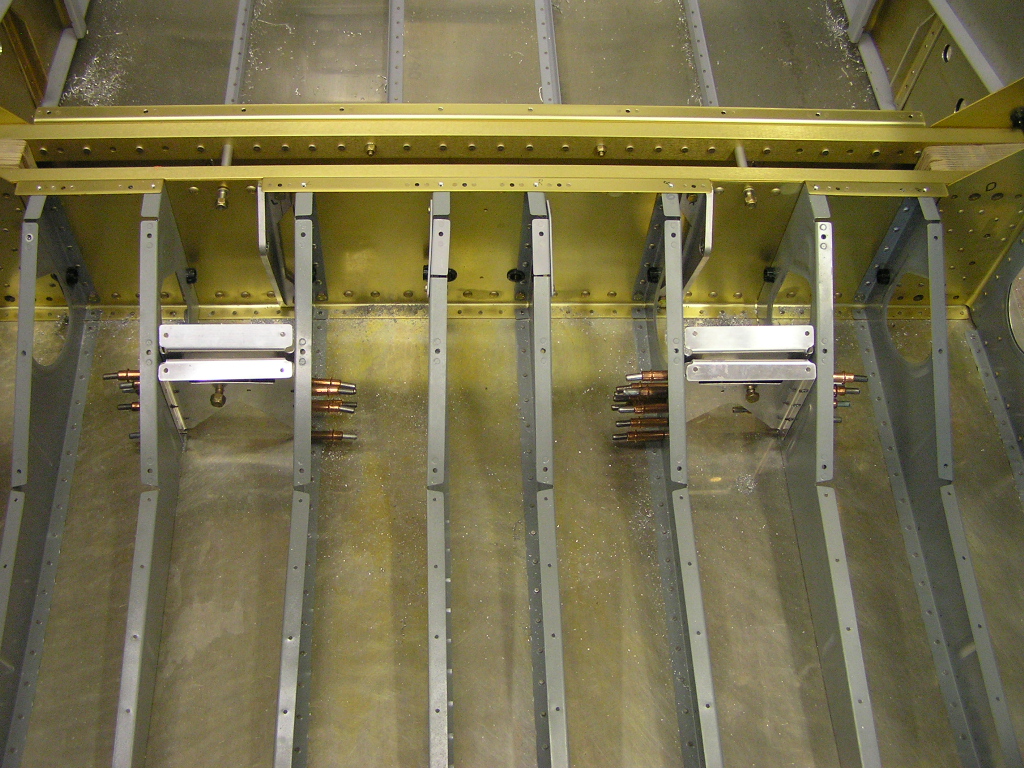
After fitting and drilling, I removed the plates, deburred and
drilled and attached the platenuts. After scuffing and
alodining I installed with blind rivets. |
7.0 | |||||||||
|
Total Hours this Page |
124.5 | ||||||||||
|
Total Hours Fuselage (as of 8/26/07) |
277.5 | ||||||||||
| Next: Baggage Compartment |


Copyright ©2005-07
Hosted by NTI Networks