
Home
Shop
Tools
Empennage
Wings
Fuselage
Fuselage 2
Fuselage 3
Fuselage 4
Fuselage 5
Fuselage 6
ELT
Installation
Securing Control Stick
Flap Position Indicator
Landing Gear Assembly
Up On the Gear!
Riveted the Top Skin
Interior Installation
Panel
Firewall Forward
Canopy
Wiring
Miscellaneous
Fuselage 6
|
Date |
Description of Task | Hours |
|
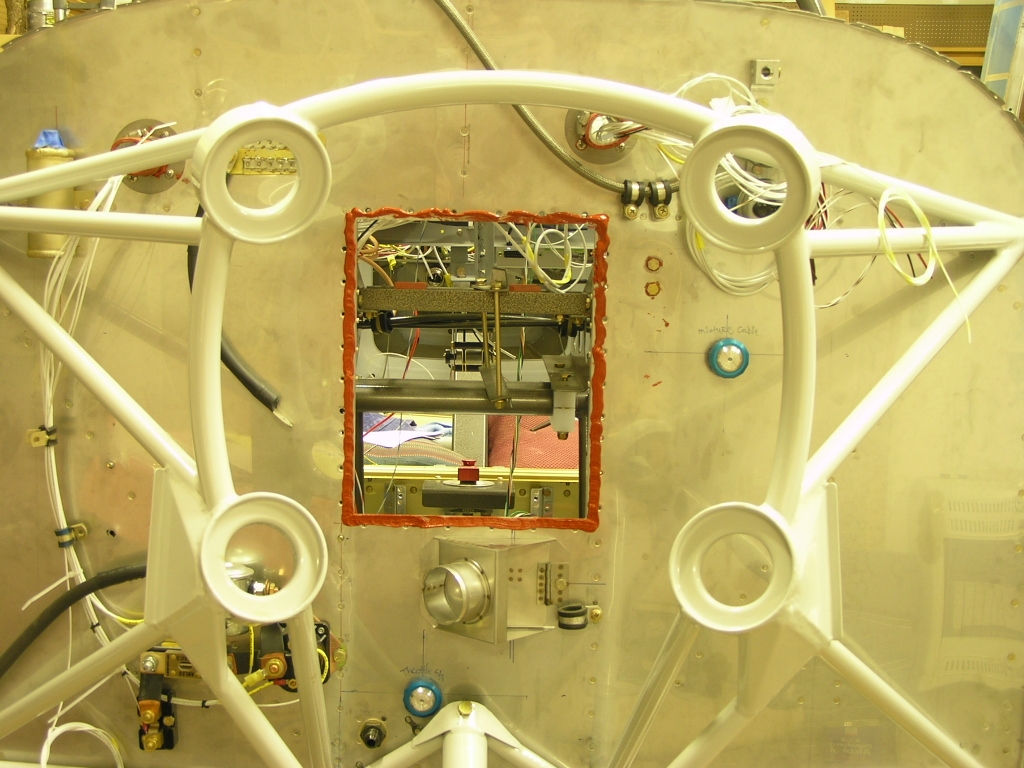
ELT Installation |
||
| 4/18/08 | I decided to forego spending ~$900 on a 406mH
Emergency Locator Transmitter (ELT) until a few more
manufacturers enter the fray and bring the prices down.
Since I have already installed an ELT mounting tray in the rear
fuselage that is pre-drilled to fit the
Ameri-King AK-450, that was my choice. I went ahead
and installed the mounting bracket to the mount. I also
safety-wired the portable antenna to the bracket to keep it
secure.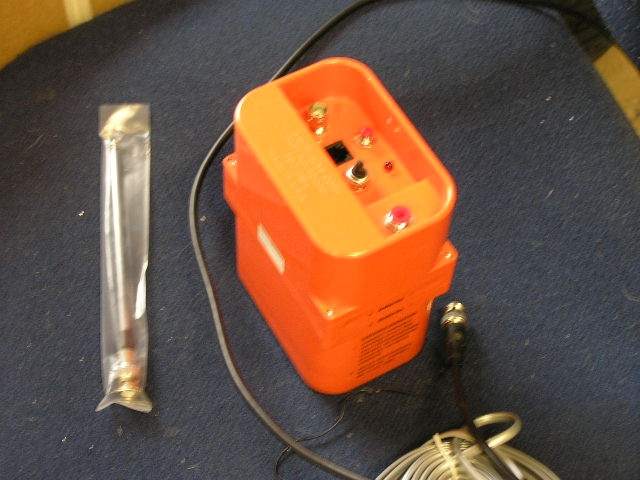  |
1.0 |
|
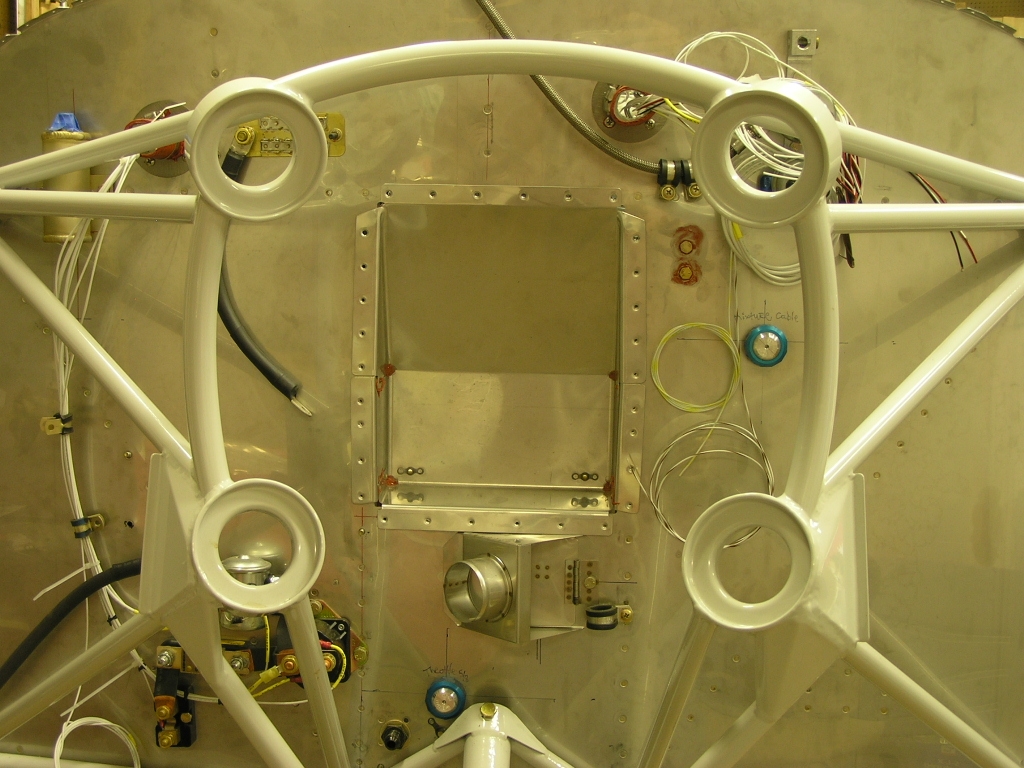
Securing Co-Pilot
Control Stick |
||
Vans has issued a Service Bulletin (SB)
detailing how the right-side co-pilot stick needs to be secured
in order to avoid the stick coming out inadvertently during
flight. Vans recommends installing a bolt and nut to
secure the stick, however, this "fix" would make it very
inconvenient to remove the stick regularly. I solved the
problem by drilling a 0.25" hole through both tubes and
installed a 1/4"x1 1/8" hitch pin.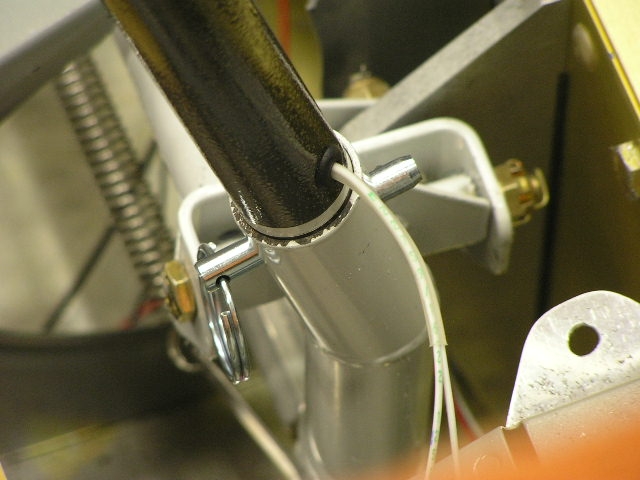 
I am also installing a 1/8" mono mini plug for the co-pilot PTT.
This will make removing or installing the stick a 15-second
activity. In the picture above, you can see the small
bracket ready for me to install the mini-jack plug. |
1.0 | |
| 4/19/08 | My buddy Ben came by today and was a big help.
We installed the COM 2 antenna and secured and torqued the brake
fittings through the gear weldments. These were tasks that
I had been putting off until I had a second pair of hands.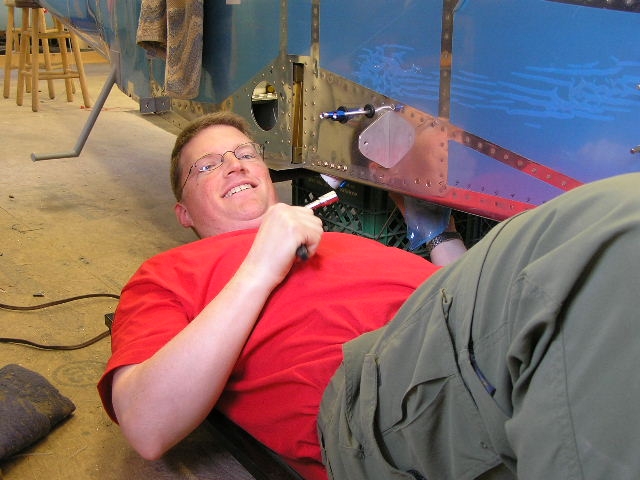 |
3.0 |
| 4/27/08 | I removed the tank attach brackets from the
fuselage and cut the notch. I also drilled and installed
the platenuts on the tank brackets.  |
|
|
Installing the
Flap Position Indicator |
||
| 5/10/08 | Today I went ahead and installed the flap
position indicator sensor from Ray Allen.
I got the clevis pins and threaded rod from Mike Behnke.
These parts are actually made for RC model aircraft but they
work just fine. 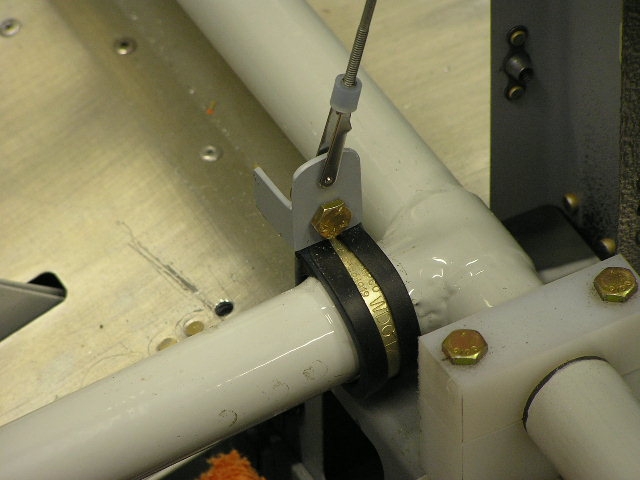 |
2.0 |
| 5/23/08 | I have to wait until Lynne can help me drill
the canopy side skirts so I installed the main push rod tube to
the bellcrank and the small pushrod from the bellcrank to the
control column. |
1.0 |
|
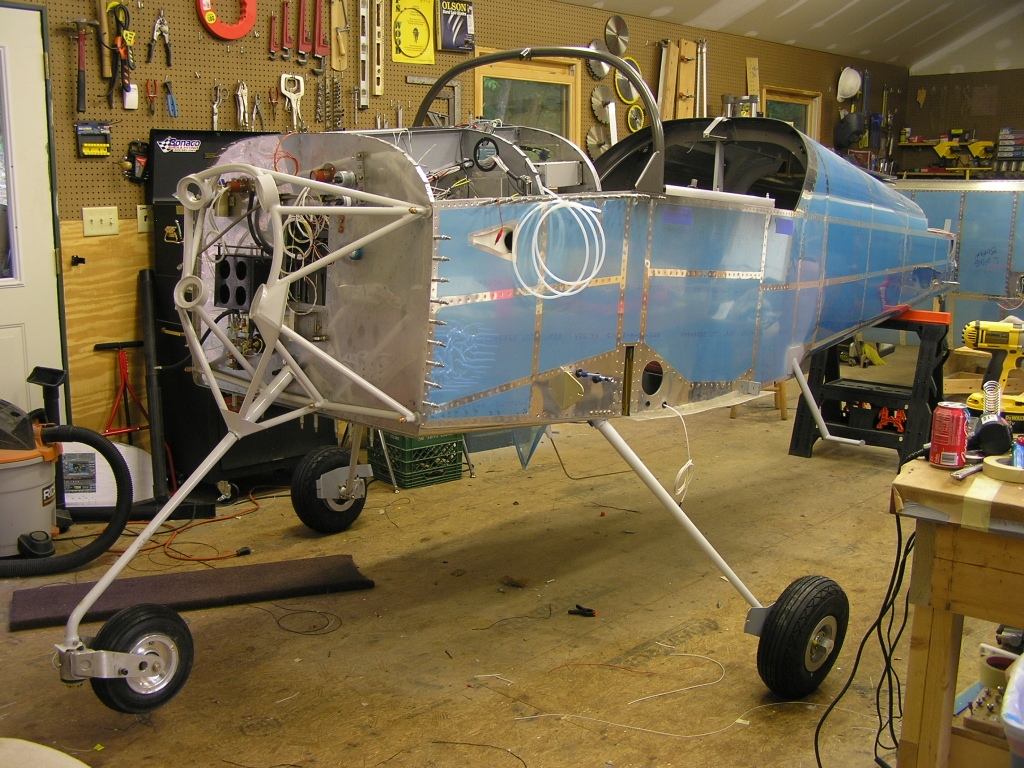
Landing Gear
Assembly and Installation |
||
| 8/24/08 | I started the assembly of the landing gear by
collecting all the various nuts, bolts and components. The
drawing in the plans is pretty useless so I resorted to
following the pictures on Mike Schipper's
website.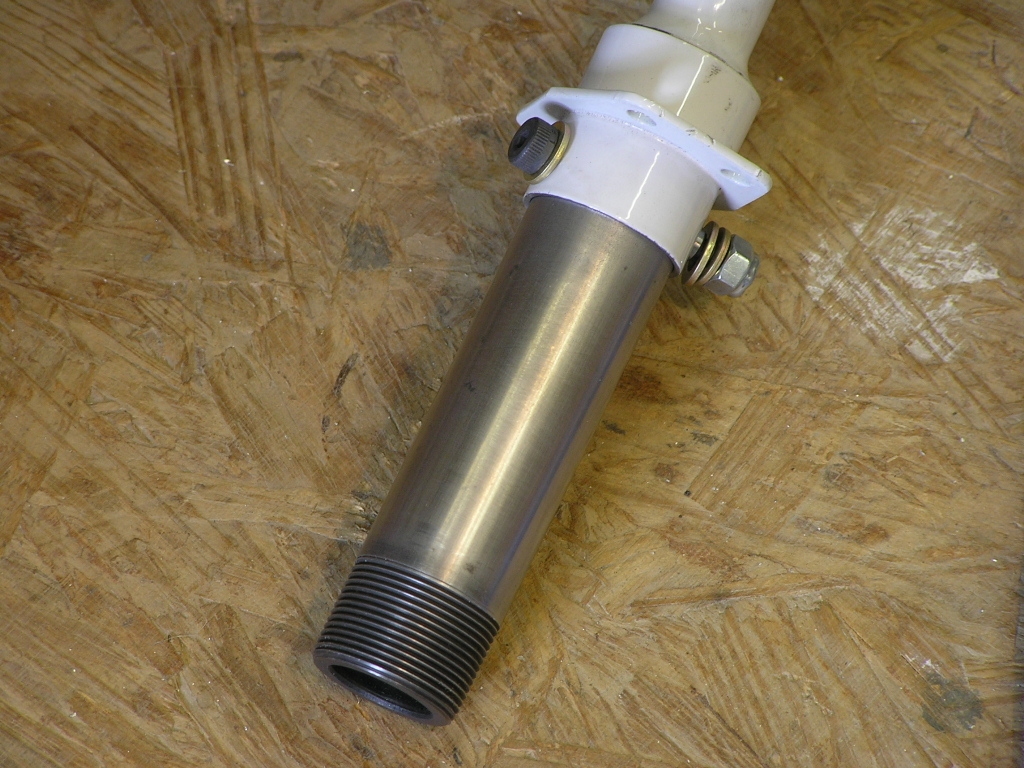 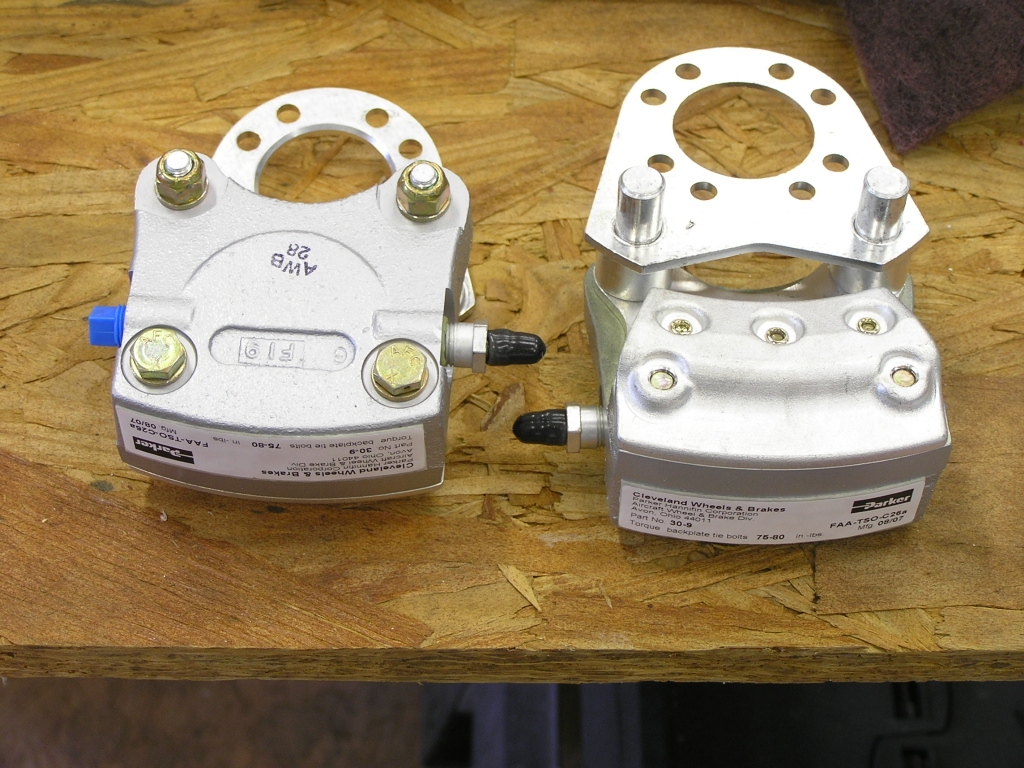 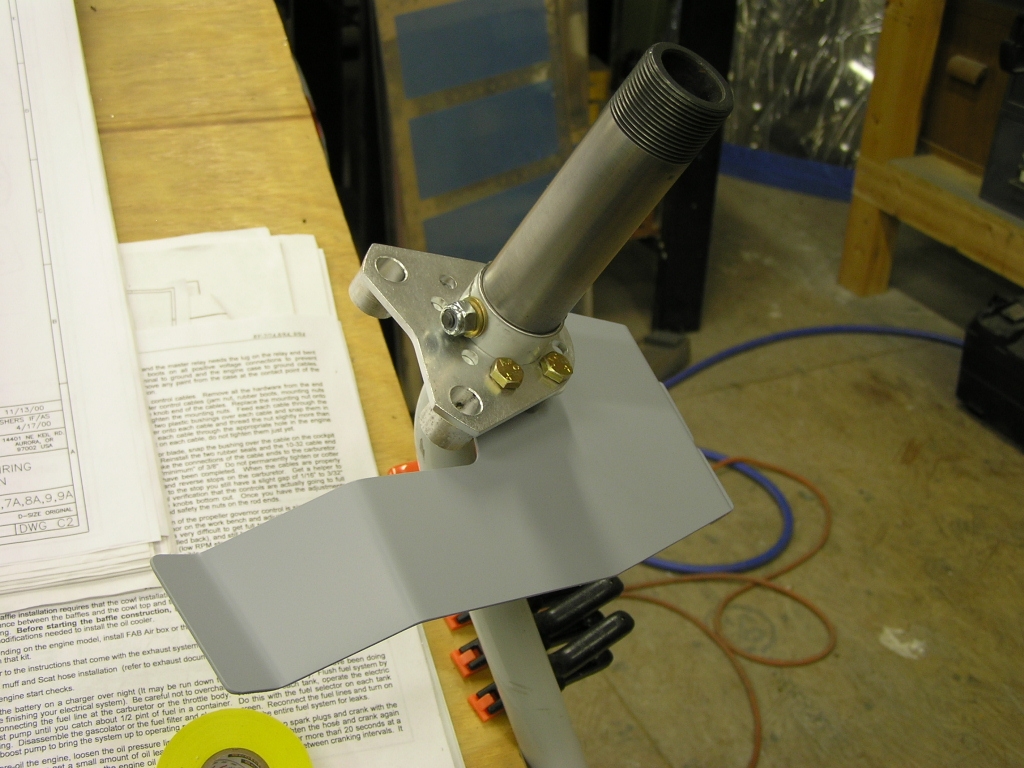
After loosely assembling the brake calipers to the gear legs, I
am ready to assemble the wheels and tires. |
4.0 |
| 8/29/08 |
Up On the Gear! Today I
got my neighbor Don to come over and help me lift the fuselage
while Lynne placed a sawhorse under the spar carry-through.
Lynne and I then installed the main gear legs as well as the
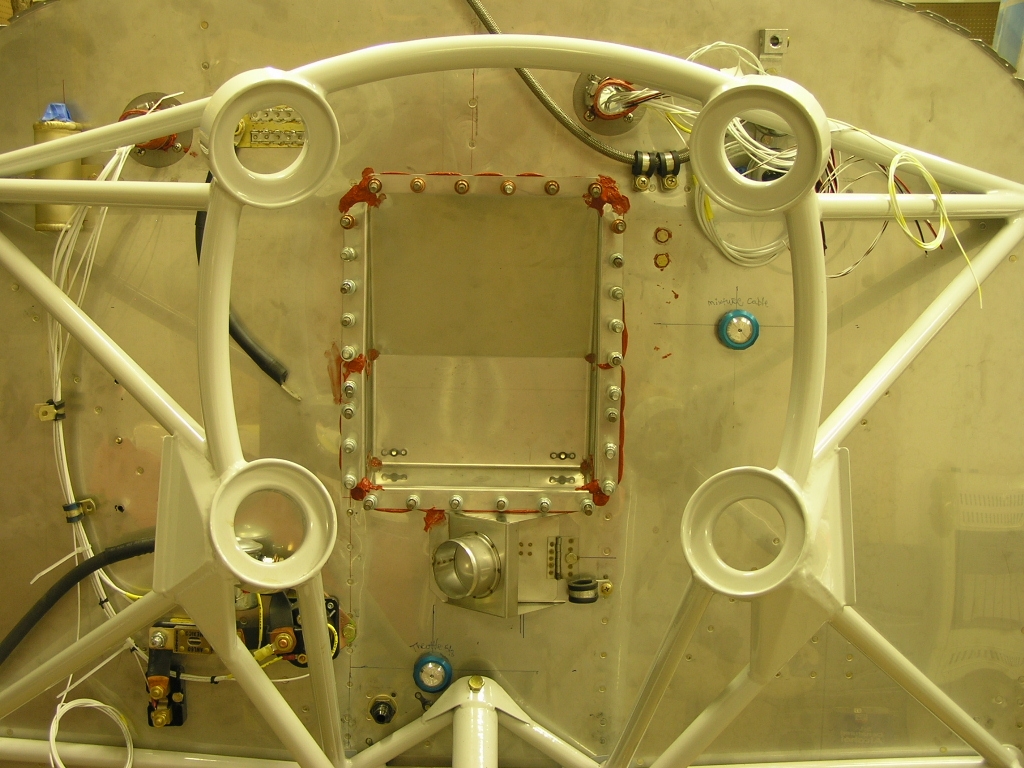
nosegear. I then removed the battery tray and sealed the firewall
recess with high-temp red RTV silicone and clecoed in place. |
4.0 |
| 9/1/08 | I installed the braided brake lines I received
from Brett at
Bonaco.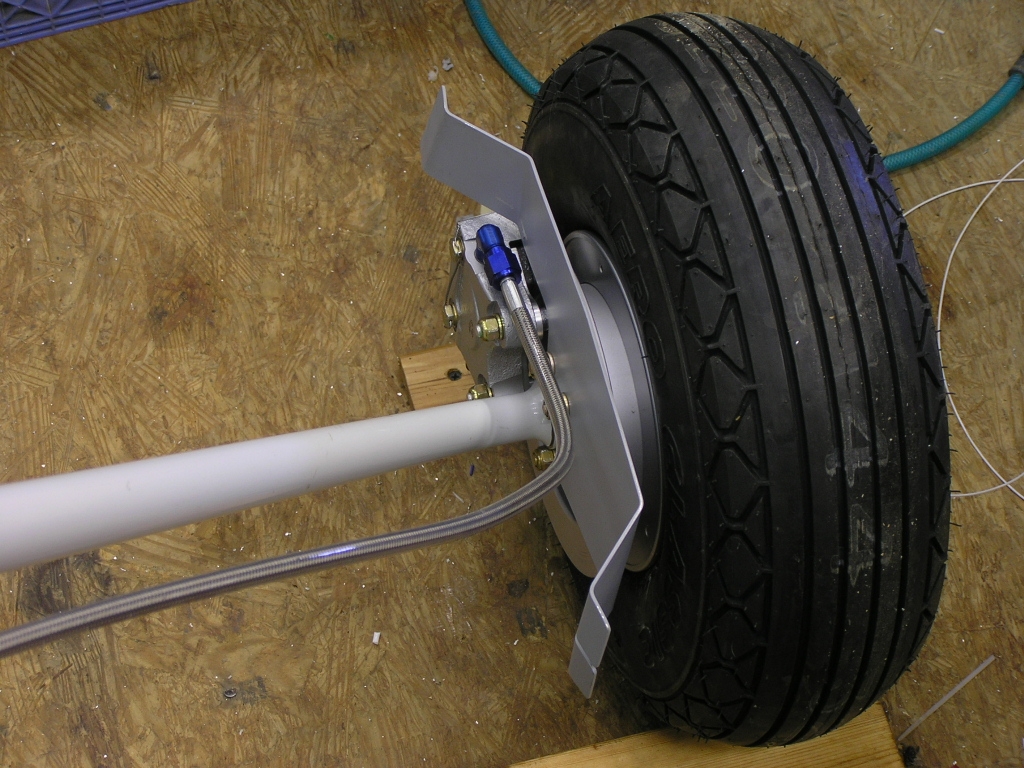 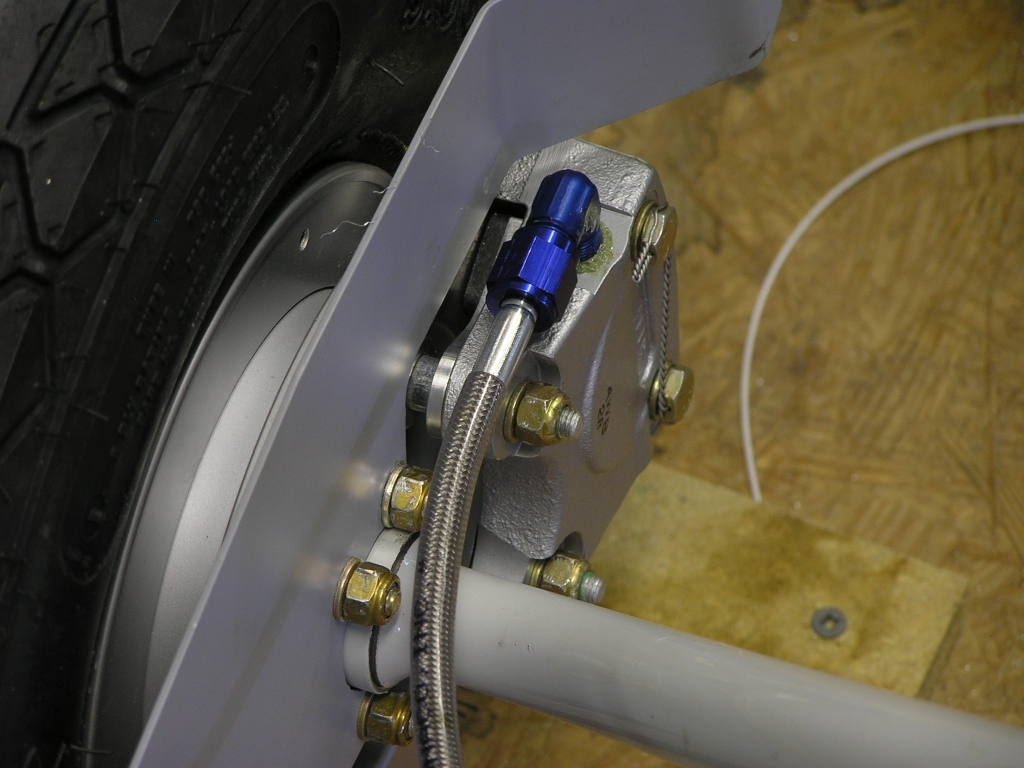 |
1.0 |
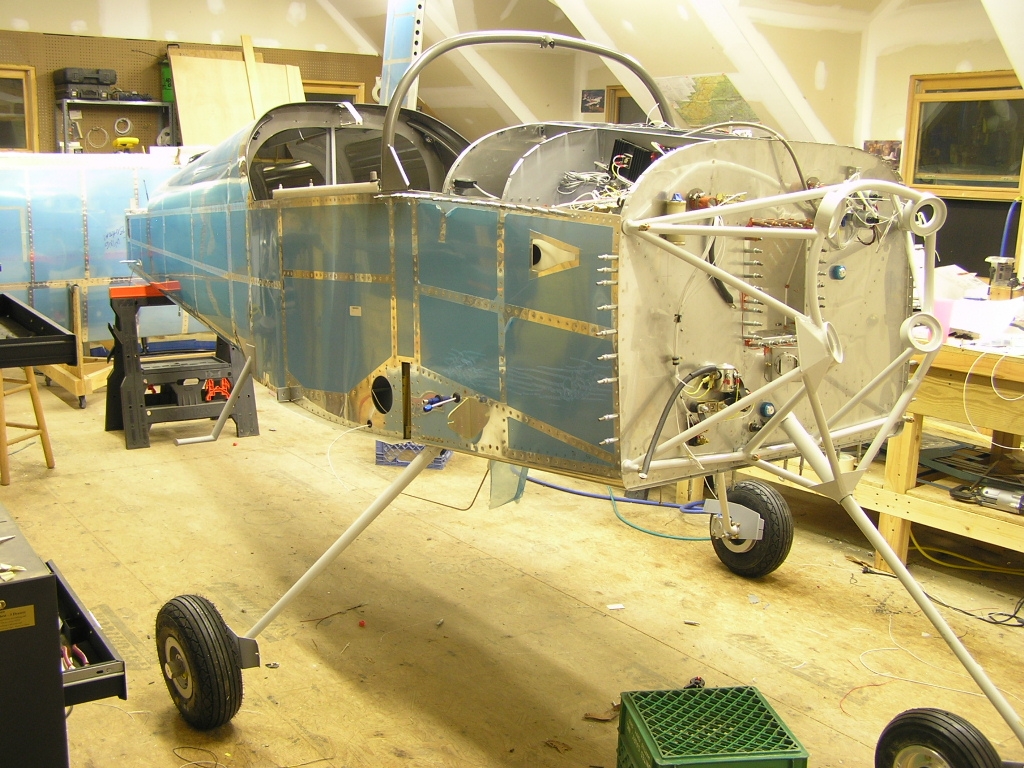
|
Riveted the Top Skin |
||
| 10/10/08 | My Tech Counselor, Jim Olson,
agreed to come over and help me rivet the top skin. I had
held off as long as possible riveting this final skin because I
wanted to be absolutely sure I had everything installed and the
wiring finished since access will be extremely limited
afterwards.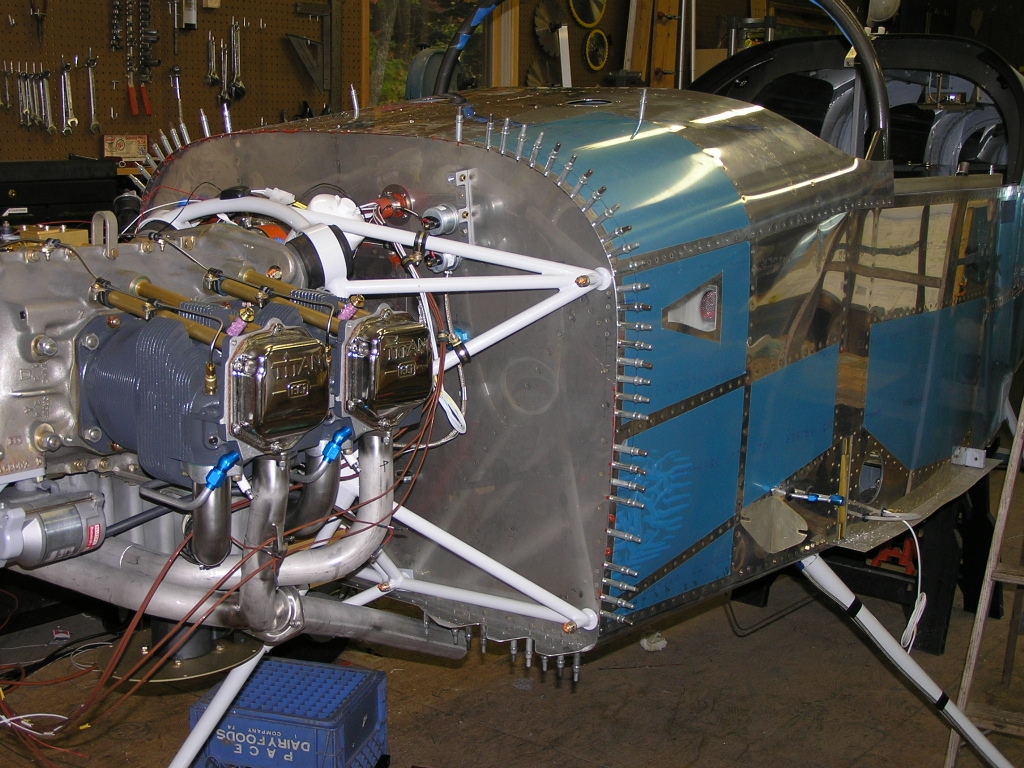 |
4.0 |
| 10/11/08 | I got some padded carpet from
Bill Repucci that he had left-over
from his plane. This stuff is super soft and is actually
the "loop" used with Velcro fasteners. I can apply the
"hook" to any items I want to keep handy and stick it to the
dash. I also cut out the holes for the fans before I
riveted the top skins and then installed the fans after the
carpet was glued. I used some 3M spray adhesive and it
worked great. 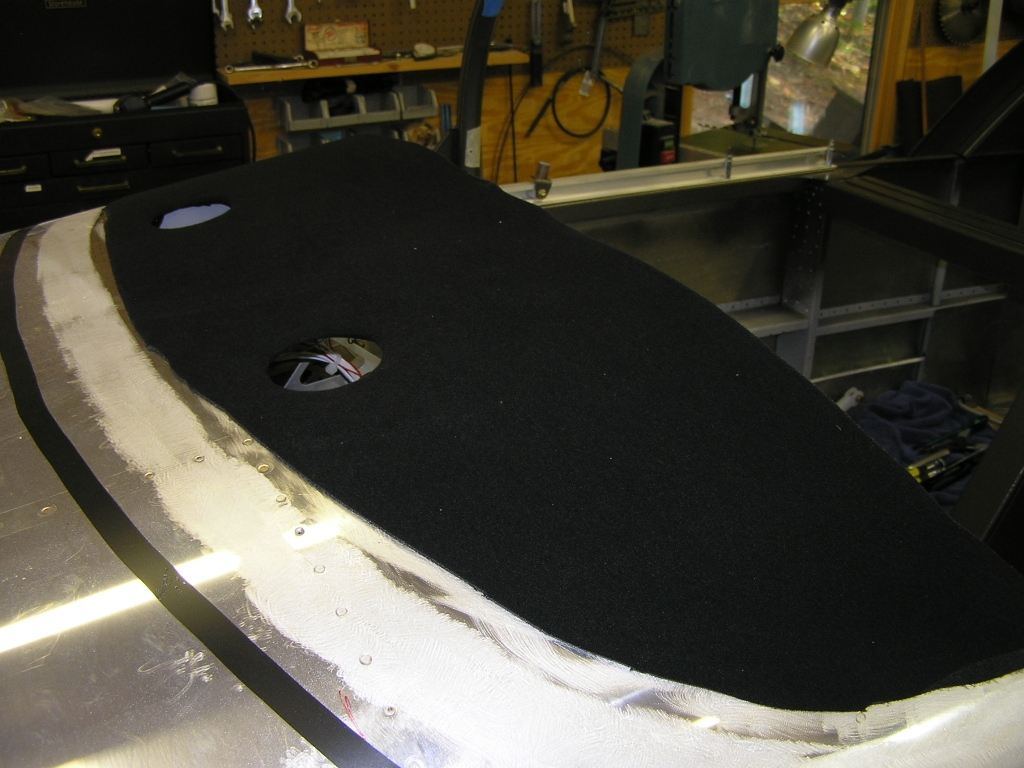
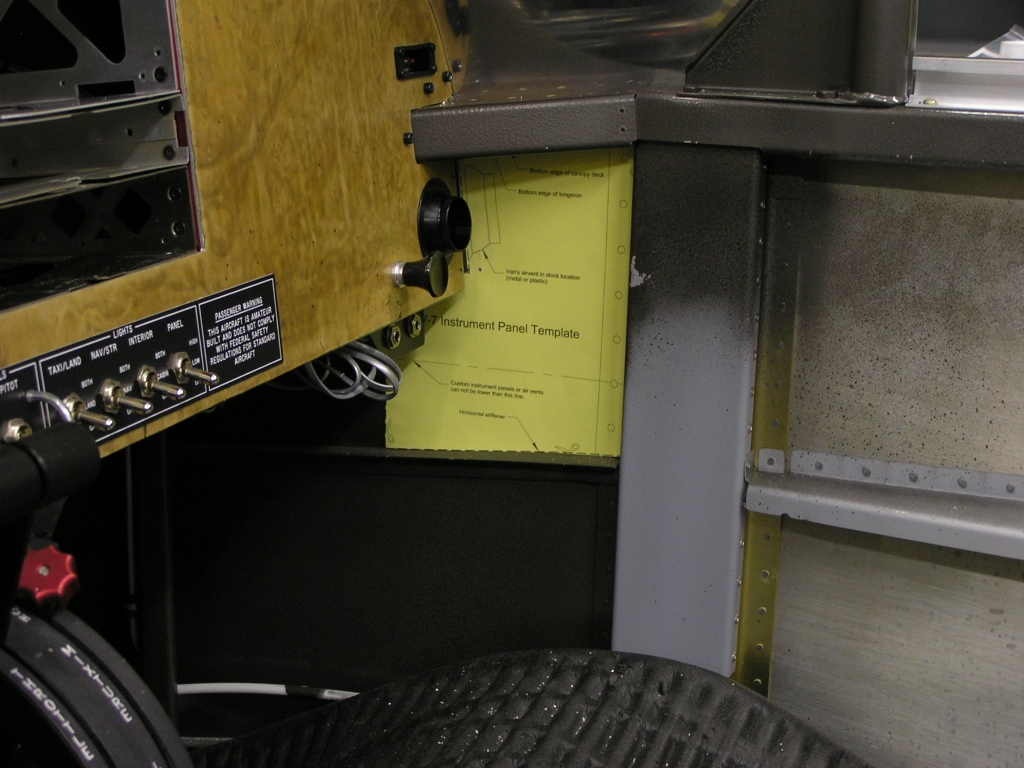
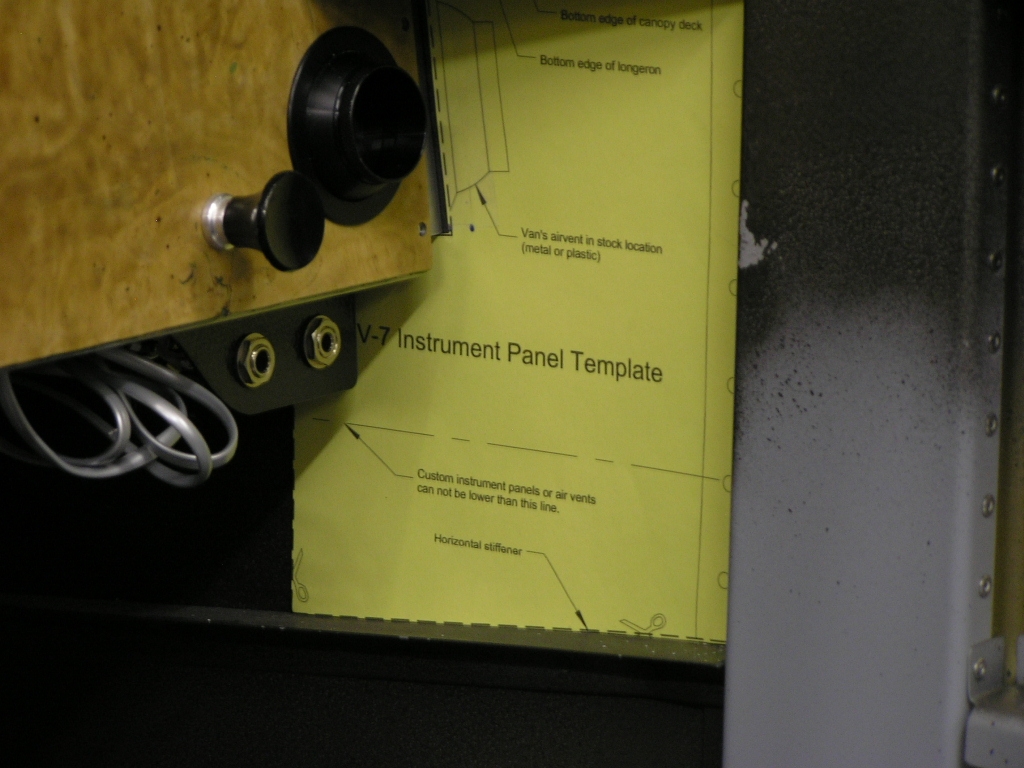
I had to take some shots of a template for my interior
fabricators. |
4.0 |
|
Interior Installation |
||
| 12/12/08 | I received my interior package from
Classic Aero Designs and temporarily installed it in
the plane in order to check out how it looked. I have to
admit that they do excellent work and it really makes the plane
look nice. I ordered the complete Aviator package which
includes the seats with headrests, the side panels, leather side
pockets, baggage area panels, rear bulkhead panel, leather glare
shield trim and carpet.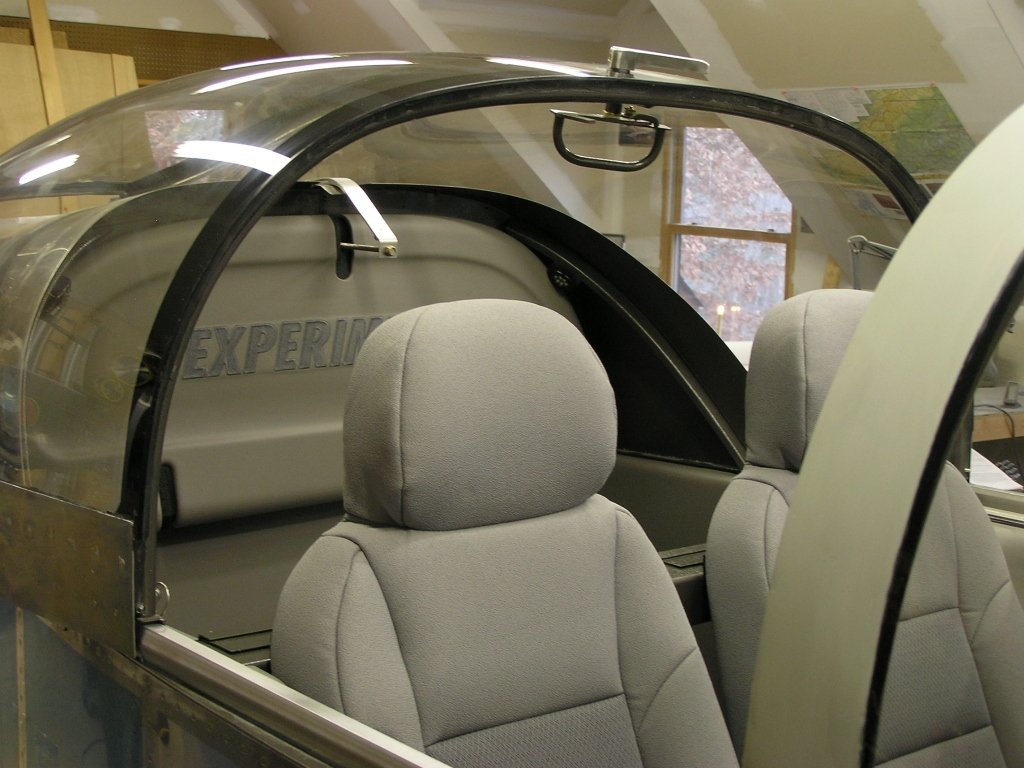 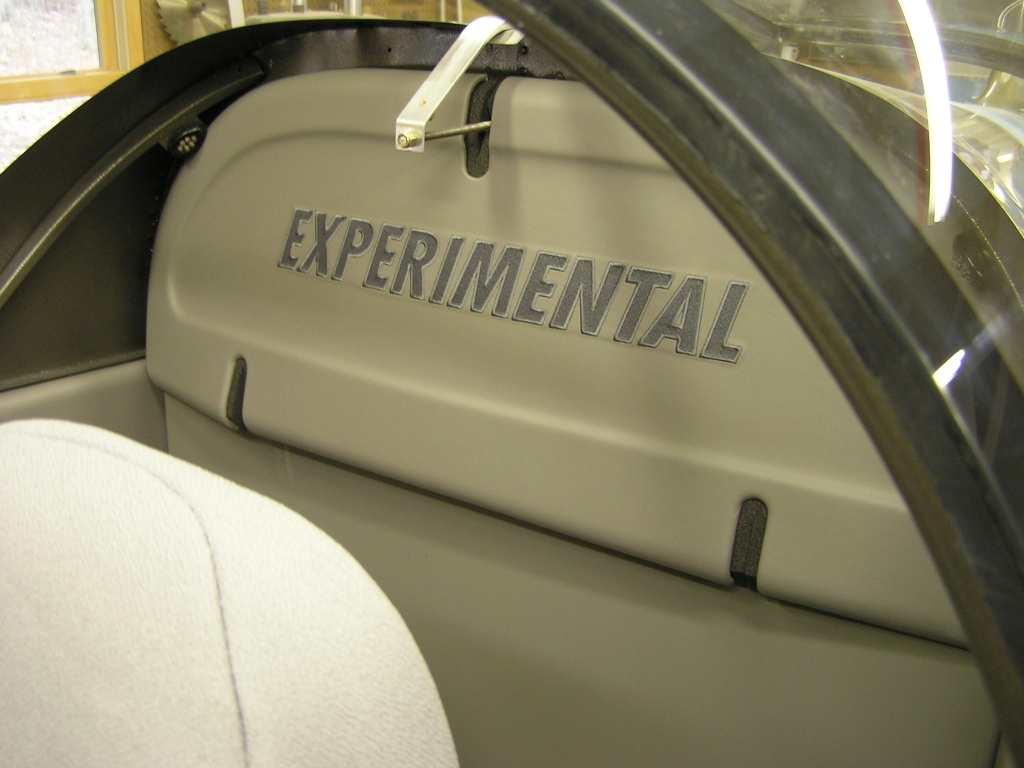 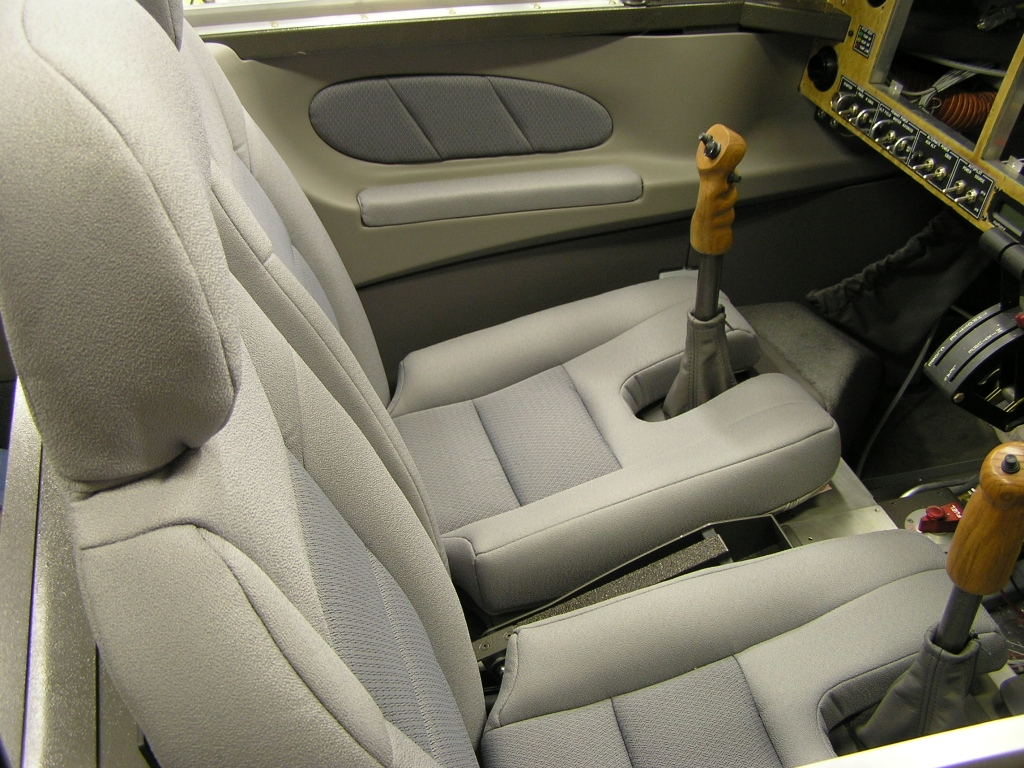 |
1.0 |
|
Total Hours this Page |
||
|
Total Hours Fuselage (as of 11/4/07) |
||
| Next: Canopy |


Copyright ©2005-08
Hosted by NTI Networks