
Home
Shop
Tools
Empennage
Wings
Fuselage
Panel
Veneering the Panel
Sealing the Panel
EFIS Tray Install
Back-Lighting the Panel
Installing Avionics Trays
Throttle Quadrant
Installed the Avionics
Firewall Forward
Canopy
Wiring
Engine
Miscellaneous
Avionics (Panel)
|
Date |
Description of Task | Hours |
| 2/22/08 | Placed my order for the wiring harnesses and trays
for my intercom, GPS/Com/Nav, Com2, transponder and autopilot from Tony at
Stark Avionics.
My final decision is now set:
|
|
| 2/26/08 | Ordered the EFIS wiring harness for the
Advanced Flight Systems
EF3500 from Tricia at AFS. |
|
| 2/27/08 | Mike Behnke has been gracious enough to lay out
my panel design in TurboCad and has put up with my many,
many...., many design modifications. Here is an "almost
final" design.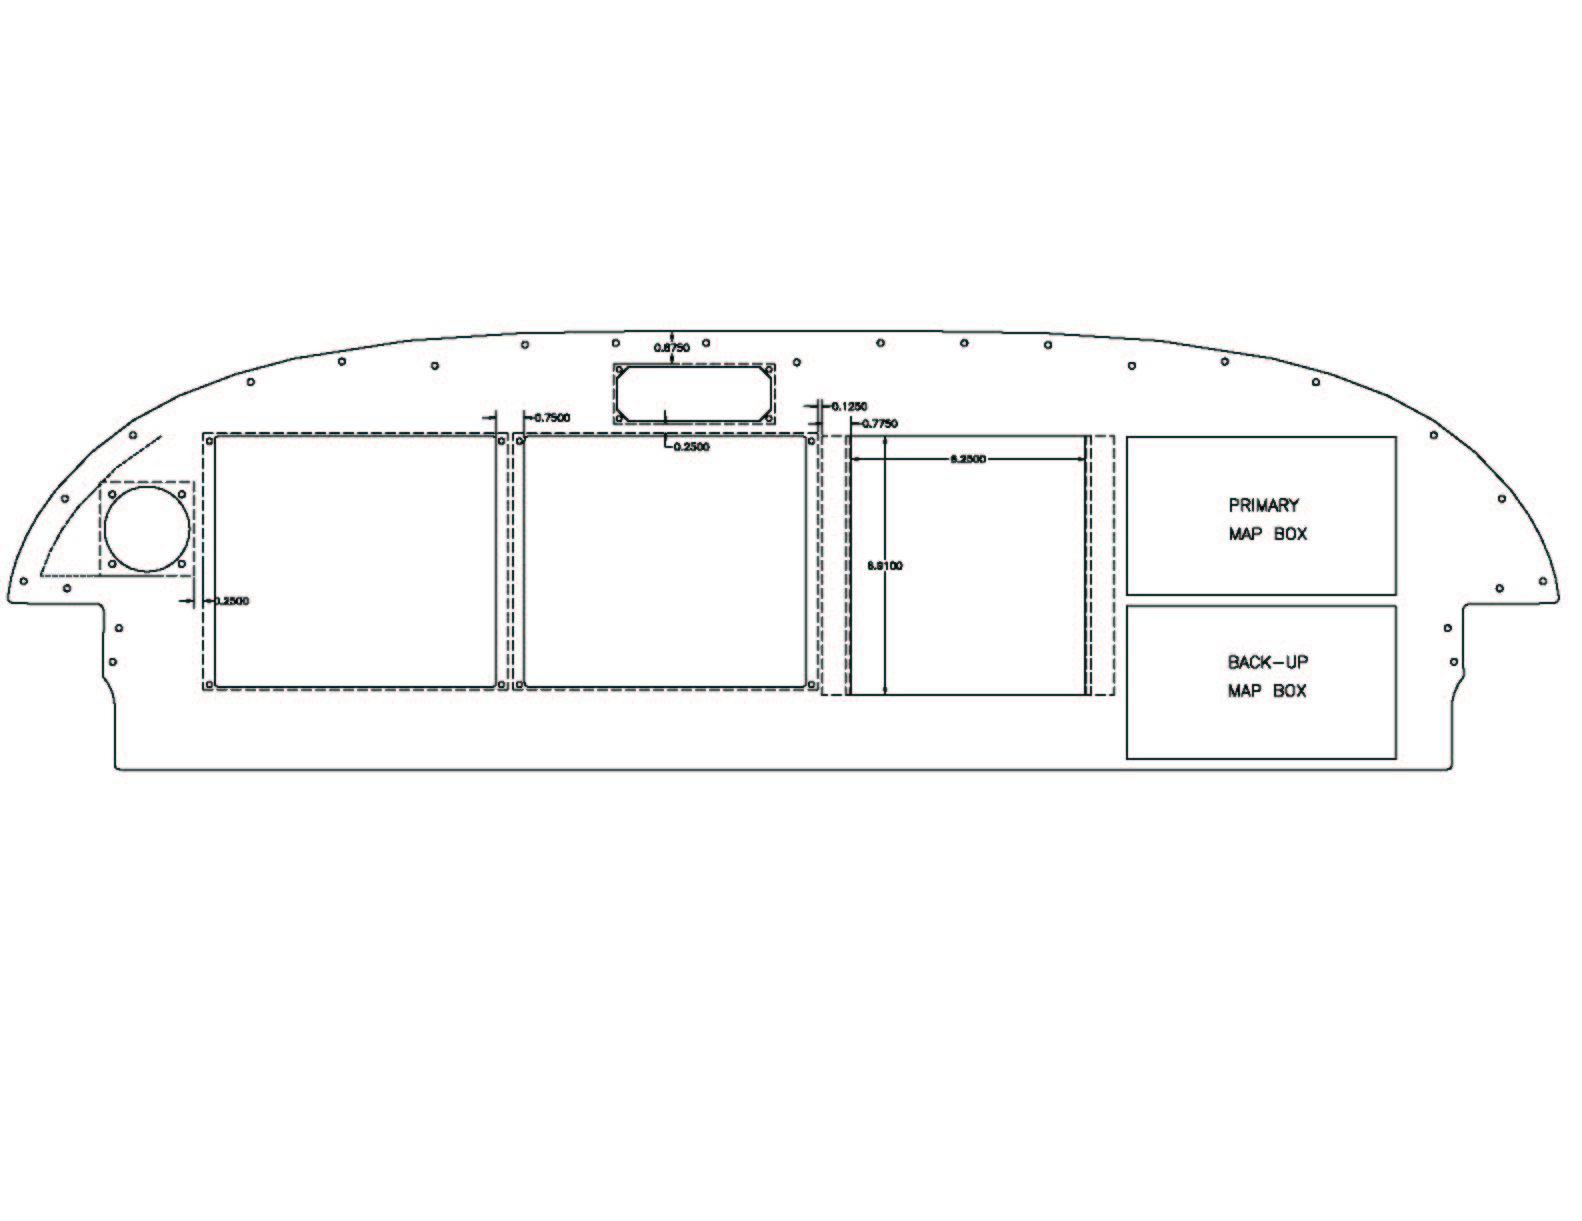 |
.5 |
| 3/2/08 | One thing I have learned in this project is to
never say "final" until the thing is flying. However,
today Mike and I collaborated on a "very close to final"
version. All we need to do is switch some switches around..jpg)
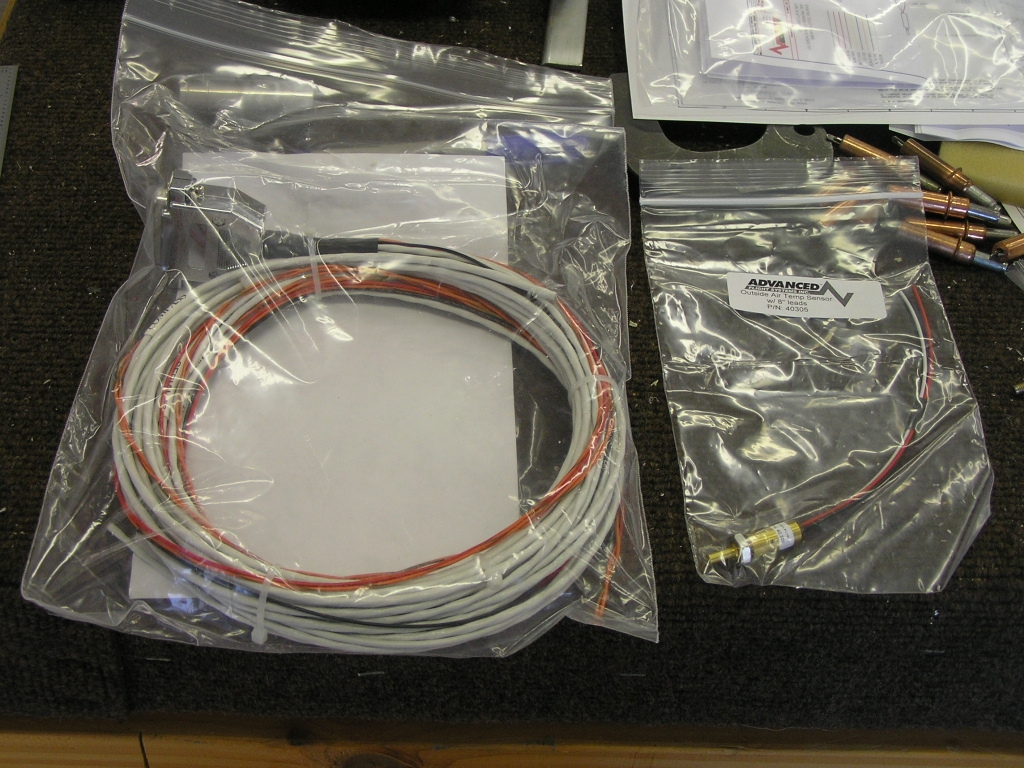
I also received my EFIS main wiring harness and OAT probe from
AFS. |
.5 |
| 3/10/08 | Today I received my switch guards I ordered from
Eric at Perihelion Design.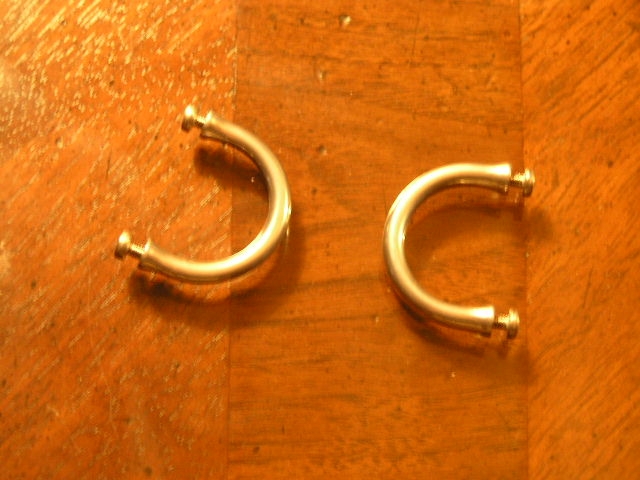 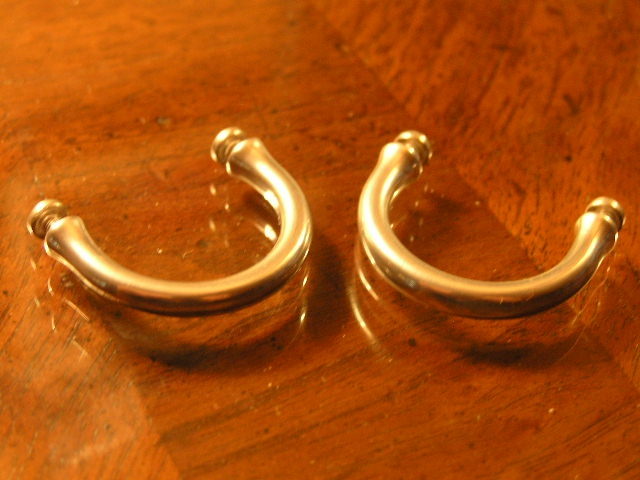 |
|
| 3/12/08 | I received my avionics trays today from Tony at
Stark Avionics. I wanted the trays early so I could get
the exact measurements for the panel cut-out.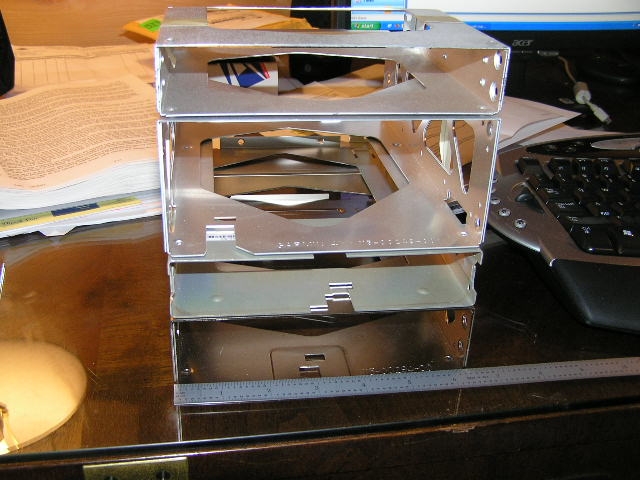 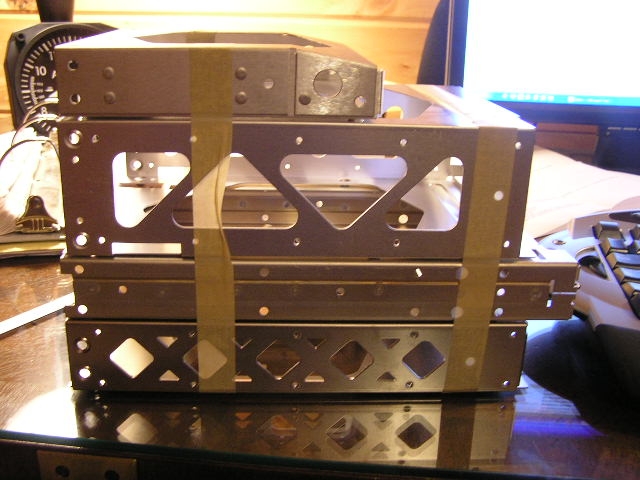
The goal is to get the exact measurements... |
|
| 4/26/08 | Ok, here is the absolute final version... Sorry
for the poor resolution. I sent the file to Jim Wright for
setup on his water-jet CNC cutting machine. He will be
cutting the panel out of .080" aluminum.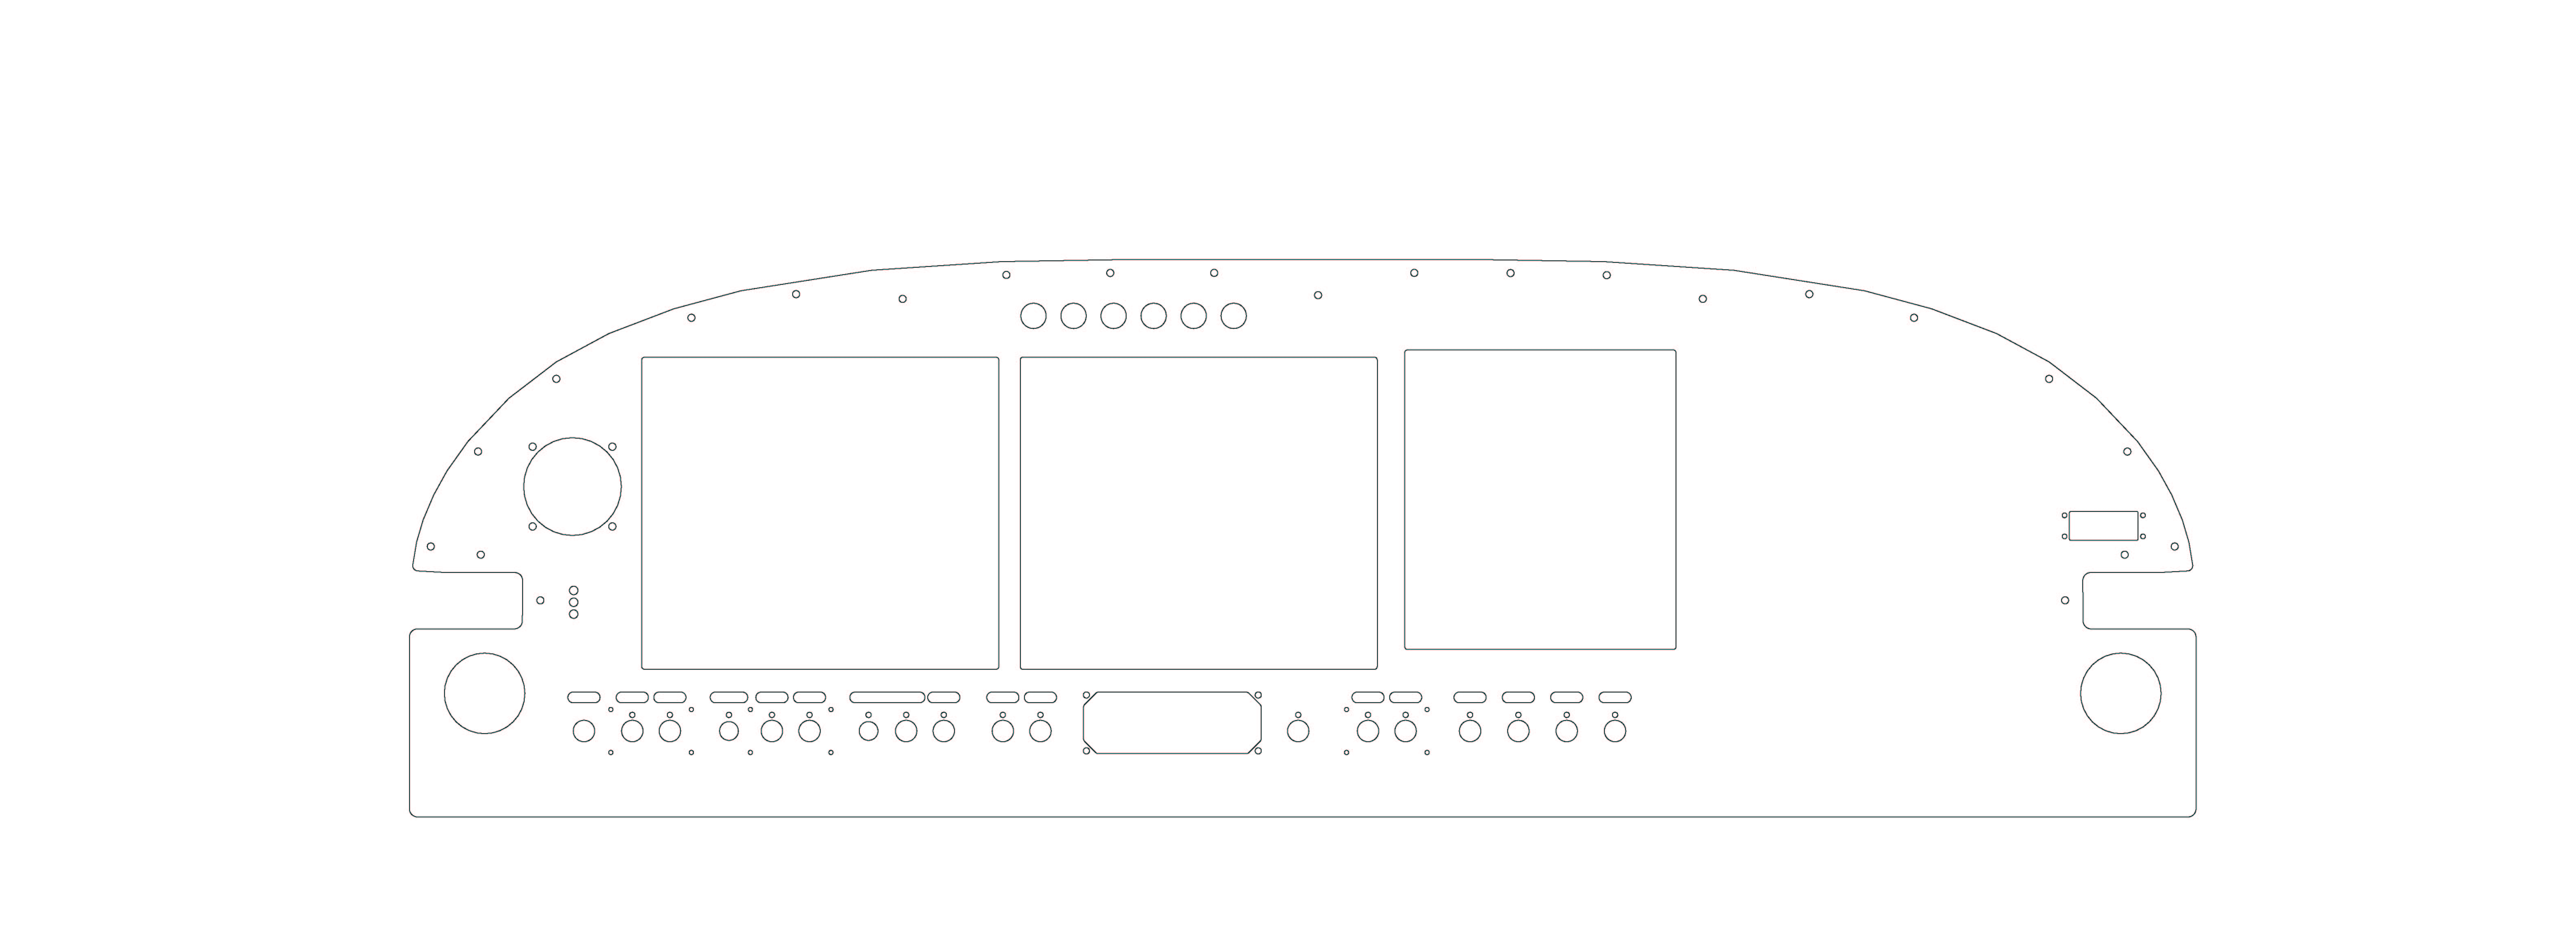
I am also sending off the CAD drawing for the switch panels to
Aircraft Engravers. They will cut and engrave the panels
for my rear lighting. |
|
| 5/22/08 | Today I received my switch labels from Wayne at
Aircraft Engravers
and they look great! I also expect to be receiving my
laser-cut panel from Jim by early next week. I will then
overlay the panel with the chestnut burl veneer, shoot it with
about 5-6 coats of clear urethane and then start installing the
switches and other components |
|
| 6/18/08 | Tonight I picked up my panel which was cut and
shipped by Jim Wright. It is absolutely beautiful. |
|
| 6/20/08 | Deburred the panel and test-fit some switches
and was pleased at the fit.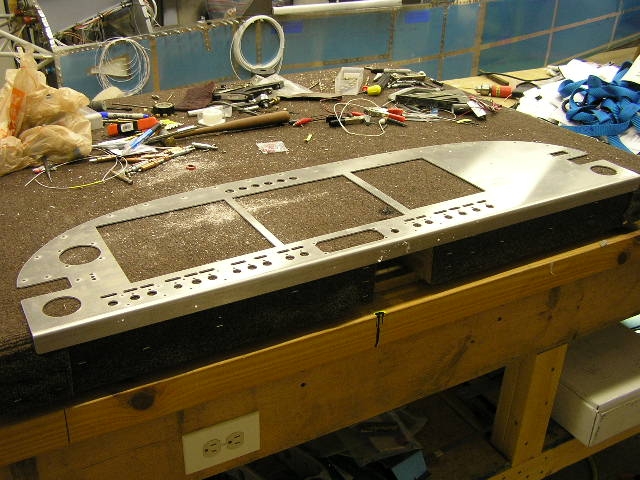 |
1.0 |
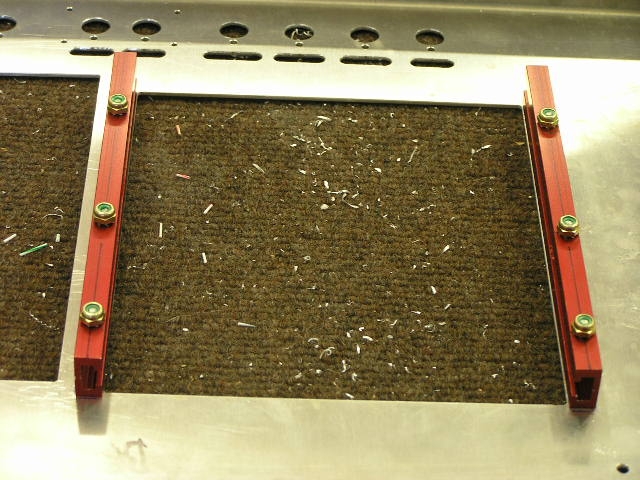
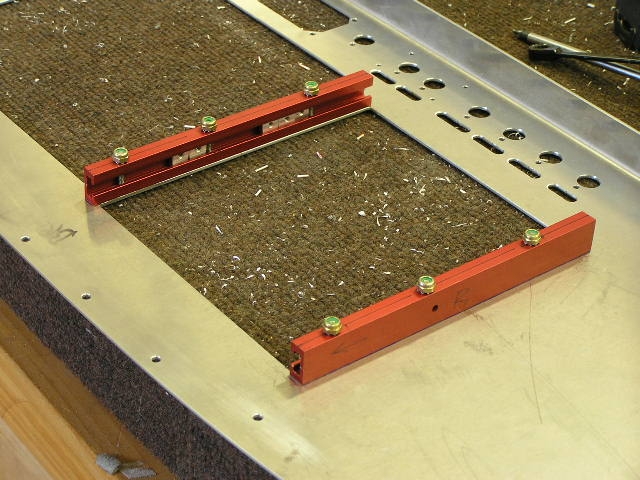
| 6/21/08 | I had to enlarge the holes for the vents with
my Dremel tool. I then worked on the avionics trays
mounting. I purchased some "U-track" from a woodworking
supply house and will make my own adjustable tray mount. I
cut the track to length and drilled it for attachment to the
panel. I then fabricated the "floating" nuts out of .125"
angle and tapped them for 6-32 screws.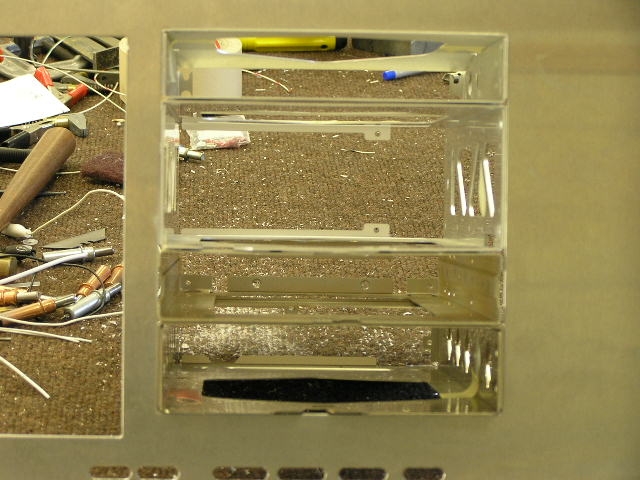 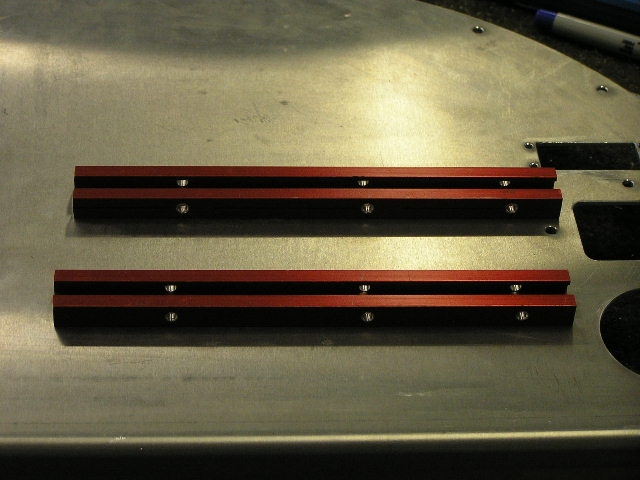 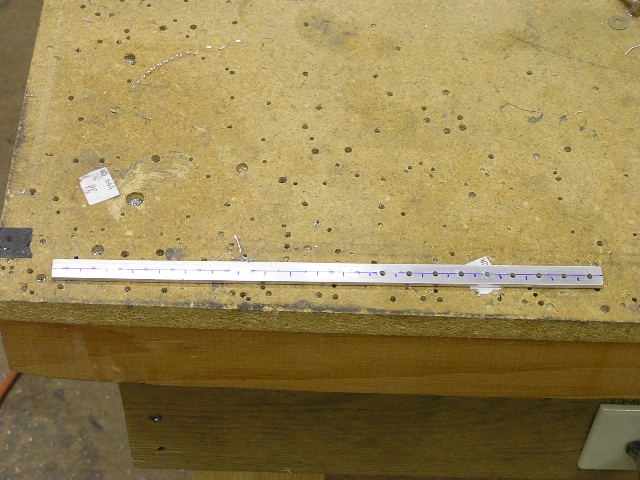 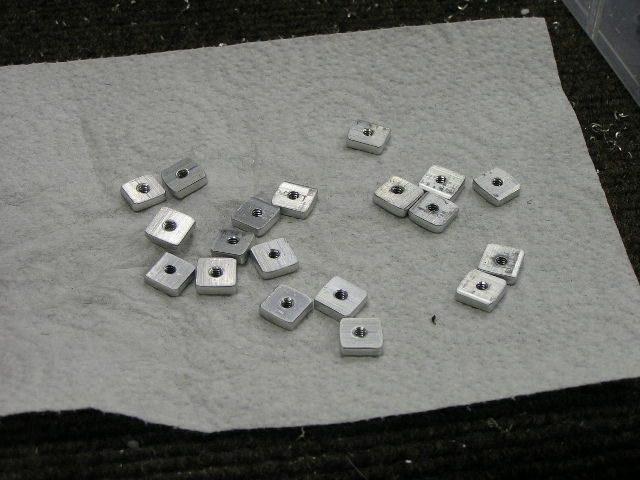
Next, I fabricated the F-793 angles that support the panel
outside the air vents. I then riveted the platenuts and
finally riveted the angles to the fuselage. |
4.0 |
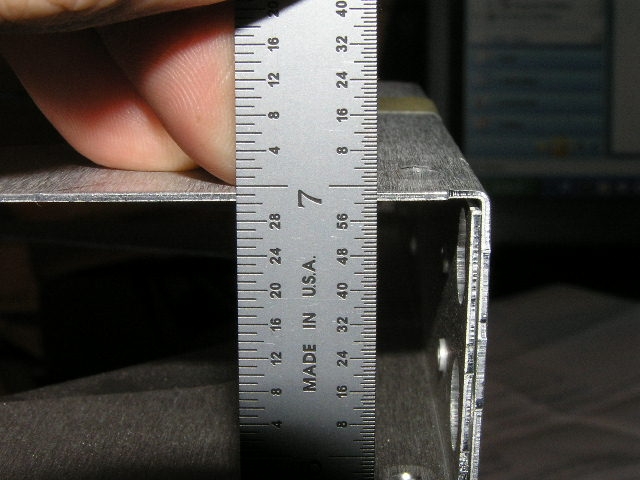
| 6/28/08 |
Today I cut out the subpanel for the avionics trays. I
temporarily installed the panel blank and used a speed square
and a short ruler to extend the lines from the panel opening to
where the trays would hit the subpanel. After marking the
lines I used my Dremel tool with a cut-off wheel to cut out the
section. I then bent a 1/2" flange on the bottom for the
trays to ride on. After cleaning up the cut edges I have a
nice and tight opening.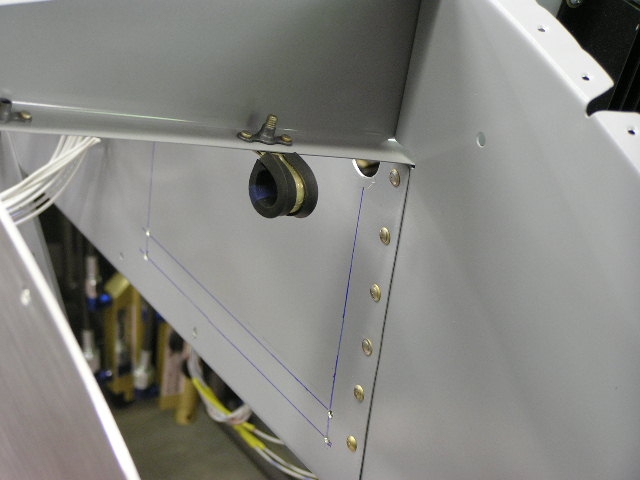 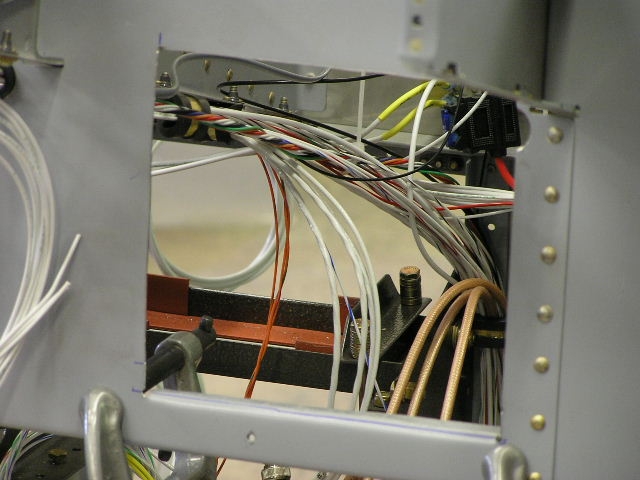  I finally received the SS 6-32x1" screws I needed to mount the avionics
trays to the panel. Tonight I veneered the panel.
Several months ago I found a couple of nice pieces of Chestnut
burl from
Certainly Wood.
These folks have the best selection of exotic wood veneers and
often have some rare species like the Chestnut burl. I was
not able to get the veneer in a wide enough piece to avoid
having to splice it. I used contact cement on the panel as
an adhesive and realized on the first attempt that I didn't have
enough adhesive to hold the burl flat. After totally
cleaning the panel I re-applied the cement and let it cure for
45 minutes. I then adhered the veneer using several
straight wires to hold the veneer off the panel until I had it
placed correctly. When veneering any burls you will have a high amount of "billowing" where the veneer expands and contracts with the contact cement. This is normal but requires quite a bit of patience to get the veneer to lay flat to the bonding surface. After getting the veneer bonded and reasonably "flat" on the
panel, I placed the entire panel in a vacuum press and set it to
cure. |
6.0 |
| 6/29/08 | I removed the panel from the vacuum
press and carefully routed out all the switch holes. 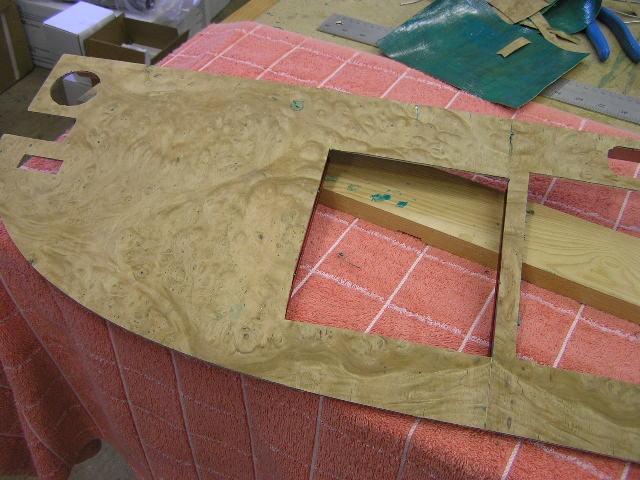 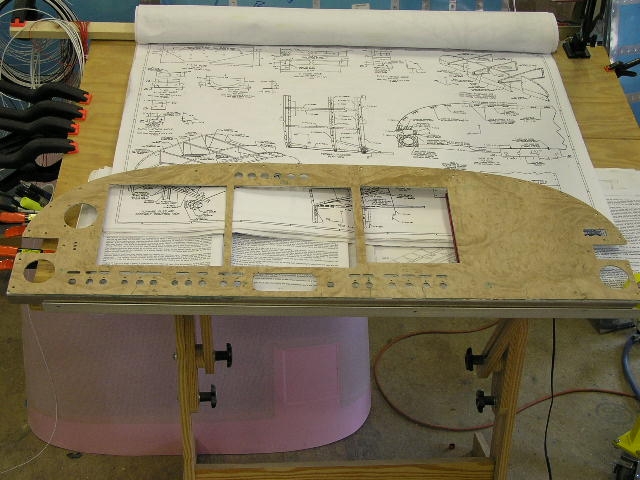 |
3.0 |
| Sealing the Panel | ||
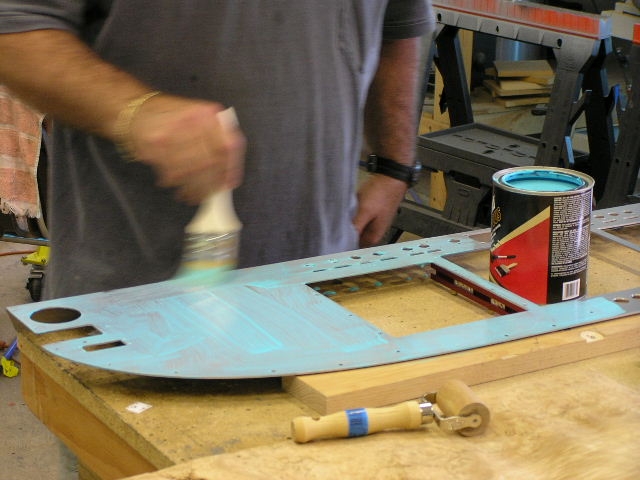
| 7/3/08 | I took today off work in order to get started
sealing the panel. I am coating the veneer with a
high-quality water-based urethane sealer. The goal is to
spray the panel, let dry (1.5-2.0 hours), then sand between each
coat with 400 grit sandpaper. Here it is after the second
coat.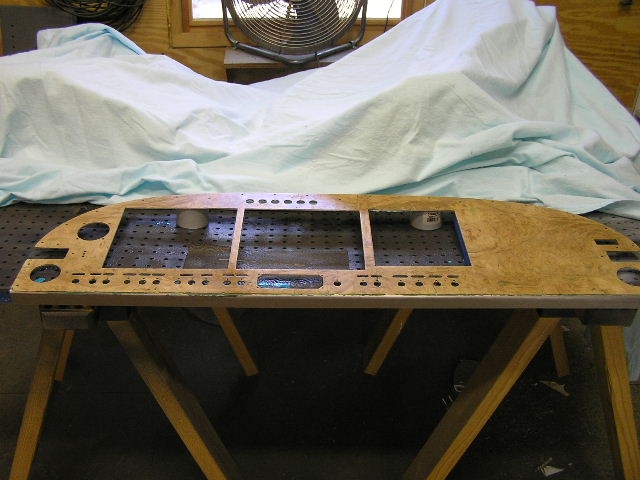
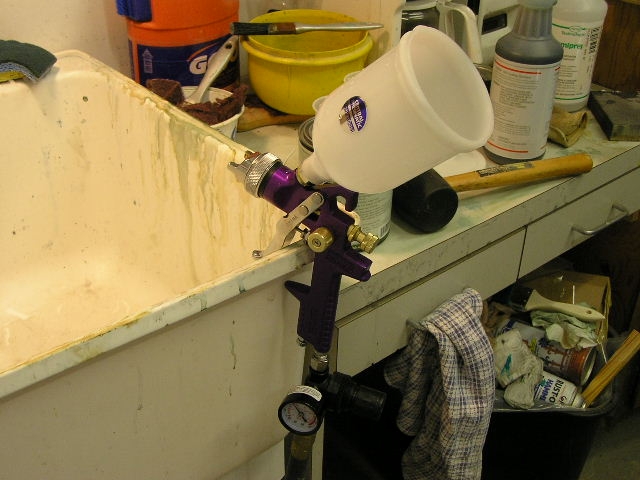
I am using a $50 HVLP spray gun I picked up at Harbor Freight.
It does a really nice job. |
8.0 |
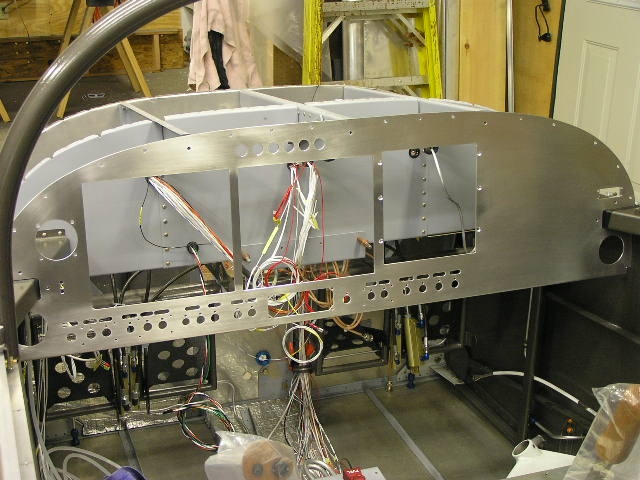
| 7/4/08 | Here is the panel after 7 coats.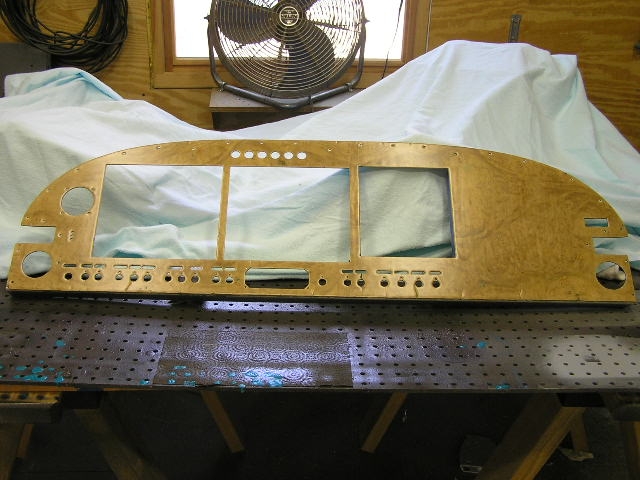
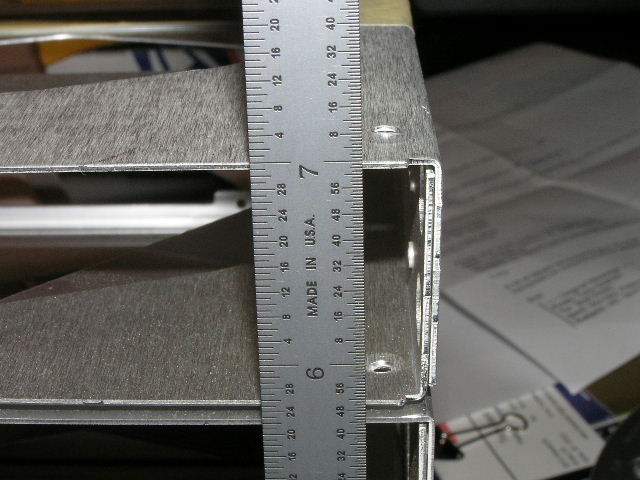
While I was letting each coat dry, I went ahead
and worked on fitting and trimming the EFIS panel installation
trays. The AFS 4500 EFIS display units I am using are
designed to slide into the panel from the front. These
trays will help attach and stabilize the units. The issue
with my panel is the 0.5" flange around each tray interferes
with several surrounding components and requires trimming in
order to make it work. Here you can see how much I had to
trim. Also, because I have already veneered my panel, I decided to epoxy the trays to the back of the panel (as opposed to riveting). I verified this technique with Rob Hickman at AFS who agreed the T-88 epoxy would be more than sufficiently strong.
I also worked on wiring which is detailed
here. |
6.0 |
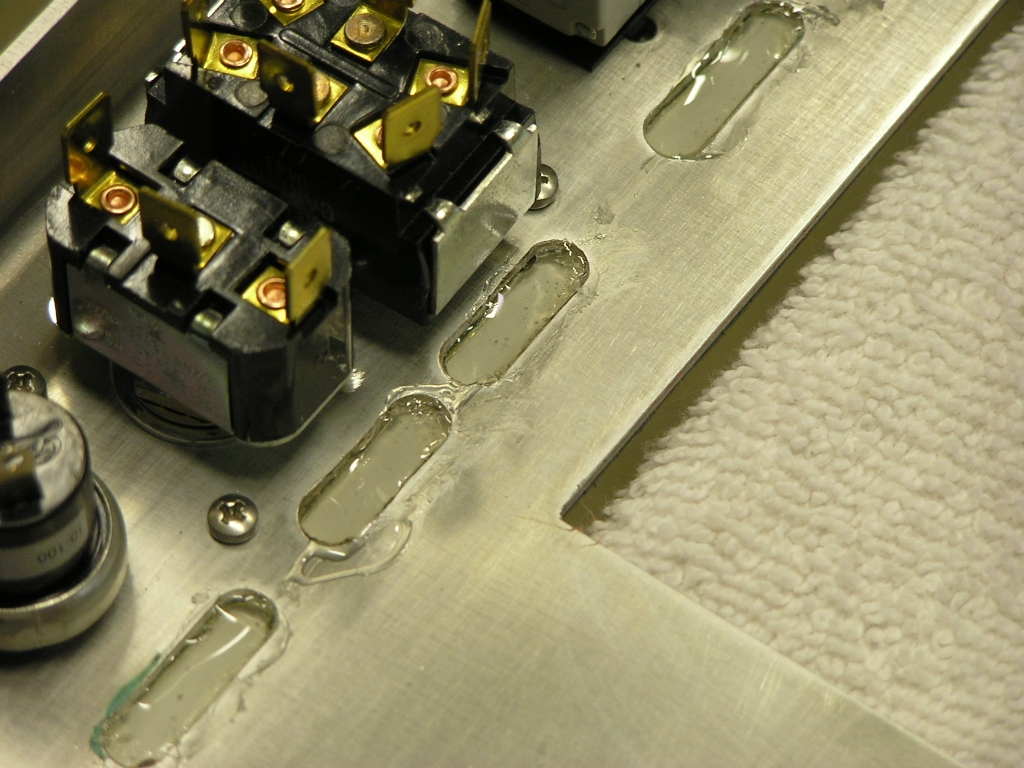
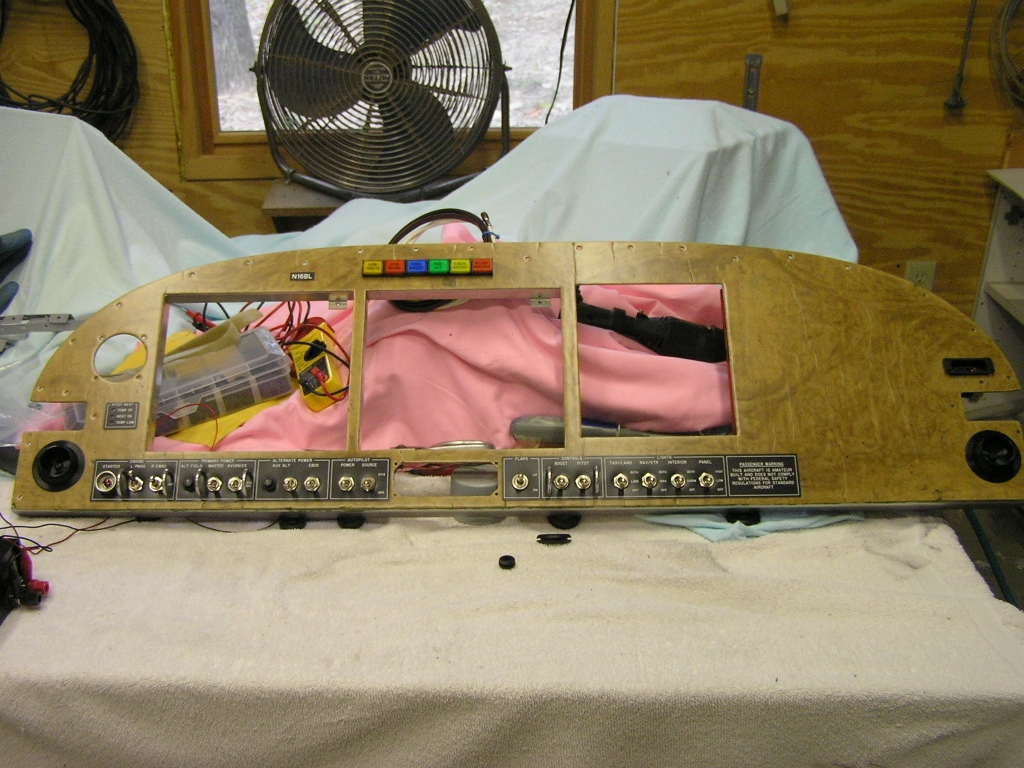
| 7/13/08 | Today I installed the
switch labels, switch guards and placards as well as the
switches and circuit breakers. I also installed my
annunciator lights.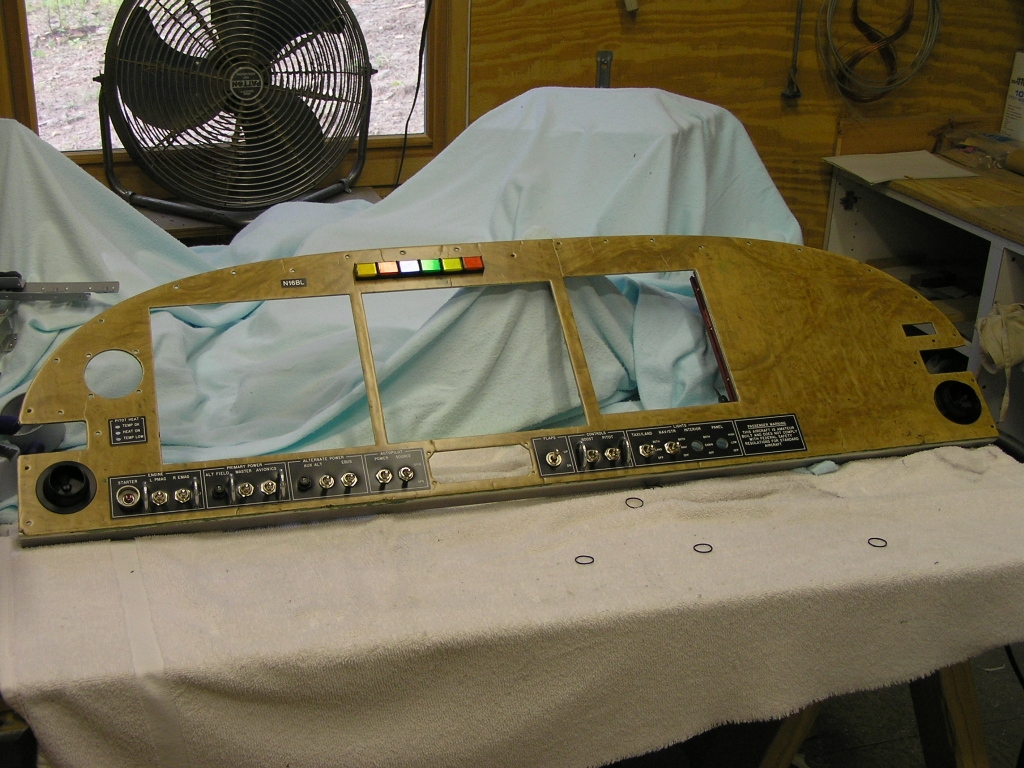 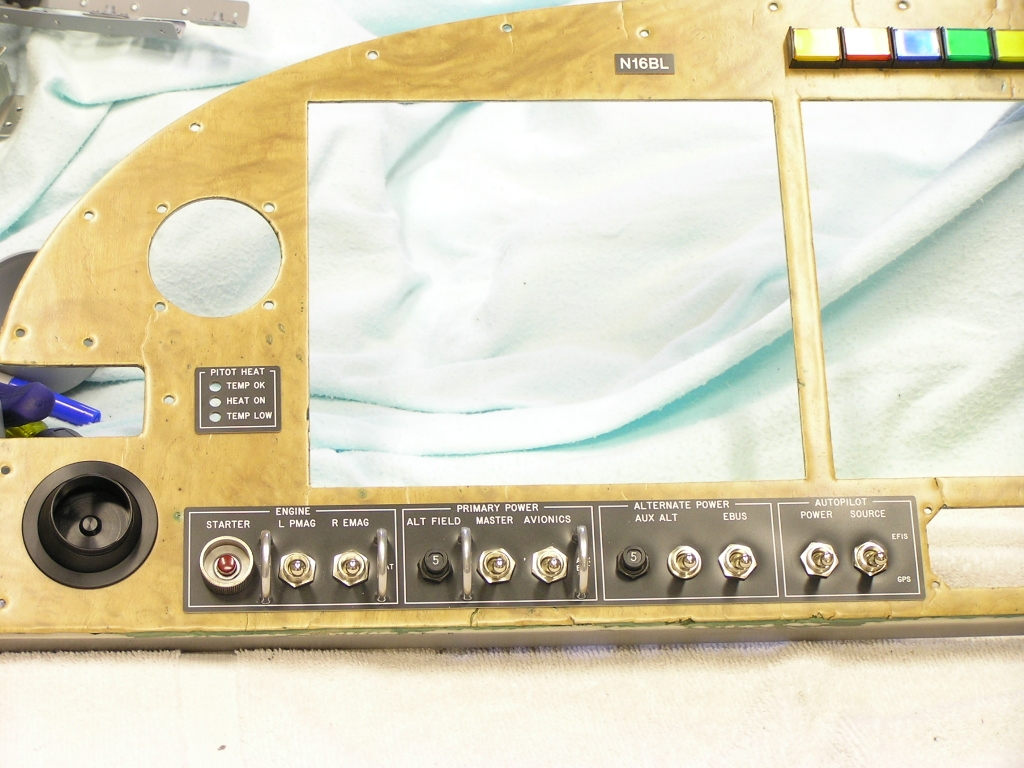
The slots I had cut in the panel for the rear lighting had the
adhesive from the placards showing and with my luck, a bunch of
bugs will get stuck here and block the light. So, I filled
the slots with E6000 clear epoxy. With everything else installed I epoxied the EFIS trays to
the back of the panel. |
4.0 |
|
Back-Lighting the Panel |
||
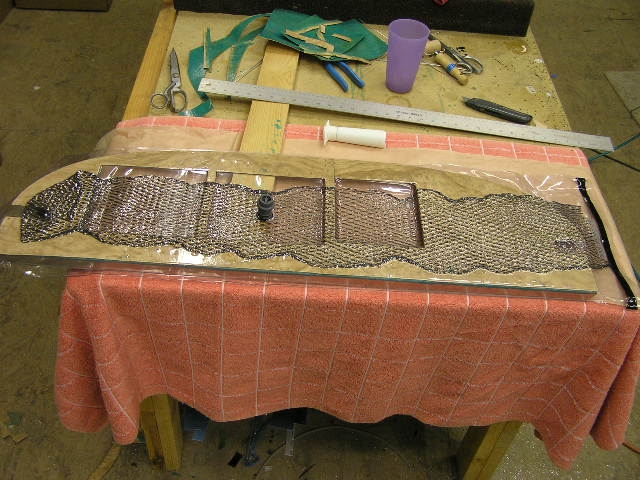
| 7/21/08 |
I spent some time fabricating some polycarbonate "C" track that
I ordered from McMaster-Carr.
The track is just wide enough for the LED strip lights to nest for the
placard lighting. After getting the length right, I
sprayed the exterior of the tracks black in order to block the
light from escaping. Then I cut the light strips to the
appropriate length and soldered wiring leads to them as well as
connected them together in parallel. After adding heat
shrink, I epoxied the light strips inside the tracks using
E-6000. After the glue dried, I placed the tracks behind the placards
and marked their proper positions. I then epoxied strips
of "hook" side of some Velcro tape in strategic locations for
attachment. |
2.0 |
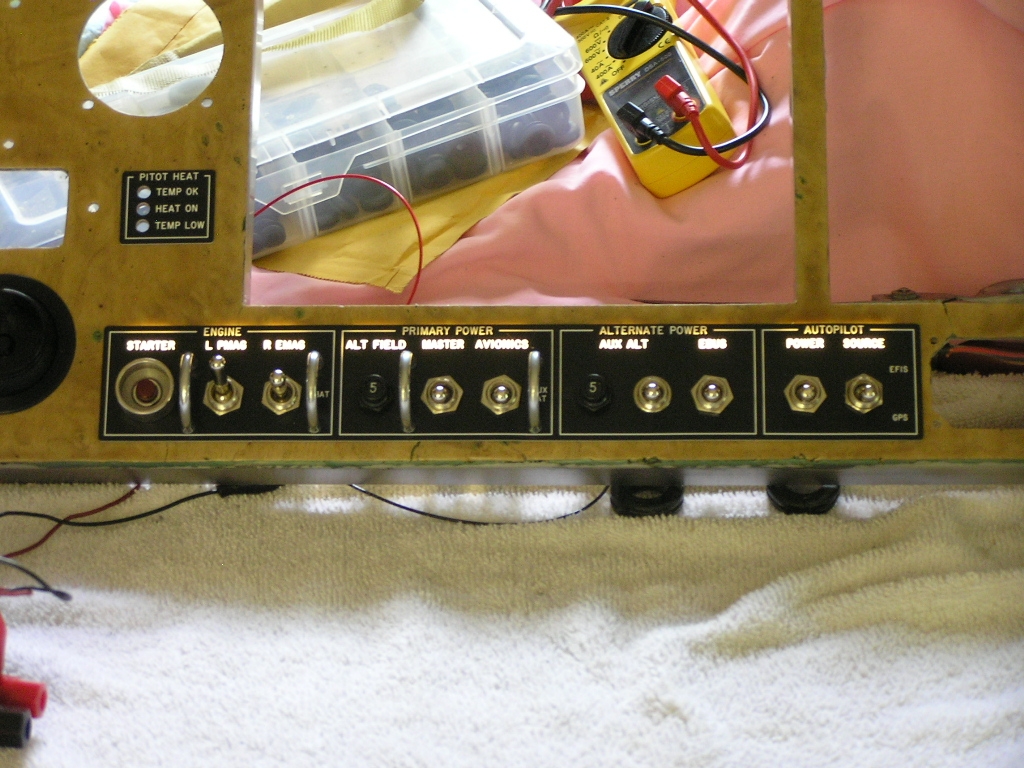
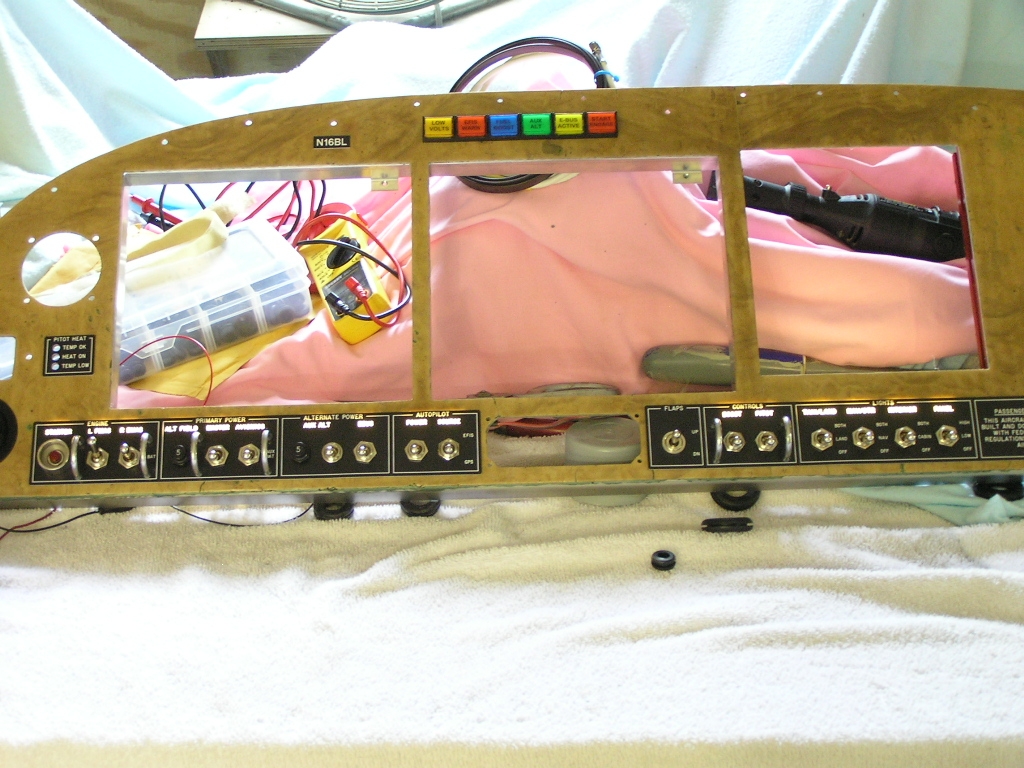
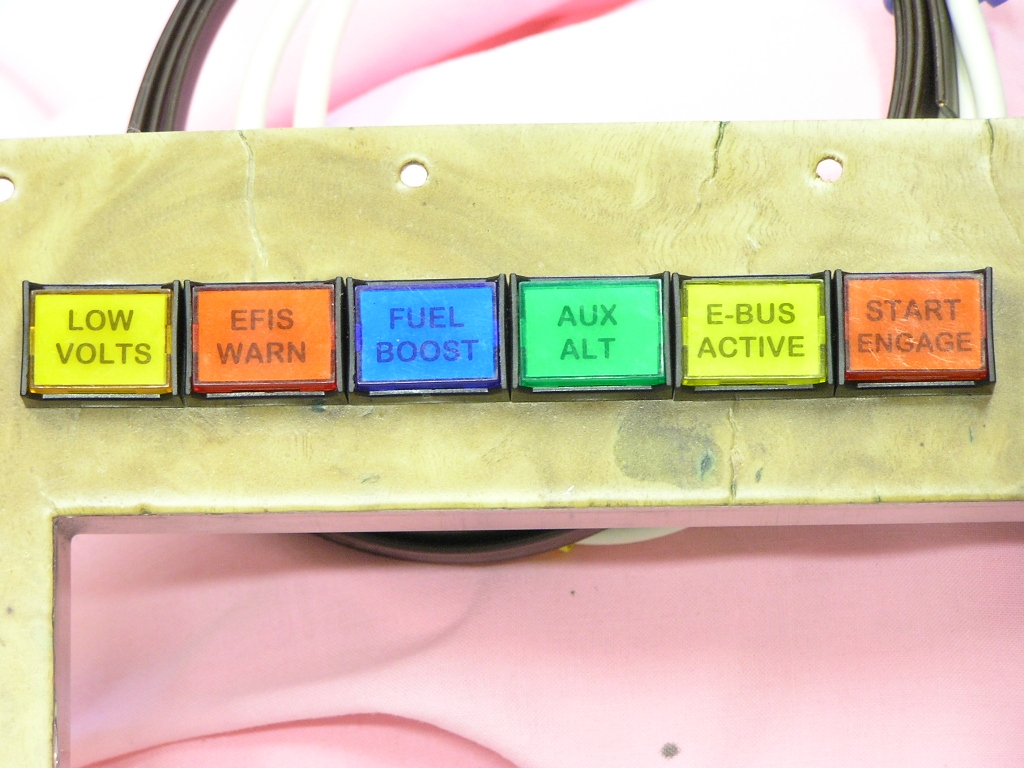
| 7/22/08 | Tonight I installed
the LED lighting strips to the rear of the panel and secured
with the "loop" side of the Velcro tape and powered the lights
to test. Perfect.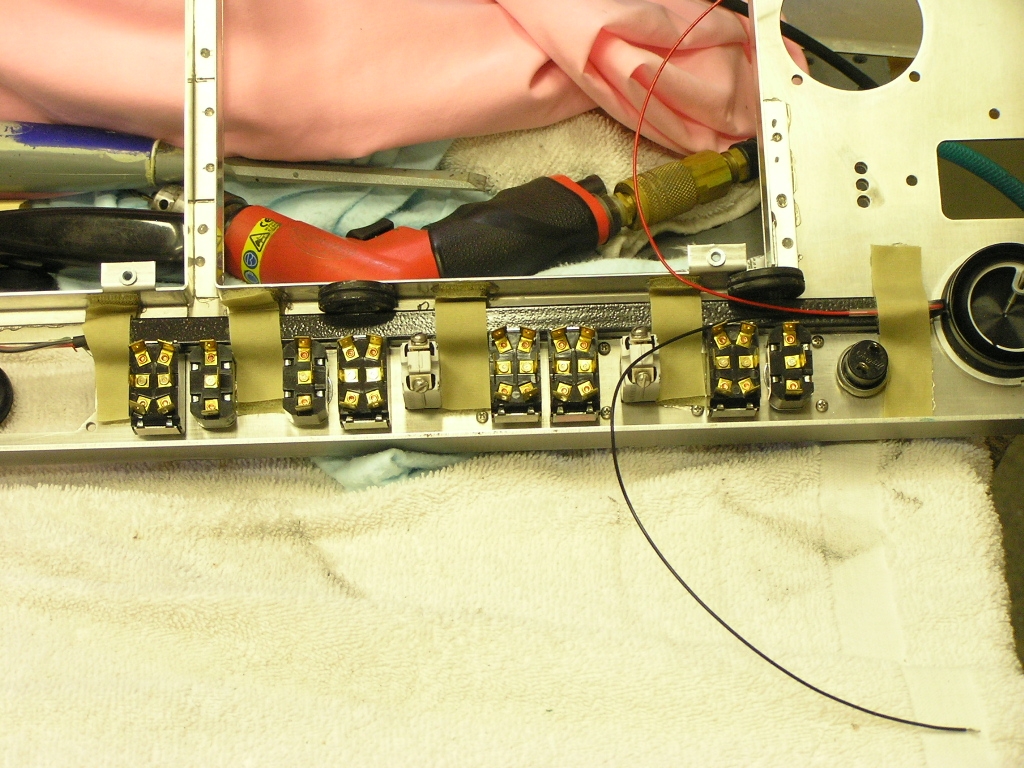 
Here is the panel with the back-lit placard. It looks
really great in the dark...trust me. My only concern is
the light intensity may bee too bright. If so, I will add
a diode to reduce the voltage. I bought some nice DPDT indicator lamps from another RV
builder and used various color lenses based on the light
purpose. I printed the switch labels on clear Avery
mailing labels. I applied the labels to the annunciator
lights. I will wire them so by pushing the individual lamp
I can "test" them. This should not be a real issue since
they are LED lamps. |
1.0 |
|
Avionics Tray Install |
||
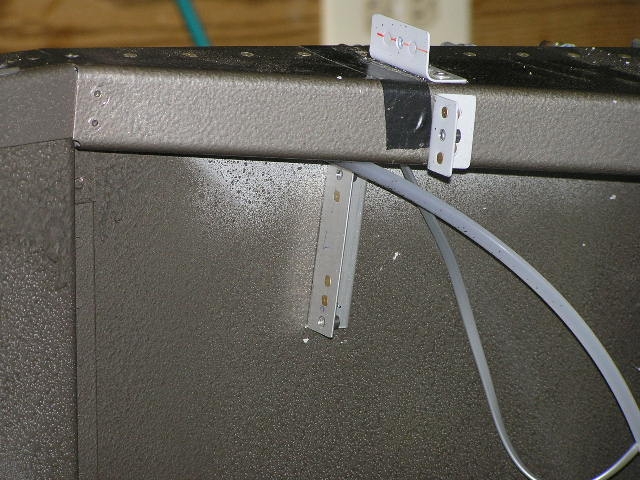
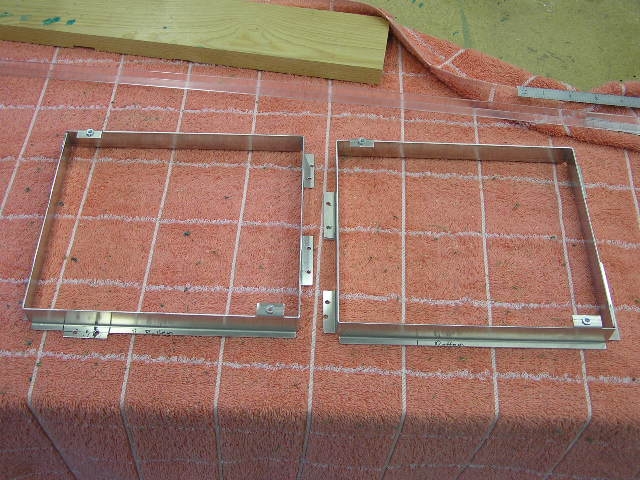
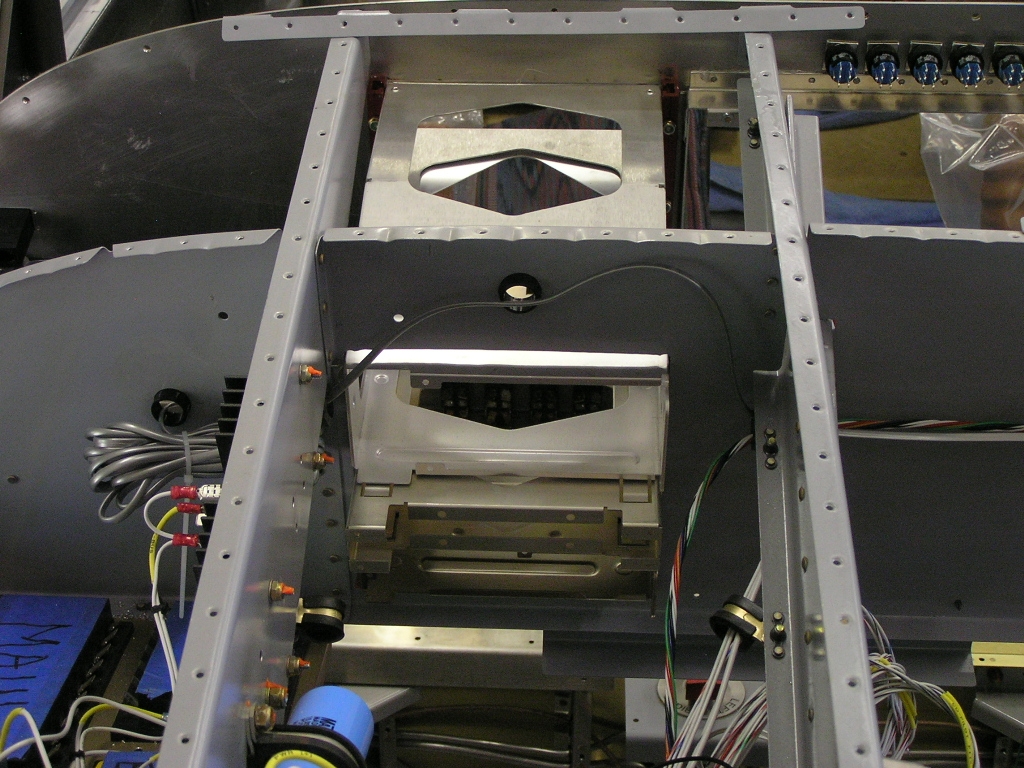
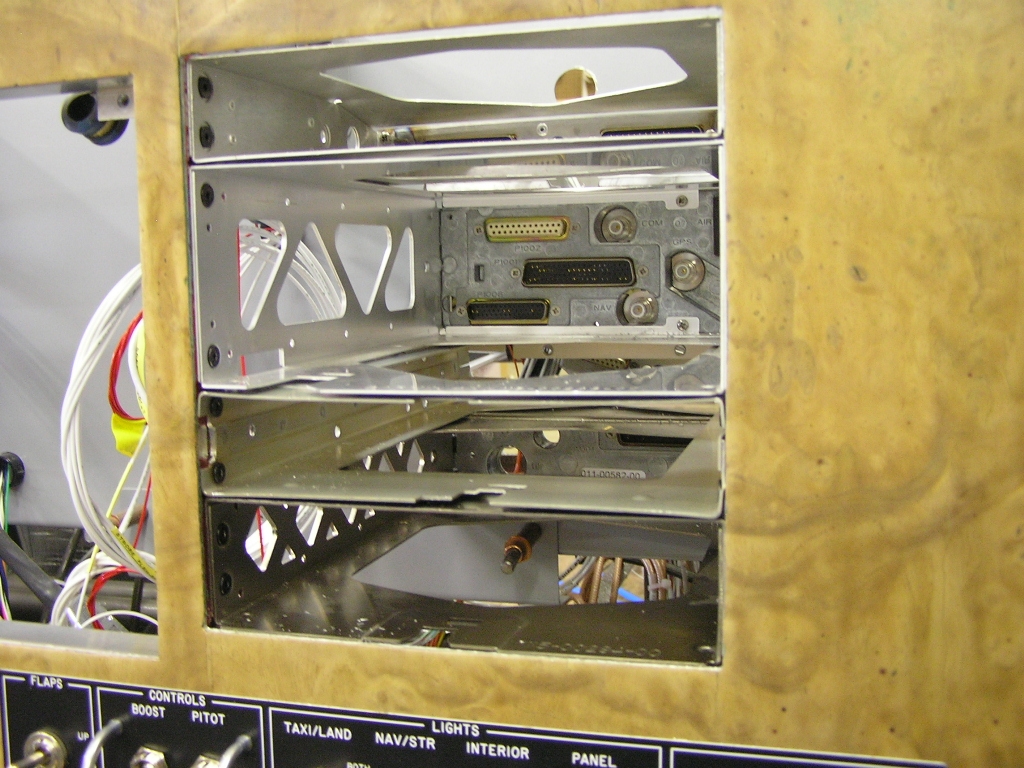
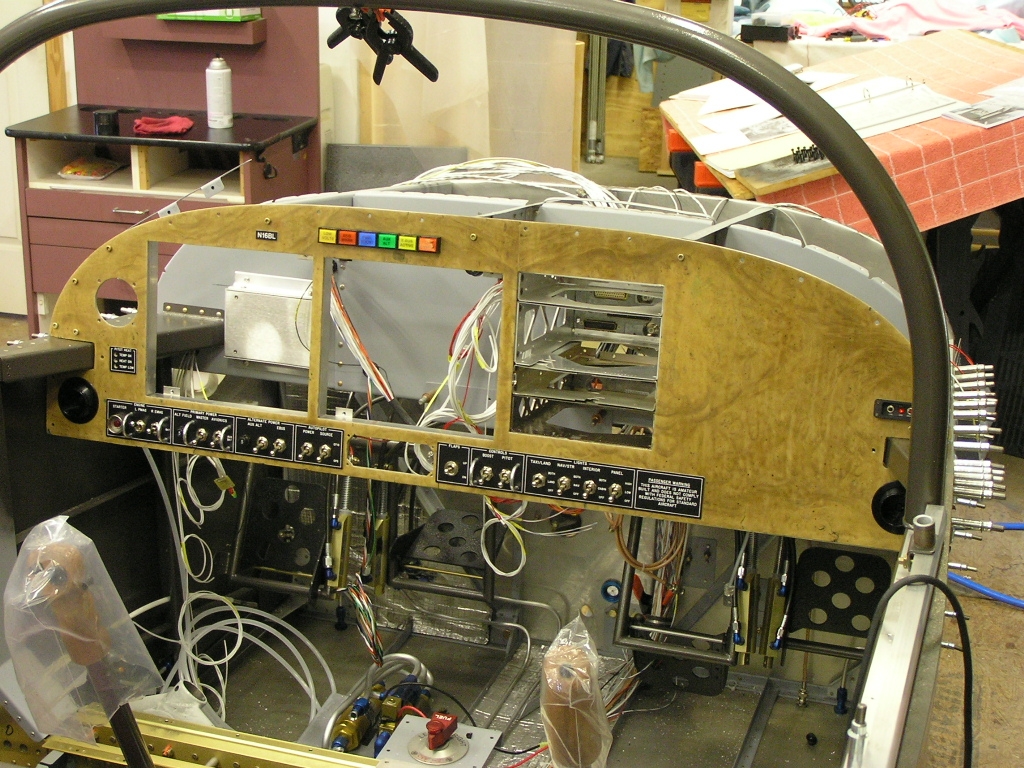
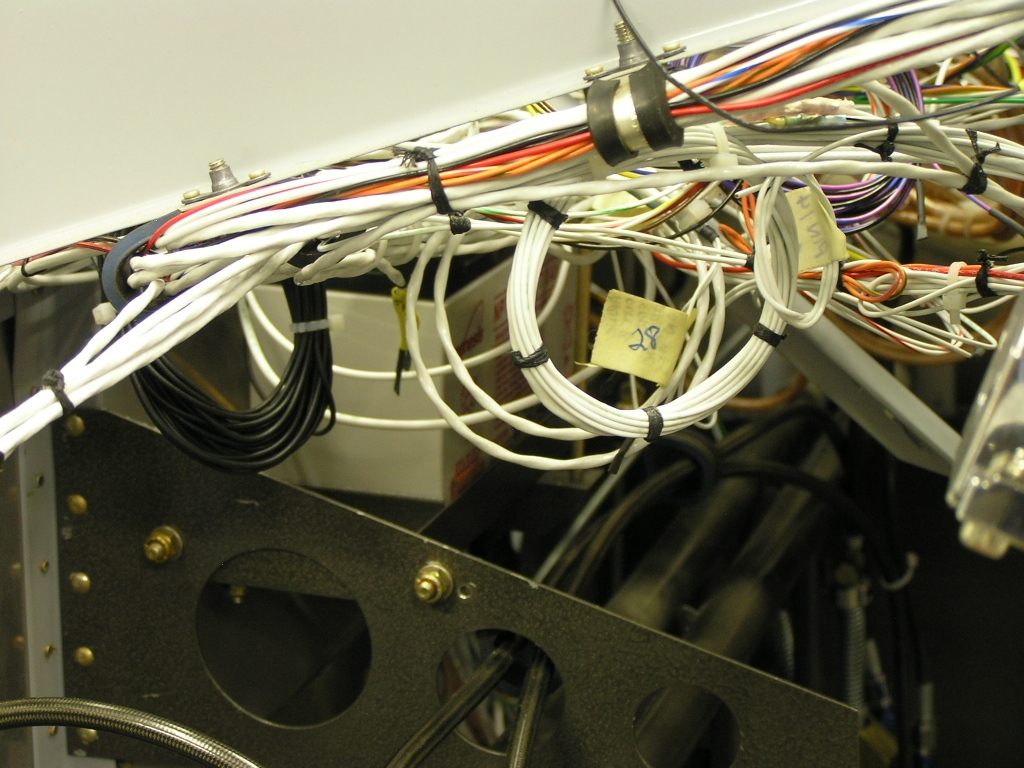
| 7/25/08 | Today I installed the
avionics trays for my panel. I fabricated a mounting
system using the "C" track I got from a woodworking store.
It would have been a LOT easier to have simply mounted the trays
using a couple of pieces of angle but this system will allow
greater flexibility should I ever change out avionics.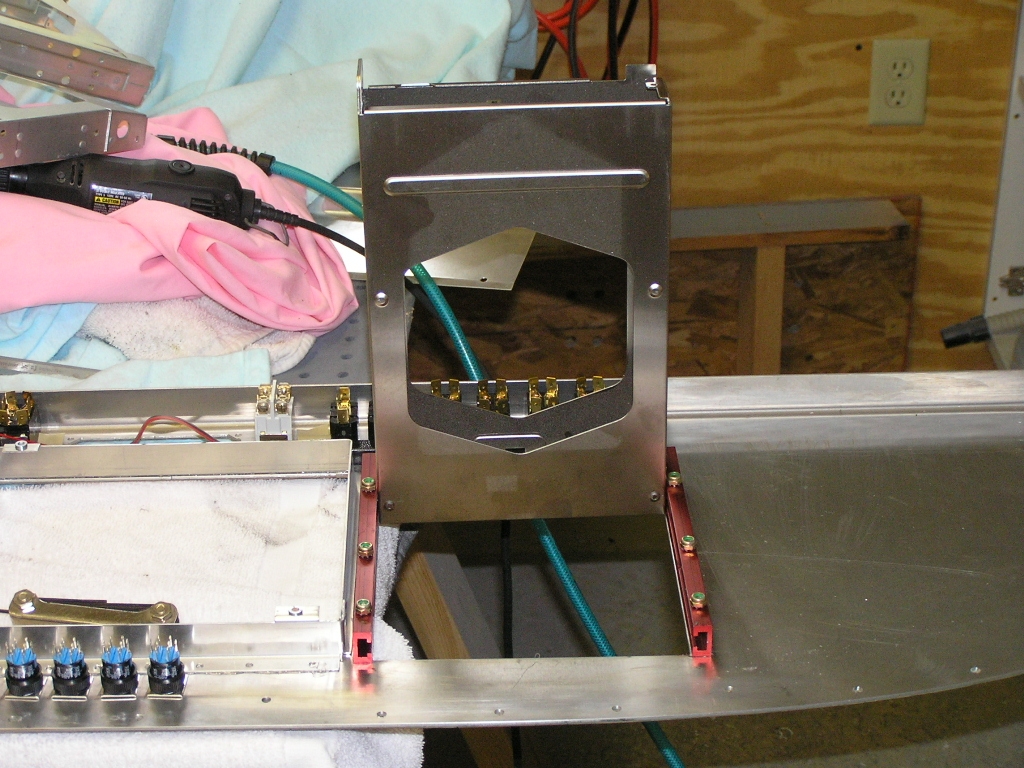 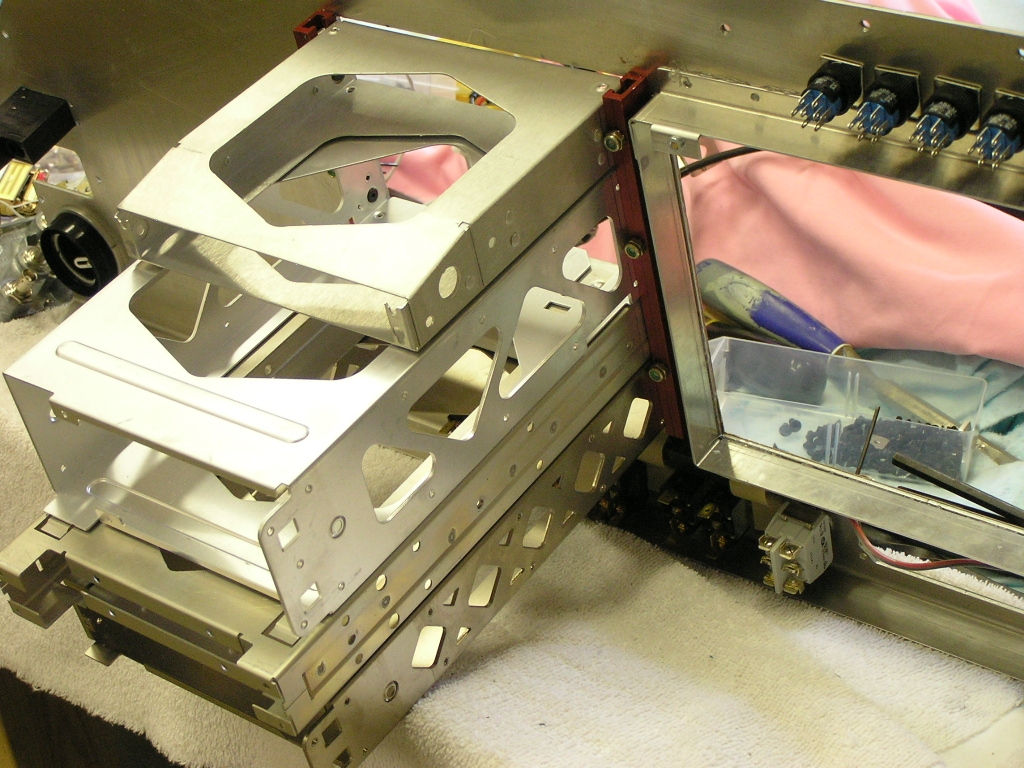 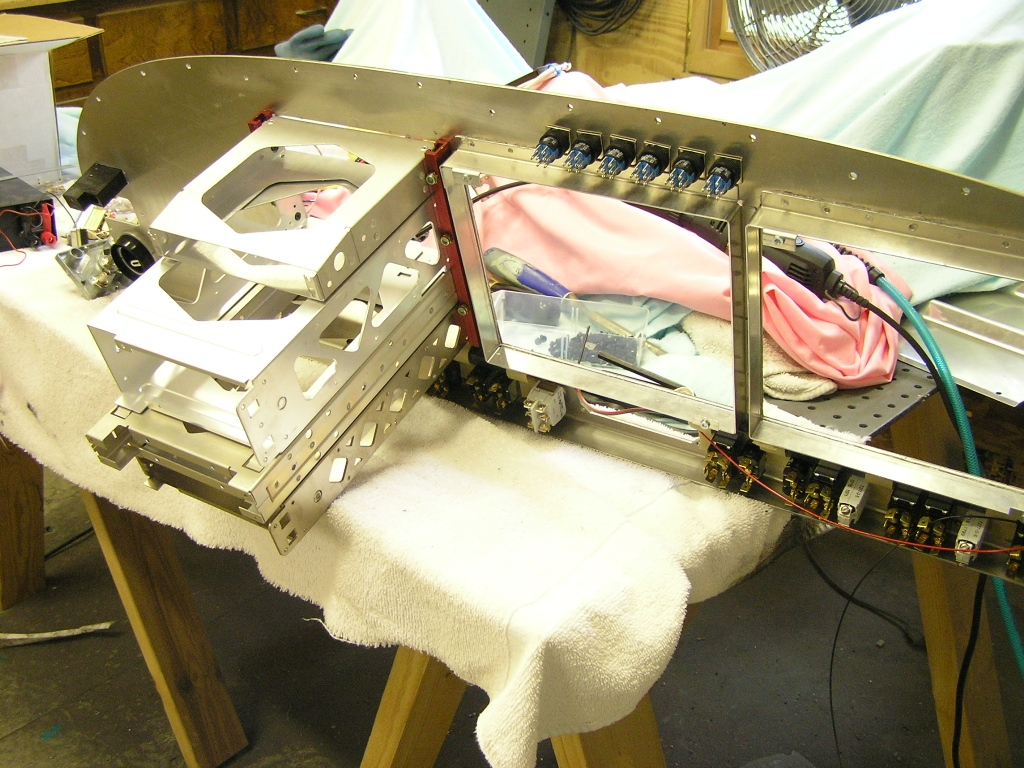
Next, I mounted the panel to the plane. Because the hole
in the subpanel was a little large at the top, I fabricated some
brackets from .075x.075 angle and mounted them in such a way
that they snugly hold the trays. Here you can see the
wires from the PMA8000B intercom. The trays were finally adjusted to be flush with the panel
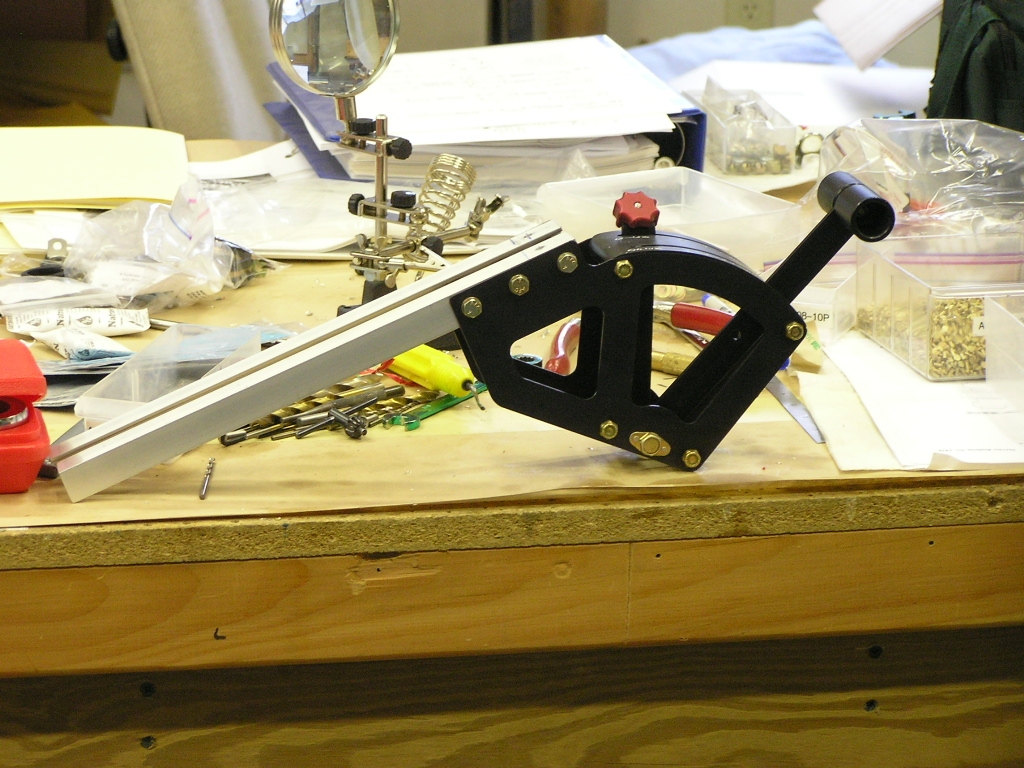
face. Throttle Quadrant Installation I had to devise a way to mount the quadrant to the panel.
I used the idea from Bill Repucci
and make the mount using .075x.075 AL angle. Because the
quadrant will sit just below the flaps switch, I have to lower
it to avoid interference. I will need to design and make a
cover for the attachment angles. |
8.0 |
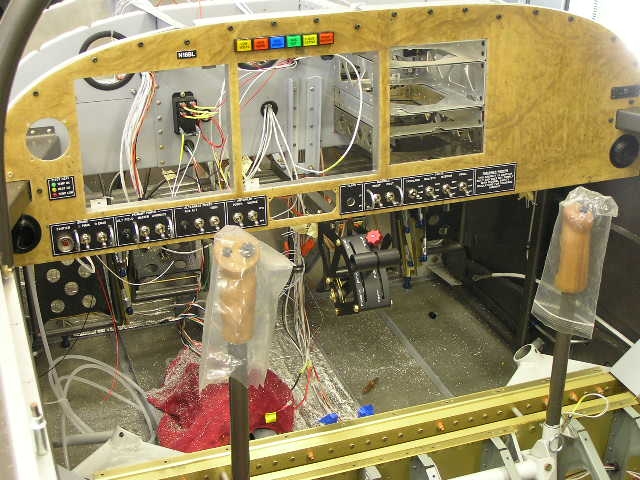
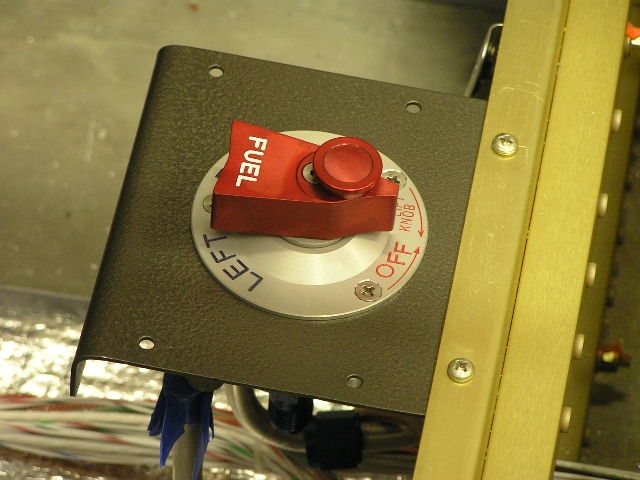
| 8/03/08 | I cut two pieces of
angle and riveted to the subpanel for support. I then
fabricated a length of angle and braced the entire structure to
the center rib. The pictures are a little hard to make out
but it is plenty solid.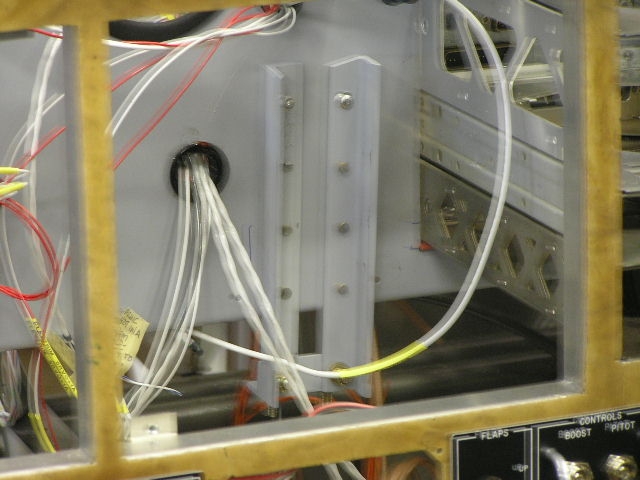 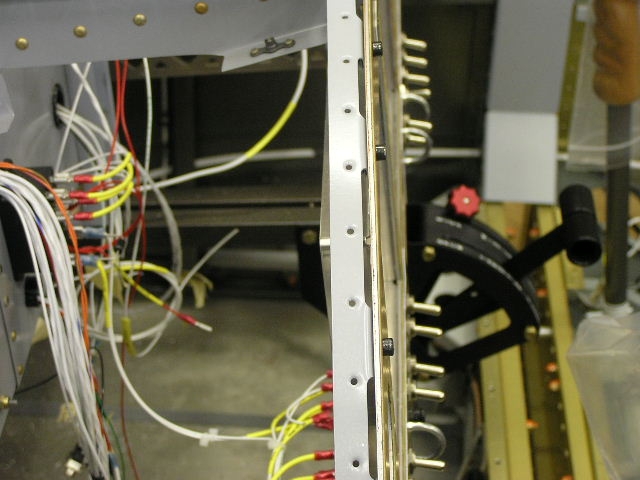 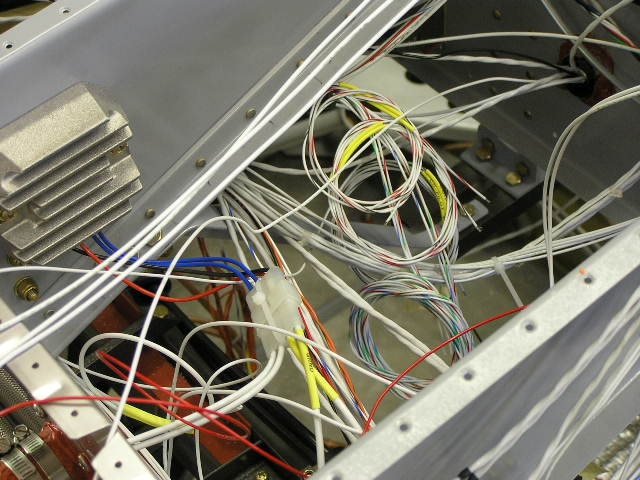 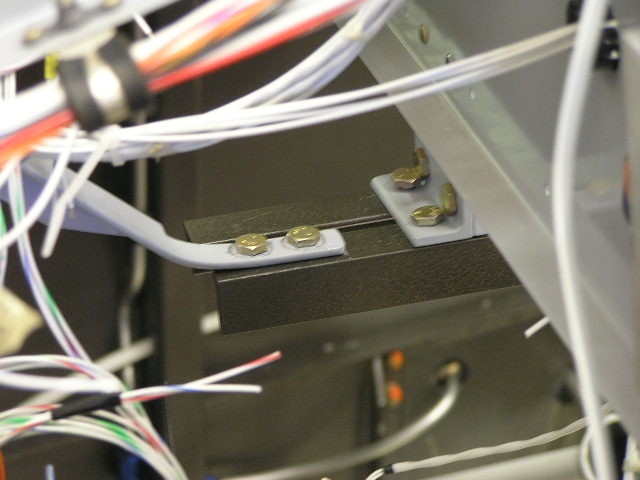
I am really pleased to have this done. I also installed
the ELT remote module on the far right side of the panel.
I went ahead and removed the fuel selector valve and painted the
cover plate. I still need to install the final fuel line
from the selector to the firewall as well as the purge return
line. |
2.0 |
| 8/15/08 | Today I fabricated the
subpanel pieces out of AL angle. There will be three
pieces with the headset jacks on the extreme left and right and
a center section which will hold the purge valve knob as well as
the power point. I decided to just drill a hole in the
panel on the far right side for the heater knob.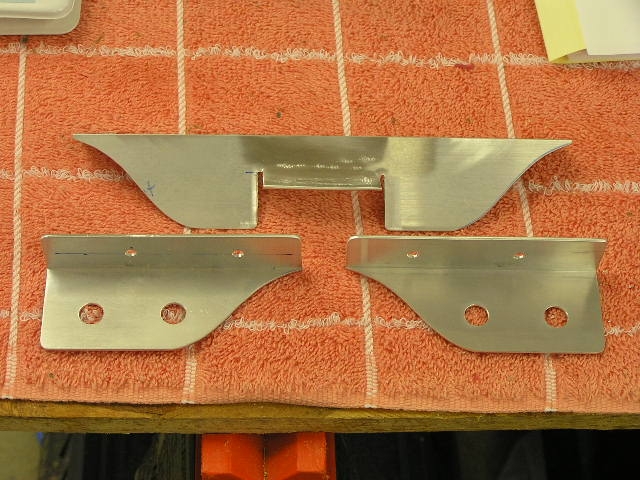 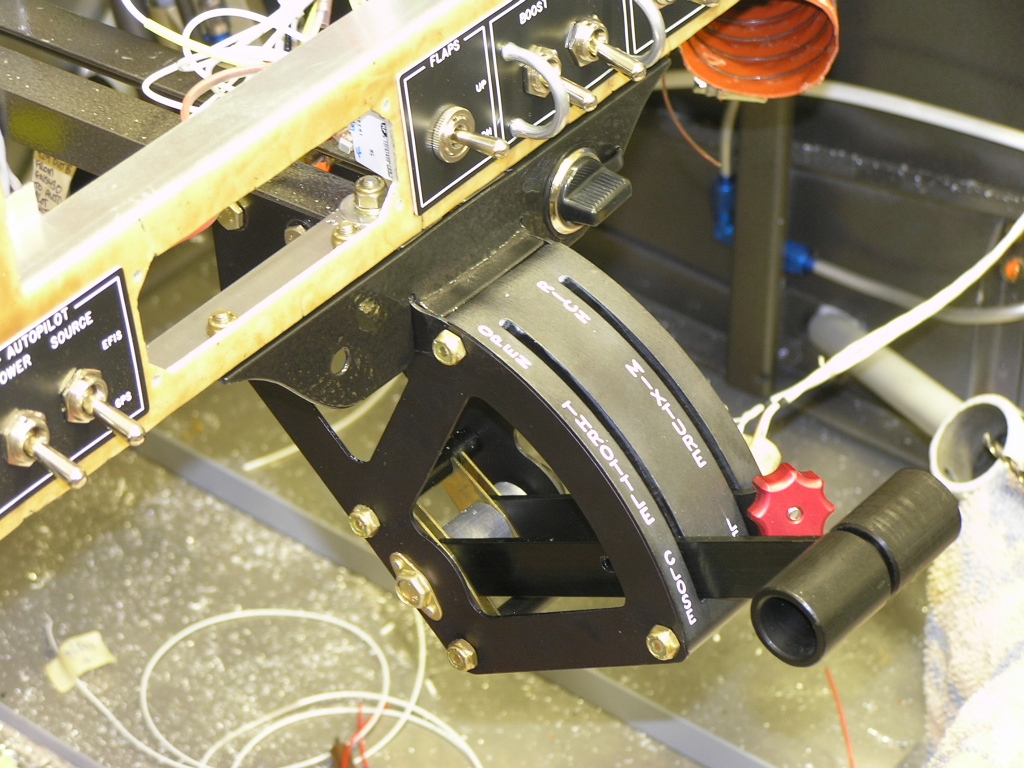   |
6.0 |
|
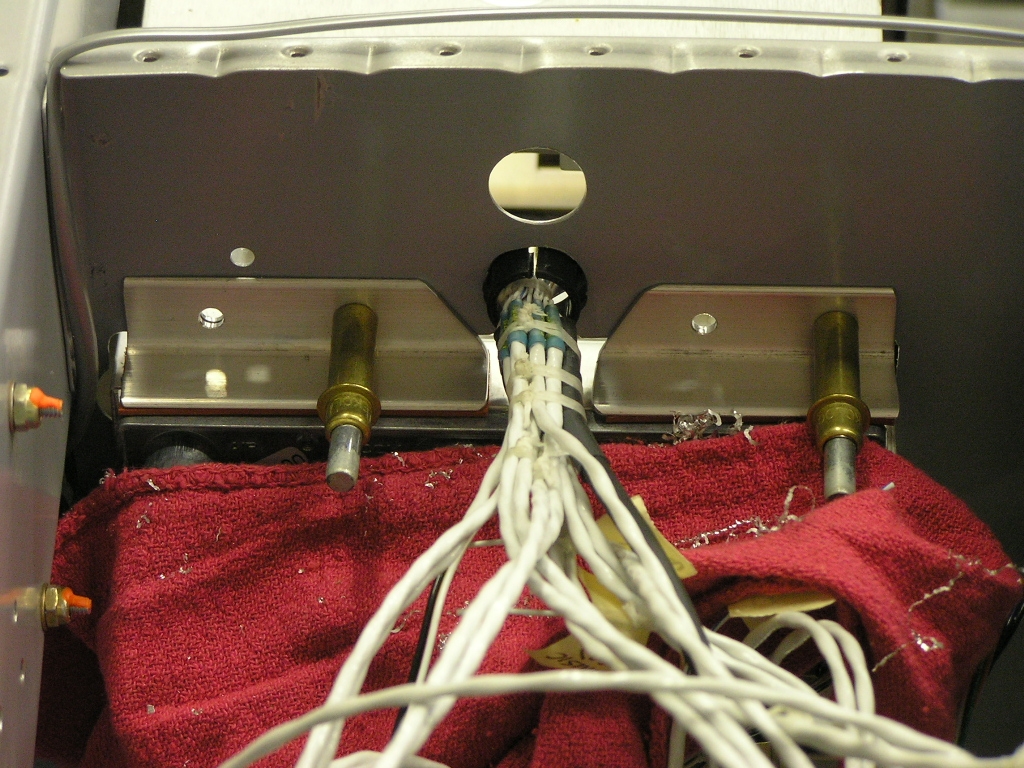
8/16/08 |
Installed the subpanel
pieces for the headset jacks as well as the purge valve and
power port. |
2.0 |
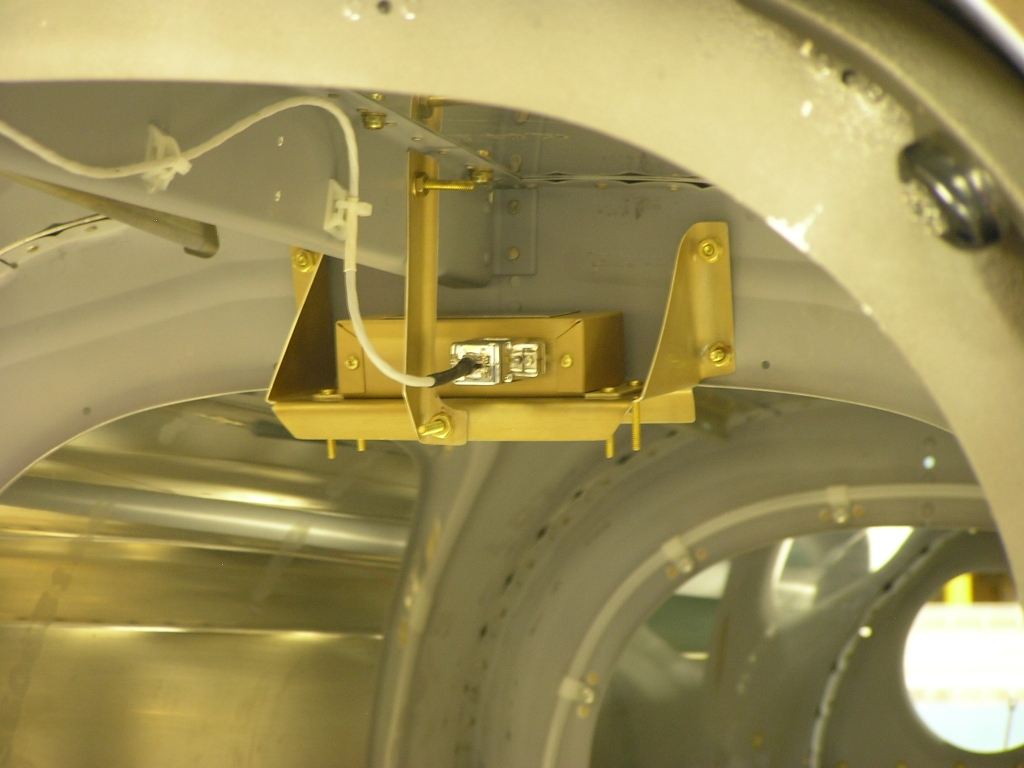
| 9/26/08 | Installed the TruTrak autopilot roll and pitch
servos and safety wired. 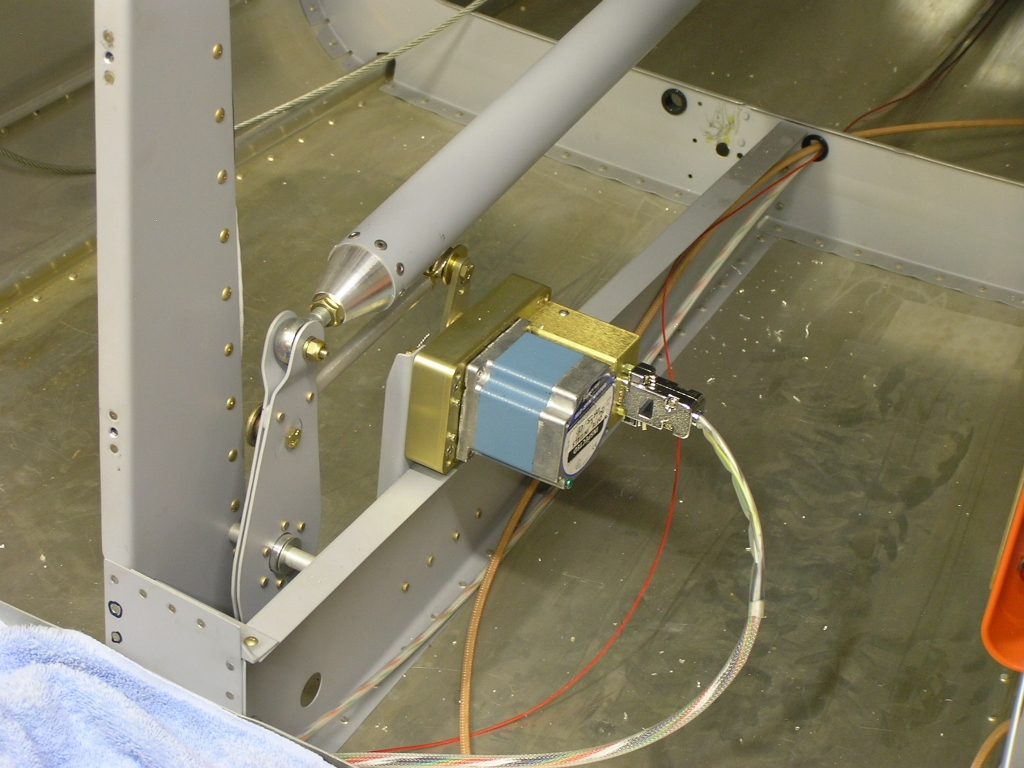 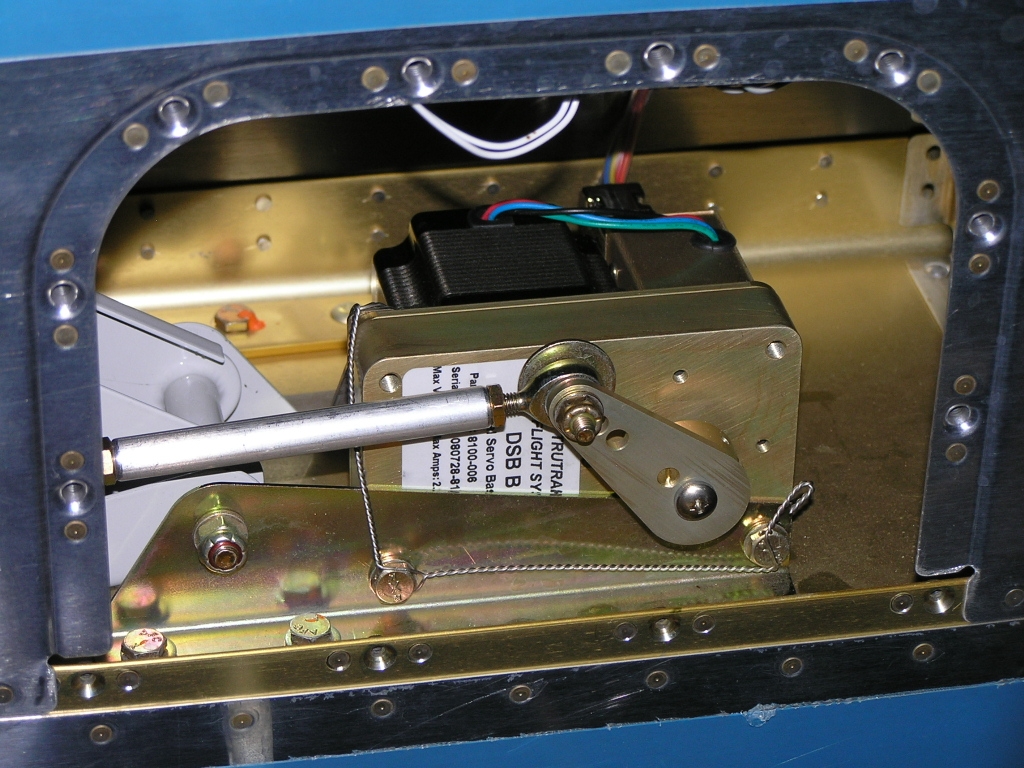
I also installed the AFS magnetometer and the 7.5aH auxiliary
battery. |
4.0 |
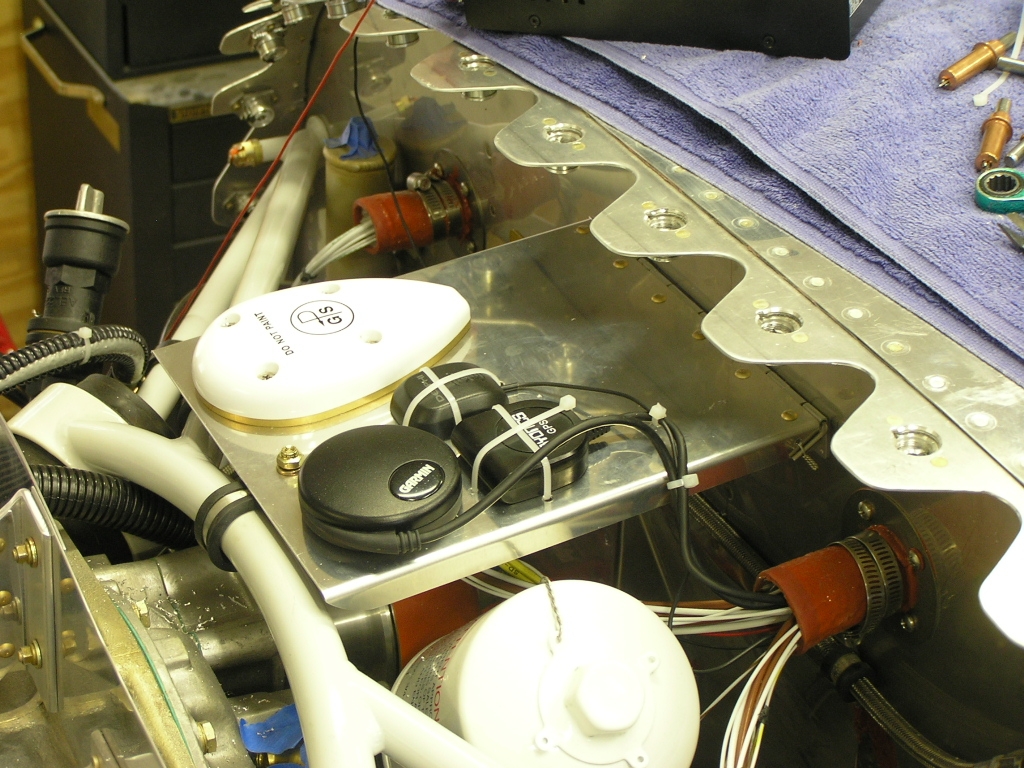
| 2/7/09 | Installed my avionics.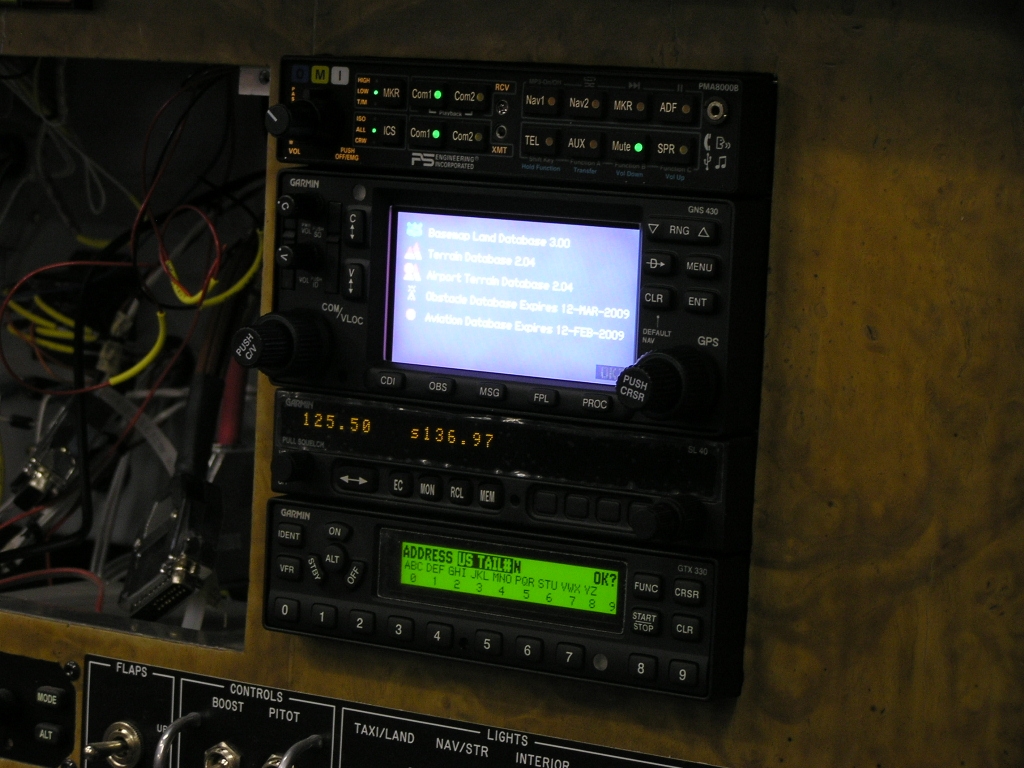 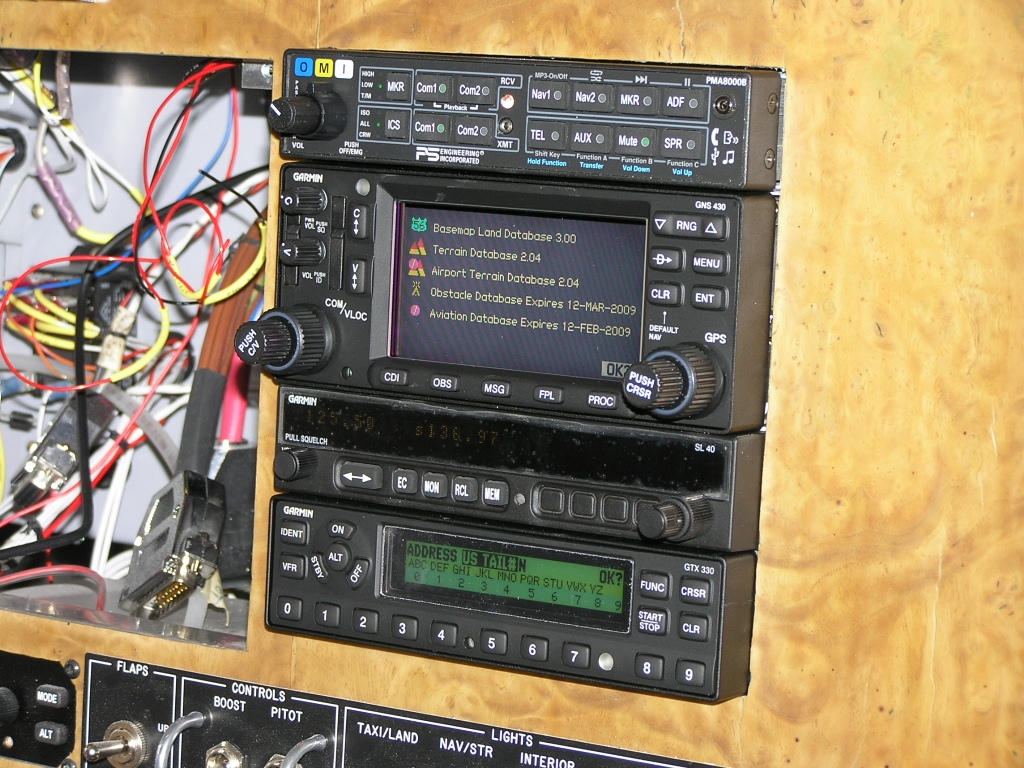
I also fabricated a tray for the GPS antennas. Here you
can see the antennas for the GNS430W, the AFS backup GPS, the
APRS GPS and the XM Satellite Radio antenna. |
2.0 |
|
Total Hours Panel |


Copyright ©2005-09
Hosted by NTI Networks