
Home
Shop
Tools
Empennage
Horizontal Stabilizer
Vertical Stabilizer
Rudder
Empennage 2
Wings
Wings 2
Wings 3
Wings 4
Fuselage
Panel
Firewall Forward
Wiring
Engine
Miscellaneous
Empennage
|
Date |
Description of Task | Hours |
| 12/9/05 | Faxed order to Van's. | .2 |
| 12/21/05 | Received empennage and inventoried parts. I also organized the many small bags of rivets and assorted small parts. | 2.0 |
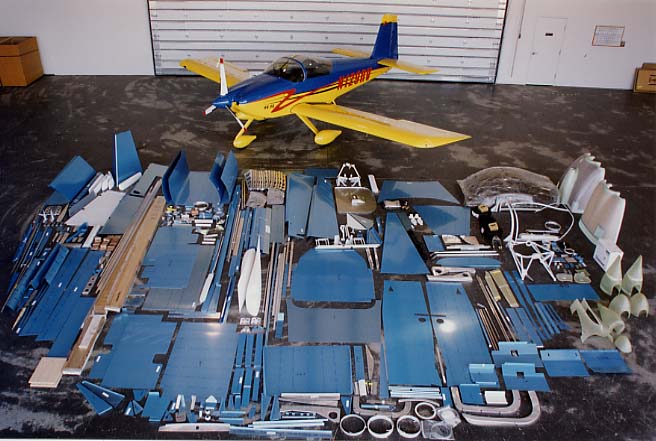
| 12/24/05 | My friend and flying partner Ben Bierbaum gave
me the Van's Toolkit practice project as a Christmas gift so
today my stepson Brandon and I put it together. When I saw
it on the website, I thought it was kinda cheap but I was amazed
how neat it was once I got to putting it together. It is
designed to require you to use many different skills as well as
a lot of different tools. I'm really pleased at how well
it turned out. It took about 4 hours.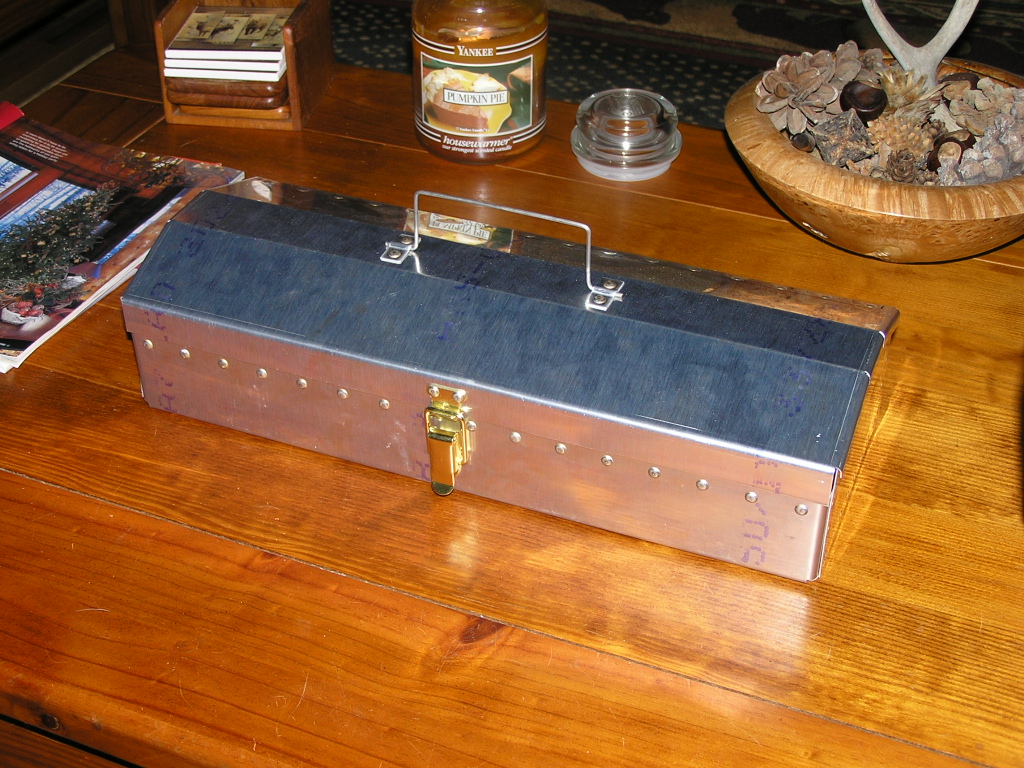 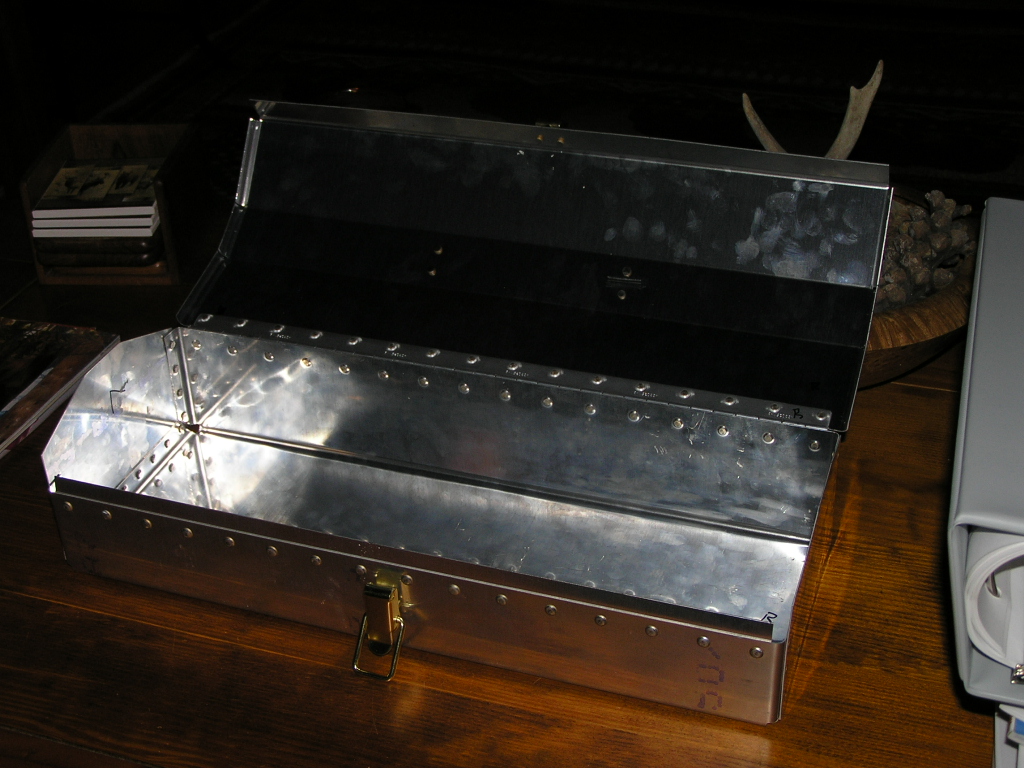 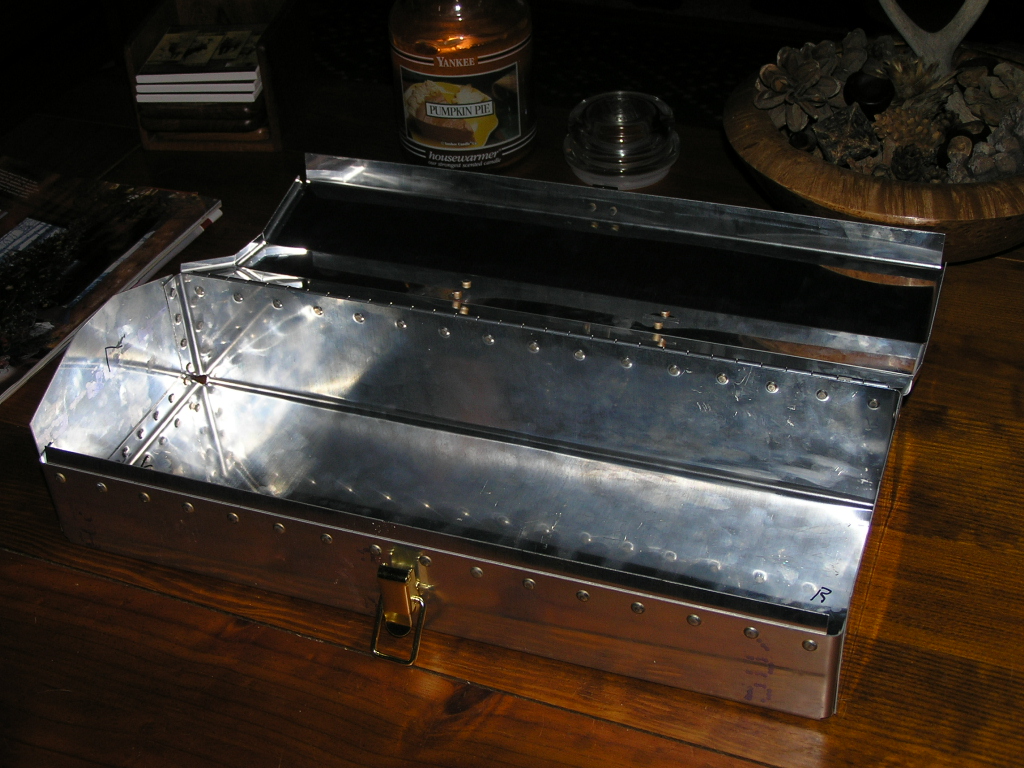 |
|
| 12/25/05 |
Worked on the HS front and rear spars, fabricated the HS-908
brackets and the HS-909 shims. Prepped the ribs for
assembly. My step-son Brandon and my son Dustin check out the progress. 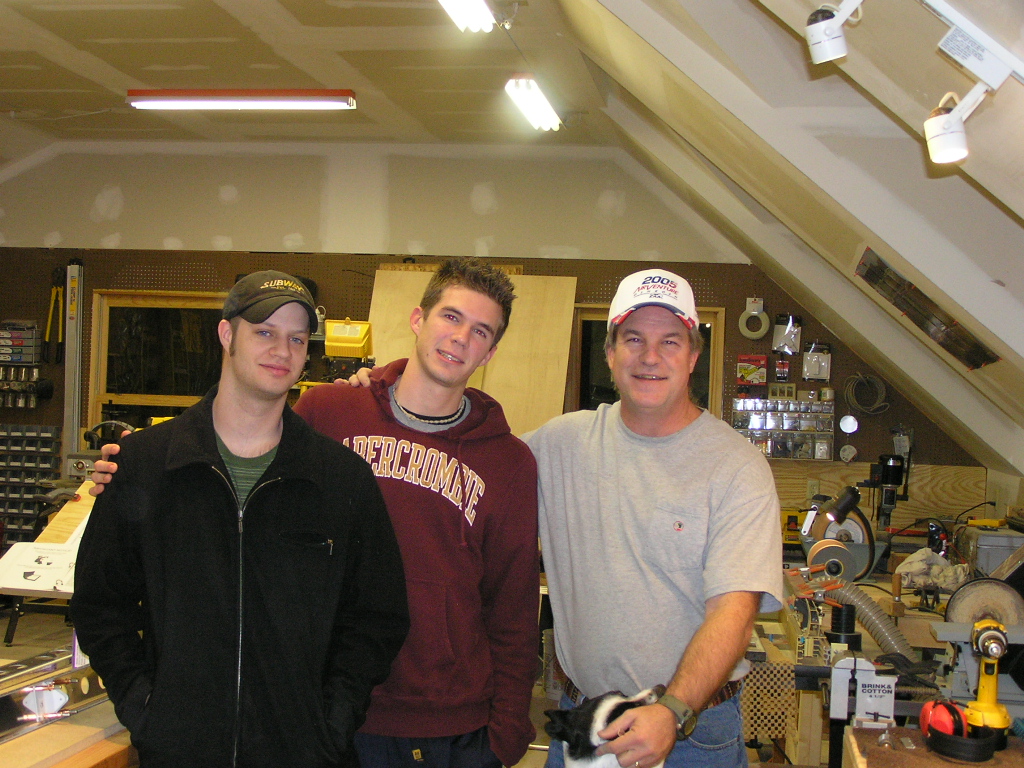 |
4.0 |
| 12/30/05 | Clecoed ribs to spars and drilled holes to #30. | 2.0 |
| 12/31/05 | Deburring, trimming plastic around rivet lines
on HS skins, clecoing right HS together in skin. Realized
I need more than 100 3/32" clecos...Ordered another 150 as well
as another 50 1/8" clecos.  |
6.0 |
| 1/2/06 | After talking with
Bill Repucci, I
disassembled the right HS and removed the blue plastic on the
inside. After doing so, I reassembled and it went together
much more easily. |
2.0 |
| 1/6/06 | I stopped by Ron Russ' house and bought some SanChem CC6100 from him and also borrowed some 3/32 clekos (Aircraft Technical Supply has them backordered). I also heard that Kyle Boatright, an EAA Tech Counselor, might fly over to Copperhill on Sunday so I needed to "step it up" so he would have more to see. | |
| 1/7/06 | Today I did the drill, deburr and dimple routine
on the right HS. It is amazing how tedious this is...
I decided to try out the Sanchem and ended up doing the entire
right HS. CC6100 is a non-chromate chemical conversion
(similar to Alodine, but non-toxic). It involves cleaning
the parts with Acetone first. The SanChem system is
three-parts: Part C is a cleaning solution. Clean
the parts and rinse with water. You then mix Parts A & B
in equal parts and wipe on. The "activated" aluminum turns
a bronze color almost immediately. After 60 seconds, rinse
and rivet. It adds no weight like conventional "paint"
primers and provides corrosion protection as good as Alodine.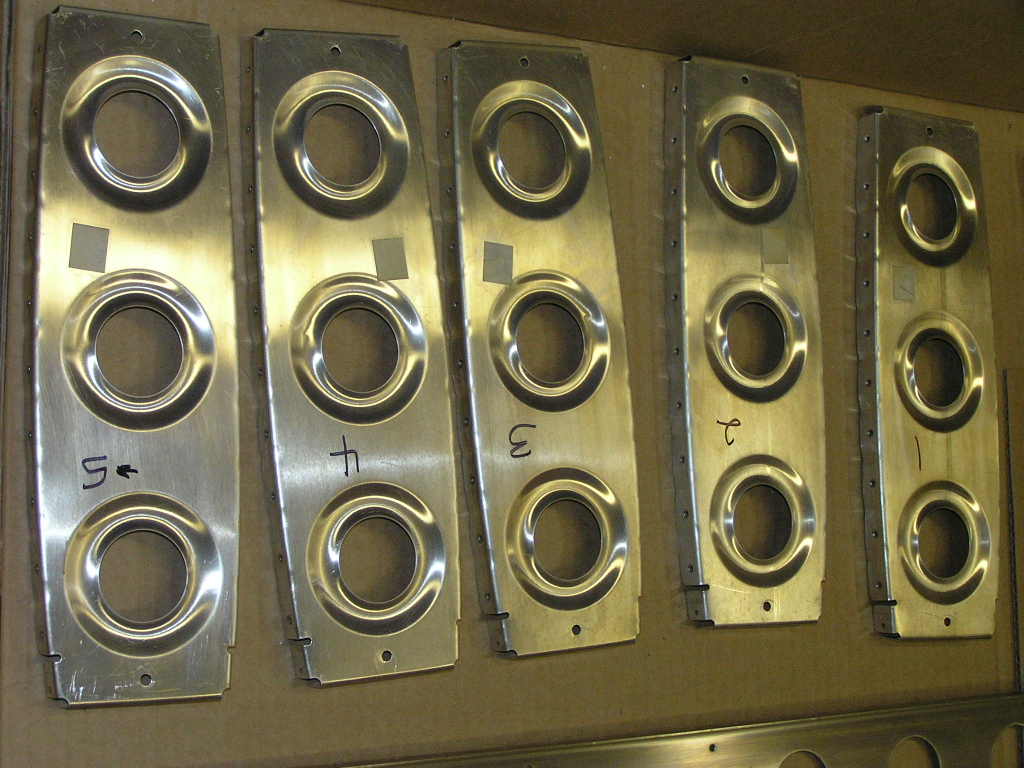 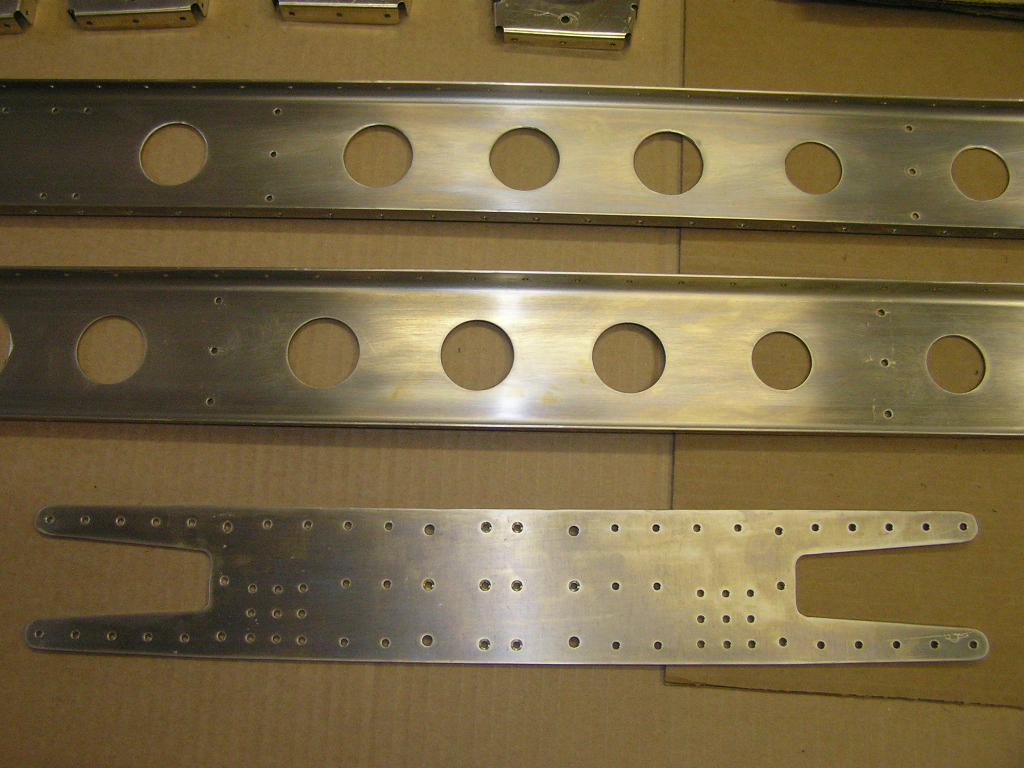 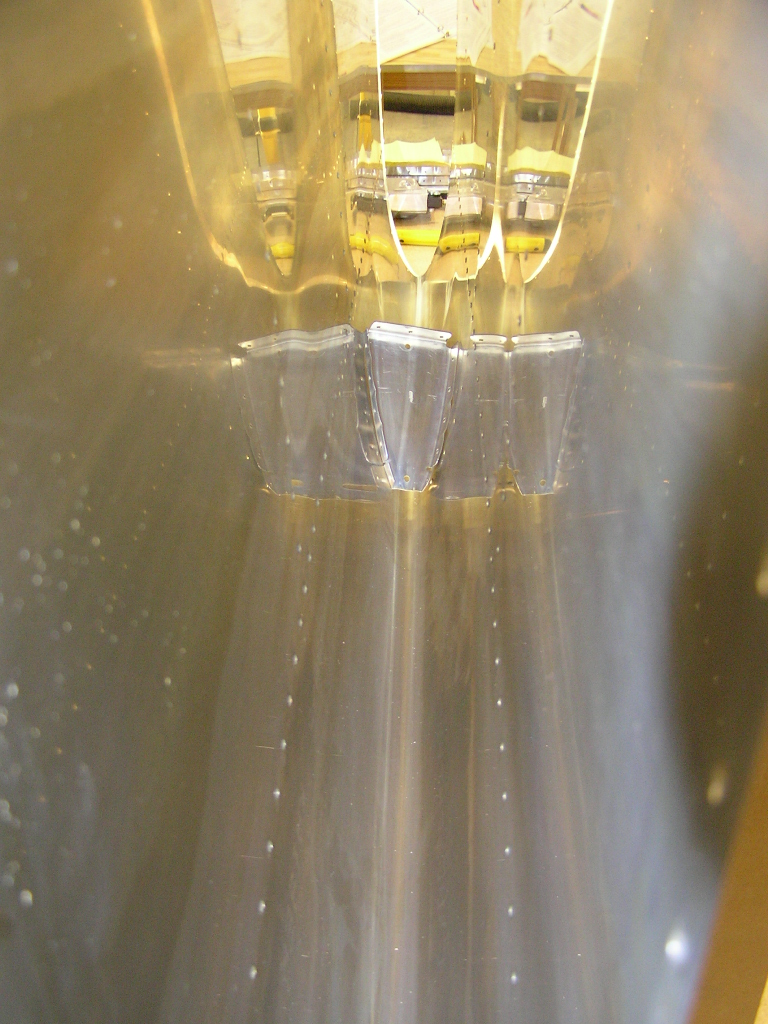 |
10.5 |
| 1/8/06 | Picked up Kyle at the Copperhill (1A3) airport
around noon. I really appreciate the time our EAA Tech
Counselors donate to help out us newbie builders (hey, at least
we fed him). Kyle felt my drilling, deburring and dimpling
was impeccable. He also approved of the chemical
conversion coating. Thanks Kyle, see you again after I
pound a few rivets. But first, on to the Left HS and do it
all again. 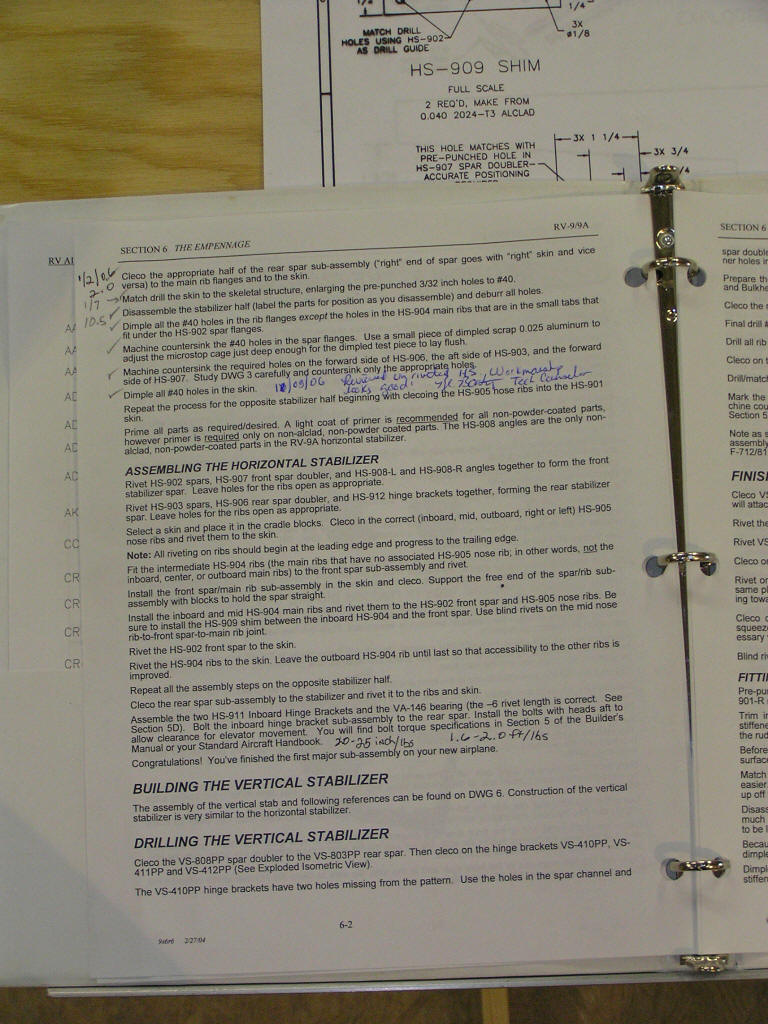 |
1.0 |
| 1/9/06 | Clekoed together the Left Horizontal Stab. | 2.0 |
| 1/11/06 | Drilled skin to #40, disassembled left HS | 1.0 |
| 1/13/06 | Deburred all parts, countersunk spars and dimpled. Then I did the conversion coating. I switched from Acetone for pre-cleaning to MEK and am really pleased at the coverage. The MEK apparently cleans the aluminum better and allows better penetration of the SanChem. Time to rivet it together. | 6.0 |
| 1/14/06 | Began with the right HS. Riveted the spars
and doubler plates using the pneumatic squeezer. Riveted
the nose ribs and half of the forward spar to the skin.
The most difficult part to date has to be riveting the middle nose
rib, especially the first, forward-most rivet. I had to
drill out one rivet because it rolled but was careful and did
not enlarge the hole. The key here is to go slow and take
your time.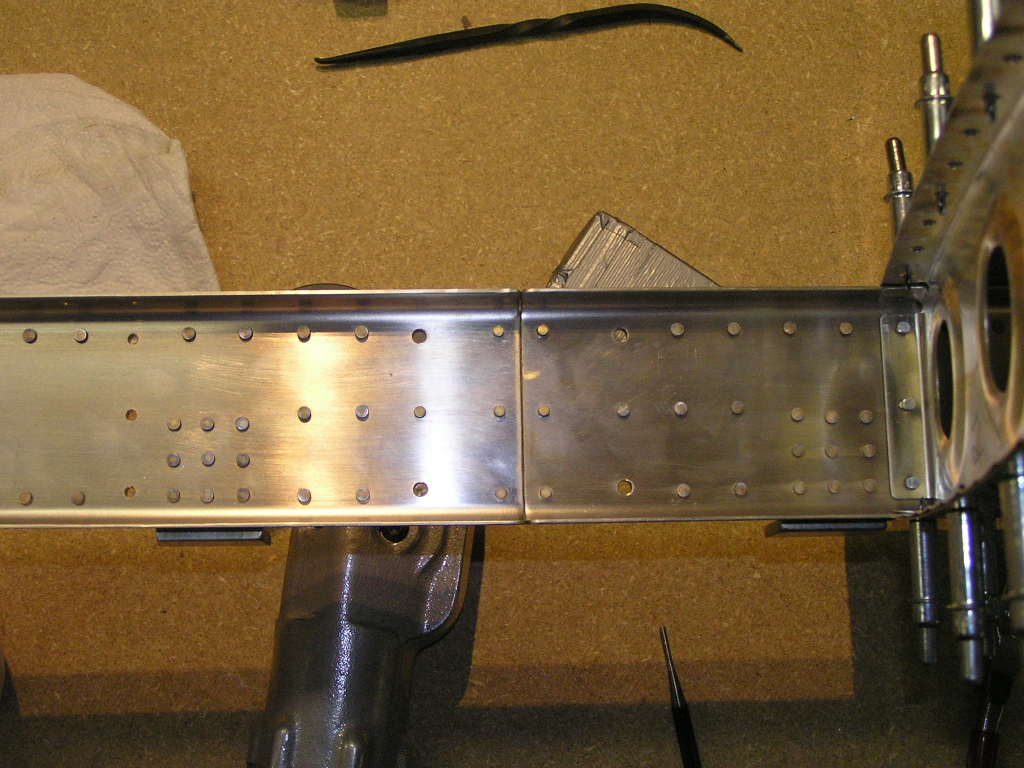 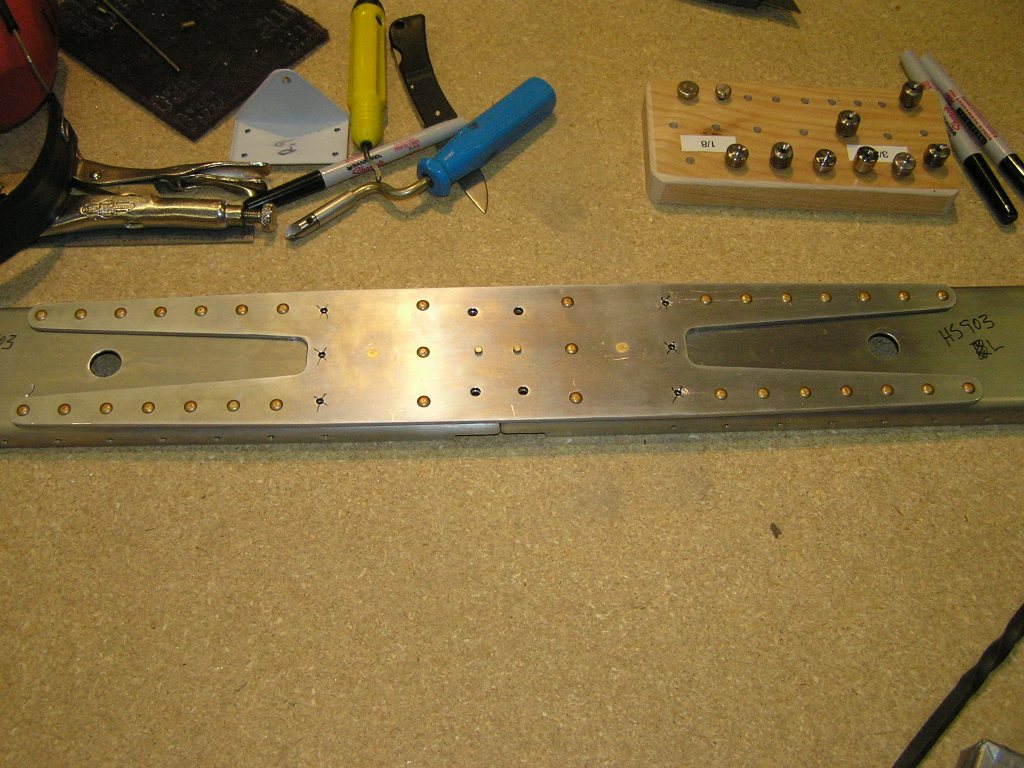   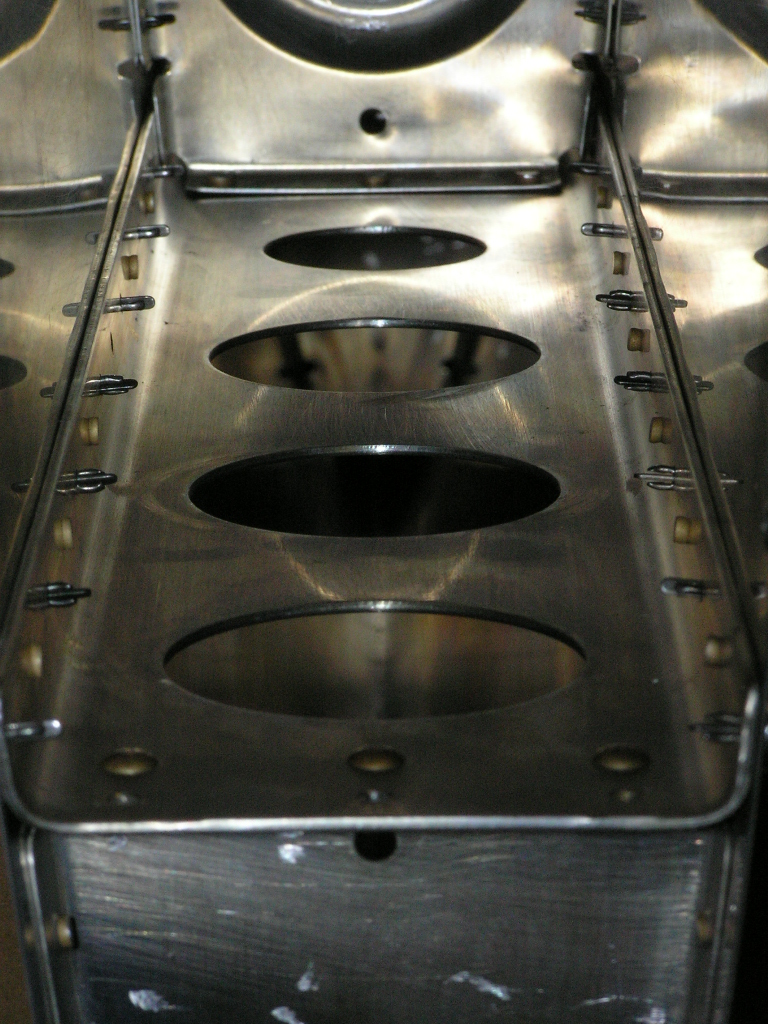 |
4.0 |
| 1/15/06 | Finished riveting the forward spar and the ribs on the right HS. I set the left HS in the cradles and clecoed the nose ribs for riveting. | 4.5 |
| 1/20/06 | Squeezed the nose ribs and feel they turned out
nearly perfect. I clecoed the front spar to the nose ribs
and the left HS skin and began riveting the skin to the front
spar. I also riveted the hinge brackets to the rear spar.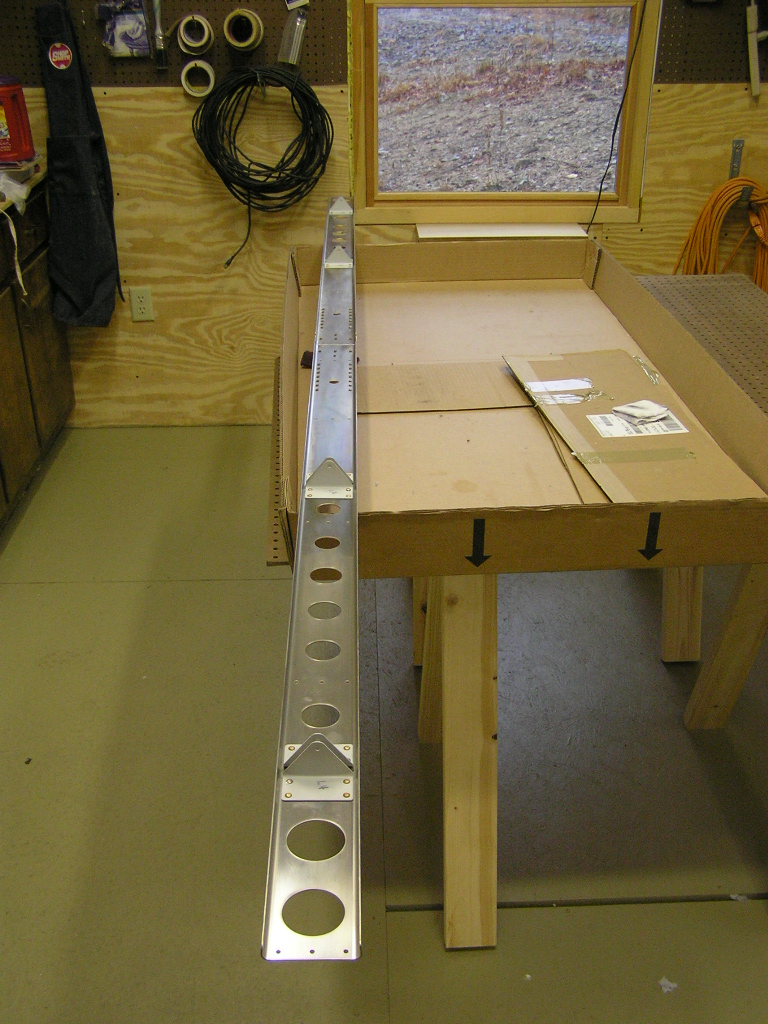 |
2.0 |
| 1/21/06 | Finished riveting the skin to the front spar and
the skin to the ribs. Installed the rear spar and riveted
the skin using the pneumatic squeezer. It is amazing how
rigid the HS becomes when it is all riveted together. I
also assembled the VA-146 bearing and loosely bolted to to the
rear spar. I'll tighten it to spec later.
  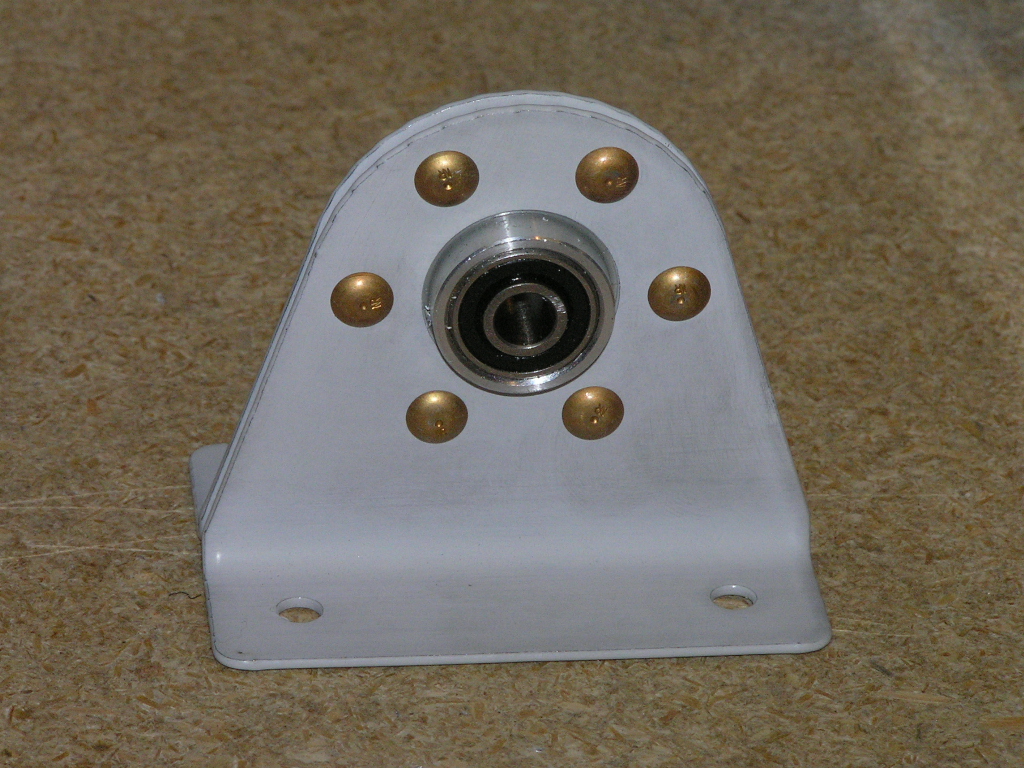  FINISHED THE HORIZONTAL STABILIZER. |
7.0 |
|
Total Hours |
54.2 |
Vertical Stabilizer
|
Date |
Description of Task | Hours |
| 1/21/06 | Clecoed the VS-808PP spar doubler to the
VS-803PP rear spar. Clecoed the hinges and back-drilled.
 |
.5 |
| 1/22/06 | Did the whole "cleco it all together, drill to
#30, cleco on the skin, drill to #40, take it all apart, deburr,
smooth edges & flange the ribs" thing. I also drilled the
lightening holes in the spar doubler with the "suicide fly
cutter".  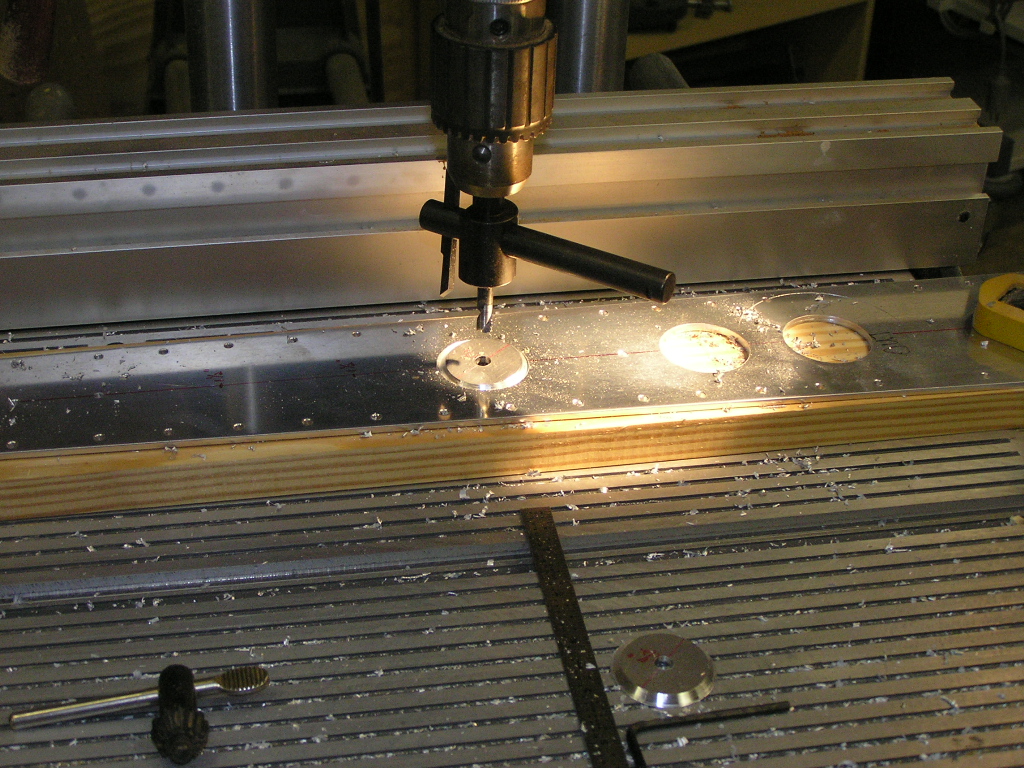 |
7.0 |
| 1/27/06 | Countersunk the spar and dimpled the spar, ribs and skin. | 1.5 |
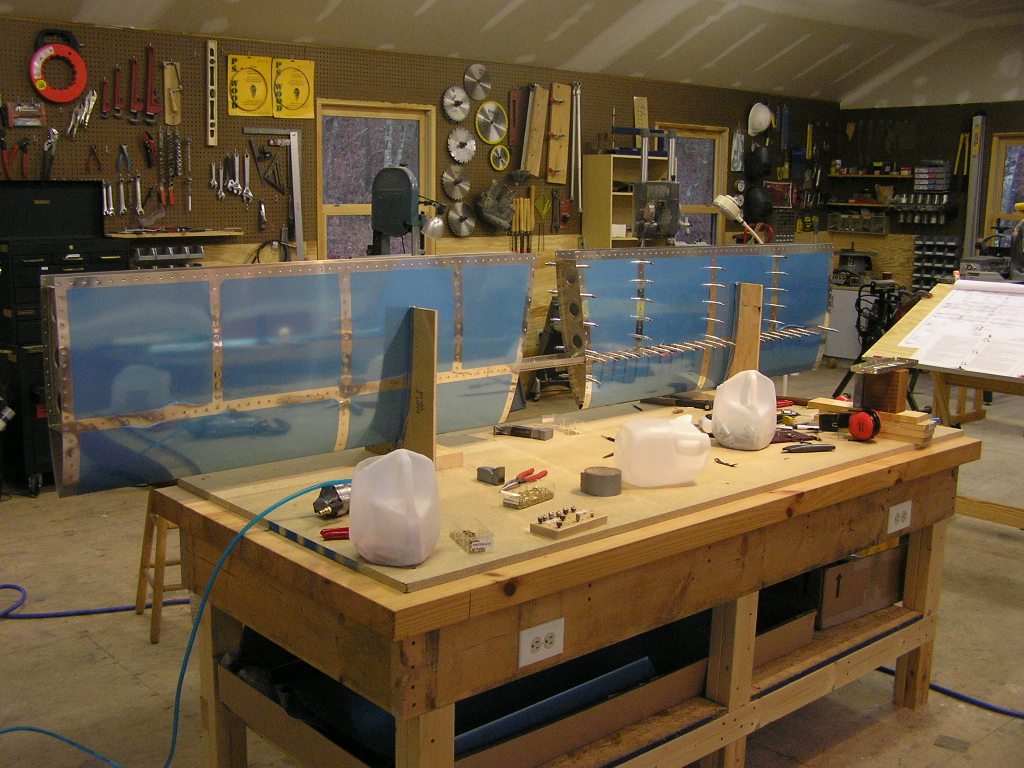
| 1/28/06 | I wanted to create a wire run up to the top of
the VS in the event I may someday want to add a lipstick camera.
I drilled 1/2" holes in the ribs and inserted snap bushings.
I then ran a piece of nylon string through the holes and tied
off each end. The string can now be used to pull
wires/coax in the future. I cleaned all the parts and used
the SanChem chemical conversion. I then riveted the rear
spar and doubler. I riveted the front spar and ribs and
then clecoed the skin to the skeleton.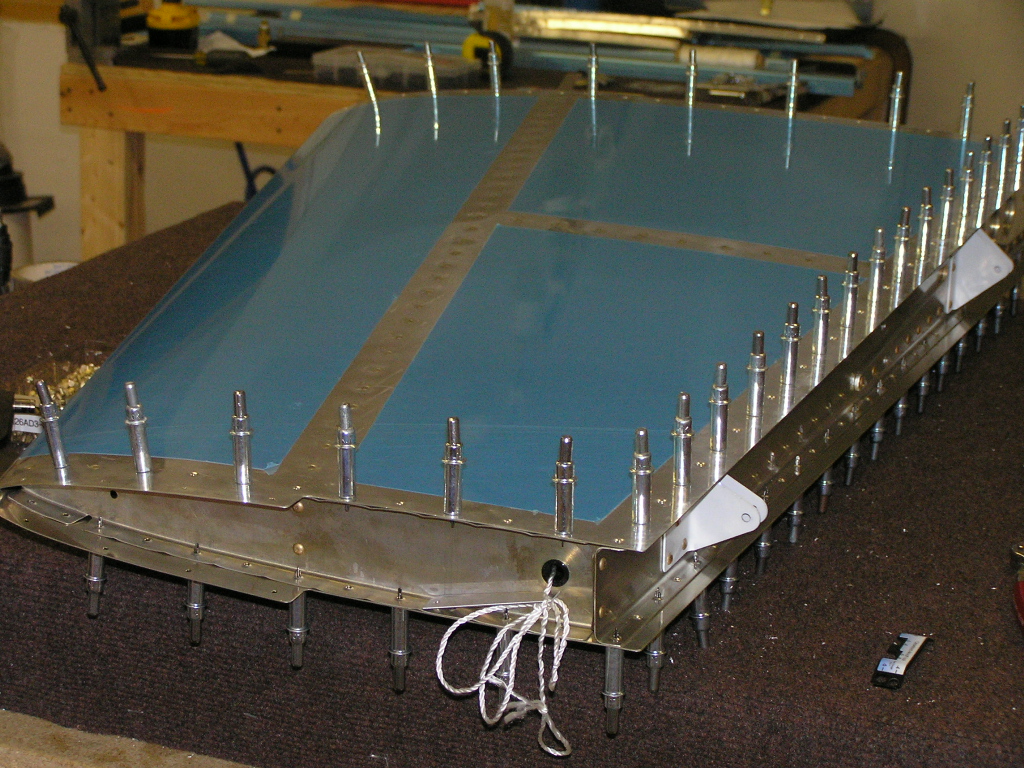 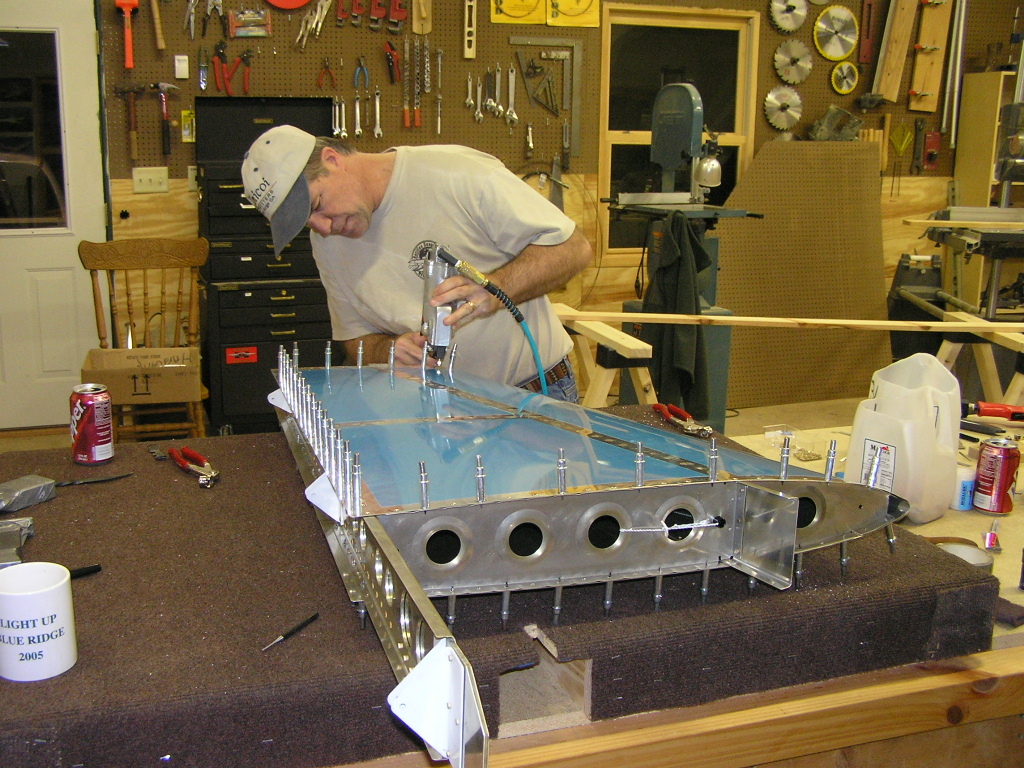 |
4.5 |
| 1/29/06 |
Began riveting skin to skeleton. No problem until riveting
the outer perimeter. Several places have rivet heads that
interfere and make it almost impossible to get the squeezer
flush over the rivet. Most of my time was spent drilling
out bad rivets.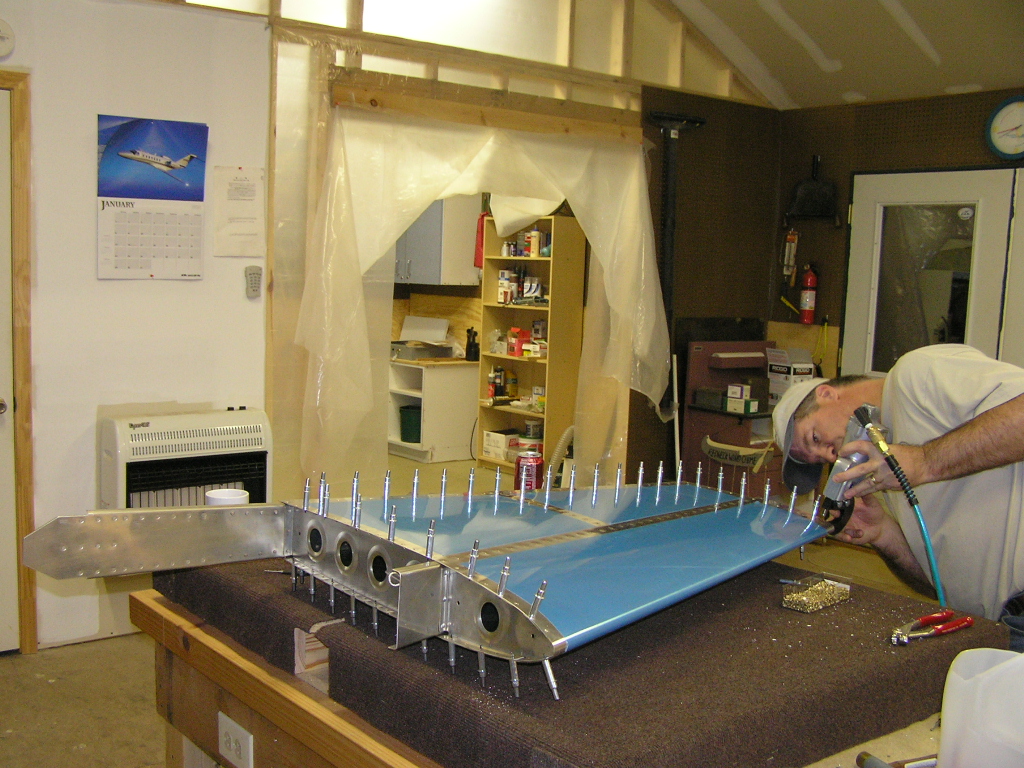 |
3.0 |
| 2/3/06 |
I borrowed a thin-nose bucking bar from Ron Russ in order to
buck the four rivets I couldn't reach with the squeezer but
found that it didn't have enough mass to flatten the 426-3 rivet
without it bending over. I finally decided to grind the
tip of my squeezer yoke. I only removed about 1/16th" and
that was just enough to smash the rivet perfectly. Other
than the fiberglass tips, the Vertical Stabilizer is finished.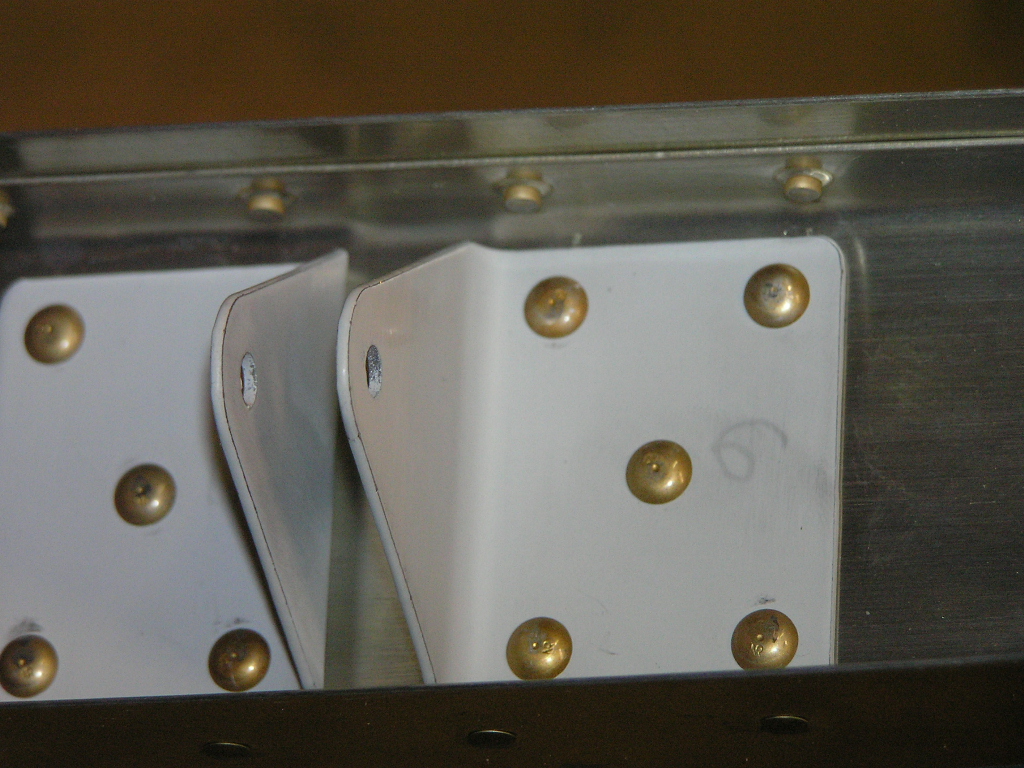  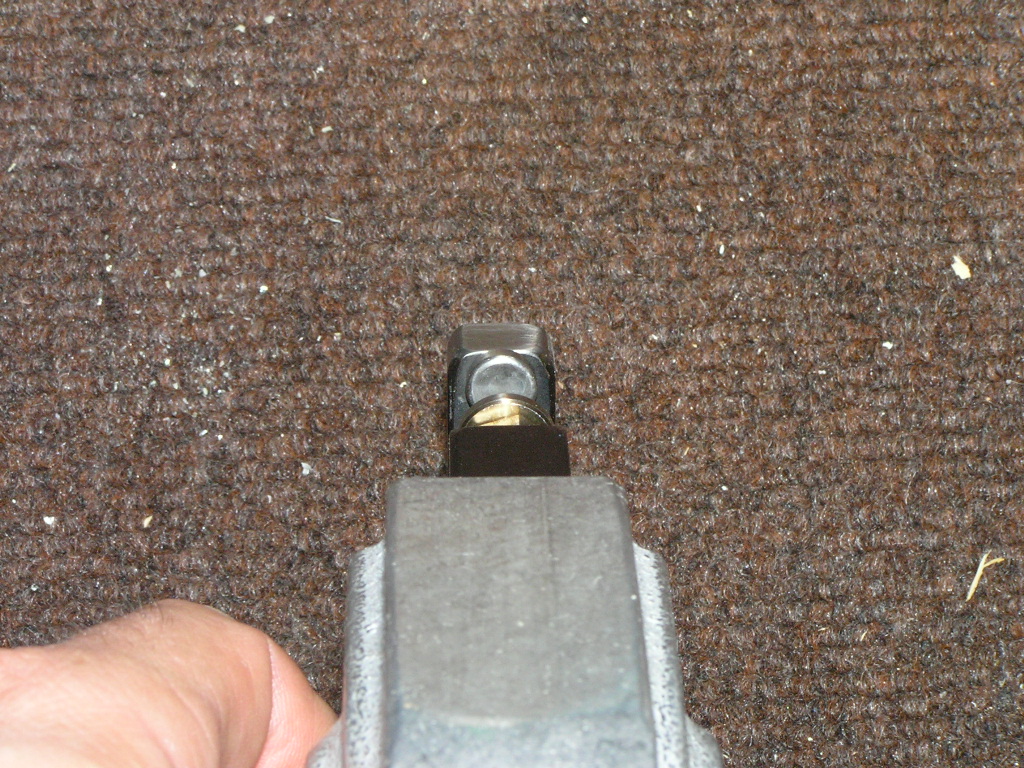 The Vertical Stabilizer is FINISHED! |
1.5 |
|
Total Hours |
18.0 |
Rudder
|
Date |
Description of Task | Hours |
| 2/3/06 | I began by cutting the stiffeners for the right
rudder skin to their basic length and then cut the bevels on the
bandsaw. After final fitting to the skin I cleaned up the
saw cuts on the grinder and then match drilled the stiffeners to
the skin and clecoed.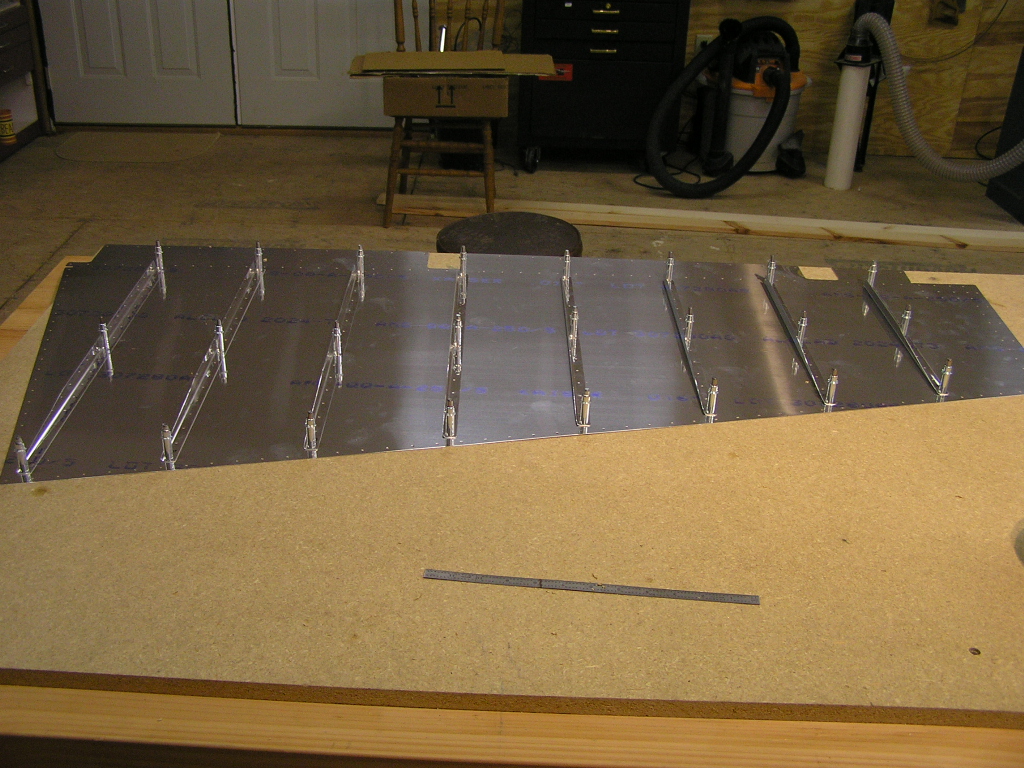 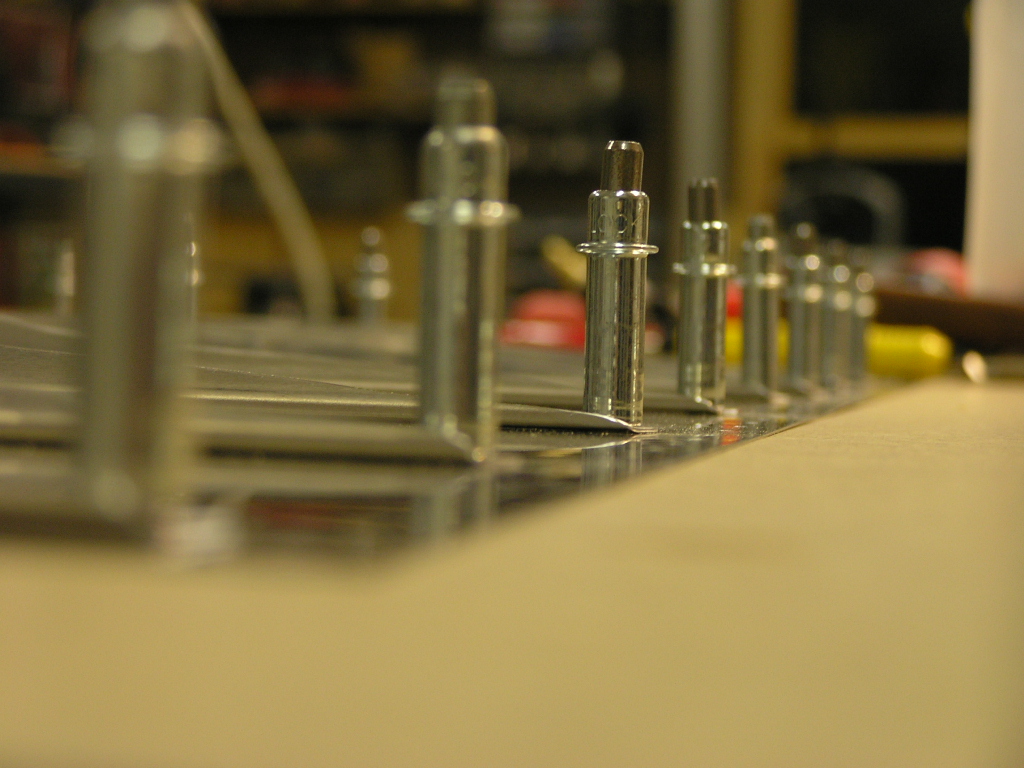 |
2.0 |
| 2/5/06 | Match drilled the stiffeners to the right skin, took it apart and set aside. Cut the stiffeners for the left skin, smoothed the edges and match drilled. Deburred both skins and stiffeners. Dimpled both skins and stiffeners. Ready to sanchem. | 3.5 |
| 2/7/06 | Cleaned right stiffeners and skin with MEK, chemically treated. | 1.0 |
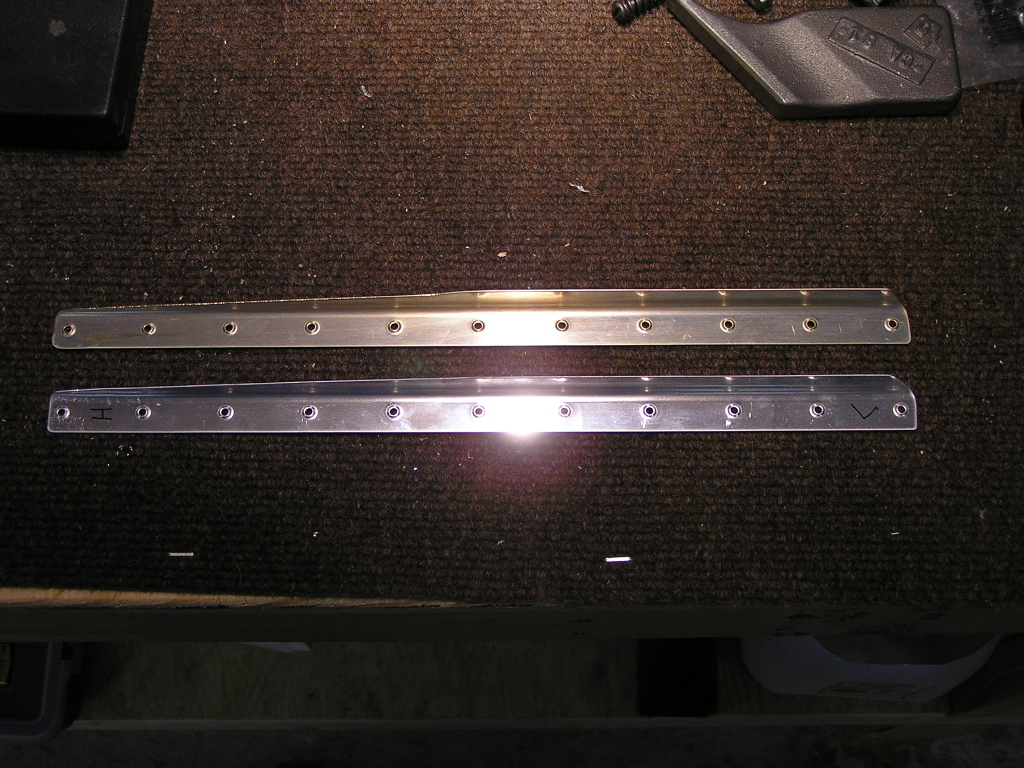
| 2/11/06 | I bought the Homebuilders Bolt/Nut/Washer Kit
from Aircraft Spruce. I over-torqued a bolt the other day
and needed to replace it...thought I might as well be prepared
for future screw-ups.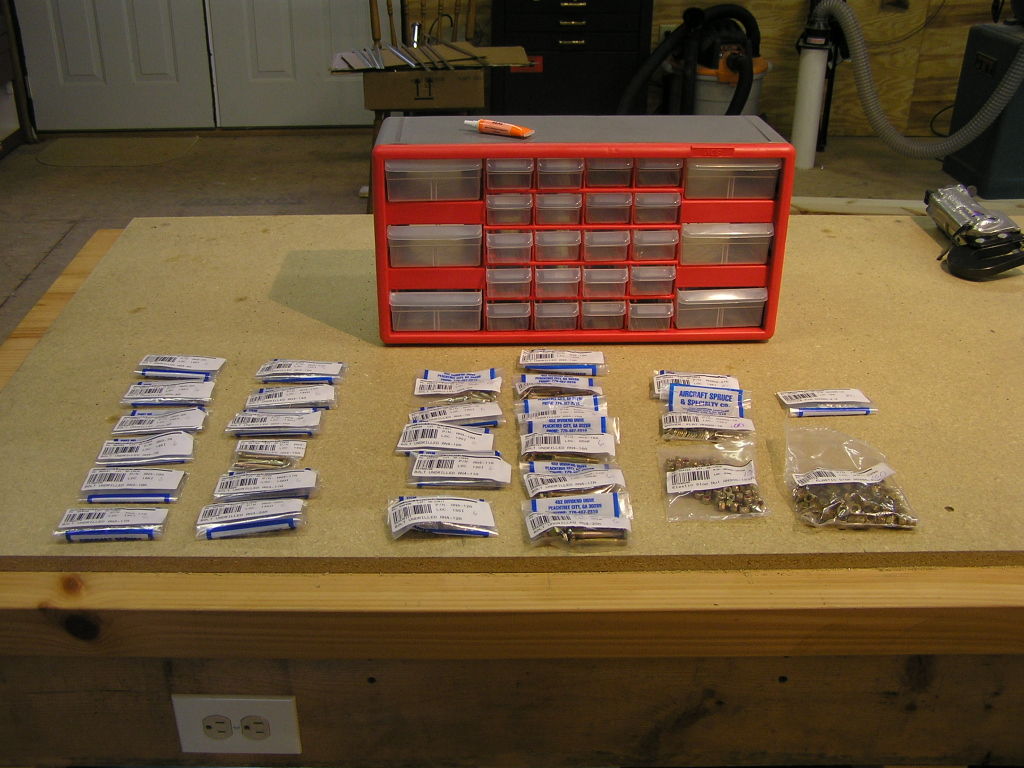 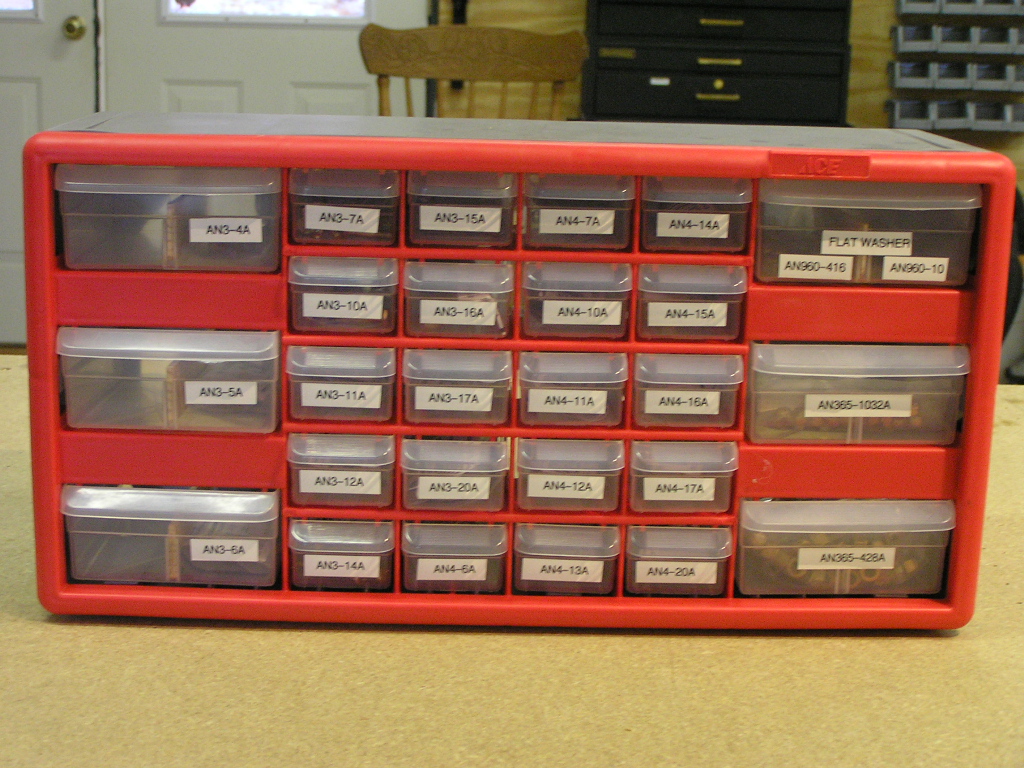
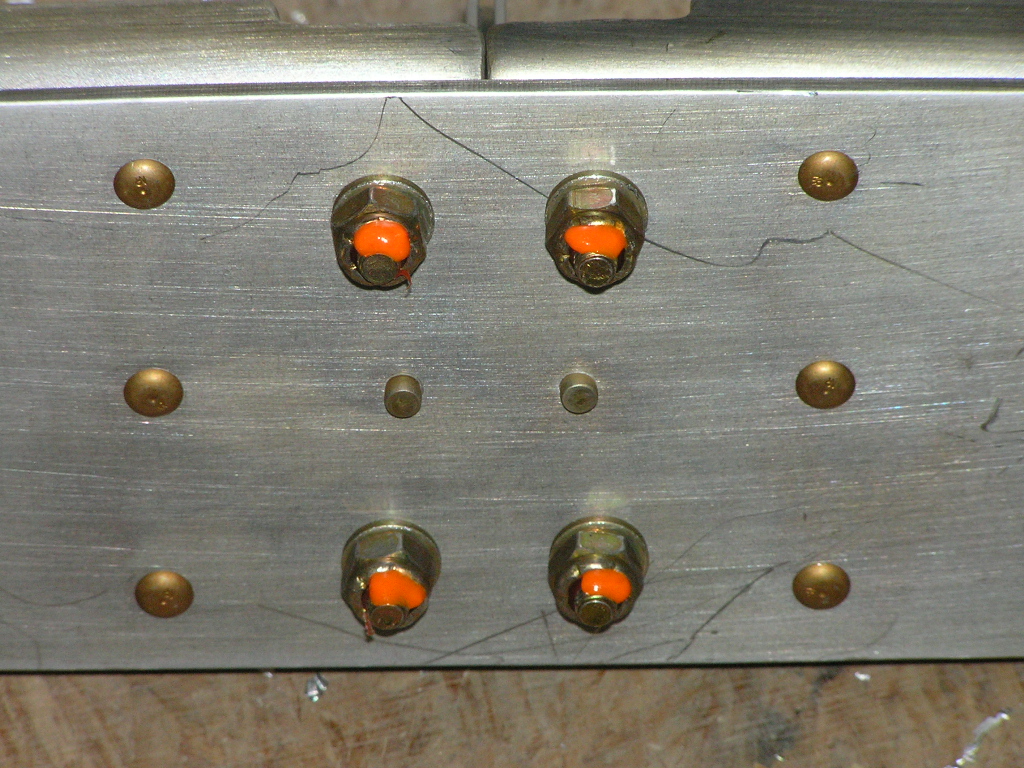
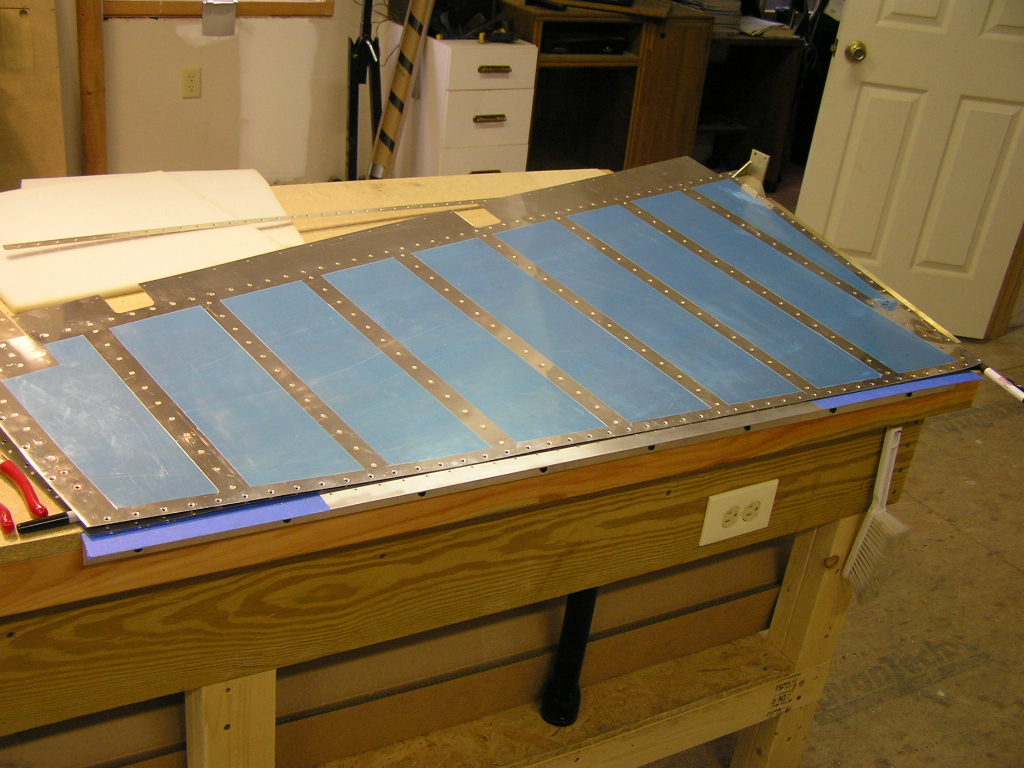
Cleaned left stiffeners and skin with MEK, chemically treated.
Several builders have asked about the SanChem conversion
treatment so I took a "before & after" shot. You can
really see the bronze conversion. I had planned to backrivet the stiffeners to the skins but my rivet tape order did not arrive. Instead I jumped ahead and assembled the rudder skeleton. Clecoed it all together and match drilled skins, then took it all apart. |
8.0 |
| 2/12/06 | Deburred all parts, dimpled the spar, ribs and skins. Countersunk the AEX wedge for the trailing edge. | 4.0 |
| 2/17/06 | I stopped by and saw a fellow RV-9A builder friend, Ron Russ, and borrowed his #10 dimple dies in order to dimple the counterweight rib for attaching the lead counterweight. It is really nice to have fellow builders nearby who are willing to loan the occasional tool now and then. I just couldn't justify buying a $36 set of dies for only two holes. (I found out that there are four additional holes that will require dimpling #10 on the fuselage). | |
| 2/18/06 | Took the rudder apart and SanChem treated all
rudder skeleton parts. I also received my order from Van's
of riveting tape and Proseal. I then back-riveted the
stiffeners to the skins.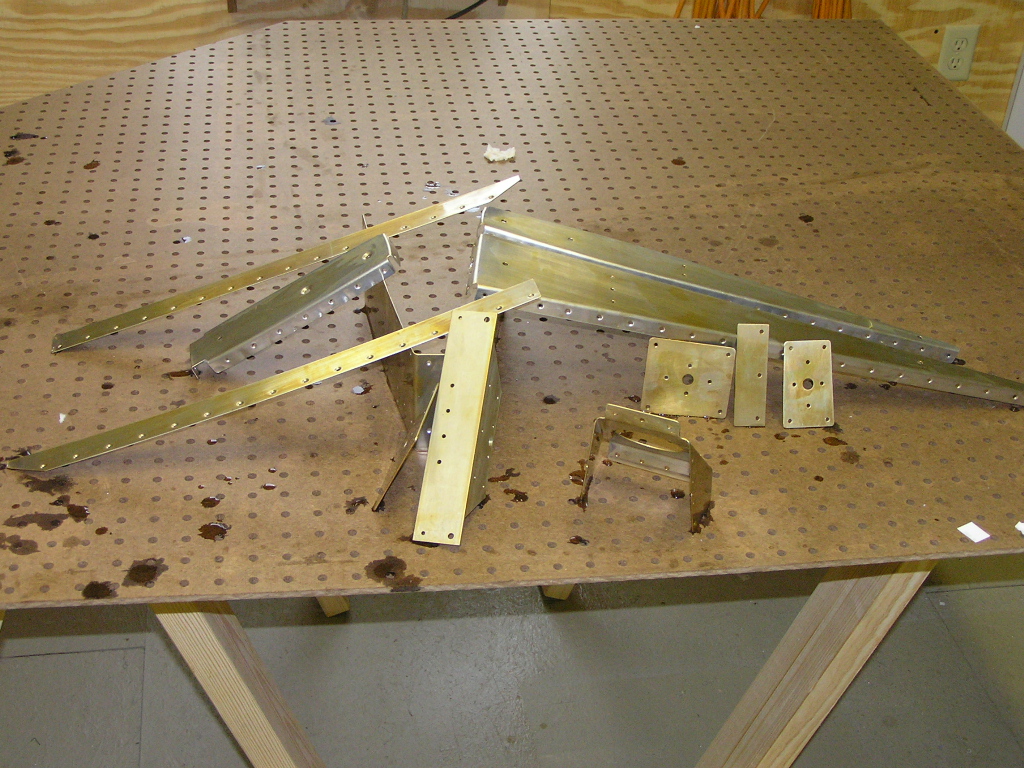 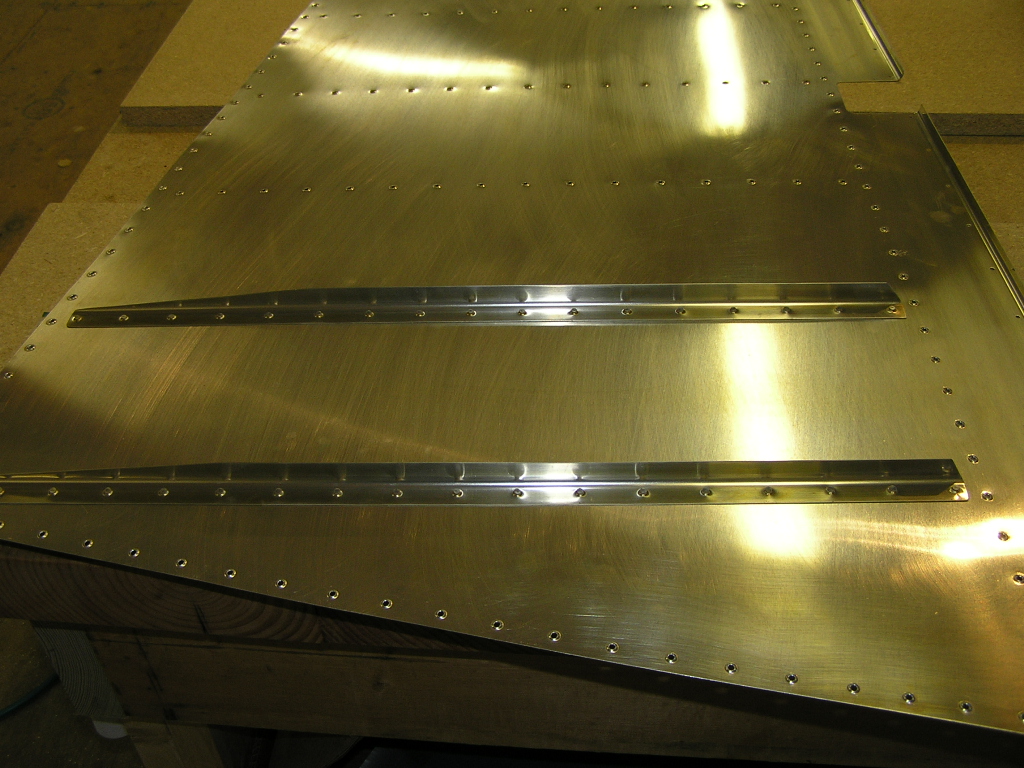  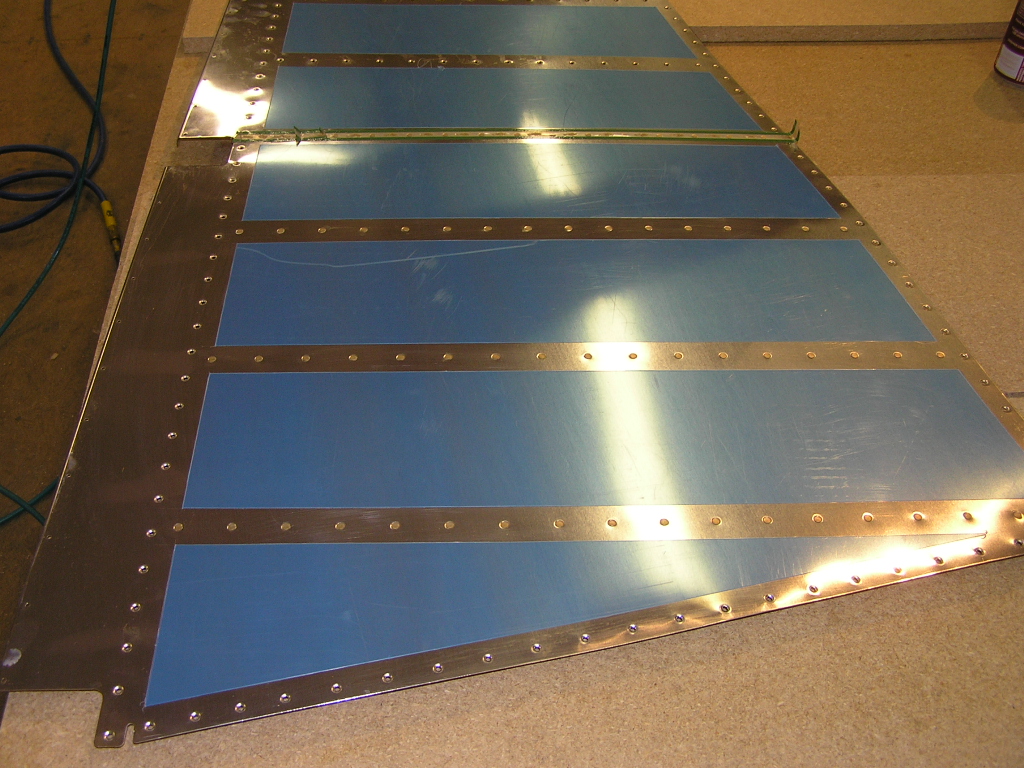 Back-riveting is a piece of cake! I then riveted the skeleton
together. I found I was able to use my pneumatic squeezer
(w/3" yoke) for almost all the skeleton rivets except a couple.
There are a few places where I just used blind rivets. I
then clekoed the skins to the skeleton and started riveting.
I have decided to go ahead and purchase a 4" thin-nosed yoke in
order to squeeze the last few rivets in the top and bottom ribs
near the trailing edge so I will just leave them for now. |
8.0 |
| 2/19/06 | Finished riveting the last few skin rivets I can
reach with my squeezer. I clecoed the trailing edge
together to check for interference from any stiffeners or rivet
shop heads but it looks great. I am holding off on
riveting the trailing edge until I get a 4" thin-nose yoke and
finish squeezing the last few rivets.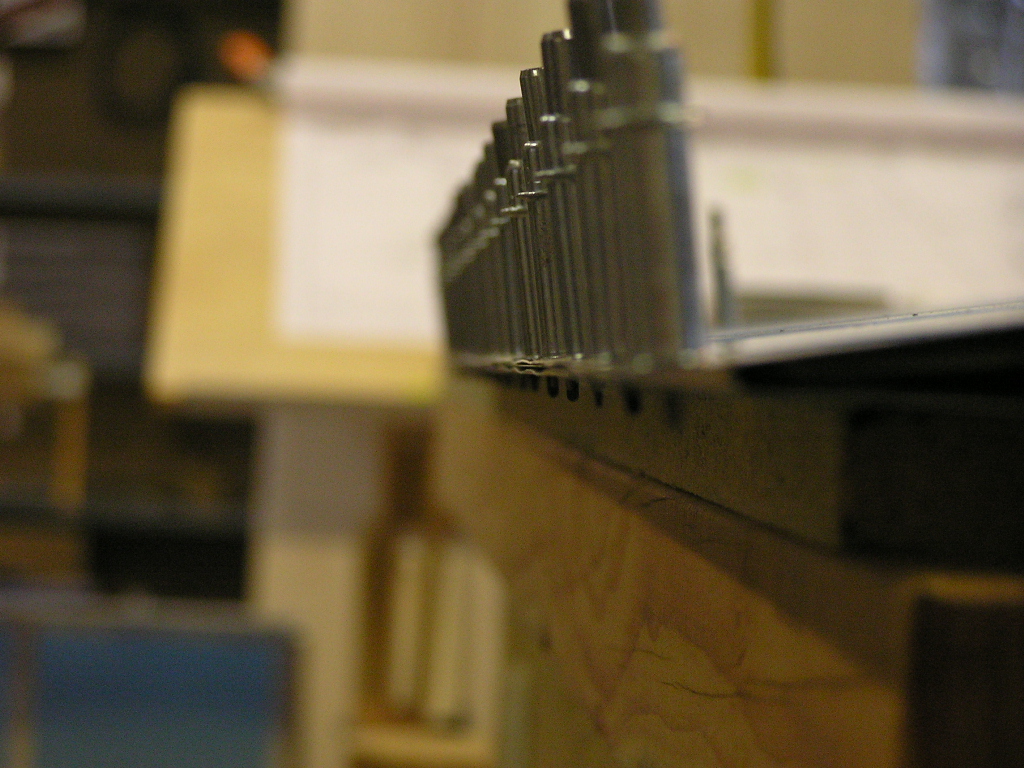
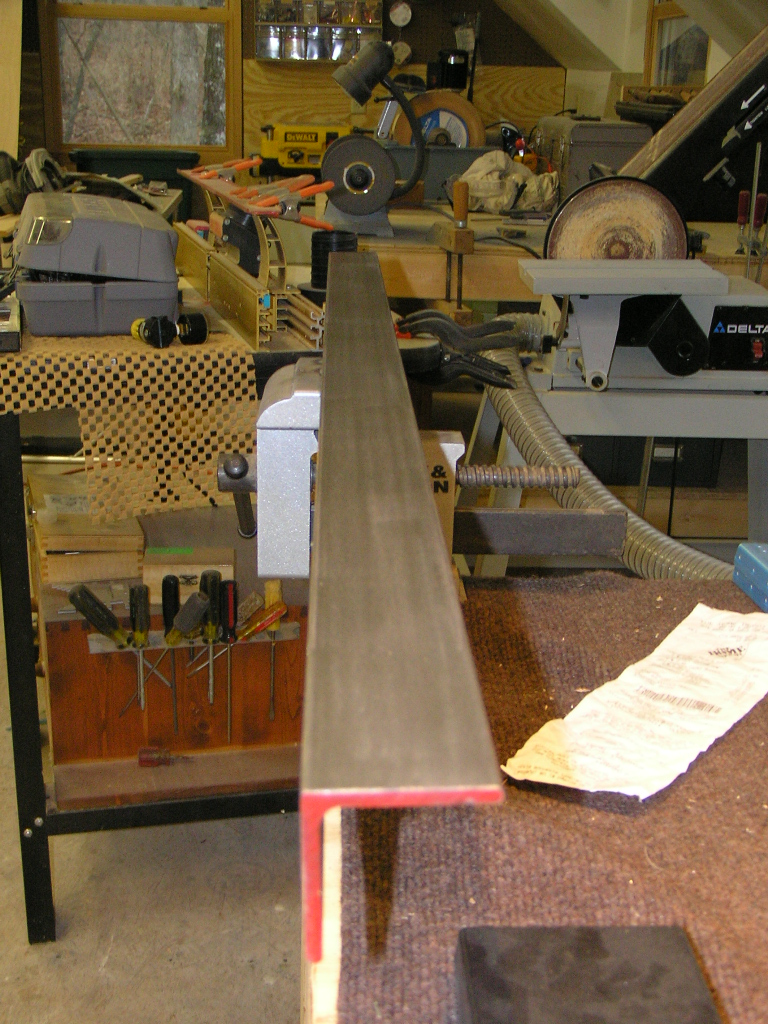
I bought a 4' piece of 2" x 2" x 0.25" angle to use in
back-riveting the trailing edge. I polished one side and
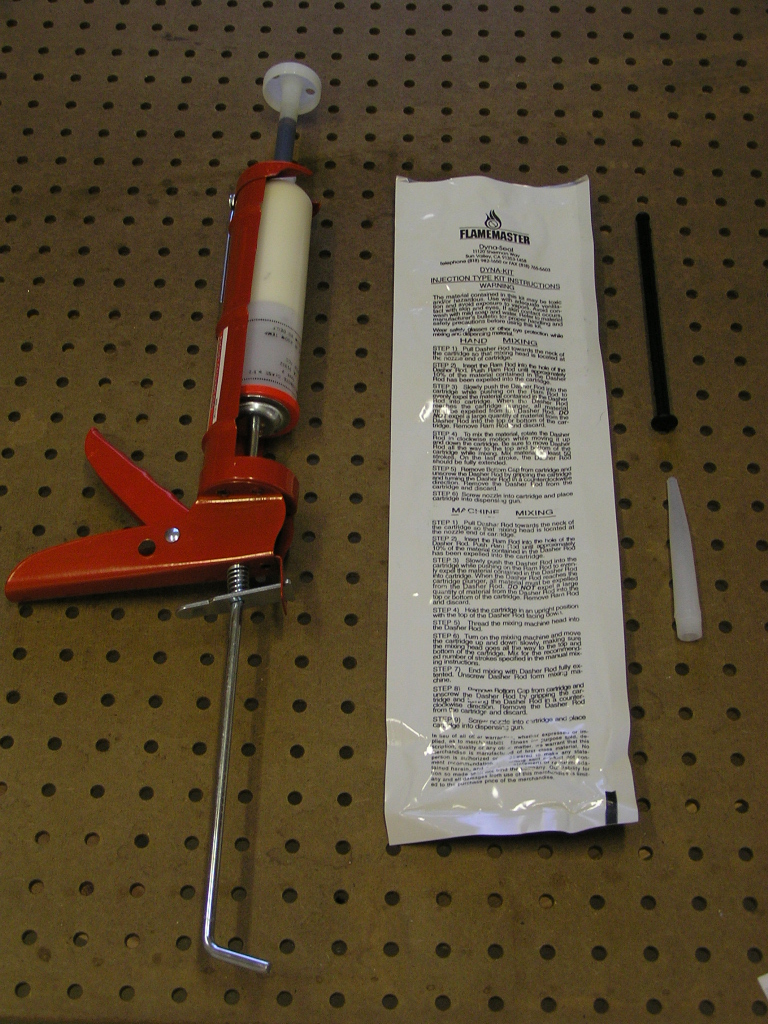
cleaned up with MEK. I also bought ProSeal from Van's and
a caulking gun with a small plunger to fit the tube. |
2.0 |
| 3/11/06 | Today, Jerry, one of the partners in my Warrier,
flew up to Copperhill (1A3)
to check out my progress. Jerry has just started building
an RV-9A and happens to have a 4" thin-nose yoke :). We
squeezed all but three rivets (the last three are in the
smallest section of the ribs) so I was thankful for his help.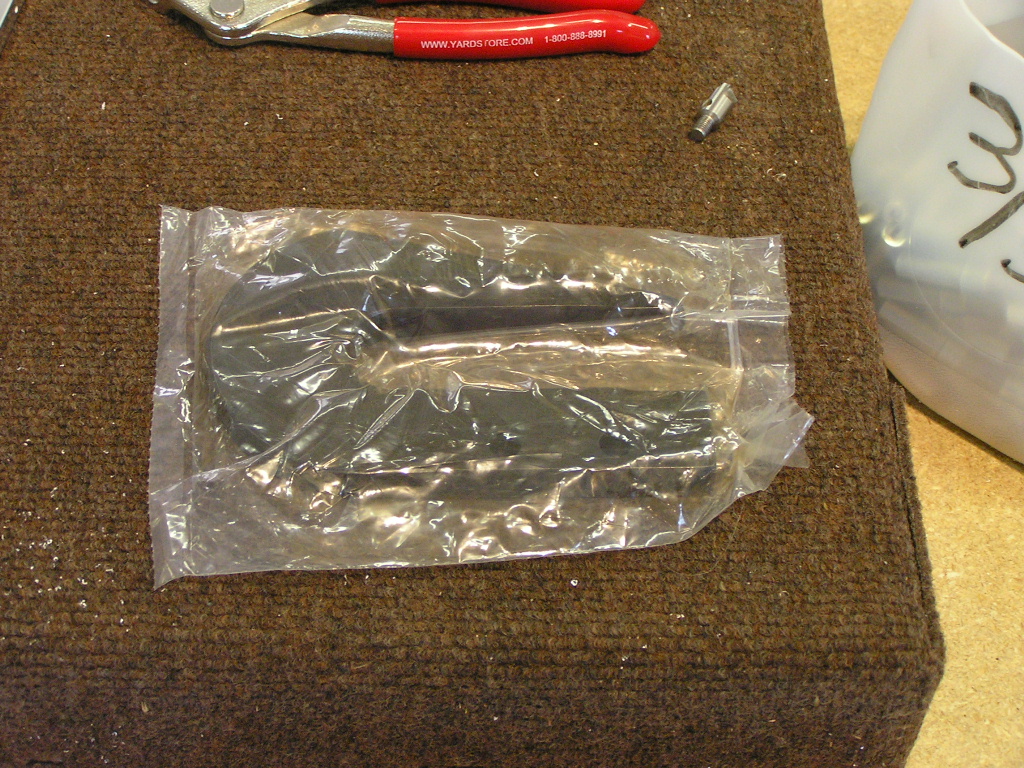
I attached the aluminum angle to the bench and match drilled the
rudder trailing edge. I took the time to layer masking
tape to the angle to ensure the angle was flush and level with
the table top. |
1.5 |
| 3/12/06 | Glued the trailing edge with T-88 and clamped to
the aluminum angle. I will give it a good week to set up. |
.5 |
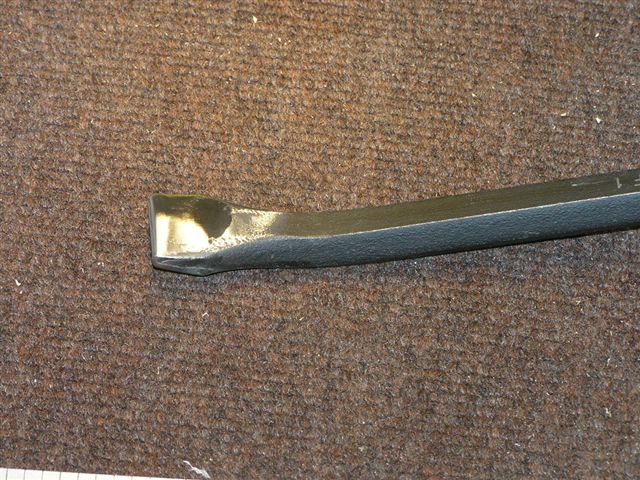
| 3/18/06 | Riveted rudder trailing edge. I took the
advice of several other builders and went nice and slow.
The result is a perfectly straight trailing edge.   
I got Lynne to help me bend the leading edge and cleko. I
then match drilled, deburred and pop-riveted. I bought a cheap "Crowbar" at Home Depot, ground down the end
and finally riveted the last three rivets near the trailing
edge. I also made the insertion tool and installed the rod
end bearings. THE RUDDER IS FINISHED! |
4.0 |
|
Total Hours |
34.5 |

| Next: Empennage 2 | ||