
Home
Shop
Tools
Empennage
Empennage 2
Right Elevator
Left Elevator
Trim Tab
Fiberglass Tips
Horizontal Stab Fairings
Wings
Wings 2
Wings 3
Wings 4
Fuselage
Panel
Firewall Forward
Wiring
Miscellaneous
Empennage 2
|
Date |
Description of Task | Hours |
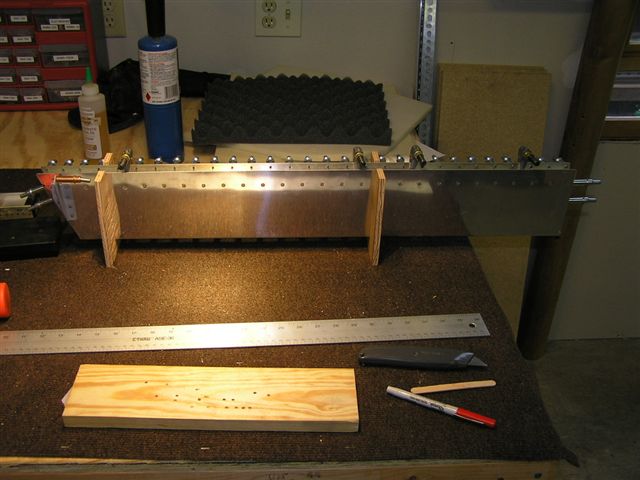
| 2/25/06 | Cut out all the stiffeners and smoothed those
needed for the right elevator. I used duct tape to hold
open the skin and clecoed the stiffeners. After match
drilling the stiffeners to skin I flipped the skin over and
repeated match drilling the top stiffeners. Deburred the
stiffeners. Here you can see my technique for holding the
skin open for deburring. I will need to recruit some help
in order to dimple the skins (not enough hands).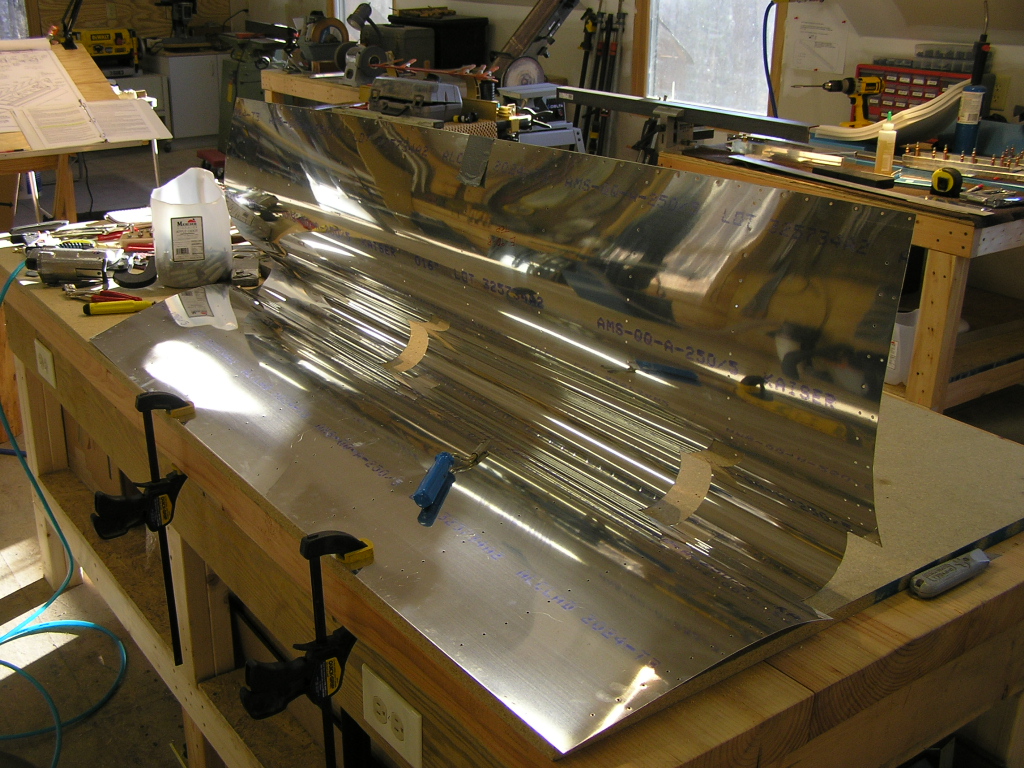  |
6.0 |
| 2/26/06 | Deburred the right elevator skin. I
assembled the end ribs for the counterbalance, fluted and match
drilled. I beveled the outside edges of the counterbalance
skin where the skin overlaps. Dimpled the stiffeners. 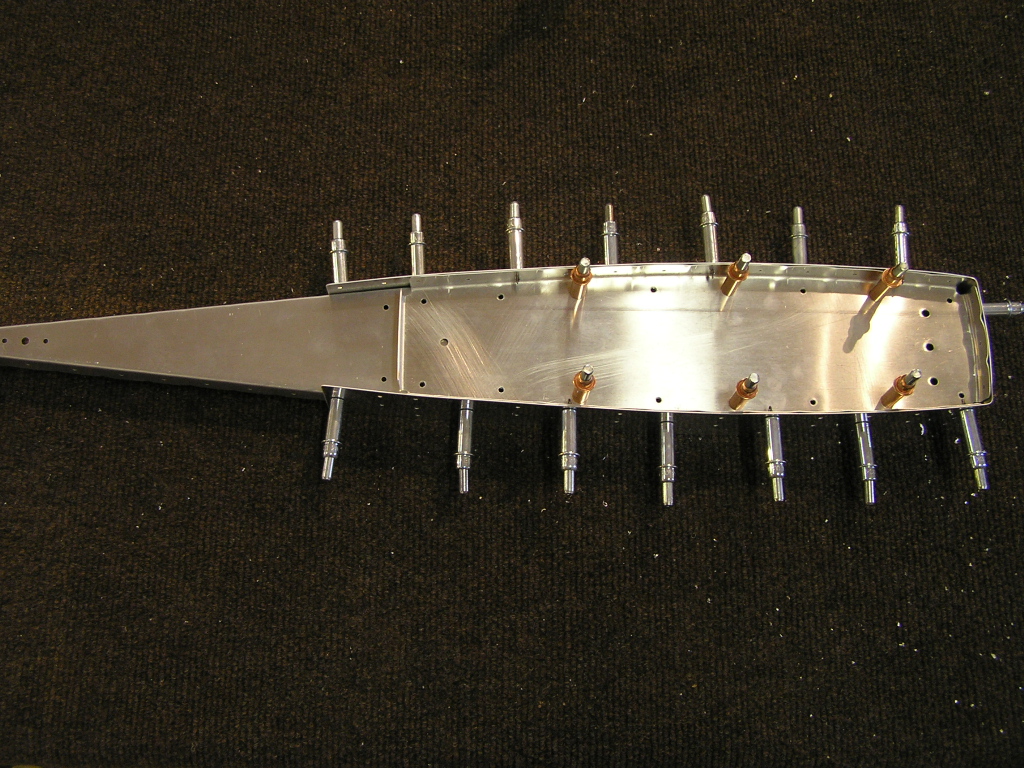 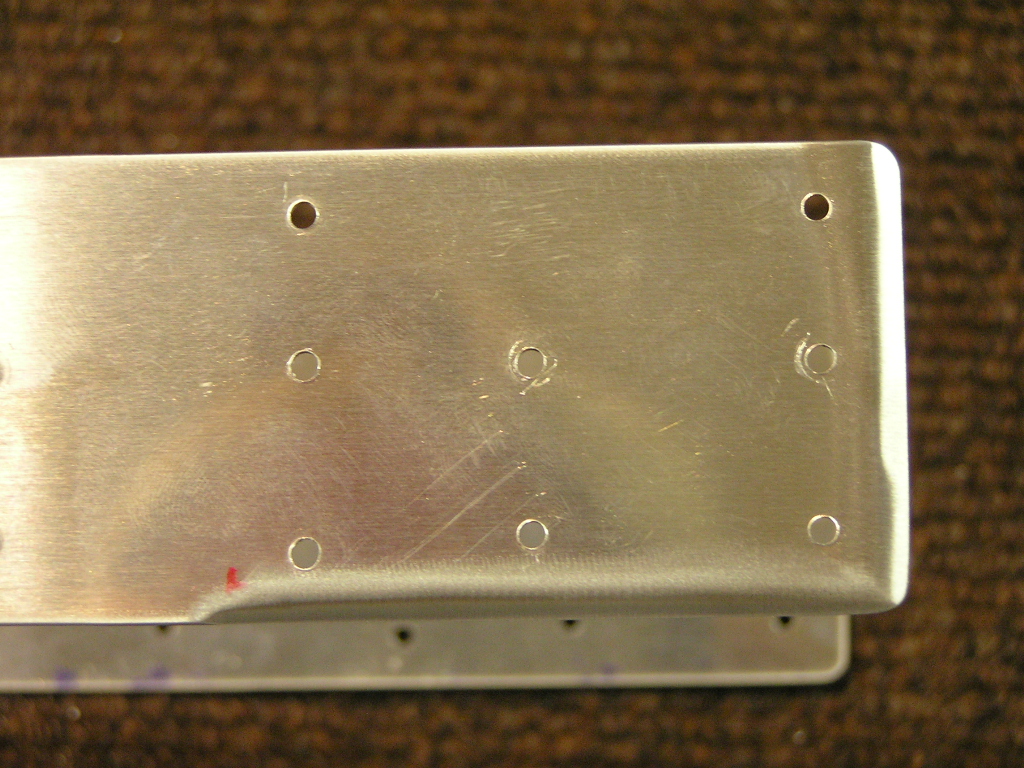 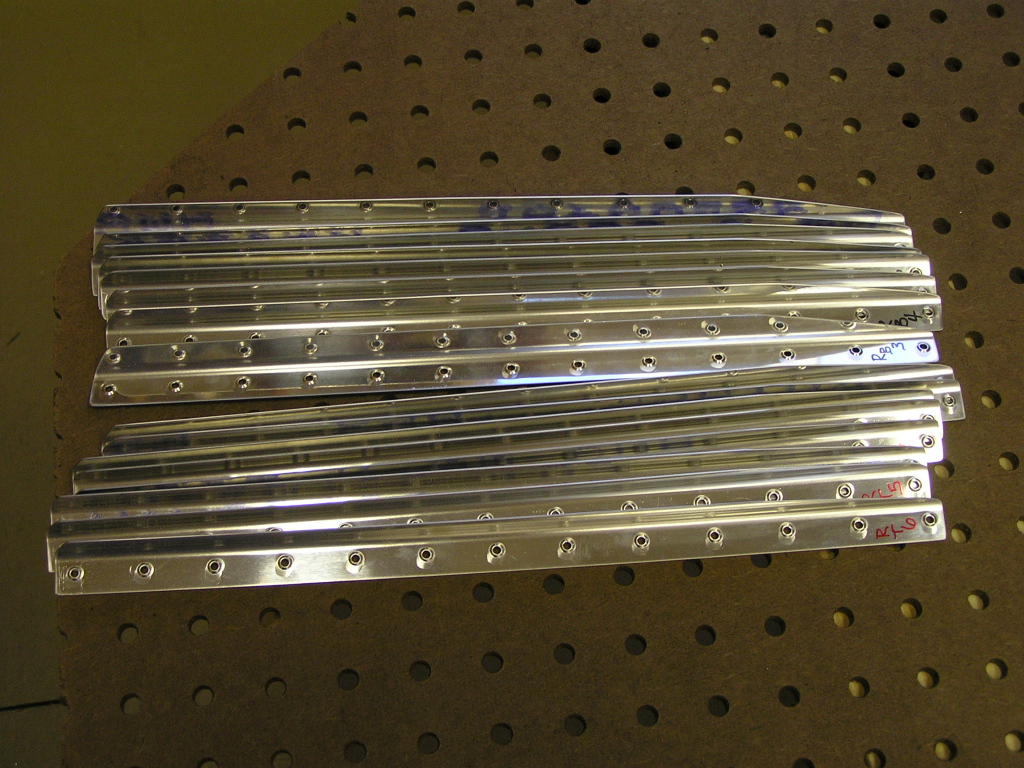 |
6.0 |
| 3/10/06 | Dimpled the counterbalance ribs and skin,
dimpled the trim plate and deburred both skins. Match
drilled the back plates to the Rt. elevator spar and deburred.
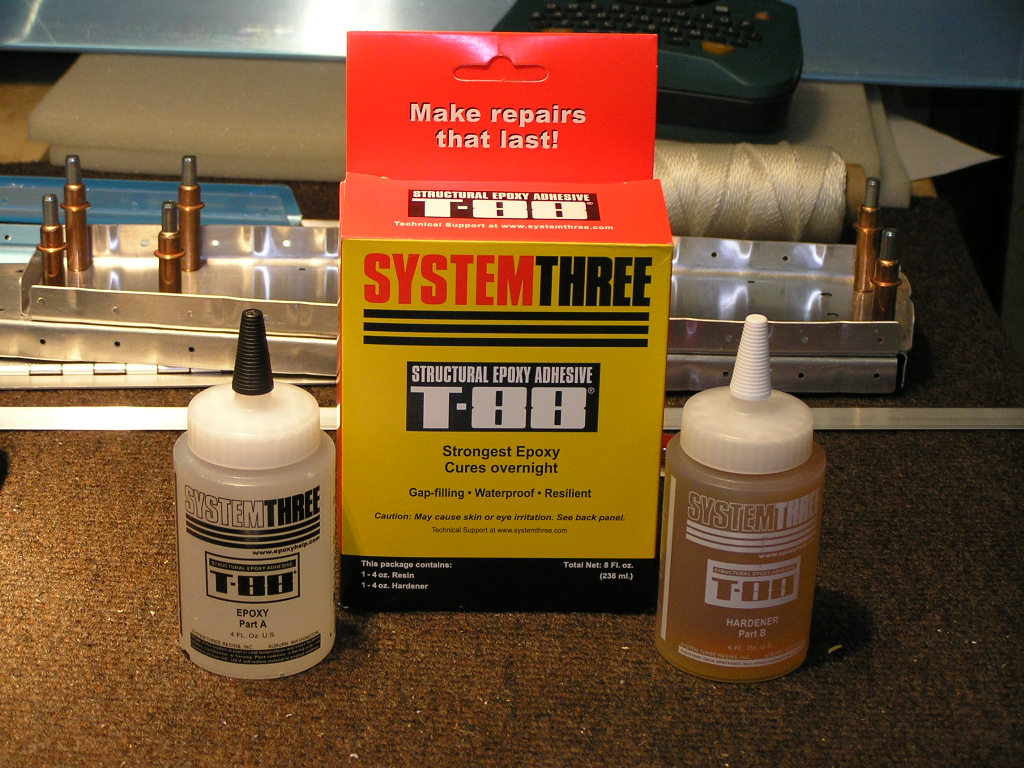
I bought the 8oz kit of T-88 from Wicks Aircraft Supply for
the trailing edges of the rudder and the elevators. The
ProSeal has only an hour life once you mix the parts together
and I realized I would not be able to use it for both the rudder
as well as both elevators. Oh well, maybe I will be able
to use it to glue the ribs in the trim tab. |
3.0 |
| 3/11/06 | My flying partner, Jerry, flew up today to check
out my progress. He helped me dimple the Rt. elevator
skin.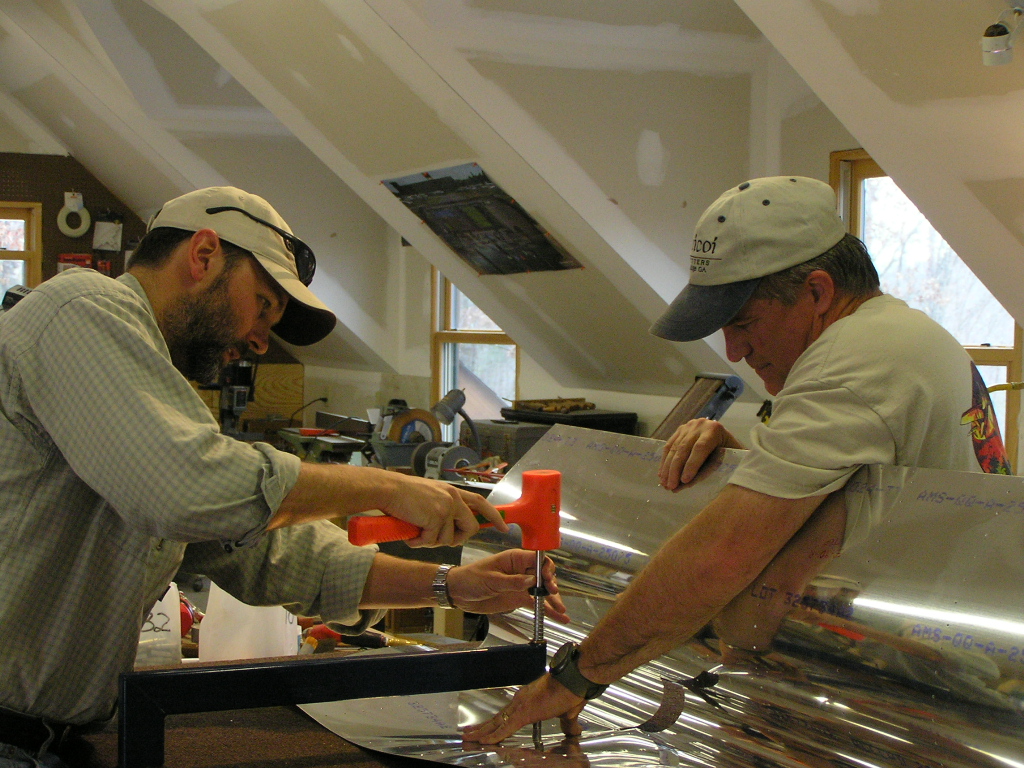  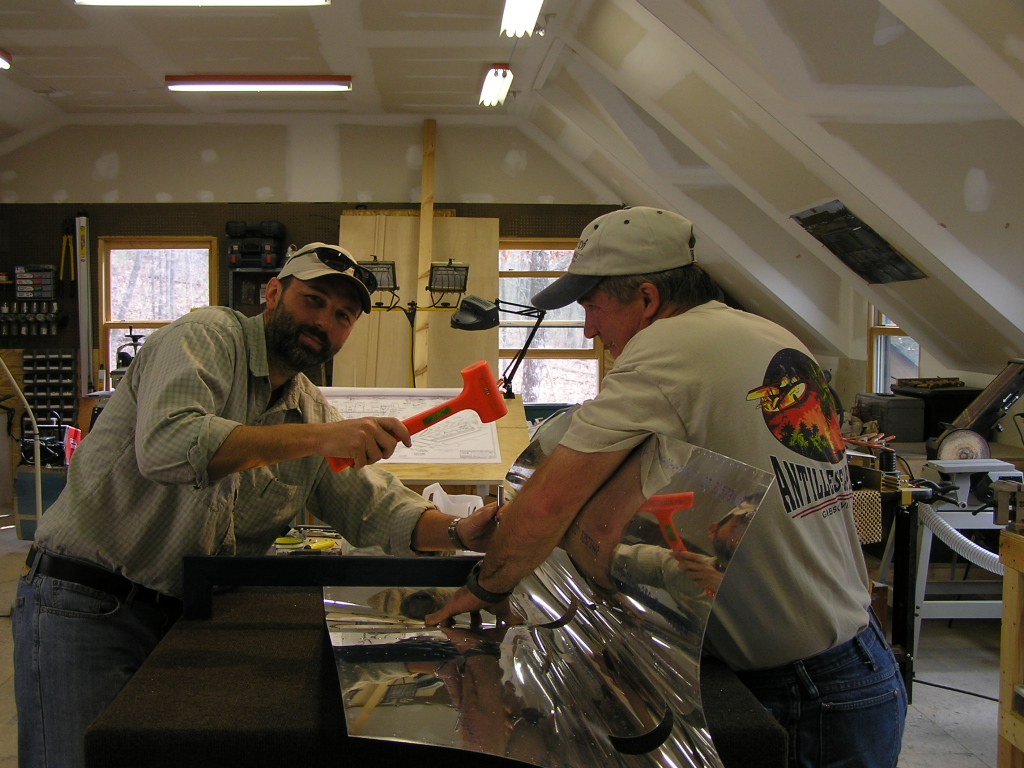 |
1.0 |
| 3/25/06 | Scuffed and cleaned the Rt elevator stiffeners and applied Sanchem chemical conversion. | 2.0 |
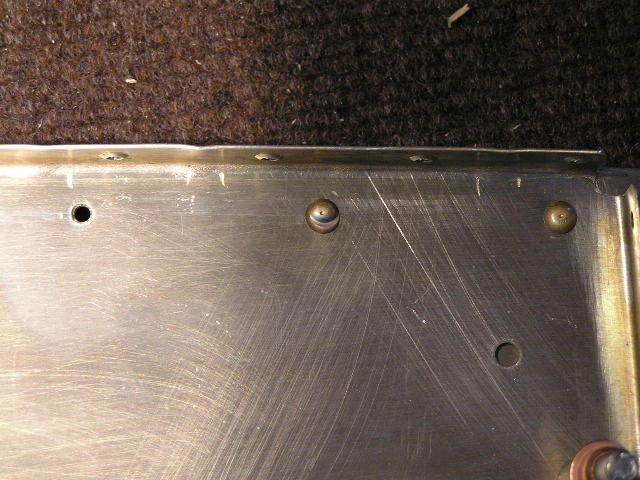
| 3/26/06 | Riveted the stiffeners to the Rt. elevator
skins.  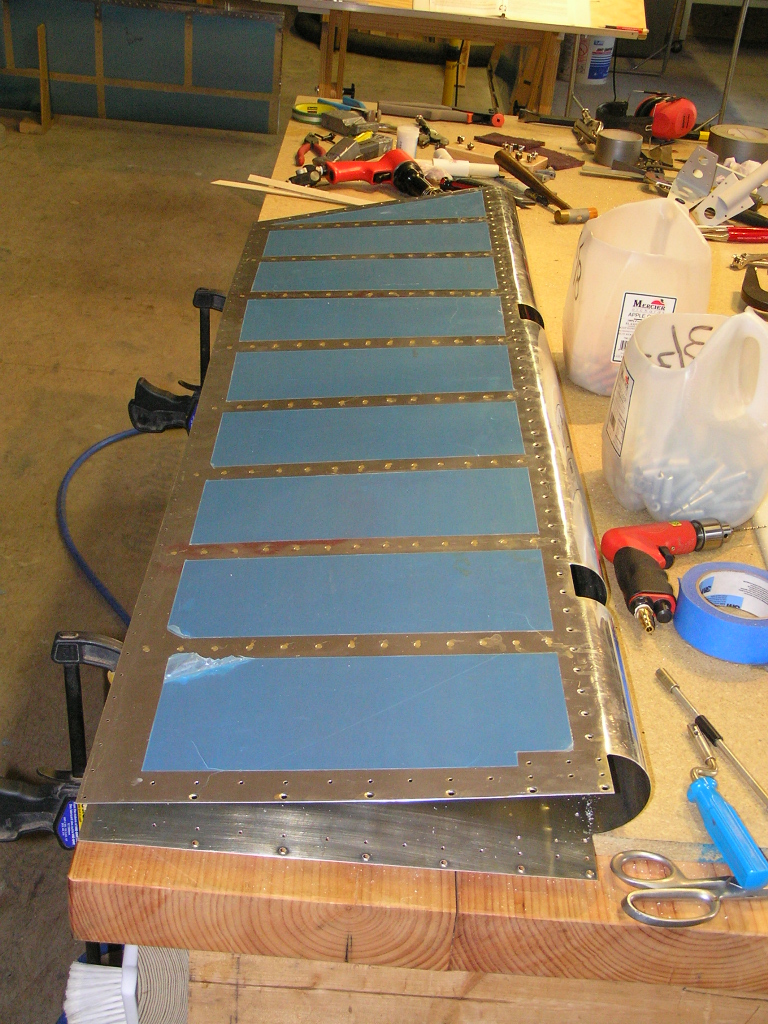
Sanchem the spar, ribs and counterbalance arm. Riveted the
support brackets and the end rib to the spar. I was riveting the counterbalance arm ribs and created this
nice "smiley", so I called it a day. |
5.0 |
| 4/1/06 | Riveted the elevator skeleton together | 1.0 |
| 4/2/06 | Riveted the spar to the top skin, the
counterbalance assembly to the spar, and the bottom skin to the
spar. Riveted the root and tip ribs to the skin.
Drilled the AEX wedge to the trailing edge, deburred, dimpled
and countersunk the AEX wedge. Drilled entire trailing
edge to the aluminum angle. Took the assembly apart and
glued AEX wedge with T-88 epoxy, clecoed the assembly to the
angle and set aside to cure.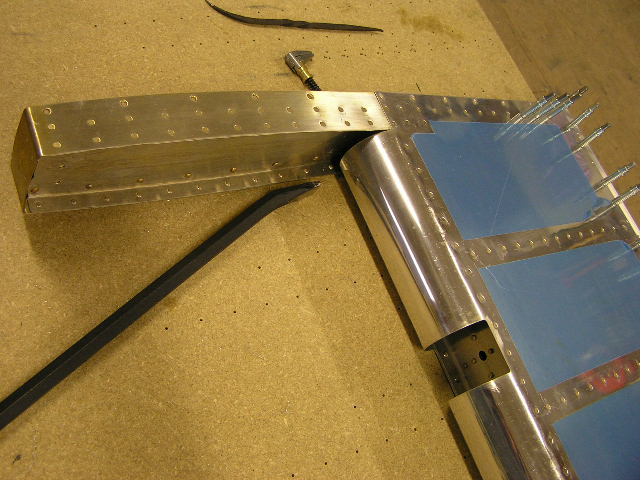 |
5.0 |
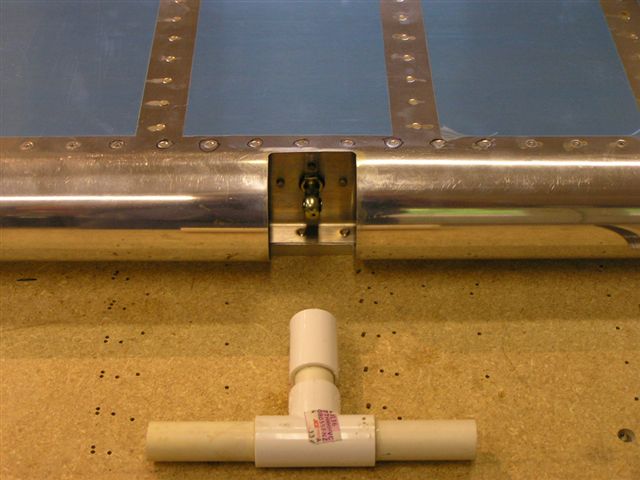
| 4/8/06 | Removed clecos and cleaned rivet holes in
trailing edge. Back-riveted trailing edge (half way) being
sure to alternate sides, flipped elevator over and riveted the
trailing edge using the steel angle as a bucking bar. It
is straight as an arrow.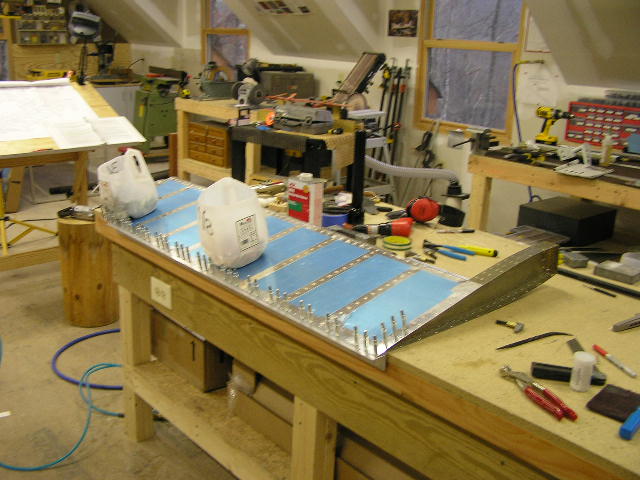 
Installed the rod end bearings and installed the elevator to the
horizontal stabilizer. Aligned and checked for fit,
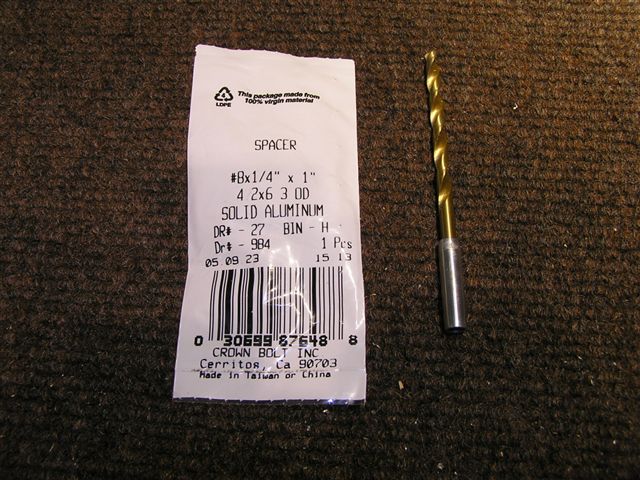
clamped and drilled the hole in the elevator horn. I found
a 1/4" OD x 1" aluminum spacer at Home Depot to use as a drill
bushing. I had to take off about .001" in order for it to
fit snugly inside the VA-146. I used a 1/4" reamer to
finish the hole to final size. The Right Elevator is FINISHED! |
4.0 |
|
Total Hours |
33.0 |

Left Elevator
|
Date |
Description of Task | Hours |
| 3/11/06 | Deburred the spar and the Lt. elevator skin. | 1.0 |
| 3/19/06 | Cut and deburred stiffeners. Clekoed stiffeners to skin and match drilled. Took apart, deburred stiffeners and dimpled. Assembled the Left counterbalance arm, match drilled, deburred and dimpled. | 4.0 |
| 3/25/06 | Deburred the skin in preparation for dimpling. | 1.0 |
| 4/9/06 | Clecoed the spar, root rib and elevator trim spar to the skin. Match drilled and disassembled. Deburred and dimpled spar and root rib. Deburred elevator trim spar in preparation for countersinking. Fabricated the E-921 gusset. | 3.0 |
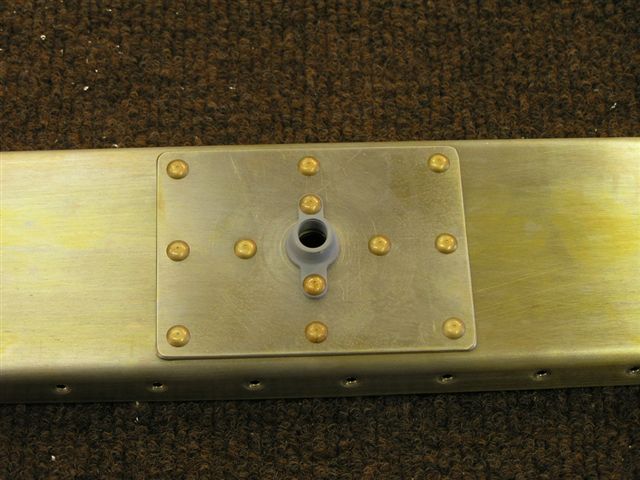
| 4/12/06 | Countersunk/dimpled the trim tab cover plate
platenuts and primed. Countersunk the elevator trim spar.
I fabricated a mold using the dremel tool to hold the platenuts
while countersinking.  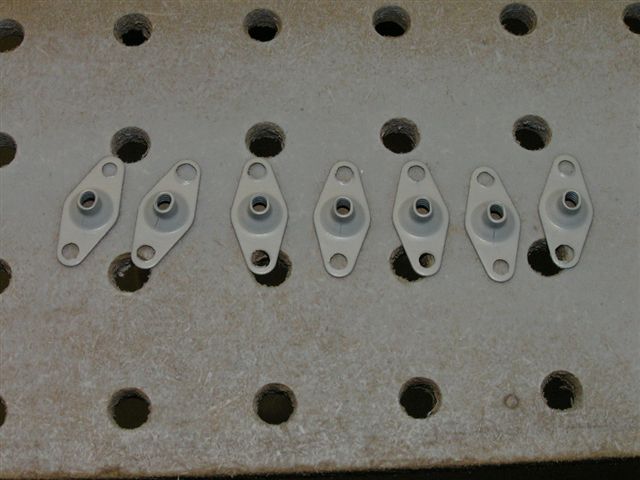 |
1.0 |
| 4/13/06 | Countersunk/dimpled the trim tab spar.
Deburred the electric trim brackets. I received a 3.5"
no-hole, thin-nose yoke from a machinist in Canada. It
fits my pneumatic squeezer so I can now reach more rivets and
those in tight places. |
.5 |
| 4/14/06 | Cleaned and prepped L elevator parts for priming. | 1.0 |
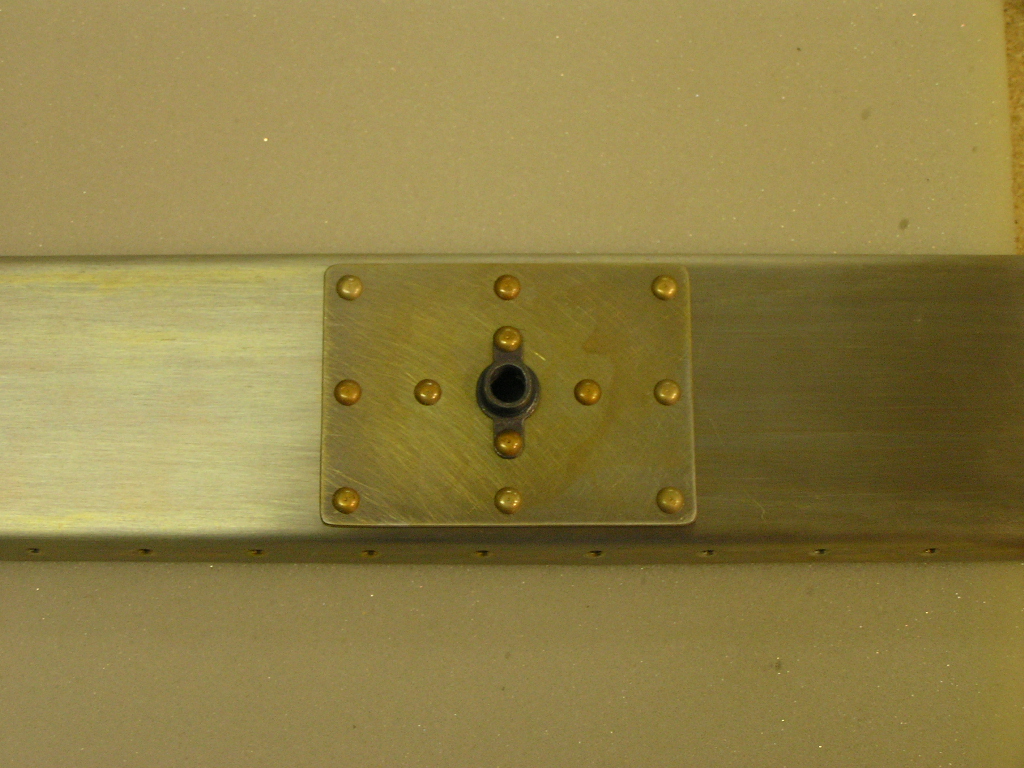
| 4/15/06 | SanChemed the spar, ribs and assorted parts.
Riveted the platenuts to the trim support plate.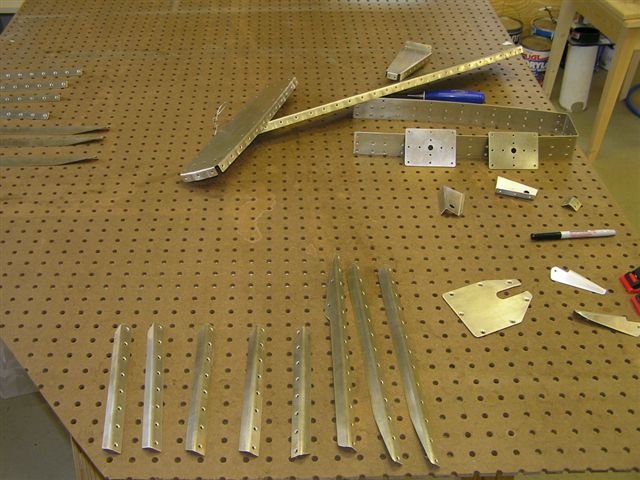 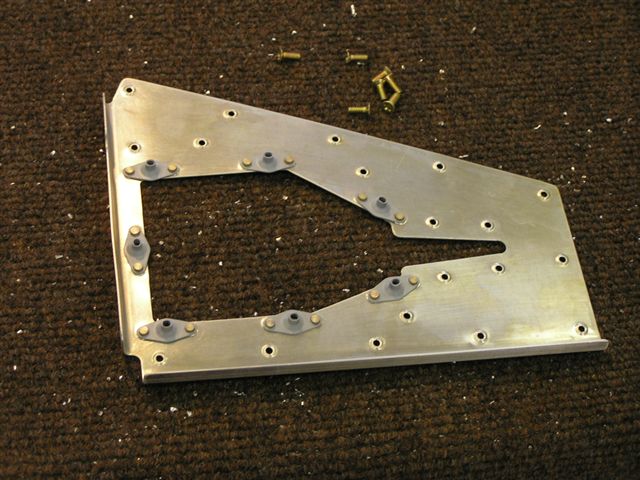 Dimpled skin with Lynne's help. Riveted the spar, control
horn, support brackets and counterbalance assembly.
Back-riveted stiffeners to top skin. Began riveting spar
to top skin.
|
6.0 |
| 4/16/06 | Finished riveting top skin to spar. Riveted on the counterbalance assembly. Riveted the gusset to the end rib an the trim tab spar. | 5.0 |
| 4/21/06 | Riveted the bottom skin to the spar. 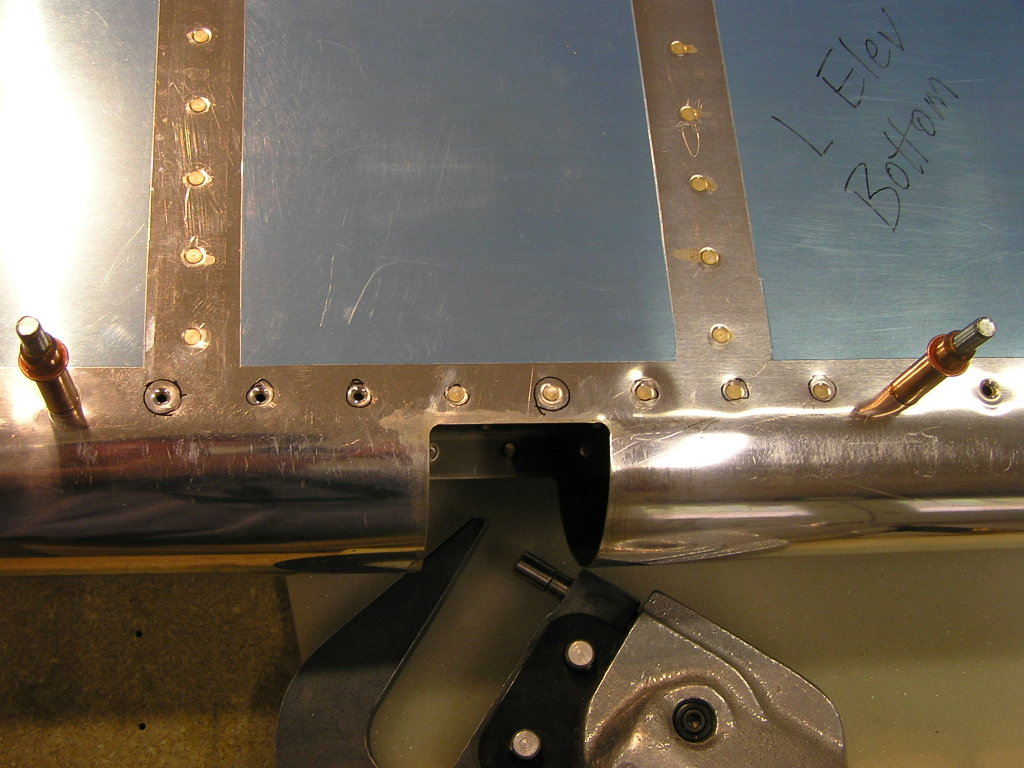 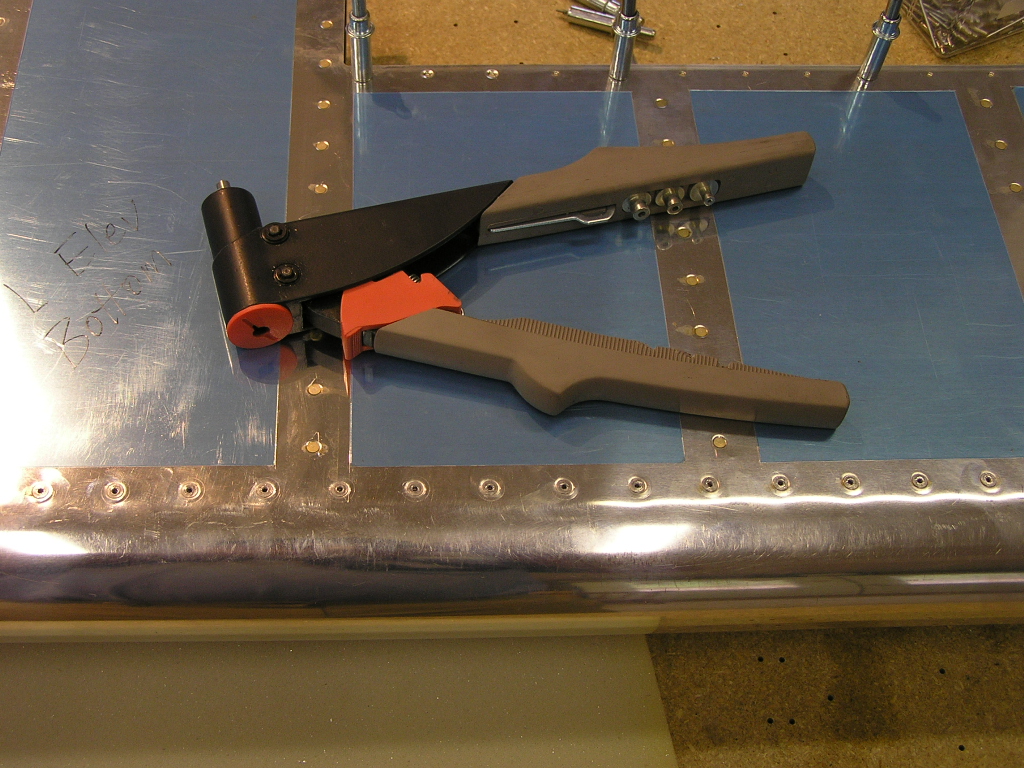 |
2.0 |
| 4/22/06 | Countersunk the AEX wedge and Sanchemed. I
used T-88 epoxy to glue the AEX in the trailing edge assembly
and clecoed for setting up. I'll let it set for a week to
cure and finish riveting.  |
4.0 |
| 5/4/06 | Riveted the trailing edge. Looks great. | .5 |
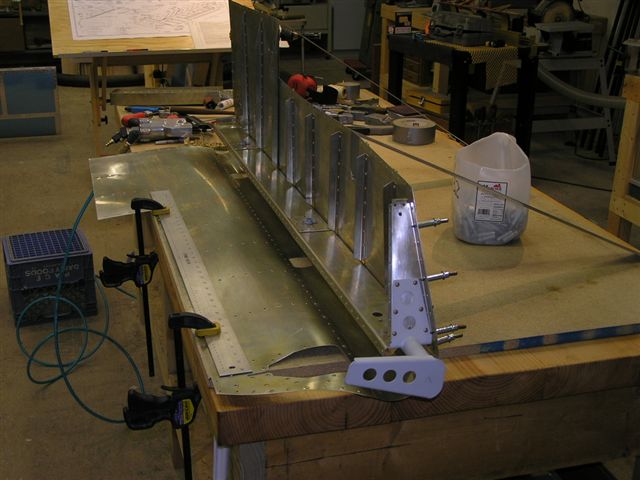
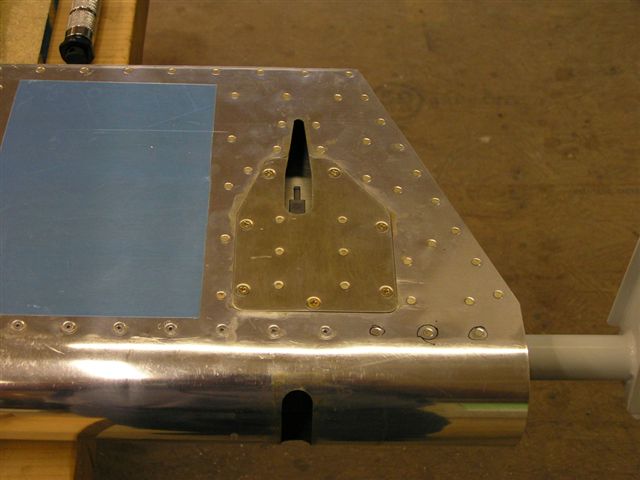
| 5/7/06 | Trimmed the lead counterweights for both L & R
elevators and attached/torqued bolts. 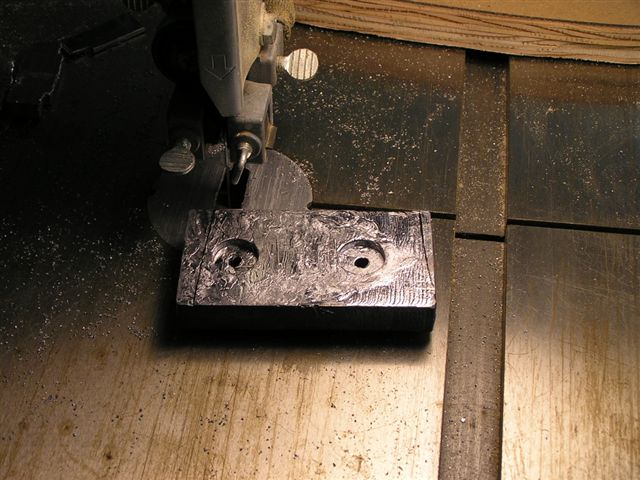 Installed the
inboard rod end bearing but could not get the outboard bearing
to start in the nutplate. Instead of forcing the bolt and
possibly stripping the threads, I will buy a 3/8 tap and see if
that helps. Installed the trim tab servo and attached the
cover plate. Riveted the trim tab hinge to the trim spar.
|
4.0 |
| 5/11/06 | Received the 3/8-24 tap from Aircraft Spruce and tapped the K-1000 nutplate. The rod end bearing went in like a charm. Set to 13/16ths and tightened the retaining nut. | .5 |
|
Total Hours |
33.5 |


Trim Tab
|
Date |
Description of Task | Hours |
| 4/13/06 | Trimmed the trim tab actuator arm attach brackets and deburred. | .5 |
| 4/22/06 | I cut the foam stiffeners on the bandsaw using
the template in the plans. I finished the stiffeners on
the belt sander. I taped off the area for the stiffeners
and scuffed with 150 grit emery cloth.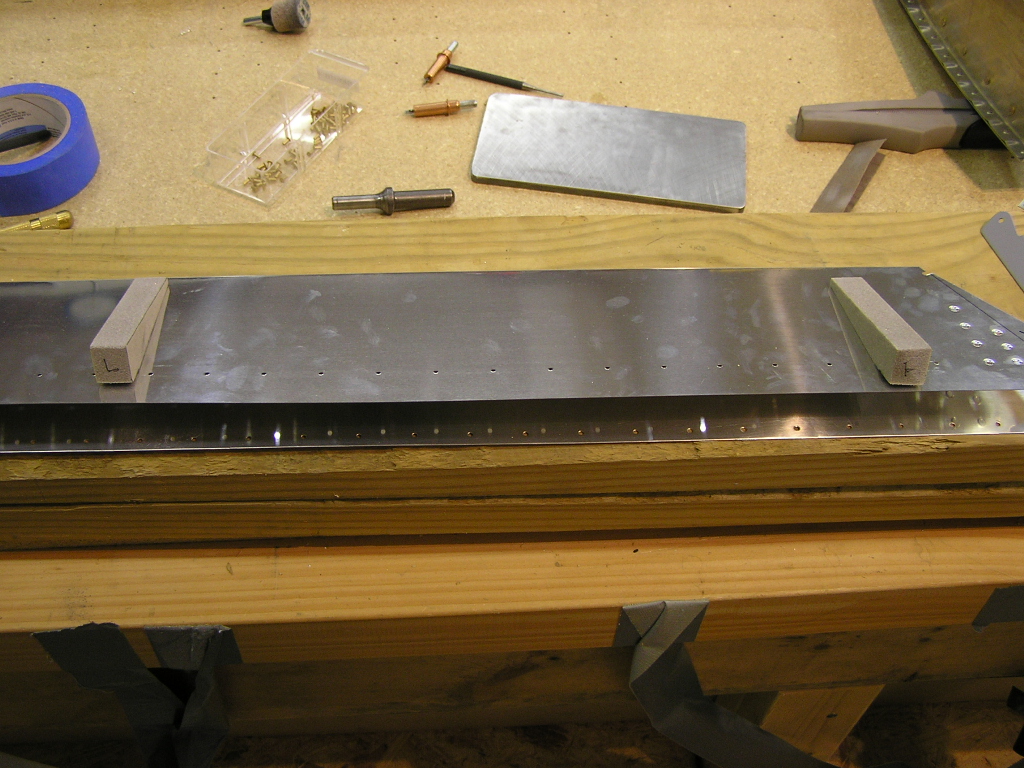 I bought four hinges from Ace Hardware and Aircraft Supply and constructed the bending break per the plans. 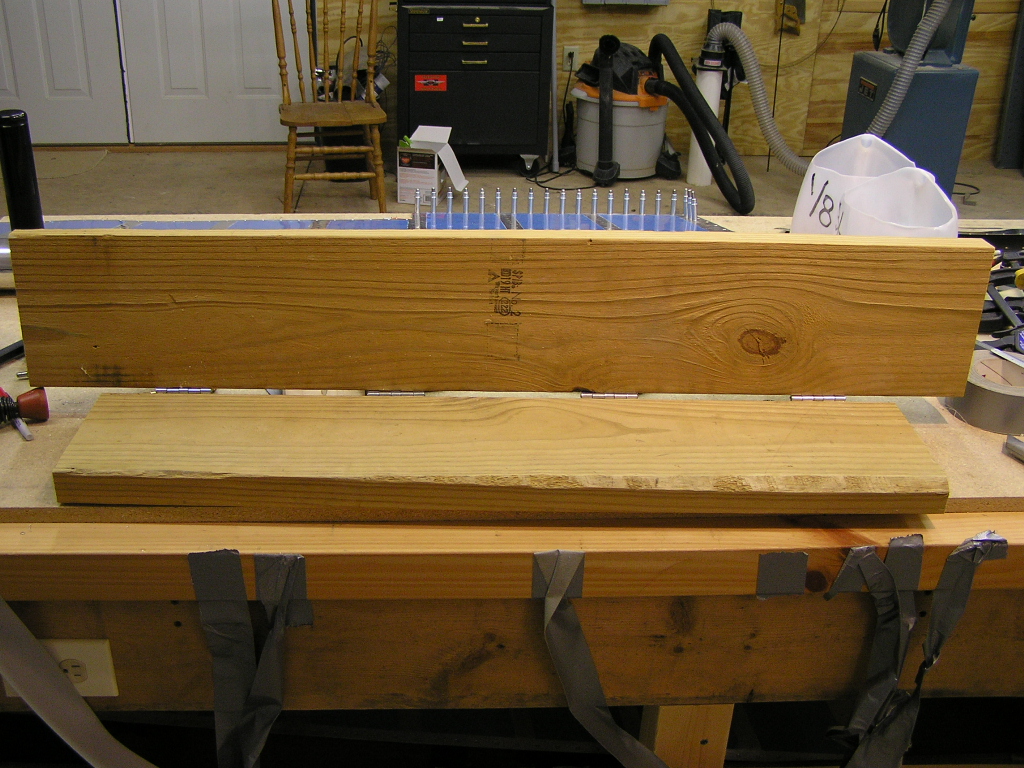 A large part of the day was head-scratching. The plans really get thin in the detail area here. They say to drill, deburr, dimple and rivet the trim tab attach bracket and THEN bend the end tabs. The problem is that you then CANNOT get the bending block in the correct position so I drilled out the rivets, bent the tabs and then re-riveted the attach bracket. All in all, I think they came out great. 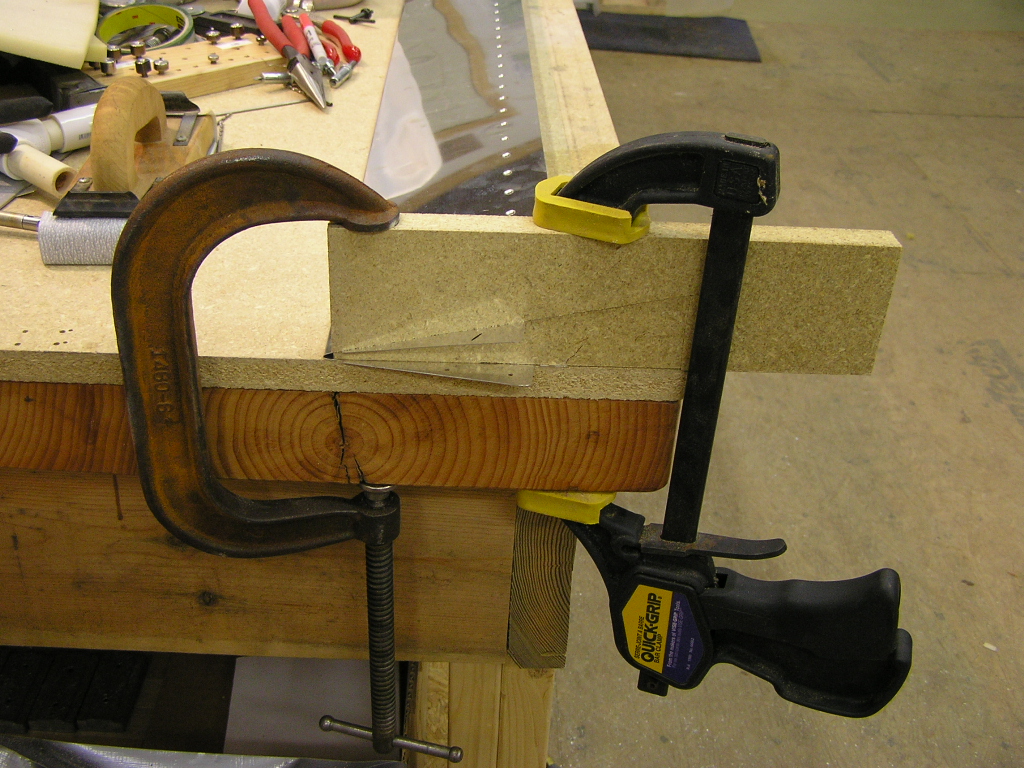 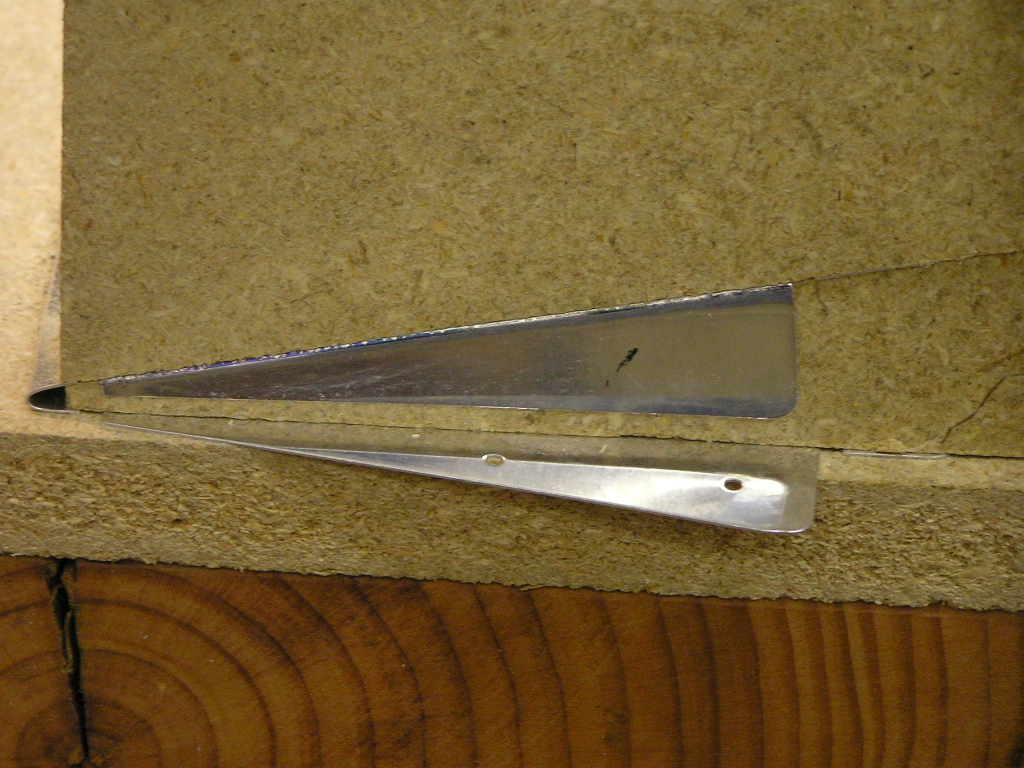  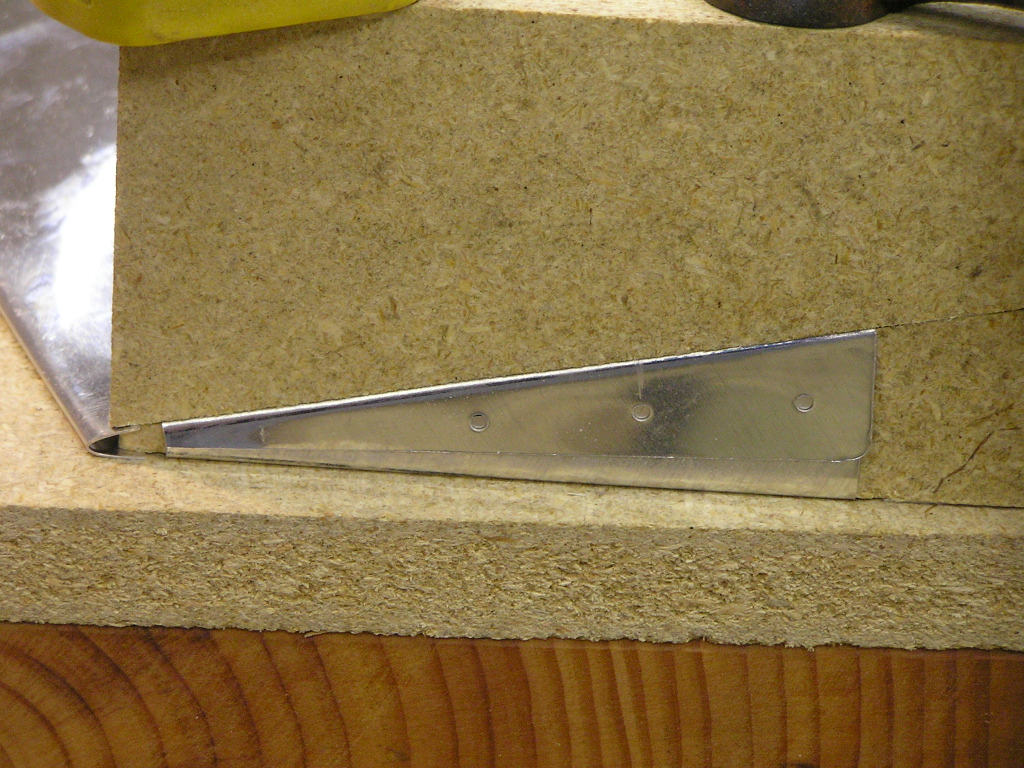 |
6.0 |
| 5/4/06 | Trimmed the trim tab hinge and match drilled to the elevator. Deburred hinge and clecoed to elevator for riveting. | .5 |
| 5/5/06 | Happy Cinco de Mayo! To celebrate I ordered my WINGS! | |
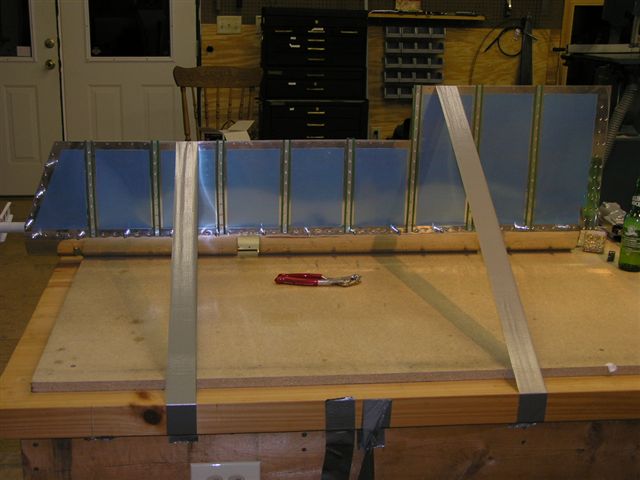
| 5/7/06 | Backriveted the trim tab spar to the skin.
I decided it was time to waste an entire tube of Proseal just to
get a dab for the foam ribs.  Once "dabbed" I set the trim
tab in the "V" supports and will allow to set up for the next
week. I match drilled the trim tab ends to #30 and pop
riveted. Used the rattle can and primed the hinge. |
3.0 |
| 5/13/06 | Riveted the hinge to the trim tab. When I attempted to attach the Trim tab to the L elevator, the hingr pin only would insert to the fourth eyelet. Upon closer inspection, I could see the eyelet was slightly deformed. This was probably caused when I was squeezing the rivets. I will try and manipulate the eyelet to improve the fit. Other than that, the fiberglass tips and trial fitting on the HS, this puppy is finished. | .5 |
| 5/21/06 | I broke the hinge pin while bending it so I will
need to order another one from Vans. I trial fit both
elevators and checked for deflection. Drilled the horns.
Began fitting the fiberglass tips.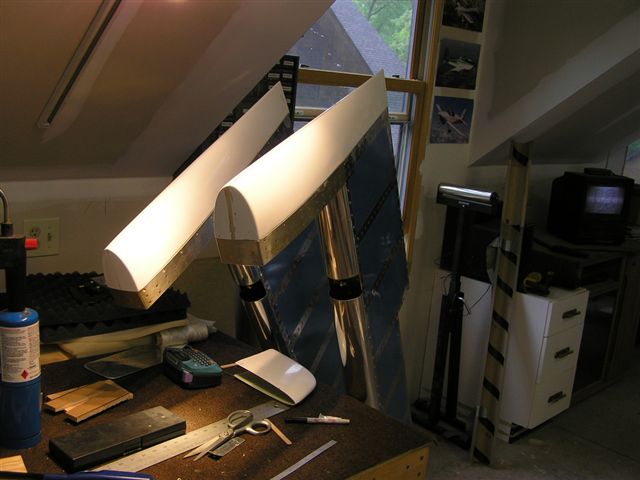 |
1.5 |
|
Total Hours |
12.0 |
Fiberglass Tips
|
Date |
Description of Task | Hours |
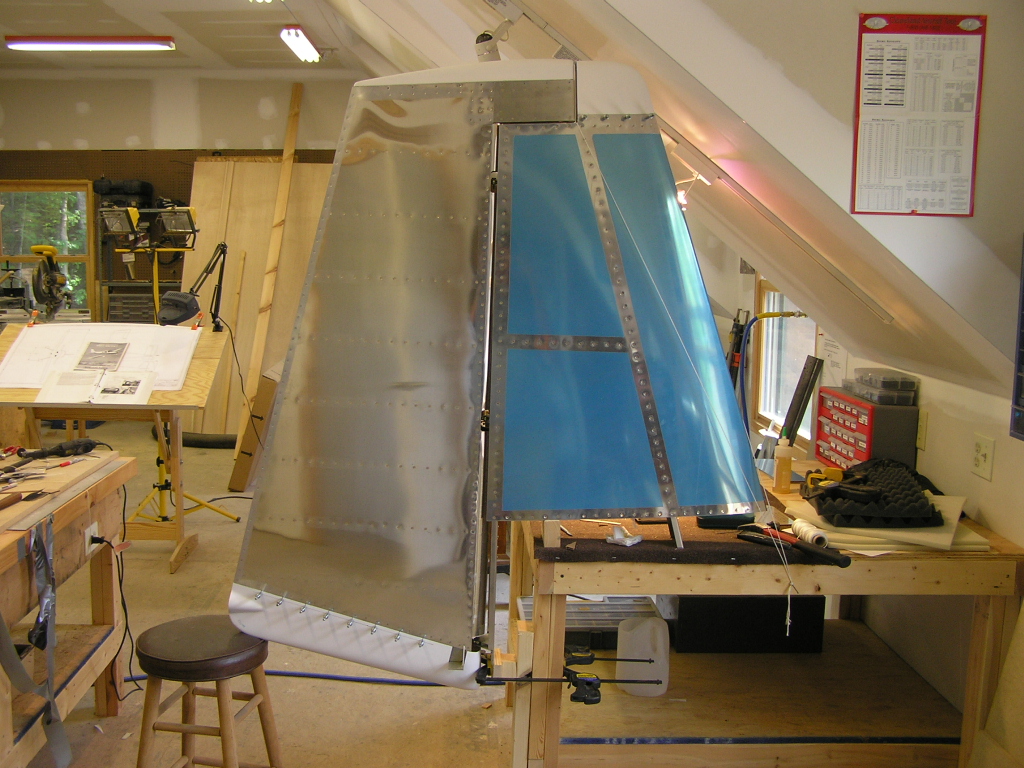
| 6/3/06 | I've been notified my Wings will be shipped on
or about July 10th so I have decided to go ahead and delve into
the fiberglass and get this knocked out. I spent most of
the day sanding the rough edges and trial fitting the tips.
I will be installing nut plates on the vertical stabilizer tip
as well as the rudder bottom. Everything else will have
countersunk pulled rivets. I started with the rudder tip.
These I riveted with CS4-4 pulled rivets. The Vertical Stabilizer tip. I will be making a plug to
close the tip with some closed-cell foam I got from fellow EAA
1211 member and RV-4
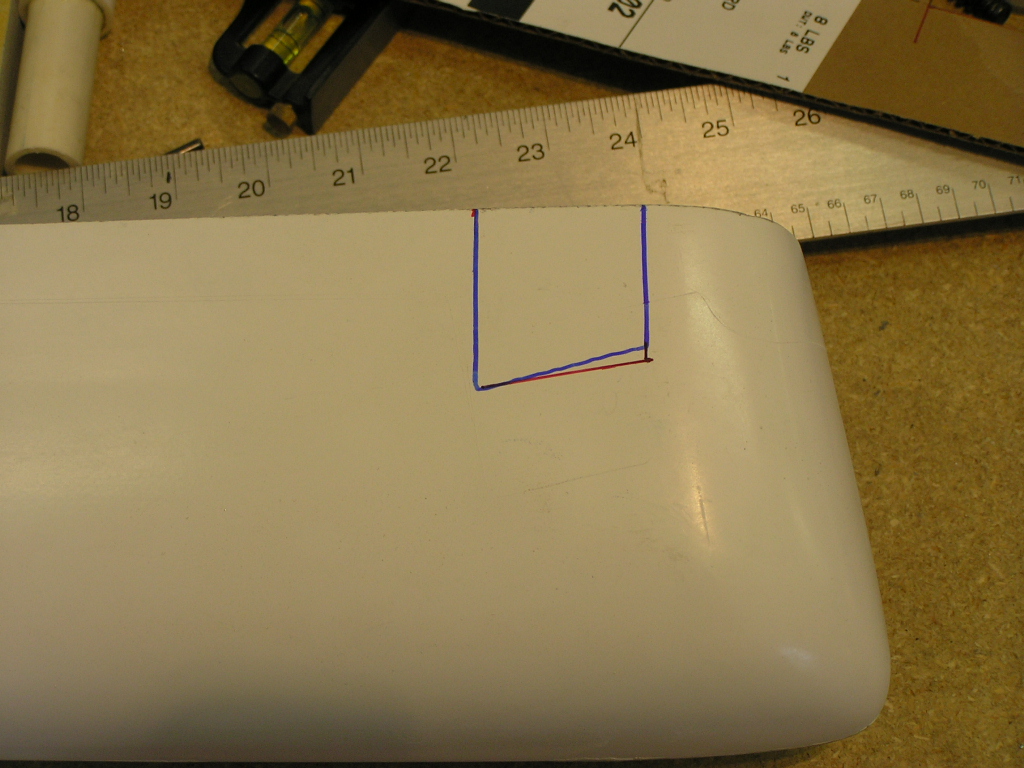
builder Clay Smith. Next, the Rudder bottom. This required a special cut in
order to fit the fiberglass over the control arm. After
cutting a template out of cardboard and trial fitting, I
transferred the lines to the fiberglass. The Dremel tool
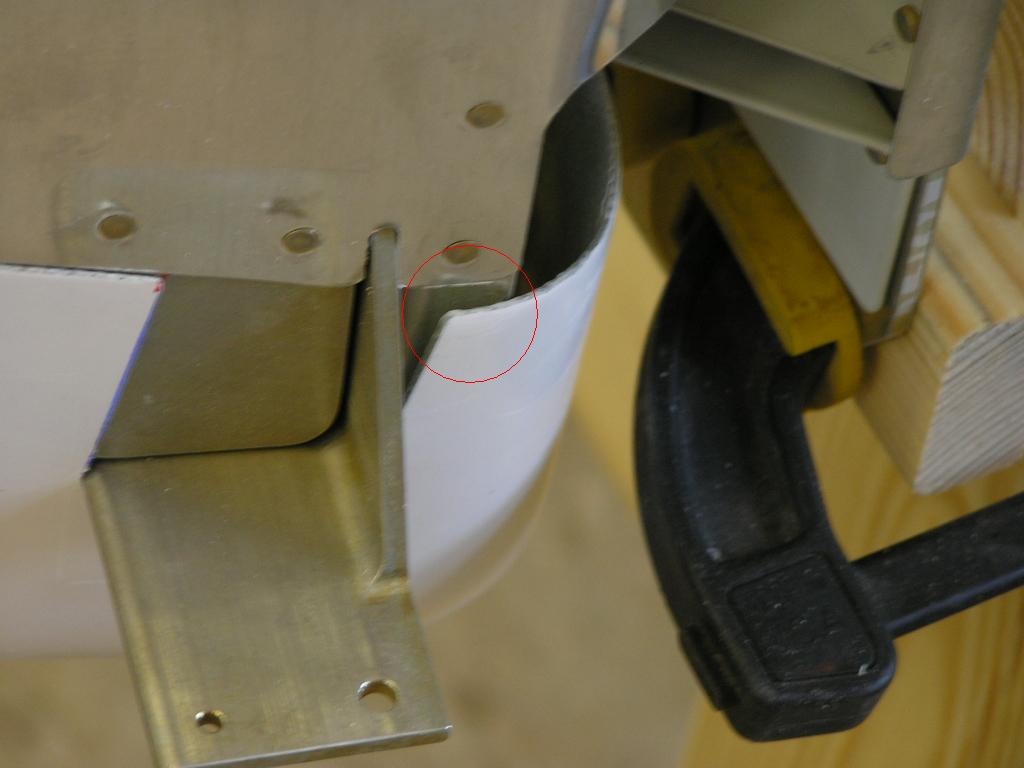
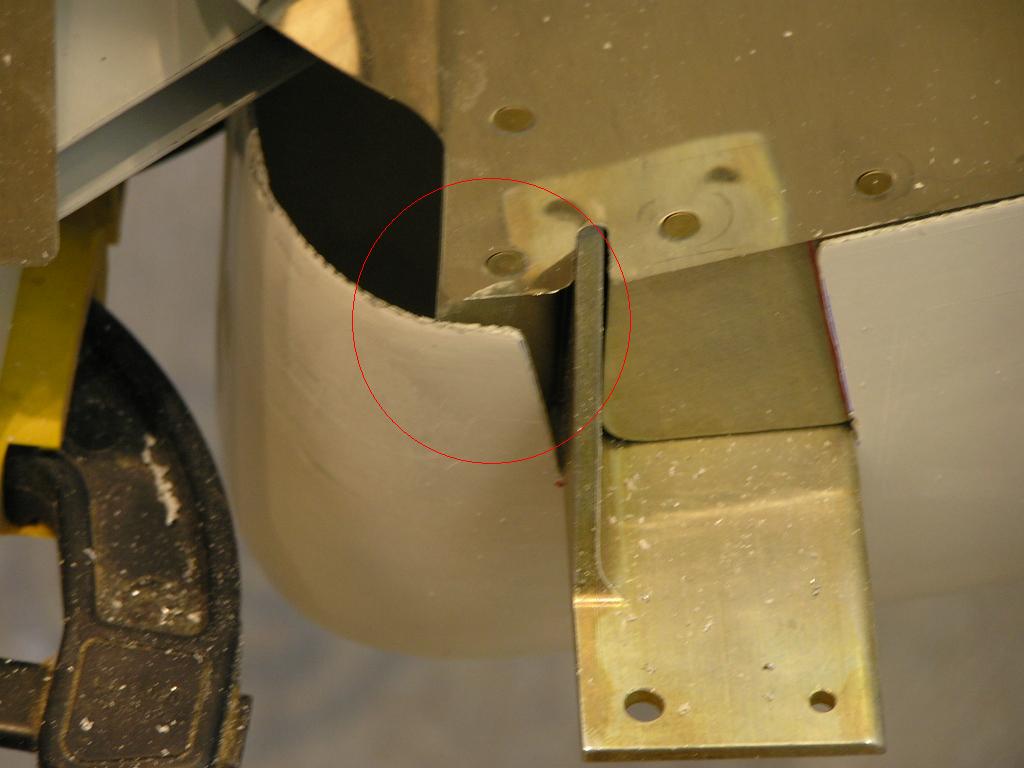
does a great job of cutting the fiberglass tips. I'm not really happy with how the fiberglass "bulges" around
the front spar and I will be checking with a few other builders
to see how they dealt with this problem. |
6.0 |
| 6/4/06 | Today I worked on the Elevator tips. After
trimming and sanding they fit pretty well. I made sure to
note to myself NOT to rivet these tips until I fit the empennage
to the fuselage and paint the elevators. They cover the
counterbalance lead weights which will need to be accessible. 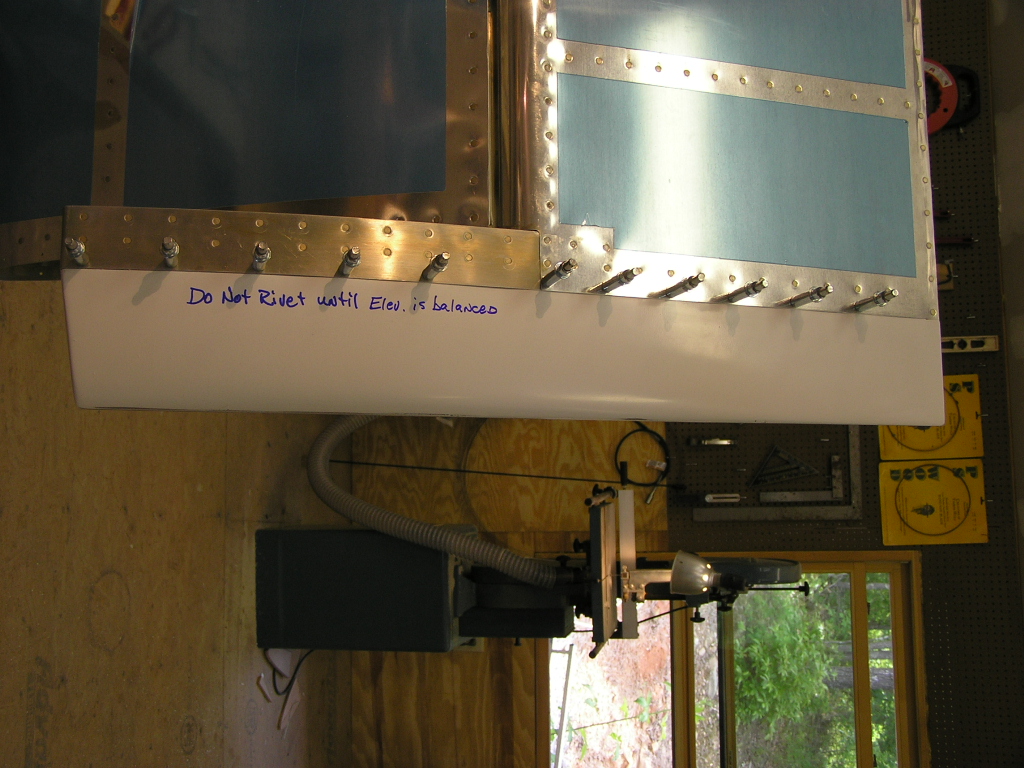
Next, I measured, marked, cut, (repeat) the Horizontal
Stabilizer tips. I'm pretty pleased with how these tips
look. Now all I need to do is fill in the tips which need glassing....
Otherwise known as the "fun" part. |
5.0 |
| 6/9/06 |
Cut foam pieces to plug fiberglass tips in HS and VS.
Epoxied in place with T-88.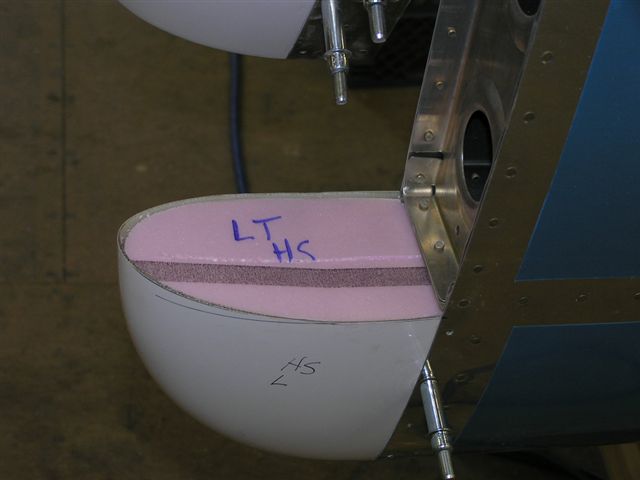 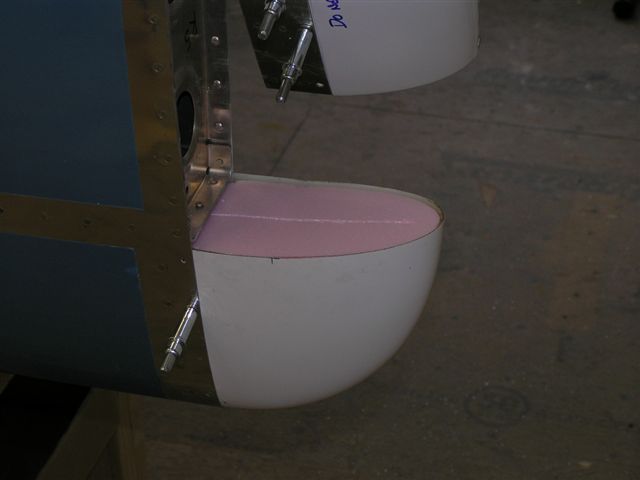 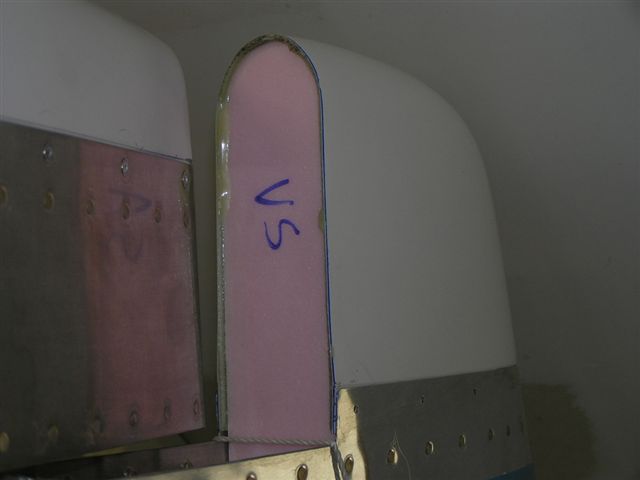 |
1.0 |
| 6/11/06 |
Received my West epoxy and hardener. Glassed the foam in
the tips and then epoxied with a slurry of micro balloons.
Began the sanding process once cured. I'll need to epoxy
again and then sand to final surface coat. |
2.0 |
| 6/12/06 |
Gave the tips a second lay-up of epoxy and balloons. A
little sanding and I think they will do just fine.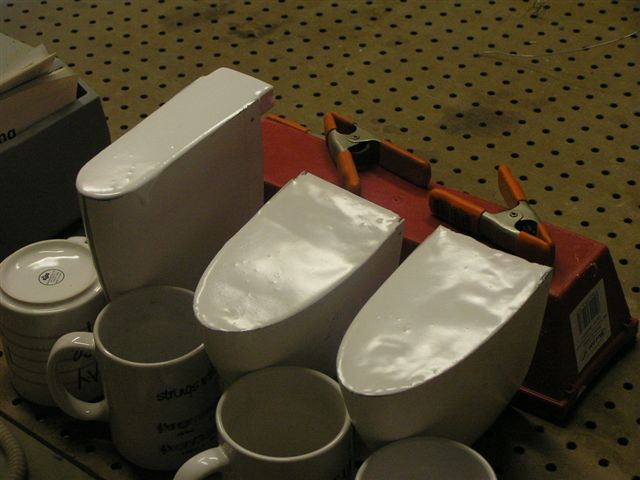 |
1.0 |
| 5/6/07 |
I decided to mount the delrin rudder stop I bought from
Jeff
Bordelon in
Round Rock, TX. This thing is so simple and elegant.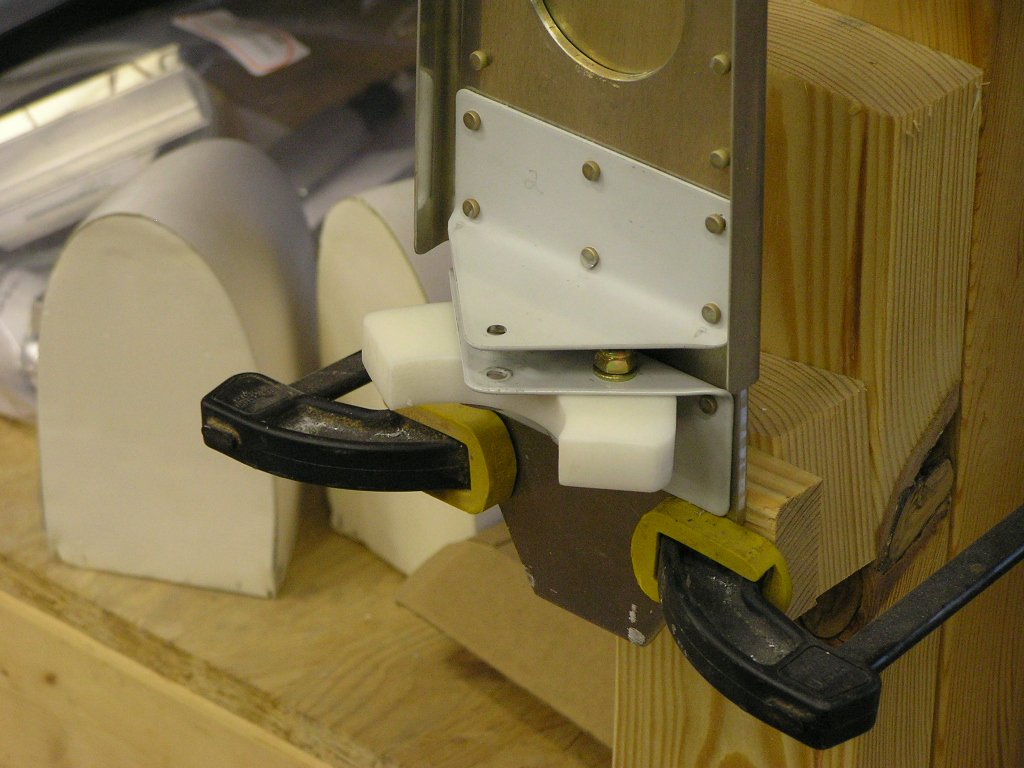 |
.5
|
|
Horizontal Stab Fairings |
||
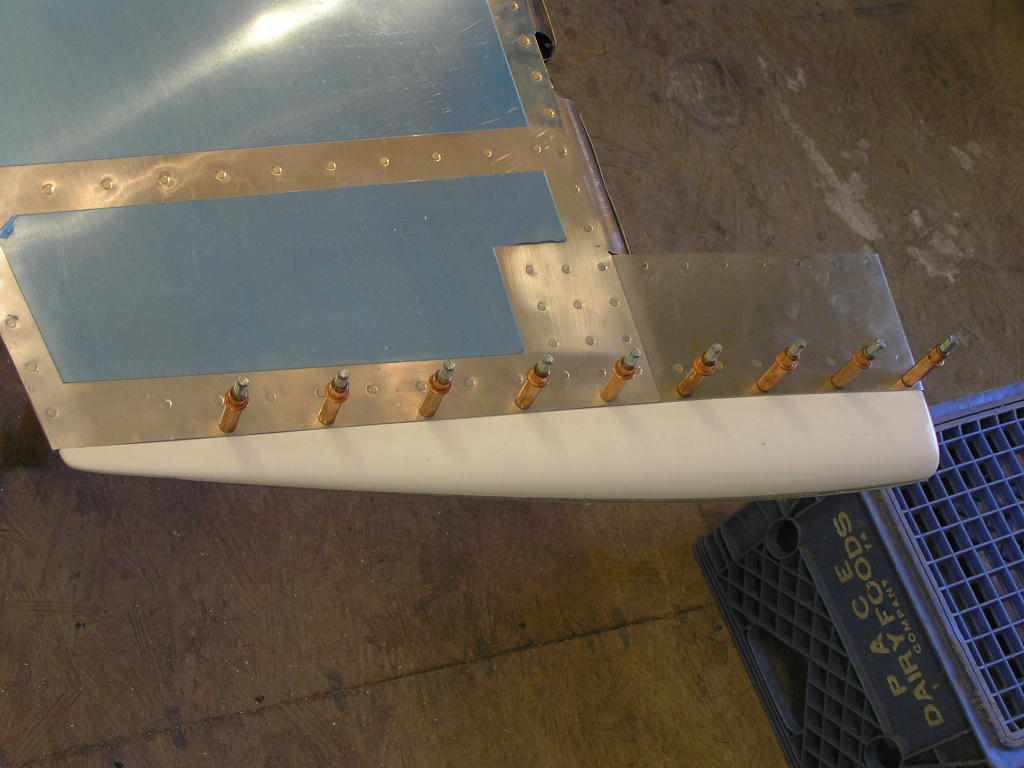
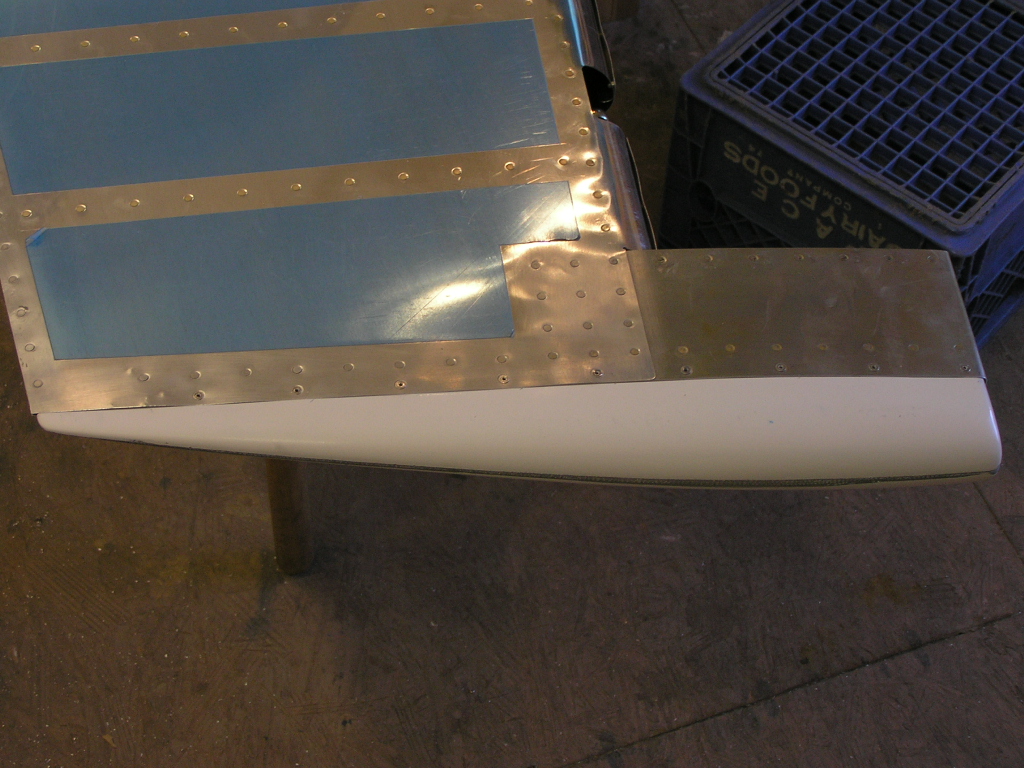
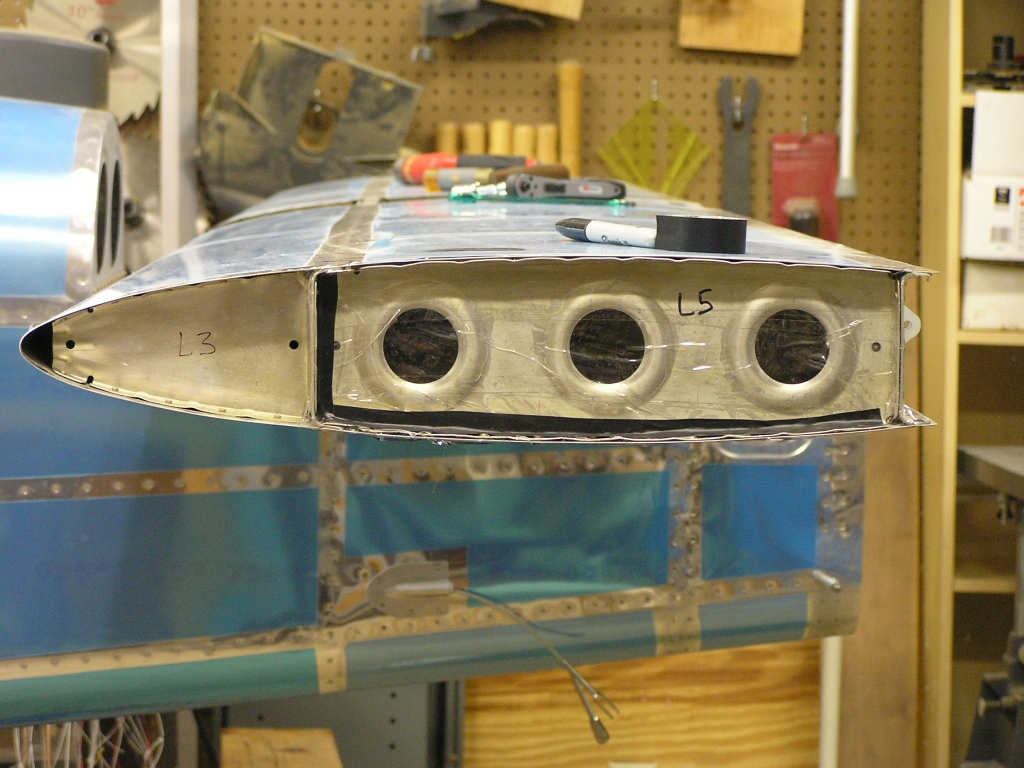
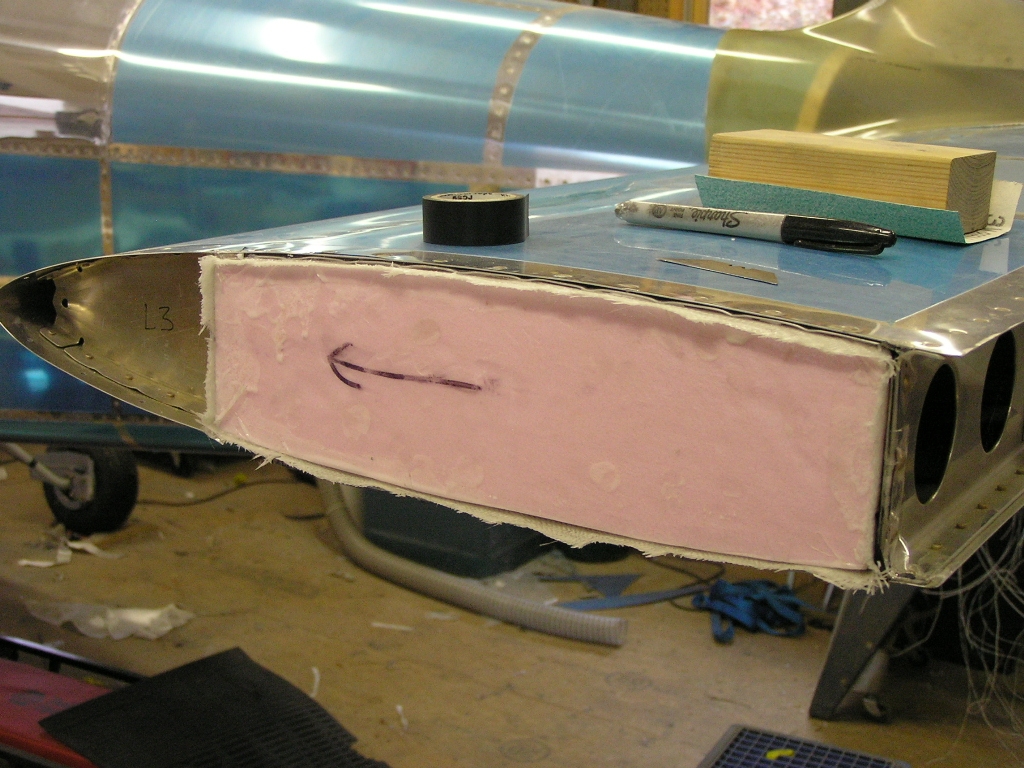
| 11/14/08 |
I re-installed the horizontal stabilizer and vertical stabilizer
and rudder in order to finish up some last details. I
started by trying a method of fiberglassing the HS ends which
are exposed. It has always bothered me to see RV's with
the holes in the ends of the HS. This would be a perfect
place for birds or wasps to build nests.
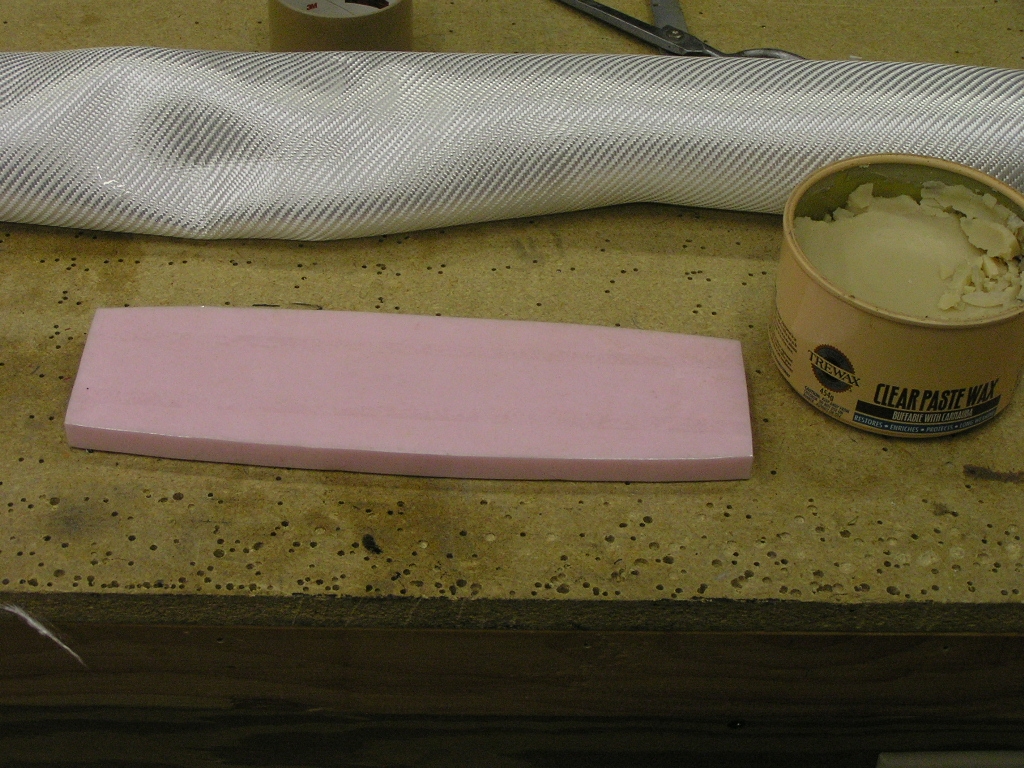
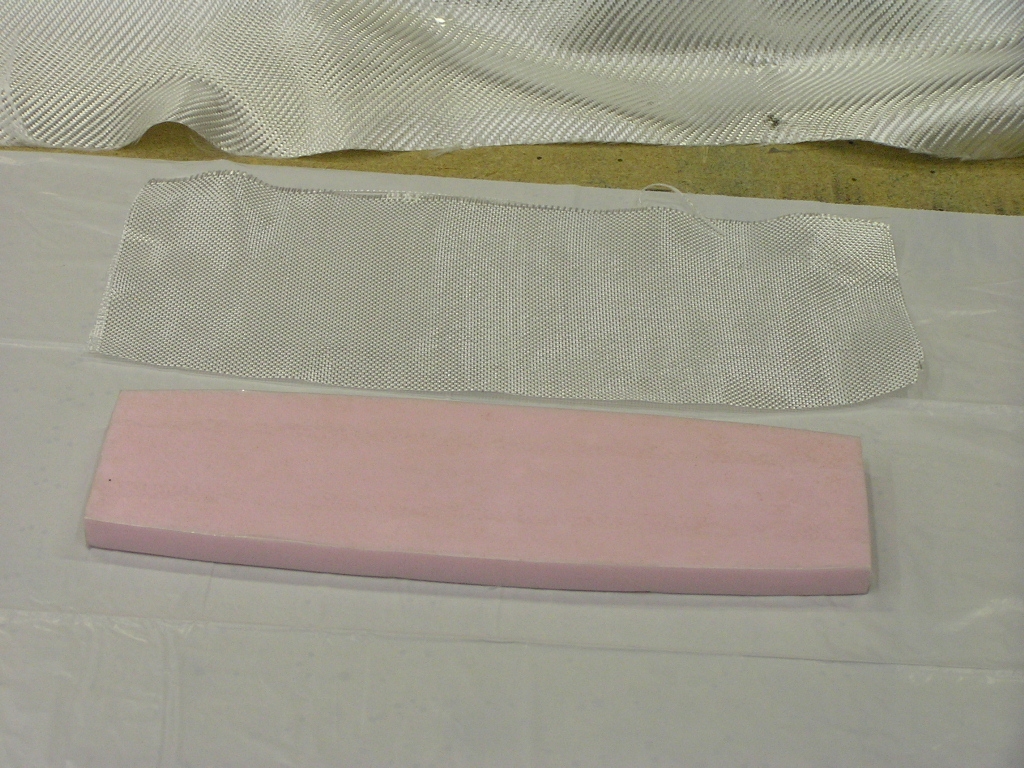
I cut a template out of styrofoam sheet and
after taping off the HS, laid up two layers of 12oz. glass with
the template mashing it in place. I am hoping to create a
"reverse" glass cover of
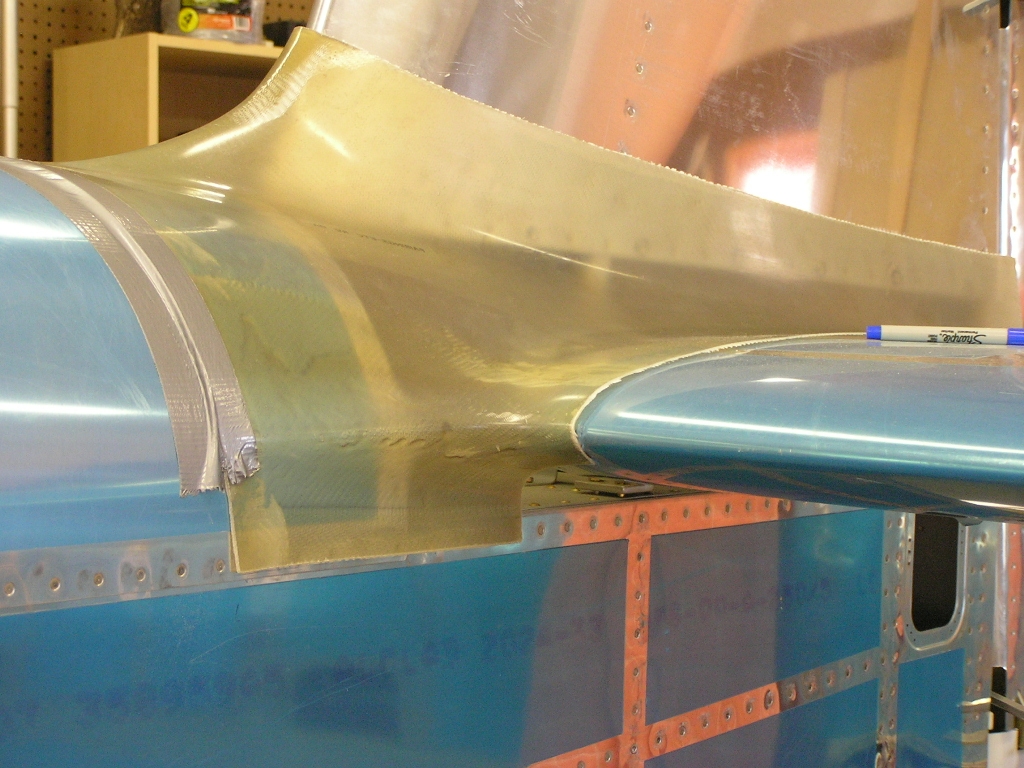
sorts. We'll see how it works. After the epoxy had set, I popped the cover off the styrofoam
template and laid up another fairing for the right HS. I also temporarily
installed the empennage fairing I got from
Fairings-Etc. |
2.0 |
| 11/15/08 |
I poured out some straight epoxy onto some sheet plastic and
laid the molded glass into the epoxy "bed" to try and get a
smooth outer surface. I also trimmed the flanges to .5".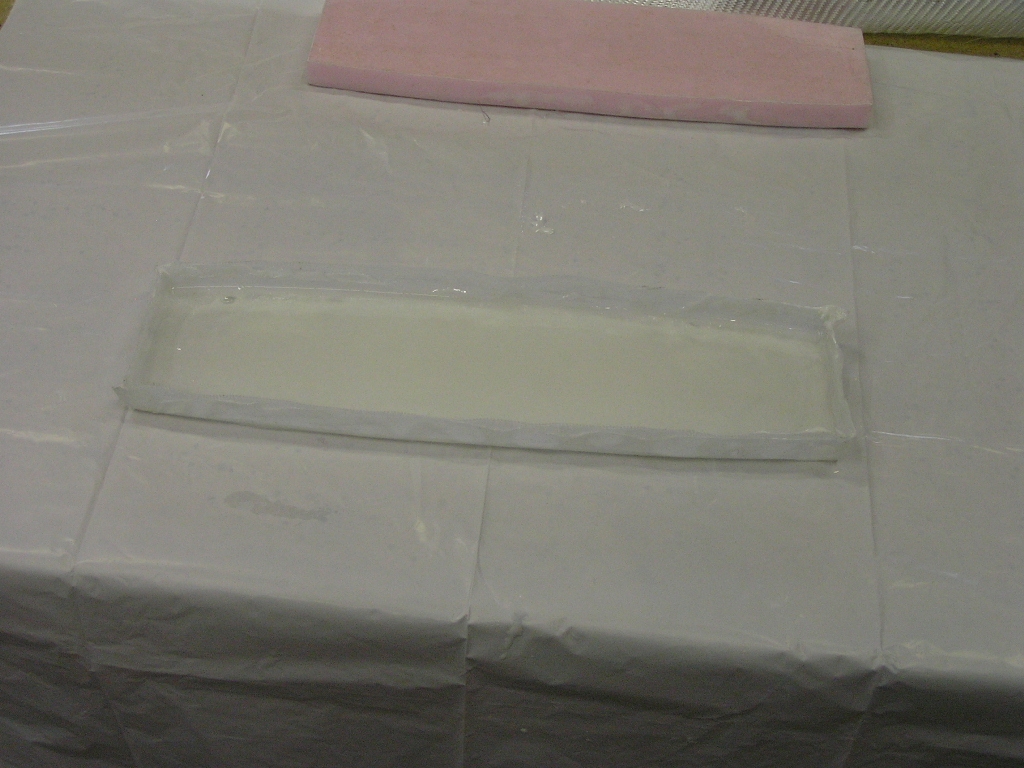 |
1.0 |
| 11/16/08 |
I mixed up some thickened micro and put a finish skim coat on
the left cover and set the right cover in the epoxy for setting.  |
1.0 |
| 11/27/08 |
Riveted the cover fairings to the HS tips.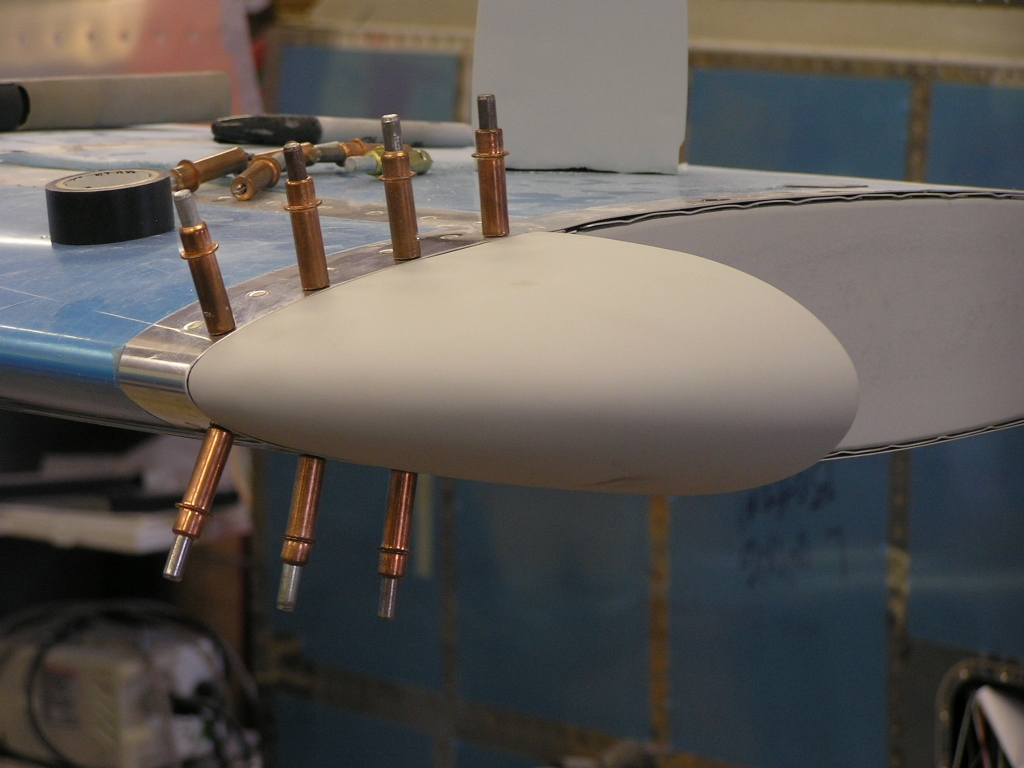 |
1.0 |
| 11/30/08 |
Installed the LED taillight in the lower rudder fairing and ran
the wiring out.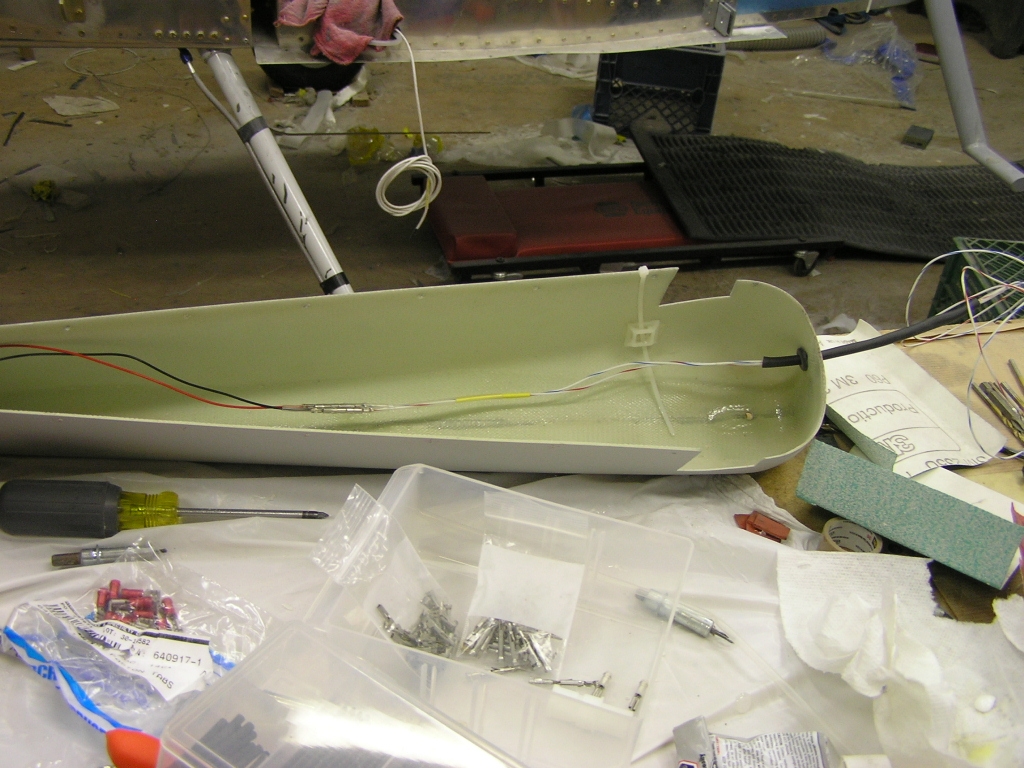 |
1.0
|
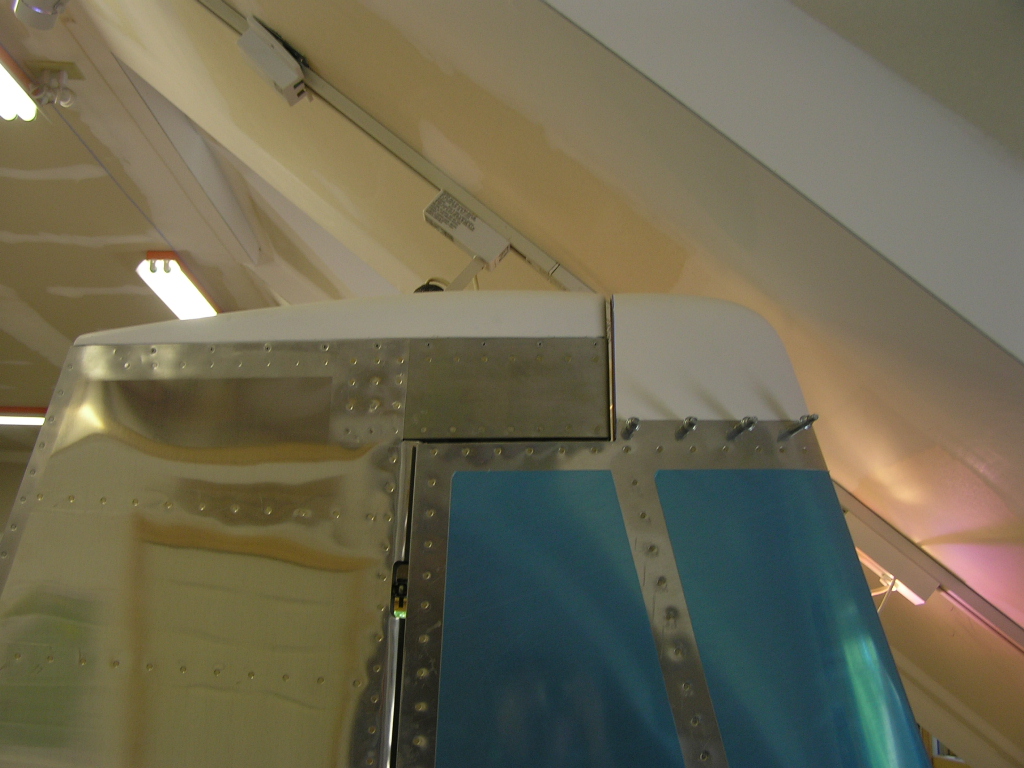
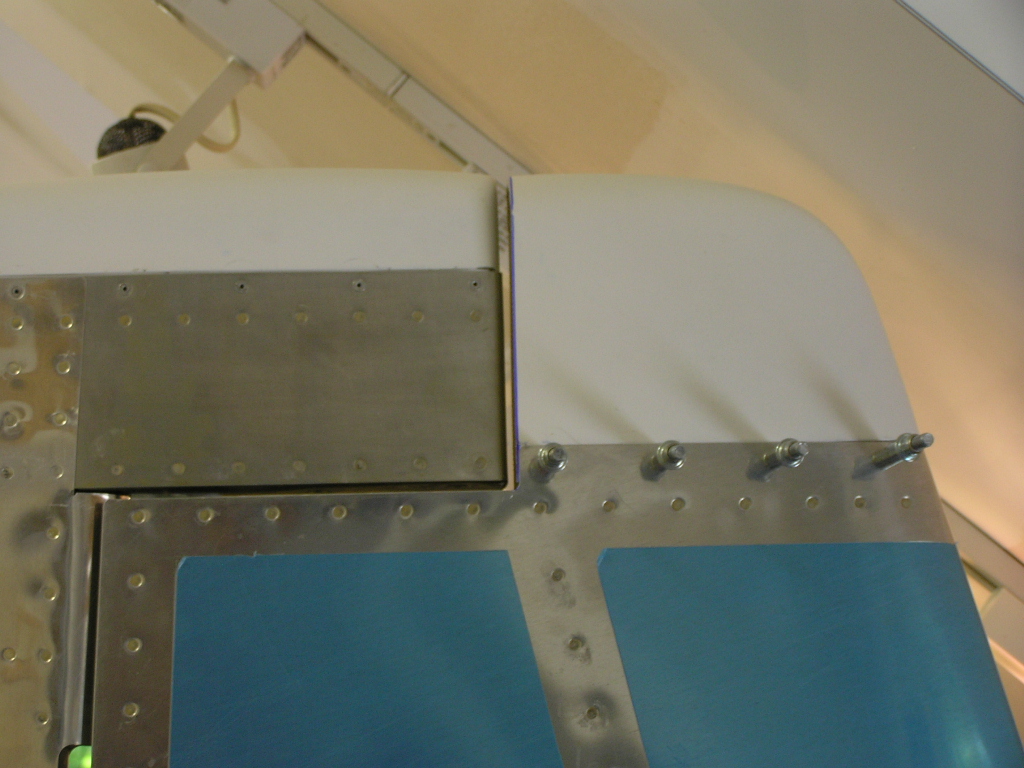
| 12/5/08 |
Began working to fit the empennage fairing. I used the
Dremel to sand away some epoxy overruns until it fit better.
I then drilled the fairing to the holes in the HS and Vertical
stabilizer.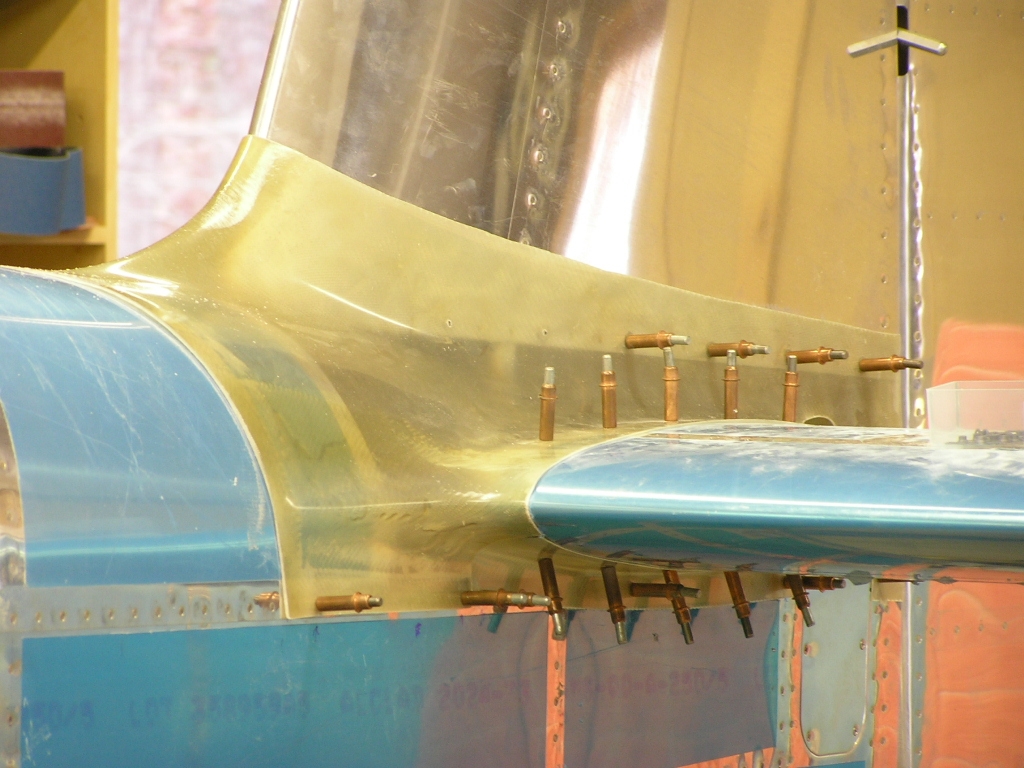 |
1.5 |
| 12/6/08 |
I drilled the fairing holes to #30 so I can tap the longeron and
install #8 screws. |
1.5 |
| Next: Wings | ||
| Total hours | 165.5 | |
|
Total Hours Empennage |
200.7 |