
Home
Shop
Tools
Empennage
Wings
Wings 2
Wings 3
Ailerons
Wings 4
Fuselage
Panel
Firewall Forward
Canopy
Wiring
Miscellaneous
Wings 3
| Ailerons | ||
|
Date |
Description of Task | Hours |
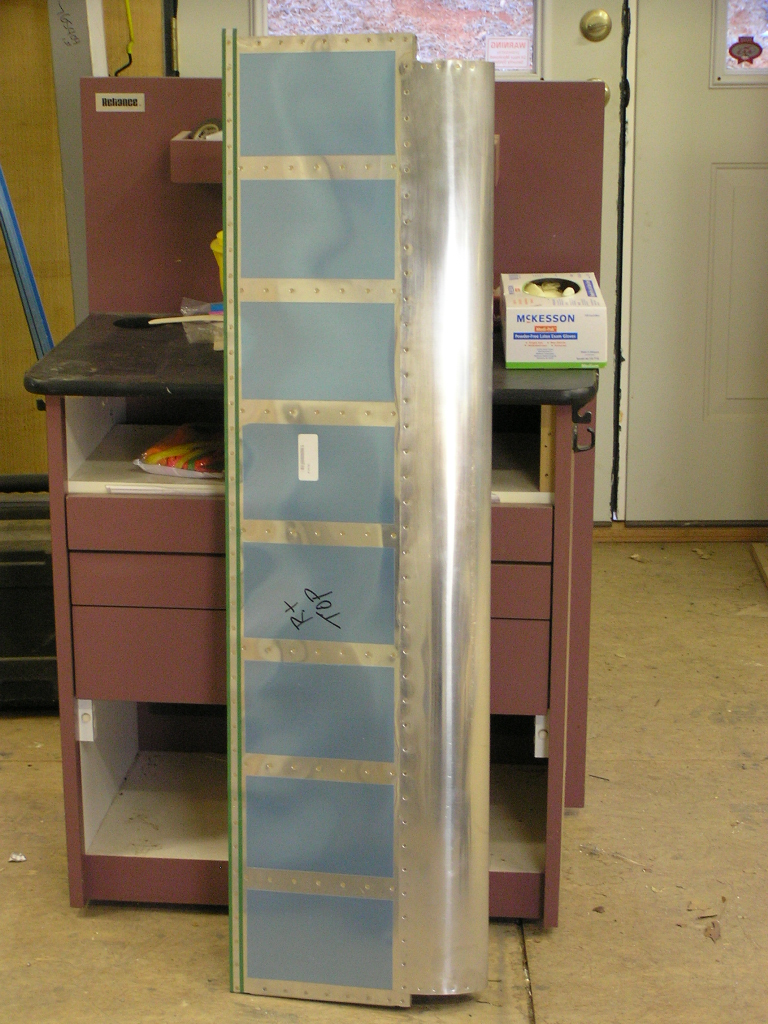
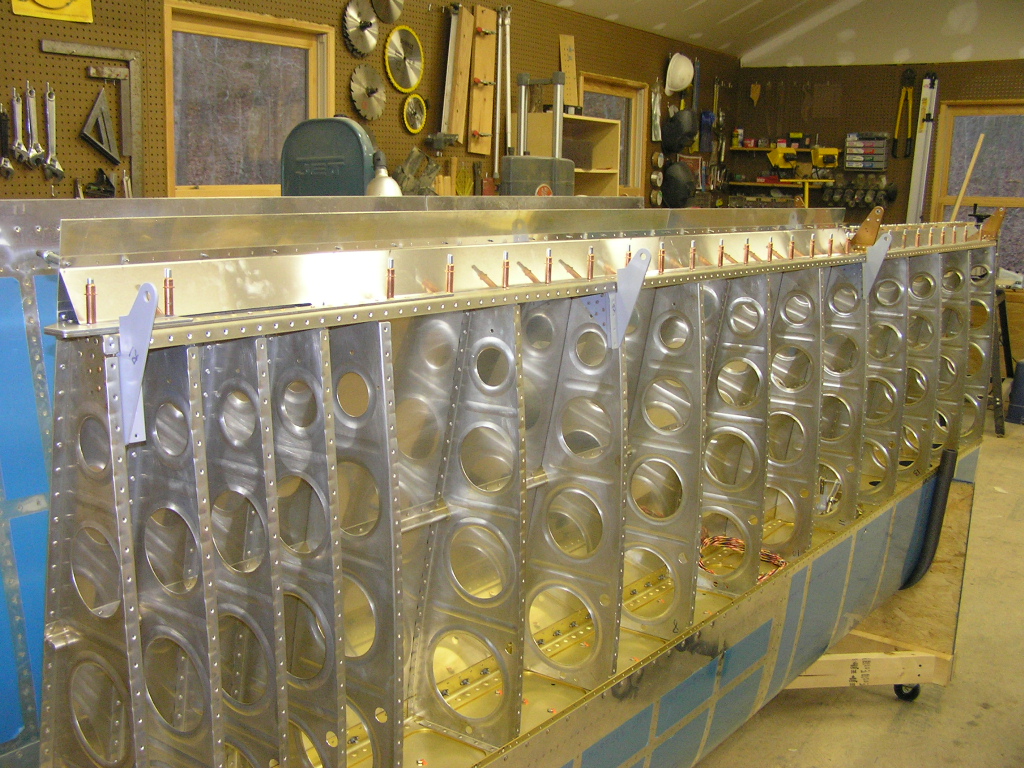
| 1/21/07 | From this point on I will be working on both
wings simultaneously. I began by clecoing the aileron
attach brackets to the rear spars and match drilling. I
then deburred each bracket and scuffed with scotchbrite pad and
soapy water. I decided to alodine the brackets as they are
easy to treat in a bath. After soaking for 2 minutes,
rinse with water and hang to dry.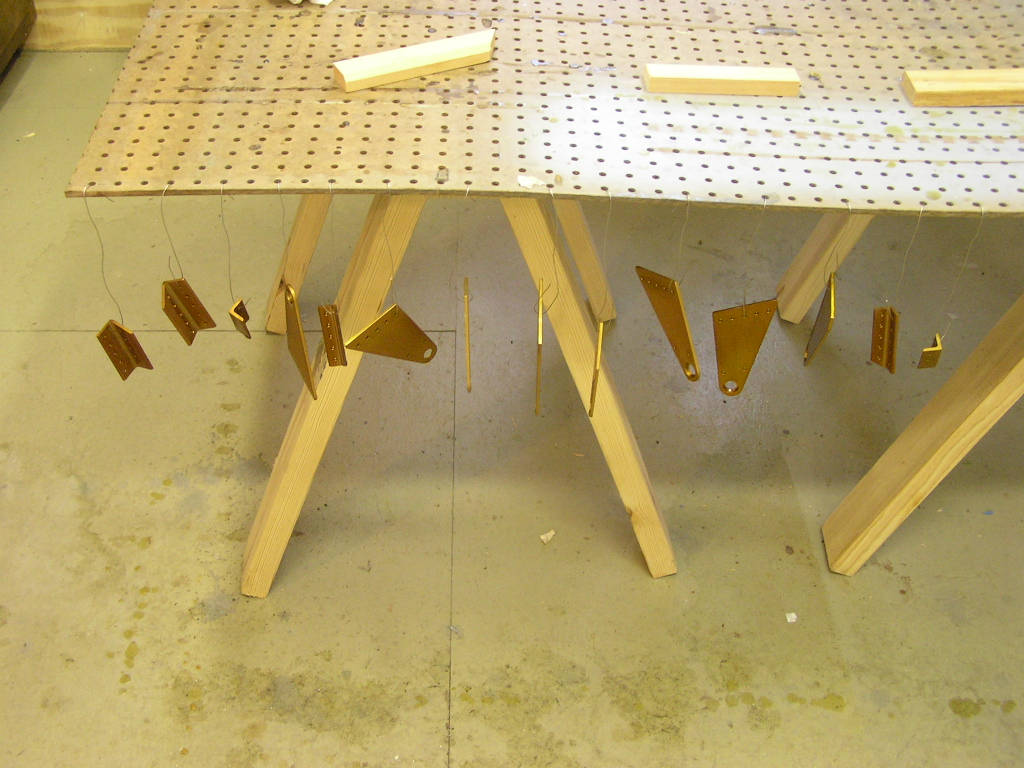
After drying I reassembled and riveted to the rear spars.
I was able to squeeze all the rivets except the innermost one on
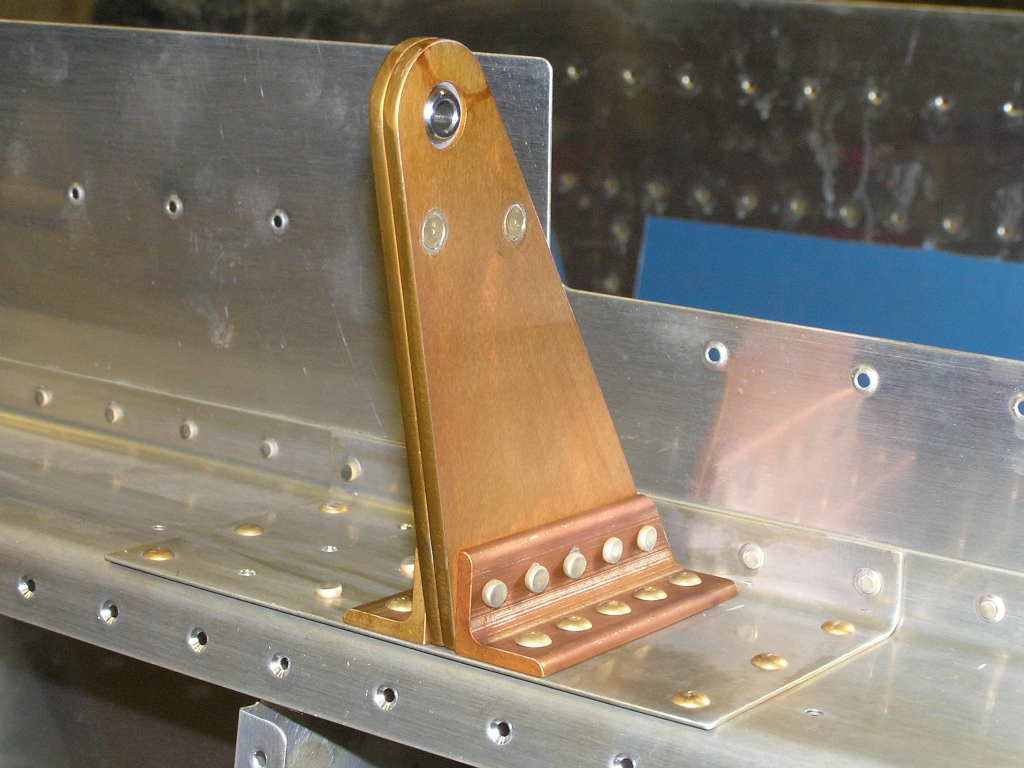
the outboard brackets. It was easy to rivet with the gun. Next I began working on the flap brackets. It took a
while to figure out the drawings in the plans as to how the flap
brackets attach to the rear spars. I made the 925-A and
925-C brackets and deburred. I was able to match drill and cleco three of the six flap
brackets. I will complete all six and check the alignment
before riveting. |
9.0 |
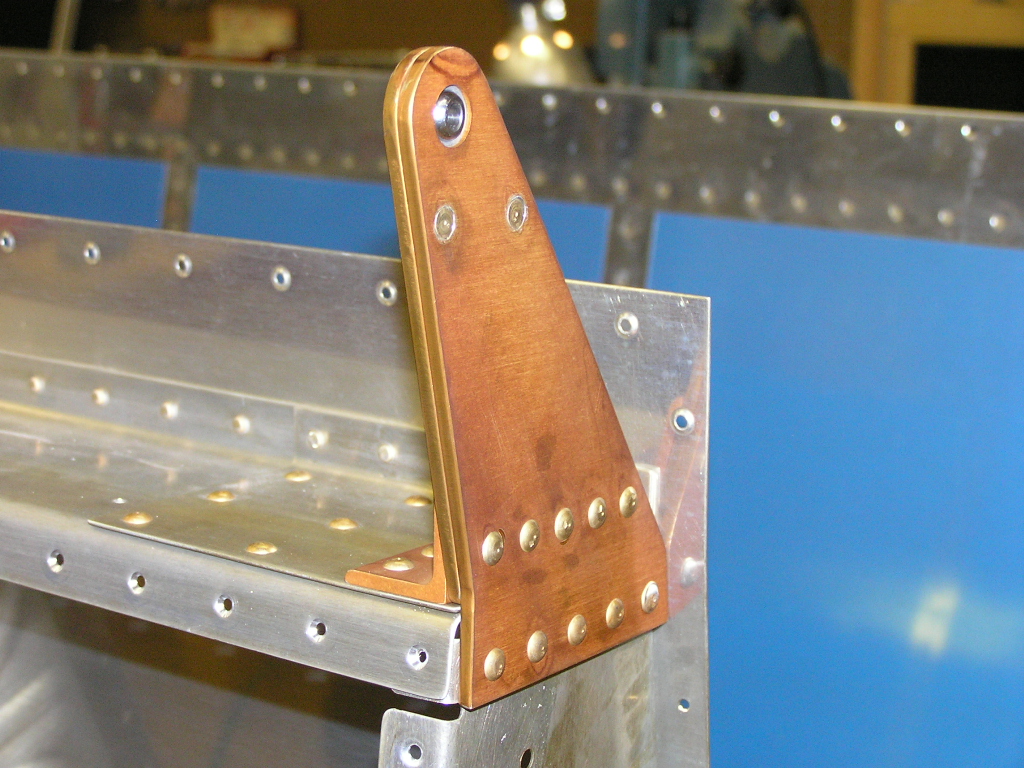
| 1/26/07 | Finished match drilling the remaining three flap
brackets and verified the alignment.
I clecoed the bottom skins on temporarily and match-drilled the
rivet holes around each flap attach bracket into the support
angles. |
3.0 |
| 1/27/07 | I then disassembled and deburred all the parts.
I alodined the parts and then primed with self-etching primer.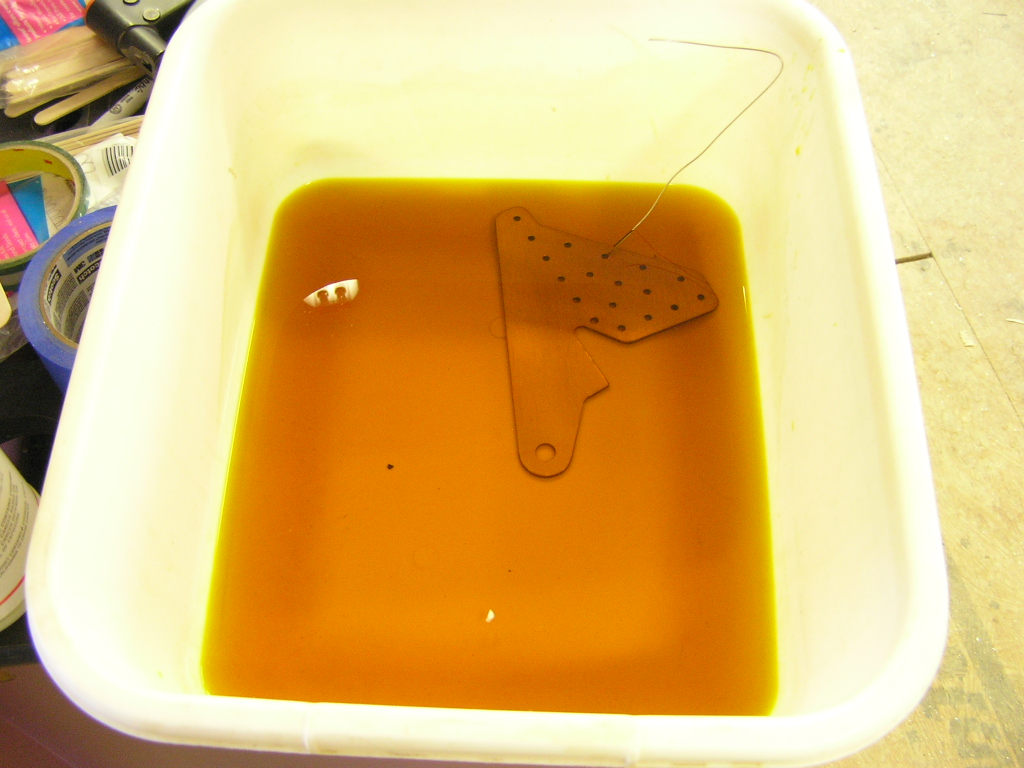  
I riveted the flap brackets and support angles. I was able to
reach about half of the rivets with the pneumatic squeezer and
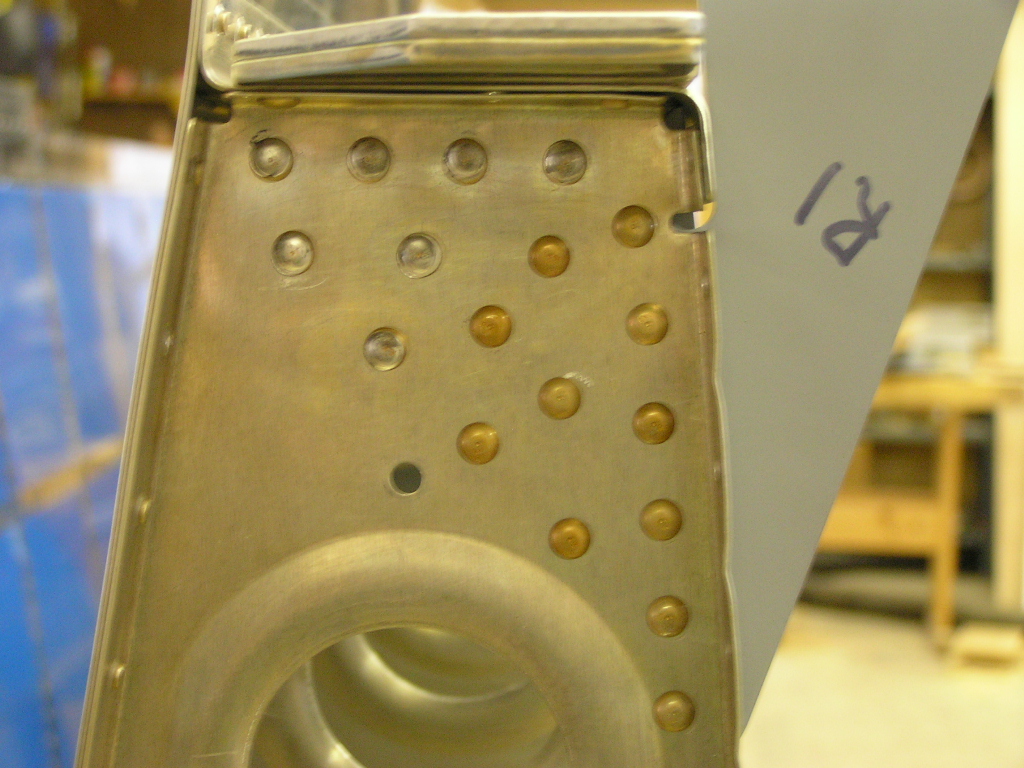
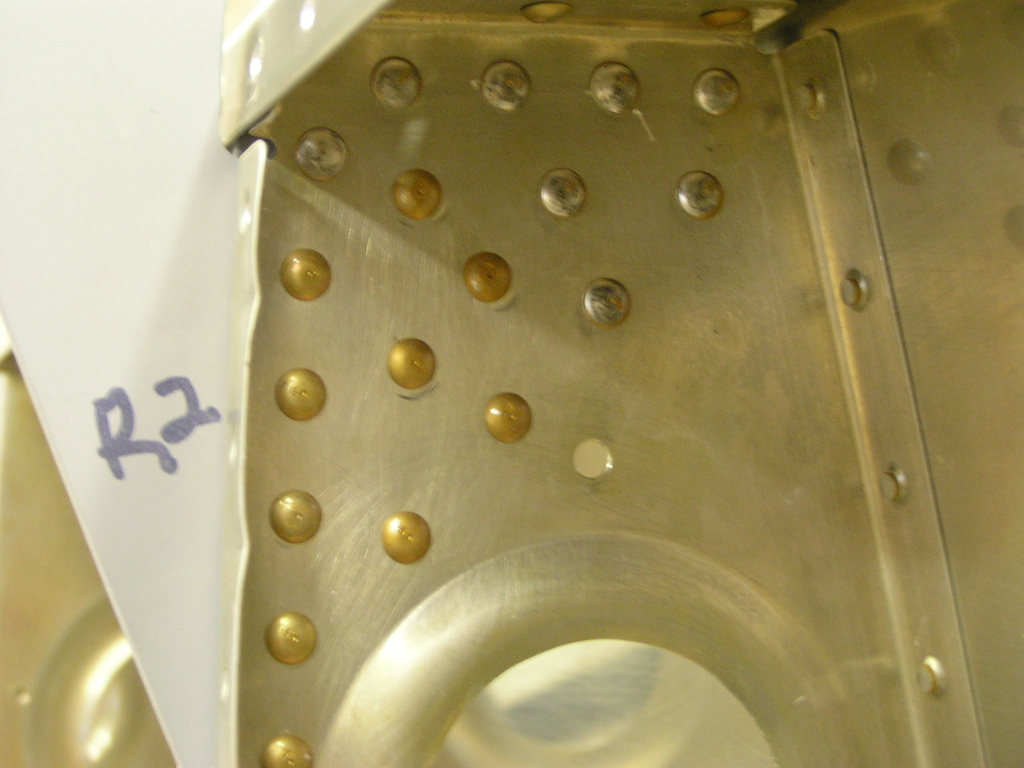
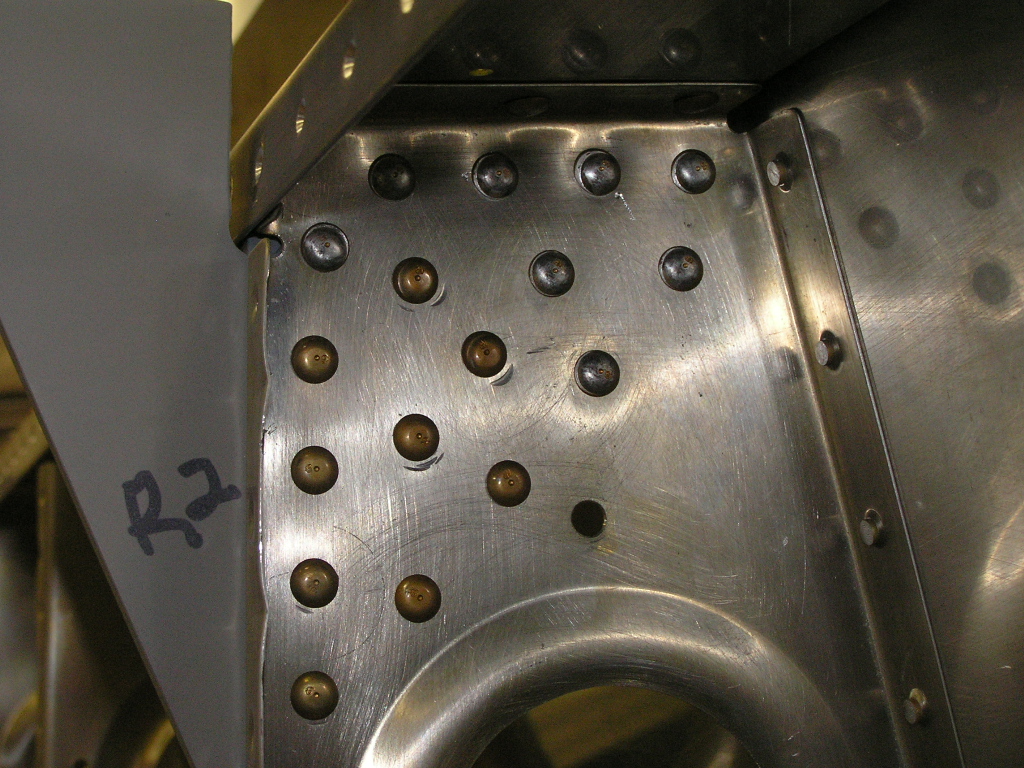
the rest had to be driven with the rivet gun. You can
easily tell which rivets were driven by the gun because they are
somewhat distorted and "silver" in color. Next, I began installing the aileron and flap gap fairings.
It is interesting to note that when the plans say "Drill, deburr
and dimple where required" that this means at least 4-5 hours of
work! I installed the fairings, clecoed and match-drilled.
After deburring I dimpled the #40 holes where it attaches to the
top skin and set the fairings aside for priming. I (FINALLY) started work on the ailerons by edge deburring the spars and the
A-908 reinforcing plates. After match-drilling, I
deburred, clecoed and match-drilled the A-904 nose ribs to
the spar. |
12.0 |
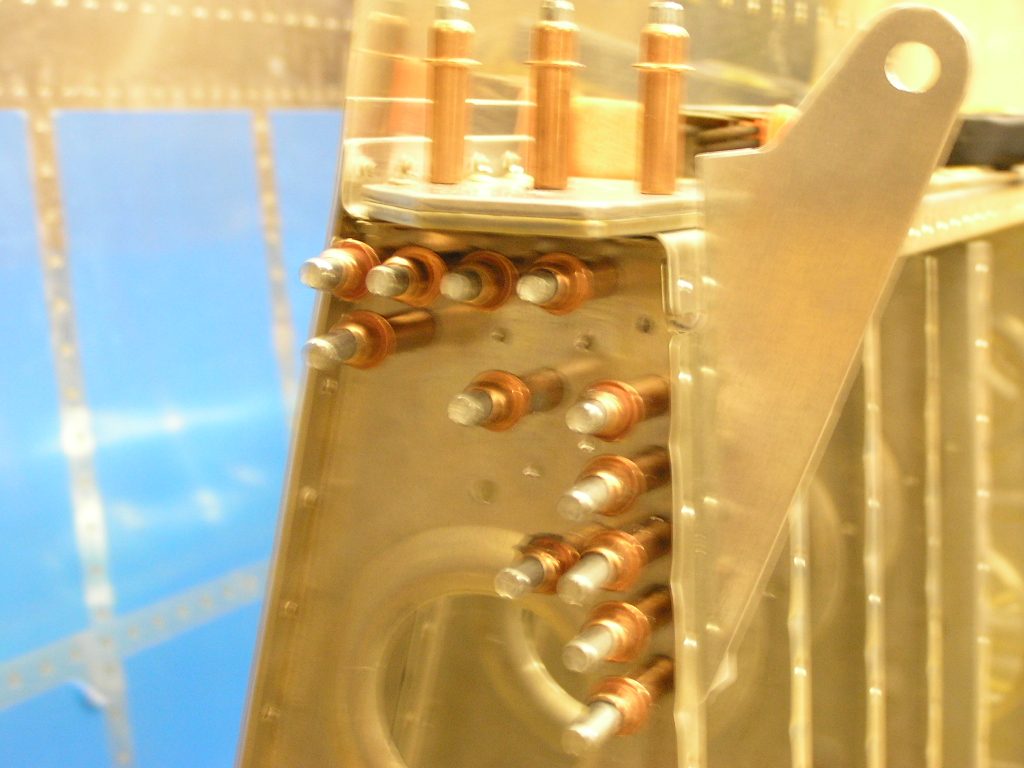
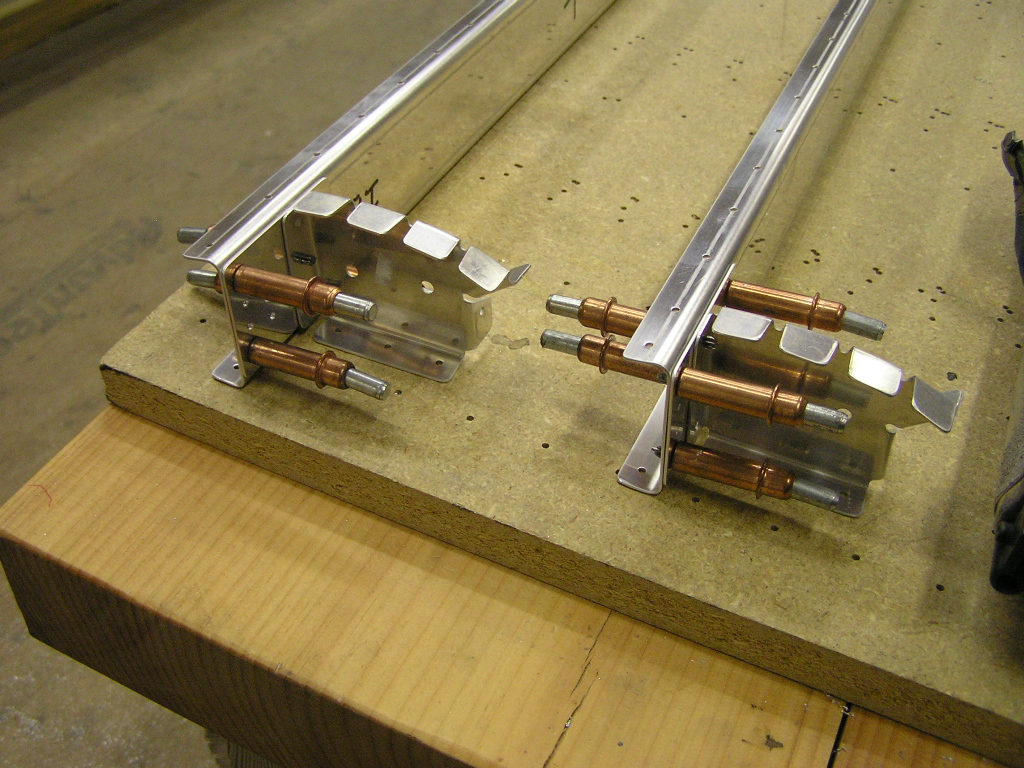
| 1/28/07 | I installed the counterbalance pipe and
match-drilled to the nose ribs. I marked the holes and
drilled the pipe on the bench press. I then was able to
cleco one hole per side and tape a rivet in the other holes in
order to hold it in place as I clecoed on the nose skin. I
then match-drilled the nose skin.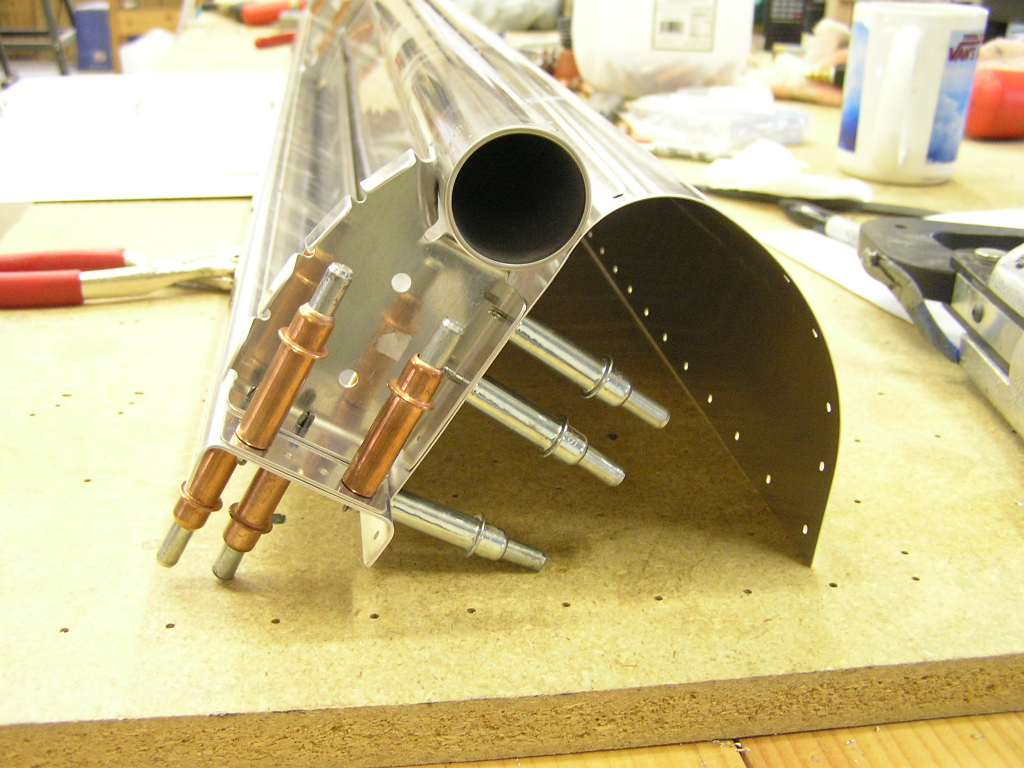
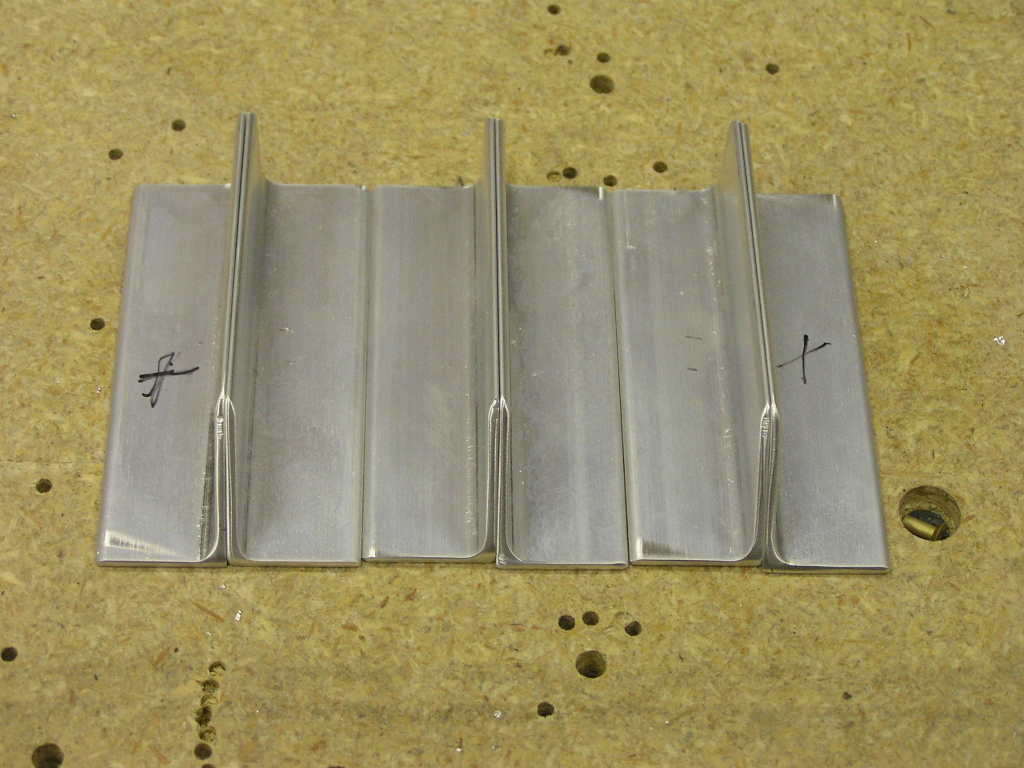
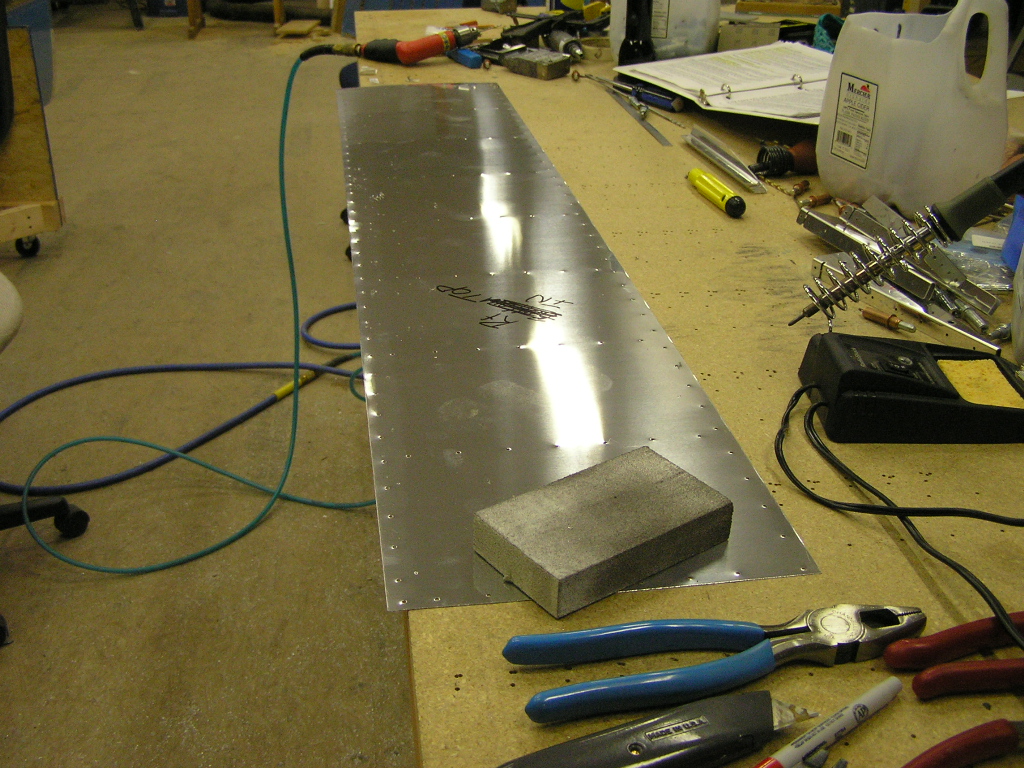
Next, I cut the A-910 stiffeners and deburred. I then
started deburring the aileron top and bottom skins. |
7.0 |
| 2/1/07 | Well, today we got snowed in and couldn't get
out to go to work...so I worked on the ailerons. I
finished deburring the skin edges and clecoed both ailerons
together and match-drilled. I noticed that on the top
skins that they are about 1/16" short. It seems that some
kits have this issue and it is acceptable so I am moving on. 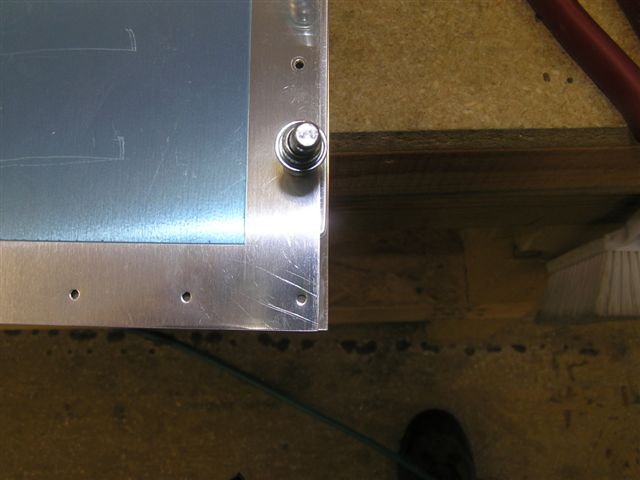
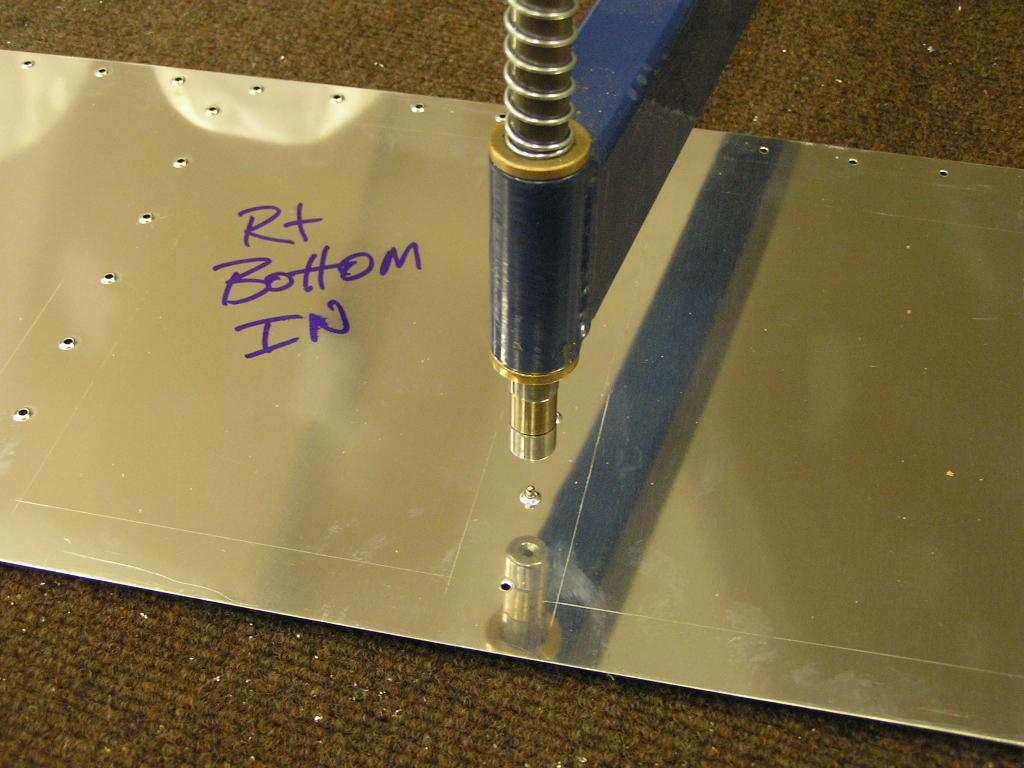
I disassembled the left aileron and match-drilled the stiffeners
to the top and bottom skins. I deburred the stiffeners,
skins and countersunk the spar. I dimpled the left aileron
top and bottom skins and set aside for priming. |
4.0 |
| 2/2/07 | I received a call today from Vans that they
needed my CC in order to process the packaging of my fuselage
kit. It is still scheduled to ship the week of the 5th.
I expect to receive a call from Fed Ex Freight around Wednesday
or Thursday to schedule delivery on Friday (hopefully).
I'd better get busy. |
|
| 2/3/07 | More deburring. I disassembled the right
aileron and deburred the spar. I countersunk the spar and
deburred the other parts of the right aileron. The aileron
inboard and outboard ribs are too narrow at the aft ends to get
the pneumatic dimpler inside so I had to use my trick of using
the pop-rivet nail dimpler and some washers.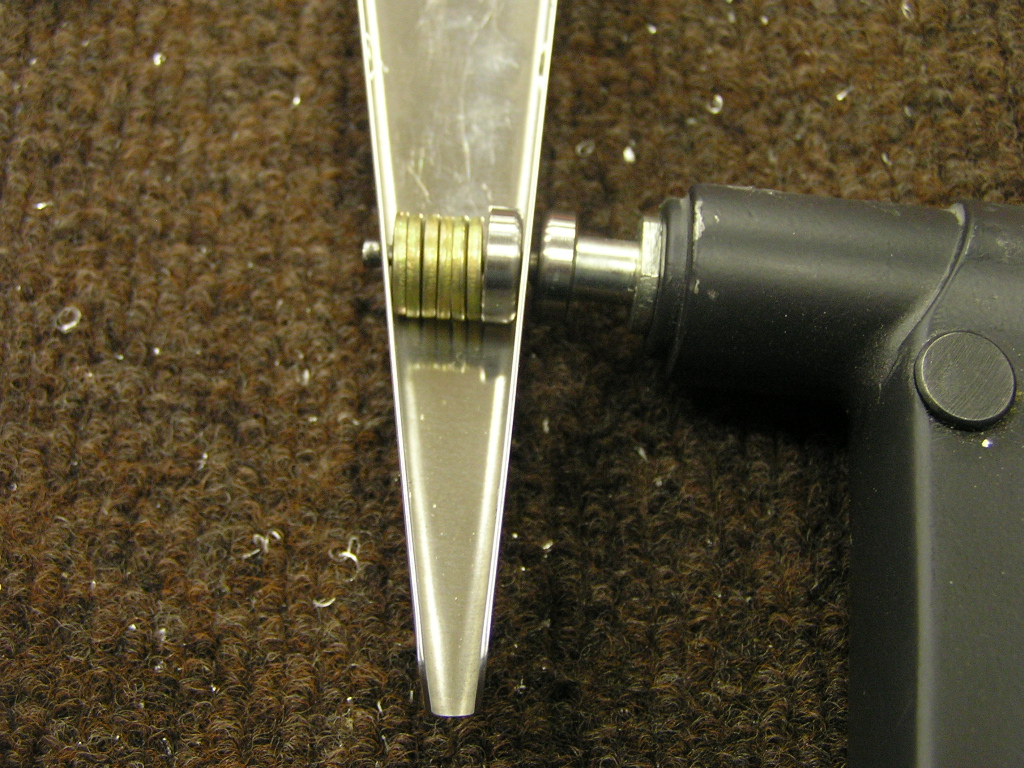
I drilled the lateral rivet holes in the counterbalance pipes.
These pipes are stainless steel so I drilled the #30 holes using
the drill press at low speed using some oil. |
3.0 |
| 2/9/07 | Well, it's Friday and no word yet from FedEx
Freight. I guess it will be next week...
Deburred the
right aileron top and bottom skins and then dimpled and set
aside for priming. Dimpled the inboard and outboard ribs
of the right aileron. Deburred the spar holes for the flap and aileron gap fairings
on both left and right wings. |
2.0 |
| 2/10/07 | Primed (chemical treated) flap and aileron gap
seals, left and right aileron spars, stiffeners, ribs and skins.
Riveted flap and aileron gap seals on right wing.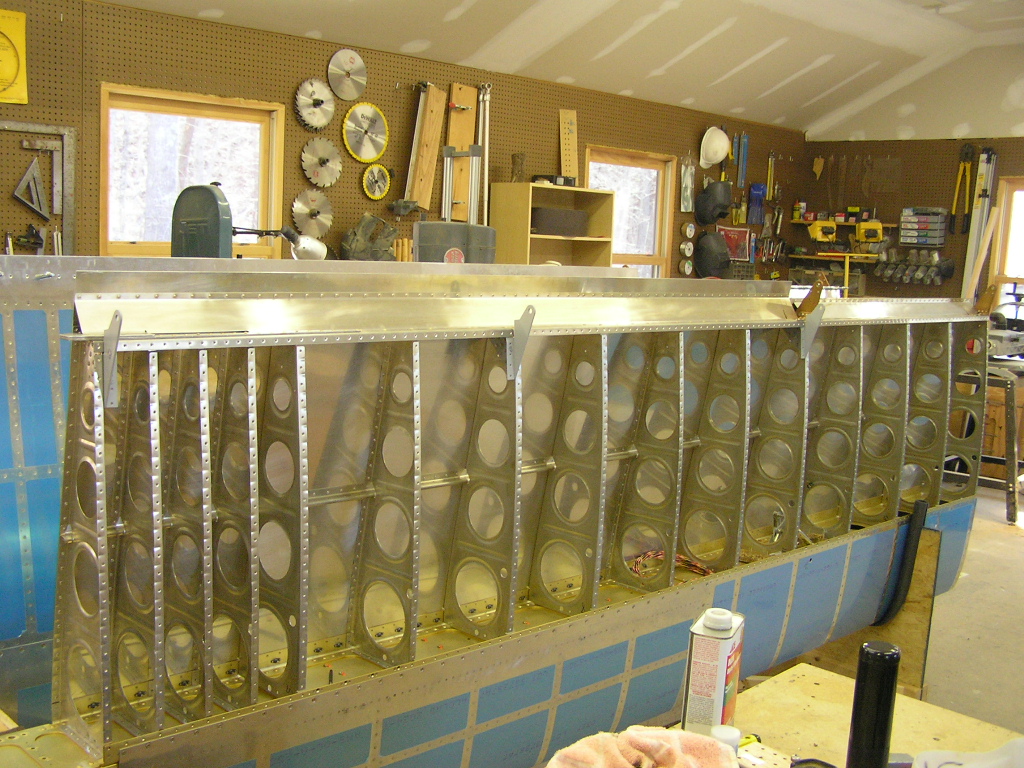 |
7.0 |
| 2/11/07 | Riveted flap and aileron gap seals on left wing.
Riveted stiffeners on aileron top and bottom skins.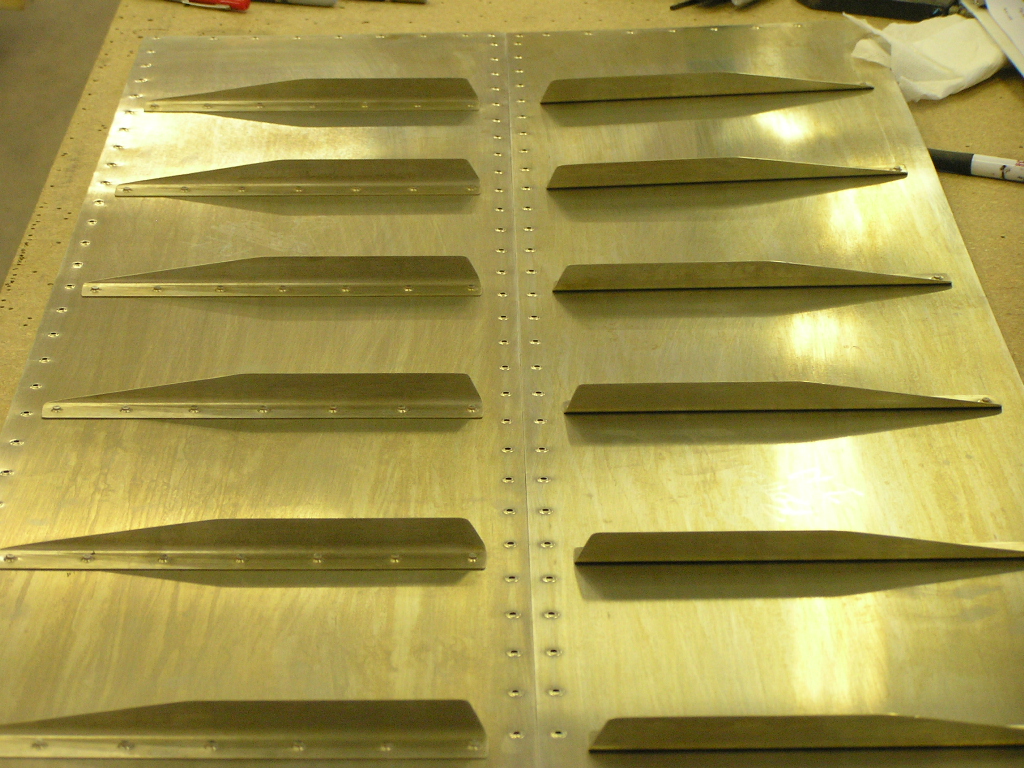
Ready for aileron final assembly. |
4.0 |
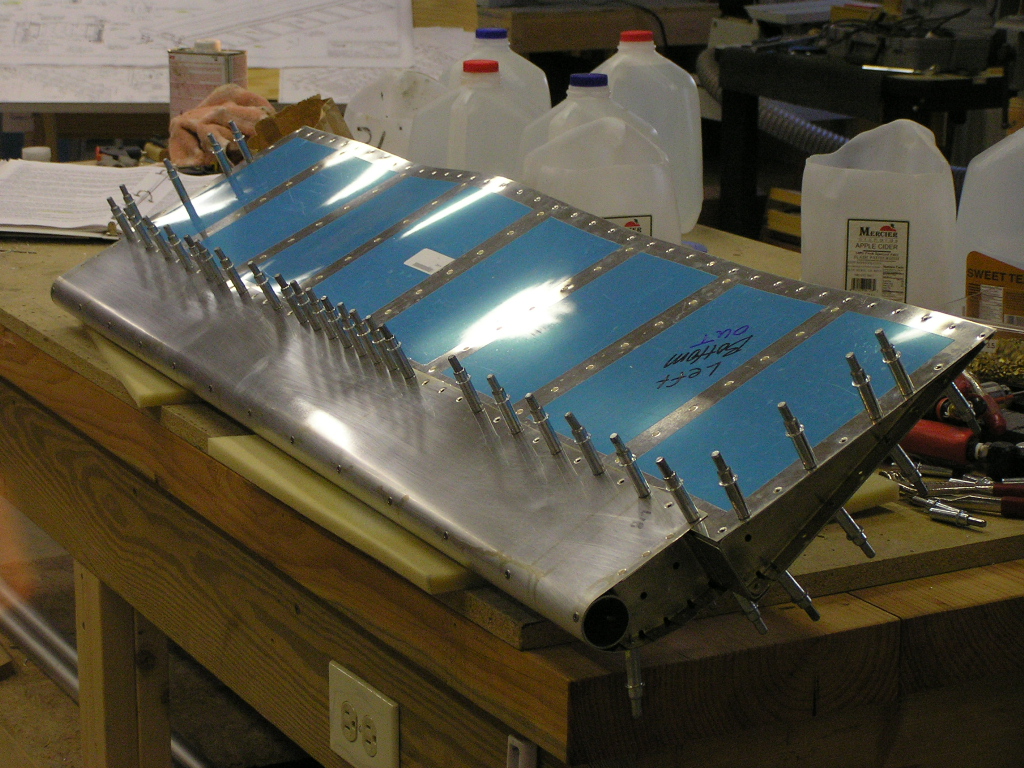
| 2/17/07 | Assembled right aileron and drilled trailing
edge. Deburred trailing edge and dimpled.
Countersunk AEX wedge. Riveted spar, ribs and
counterbalance. Riveted top and bottom skins.
Clecoed trailing edge and AEX wedge with T-88. |
6.0 |
| 2/18/07 | Riveted trailing edge of right aileron.
Assembled left aileron and drilled trailing edge. Deburred
trailing edge and dimpled. Countersunk AEX wedge.
Riveted spar, ribs and counterbalance. Riveted majority of
top and bottom skins. I heard from ABF that my fuselage
should be delivered on Thursday! WooHoo! |
5.0 |
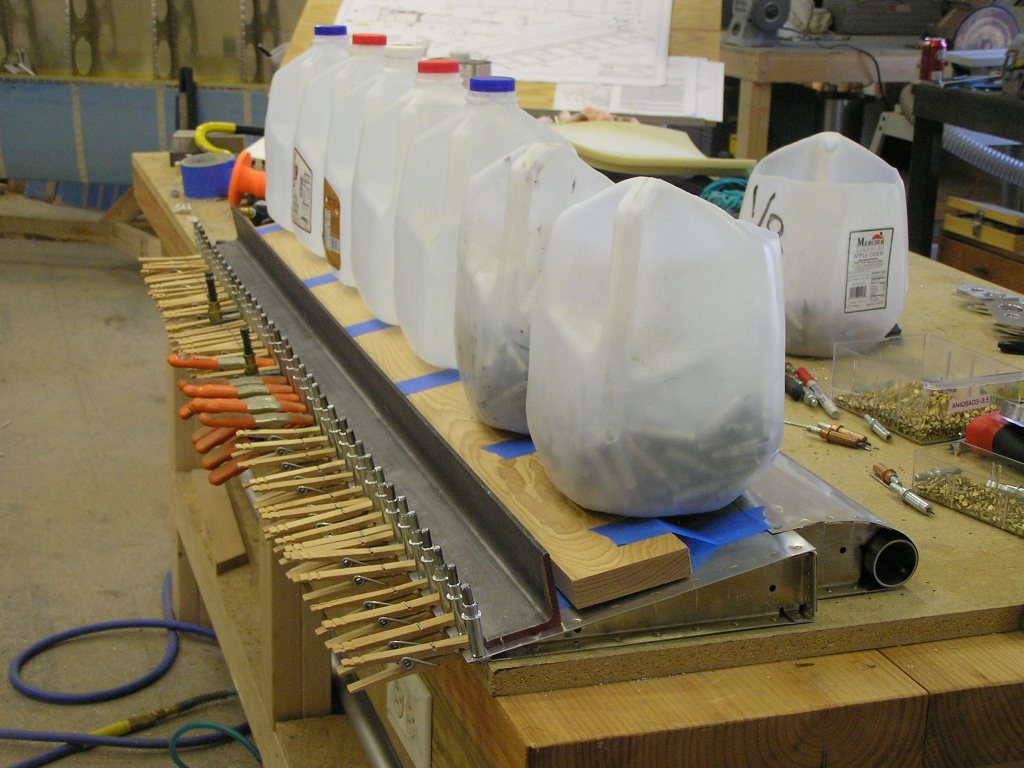
| 2/22/07 | Well, I confirmed delivery today and took the
day off work to meet the driver. I called fellow EAAer,
Jim Olsen, to come by and help me off-load and inventory.
Well, by 11:00am, when the delivery failed to show I called
Brown Cartage and they told me the driver forgot to load the
"packages" on the truck.... UNBELIEVABLE!!! They promised
to make the delivery Friday and I did not need to be here.
Oh well, might as well take advantage of a day off and work on
the plane. I finished riveting the skins to the spar as well
as the ribs. I then weighed the aileron to the table and
again used T-88 adhesive to lightly glue the AEX wedge and
clecoed every hole. I used clothes pins between every
cleco as well as a few clamps to ensure a tight trailing edge.
Now to let it set up before riveting. I scuffed the attach brackets and drilled to 3/8". I
bolted the brackets to the right aileron. |
2.0 |
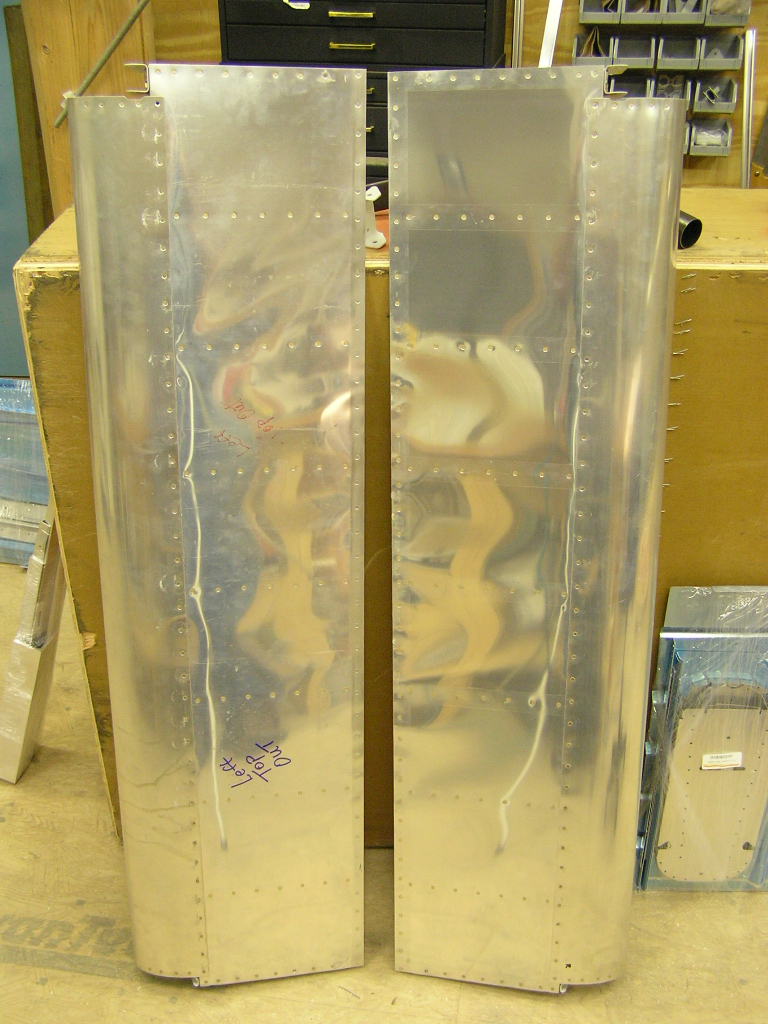
| 2/24/07 | Riveted the trailing edge of the left aileron.
I drilled the aileron and attach brackets to 3/8" and reamed the
holes. I realized that somehow I had failed to rivet the last hole of the
leading edge to the spar. I decided to install a MK-319-BS
pop rivet. It should be more than adequate and
primer/paint will cover. Good enough. Bolted the attach brackets and torqued to 25
in./lbs. AILERONS FINISHED! |
2.0 |
|
Total Hours Ailerons |
44.0 | |
|
Total Hours Wings |
410.7 | |
| Next: Wings 4 |


Copyright ©2005-2007
Hosted by NTI Networks