
Home
Shop
Tools
Empennage
Wings
Fuselage
Panel
Firewall Forward
Firewall Forward 2
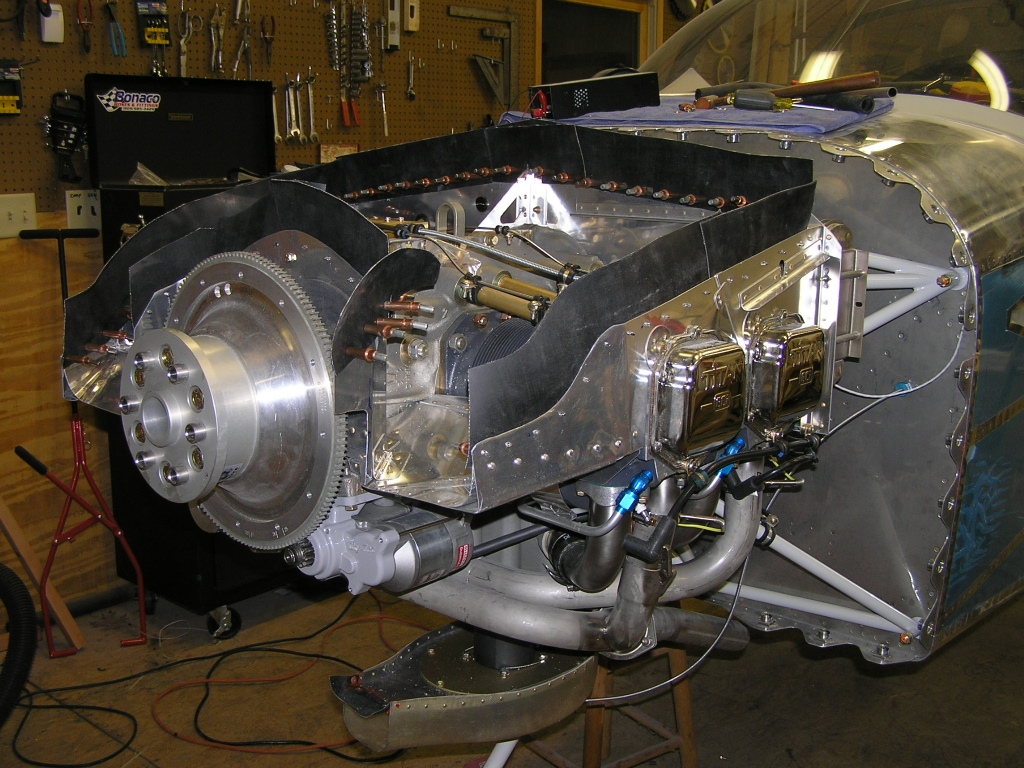
Baffle Installation
Trimming the Baffles
Finishing the FWF
Fabricating Spark Plug Harness
CHT & EGT Sensors
Throttle/Mixture Cables
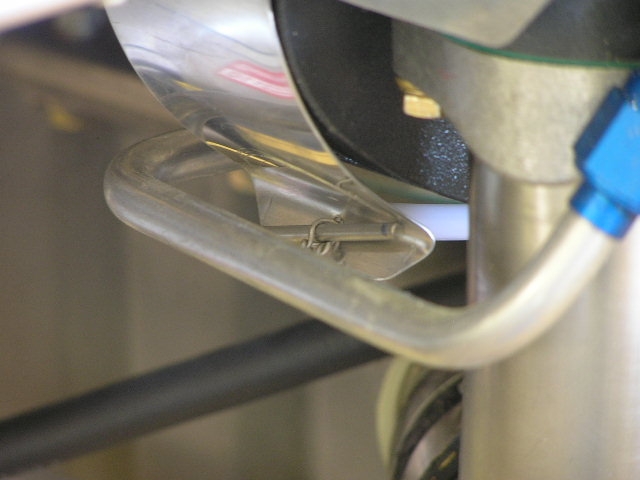
Purge Valve Cable
FAB Construction
GPS Antenna Tray
Canopy
Wiring
Engine
Miscellaneous
Firewall Forward 2
|
Date |
Description of Task | Hours |
|
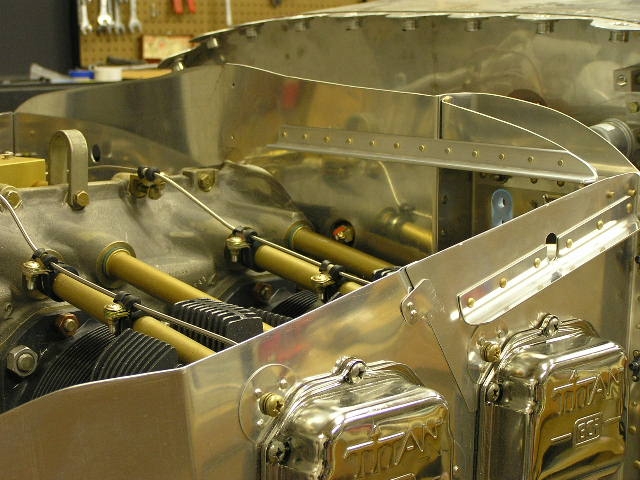
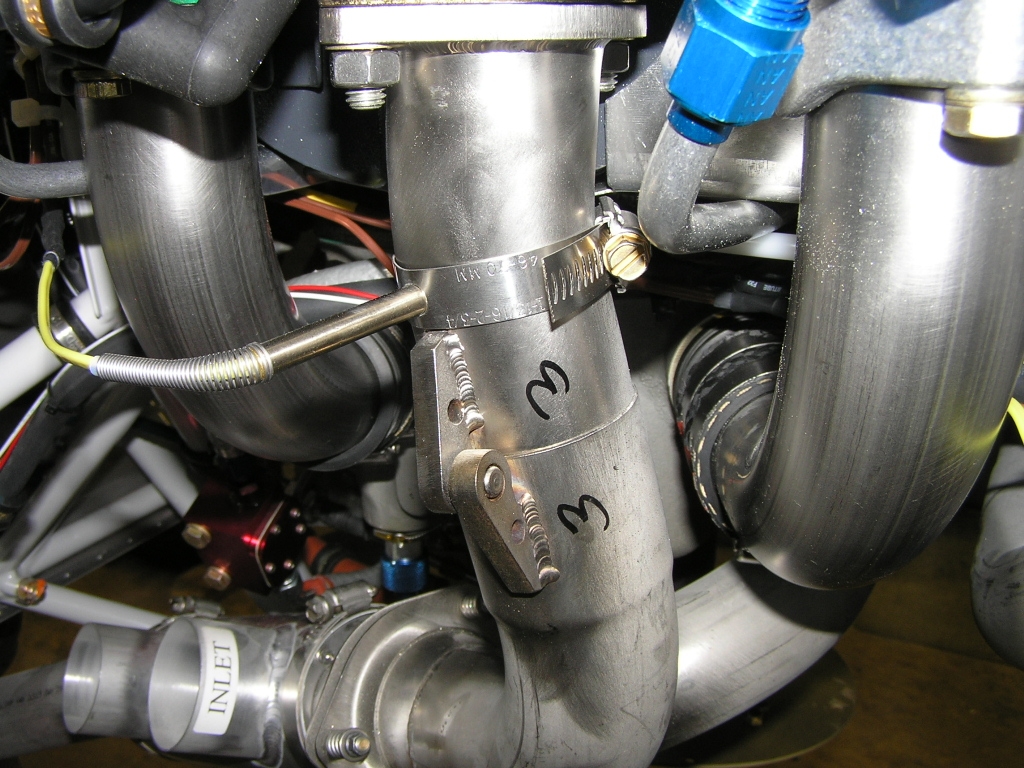
Baffle Installation |
||
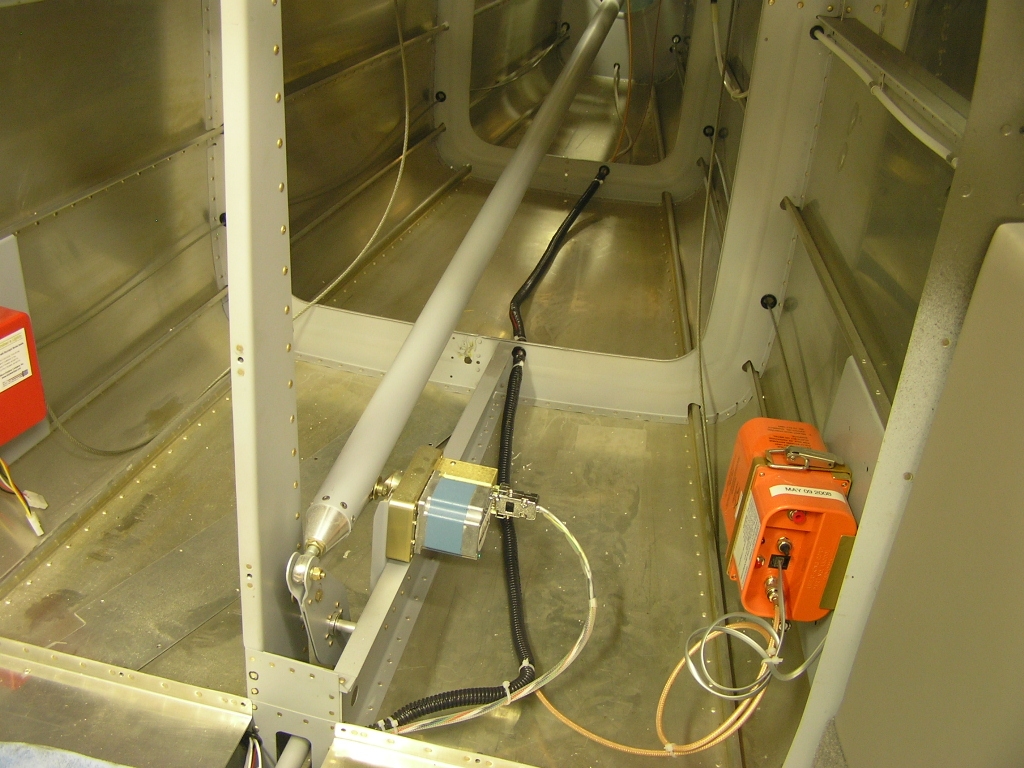
| 12/6/08 | I started by fabricating the support brackets
and assembling the oil cooler mount at the #4 cylinder.
After drilling and clecoing, I disassembled and deburred the
components.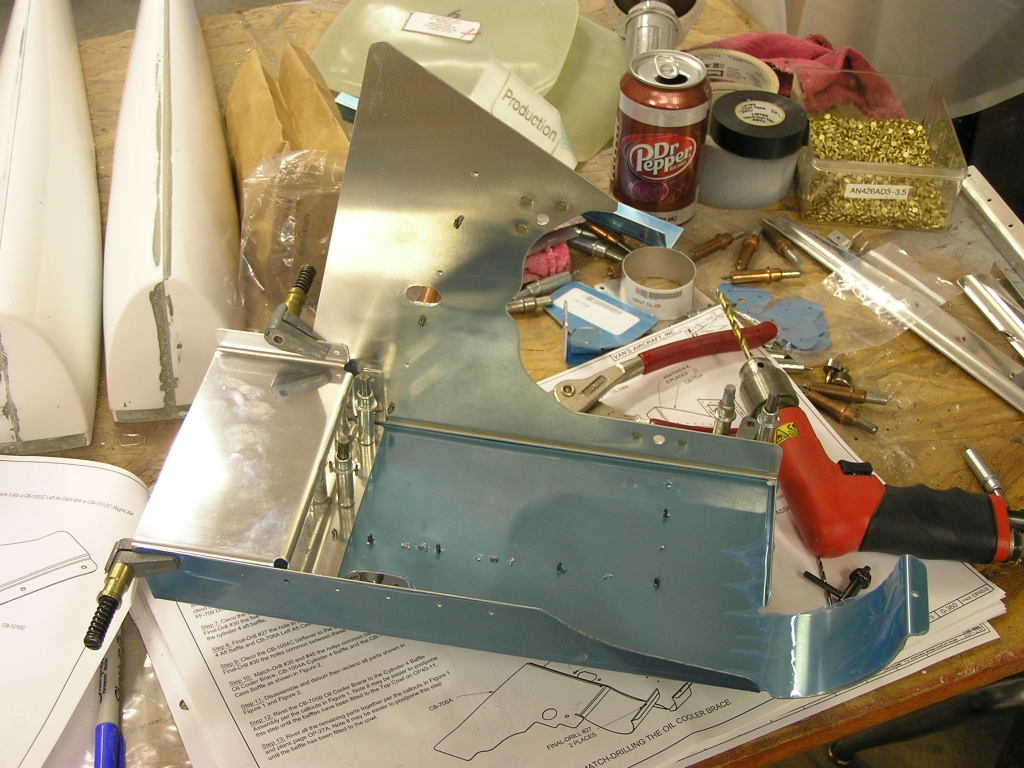 |
3.0 |
| 12/12/08 | I continued with the baffle install by
carefully trimming the pieces so they would fit correctly,
I was able to get the rear, sides and the front ramps fitted.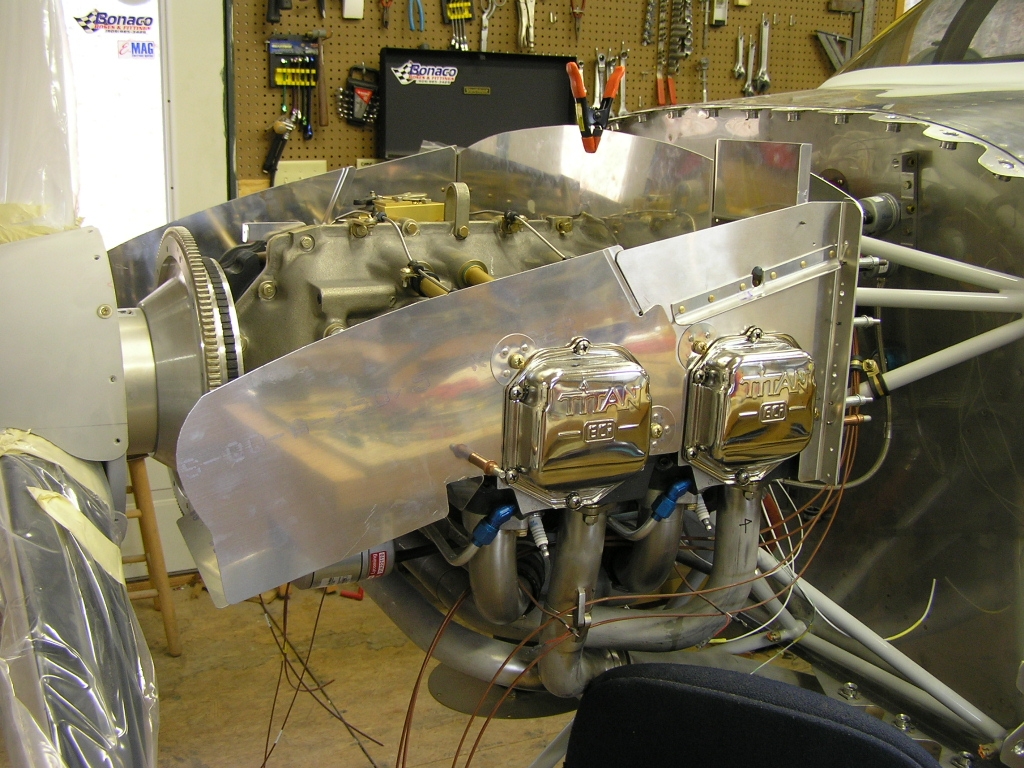 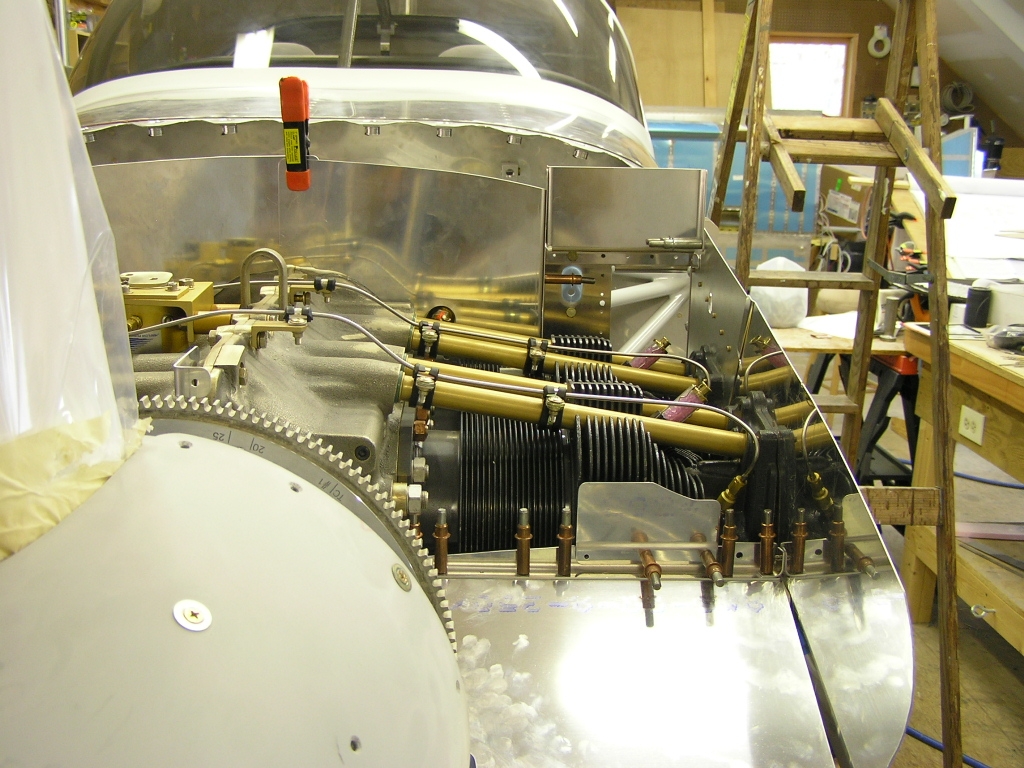 |
4.0 |
| 12/14/08 | Fiddled with the baffles some more. I
installed the Skybolt cam locks in the lower cowl and "squeezed"
the lower cowl into position so I can see how much the baffles
need to be trimmed. |
2.0 |
| 12/19/08 | Today I trimmed the front baffle ramps enough
to fit the lower cowl.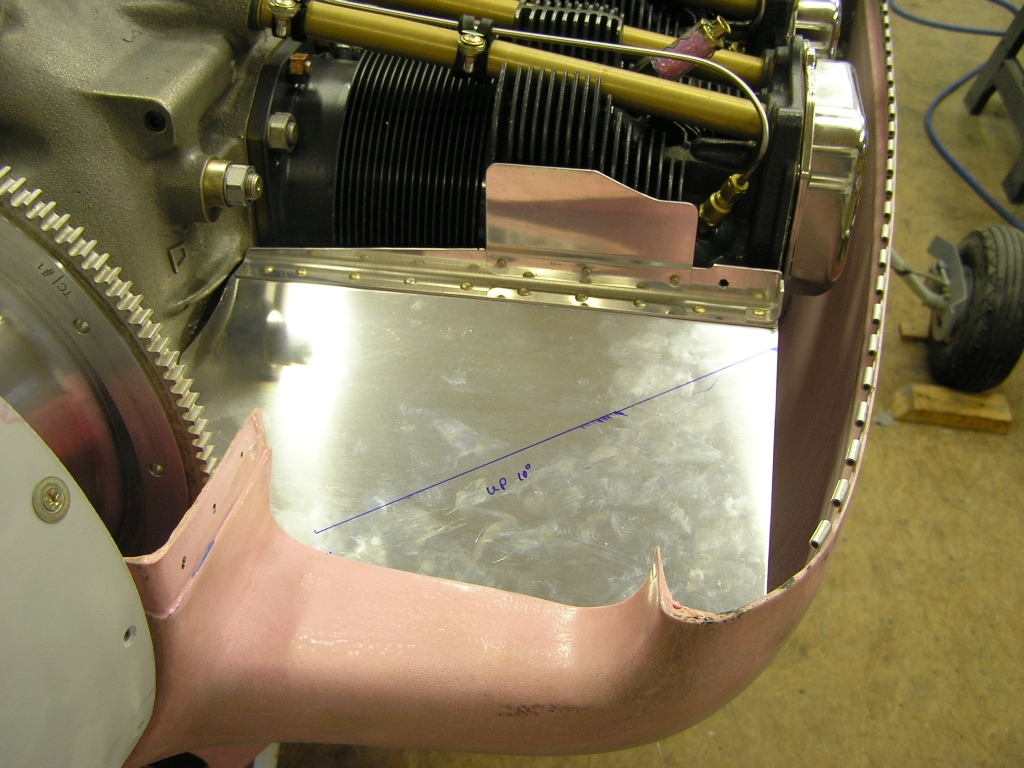 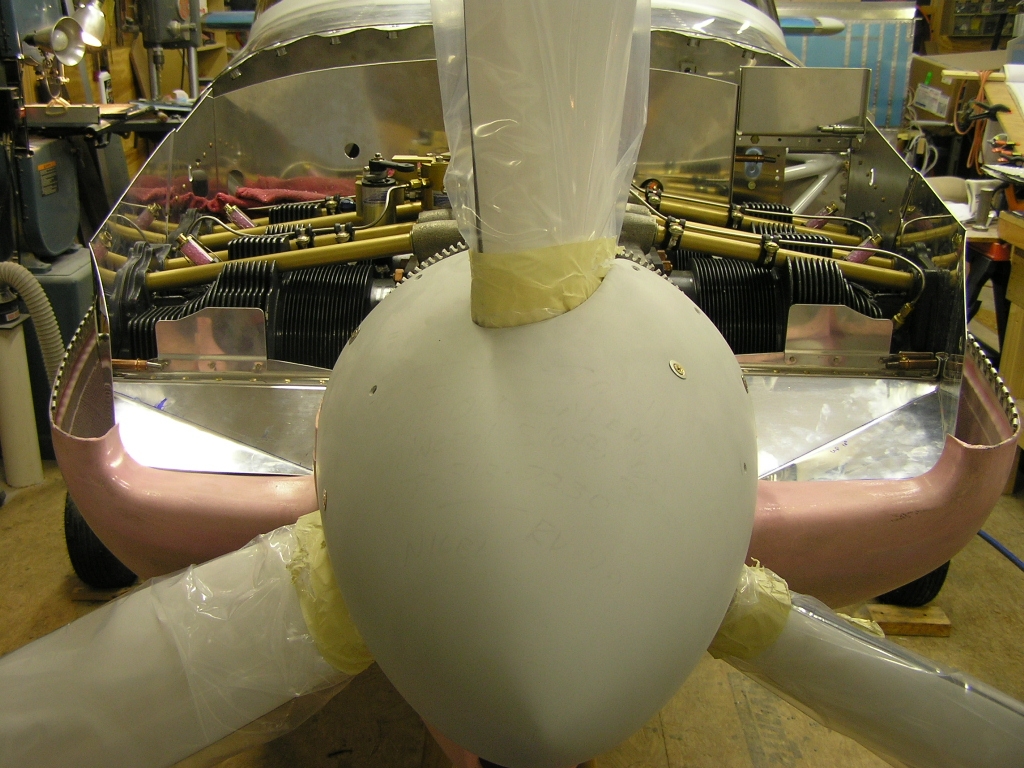 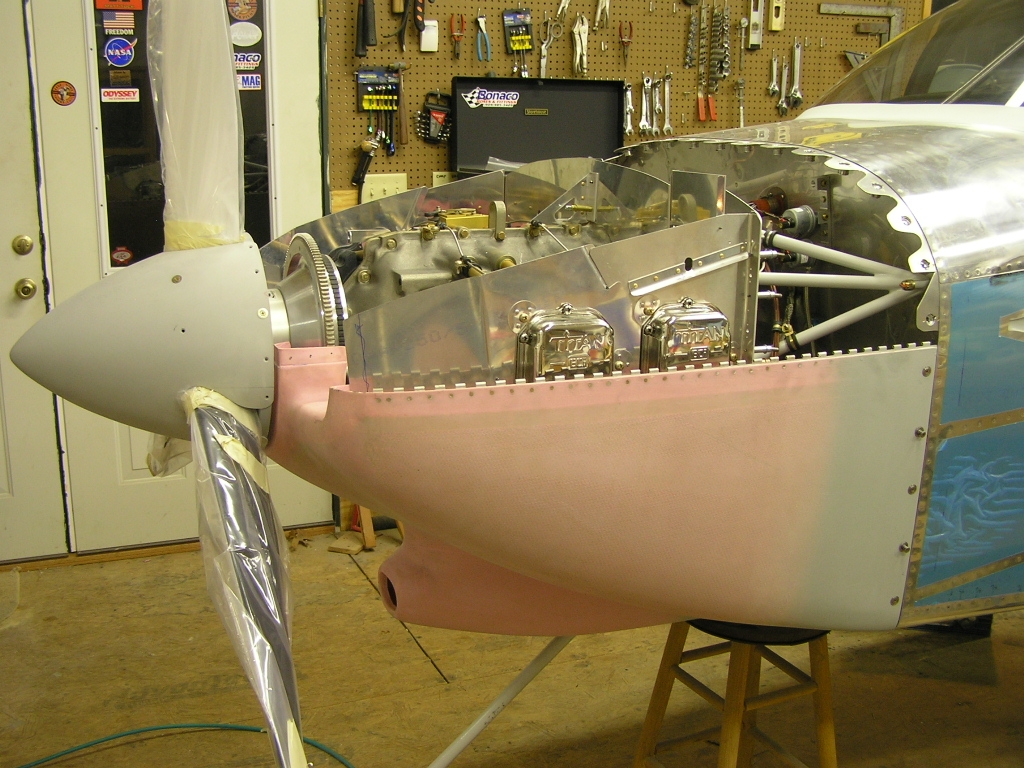 |
2.0 |
| 12/20/08 | Continued with the front ramps by
fabricating the gussets and support brackets. After
drilling, I deburred and riveted the brackets to the front
ramps. 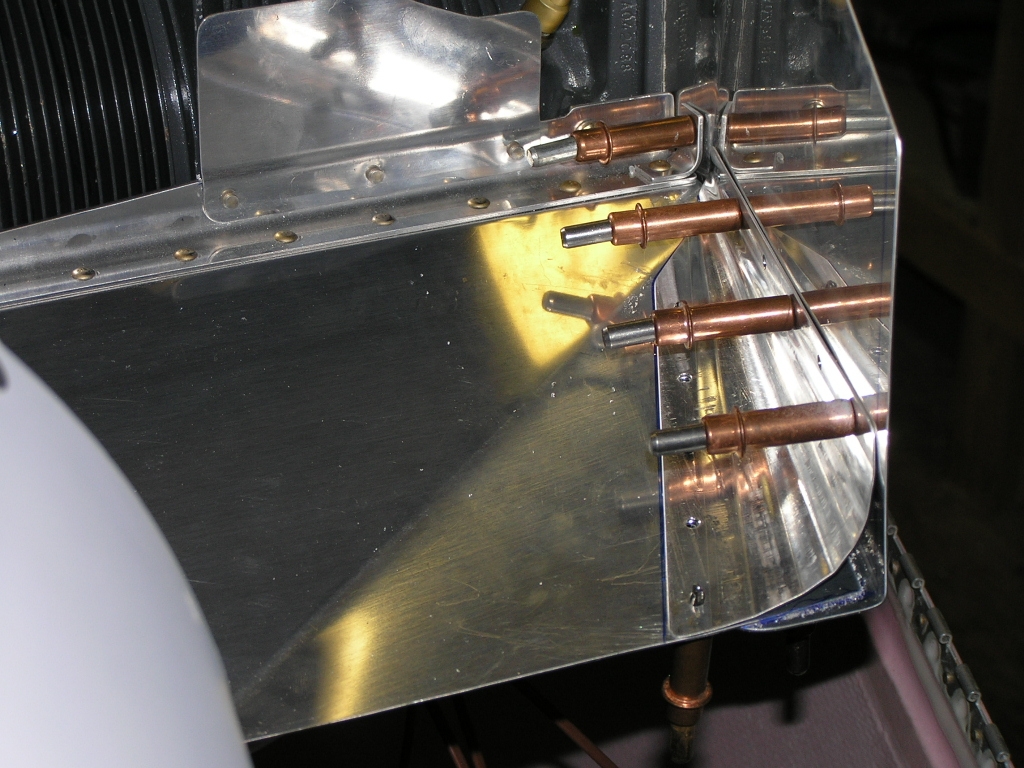 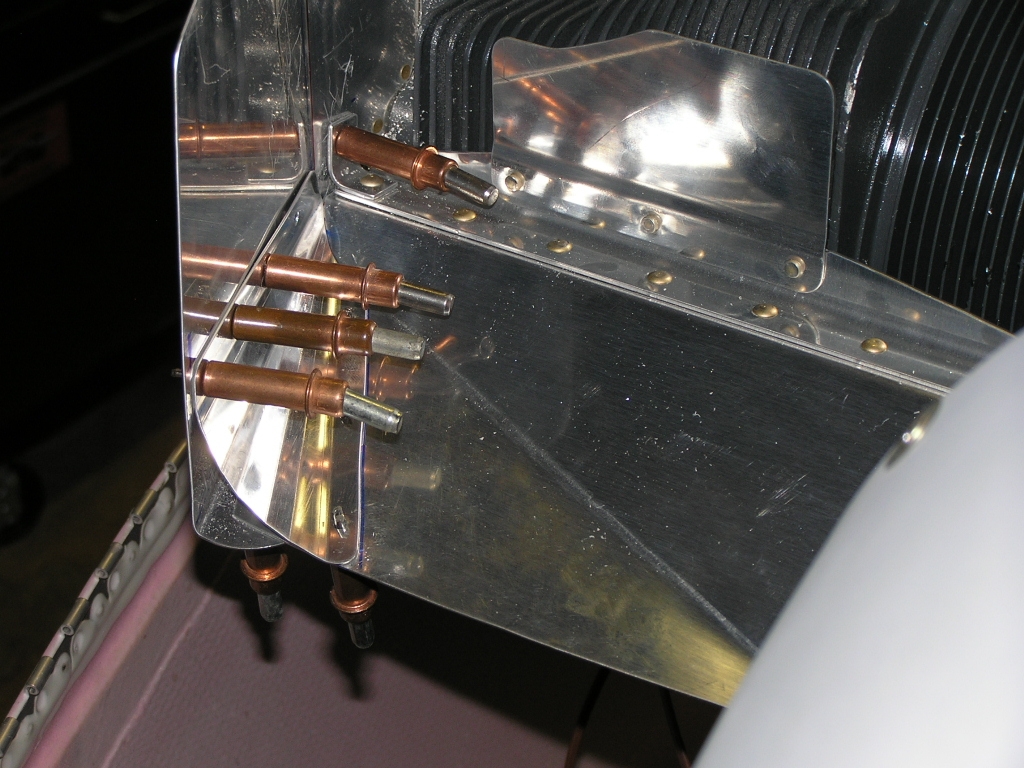 |
4.0 |
| 12/21/08 | I riveted the front ramps and gussets to the
cylinder 1 and 3 baffles and then installed the lower cowl.
I also started "hole-filling" on the upper cowl. Once the
upper cowl is decent (at least near the rear where the camlocs
will be installed), I will prime and install the camlocs.  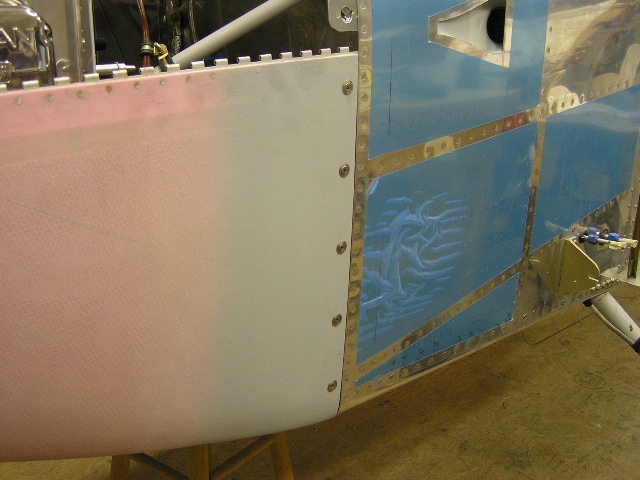 |
3.0 |
|
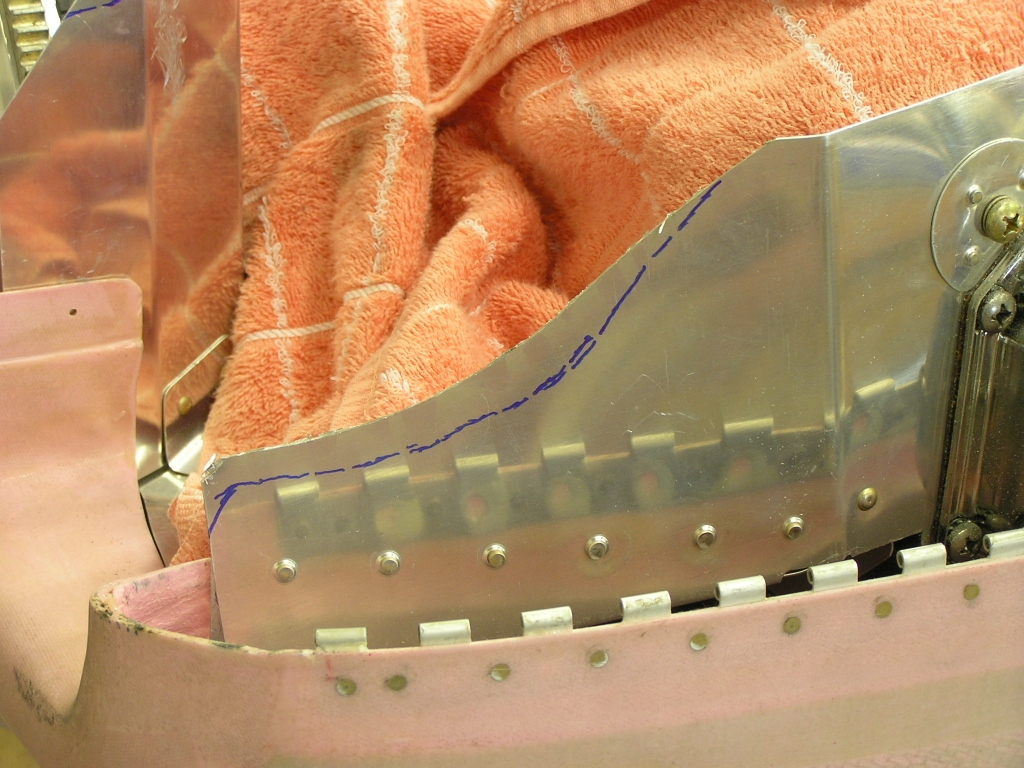
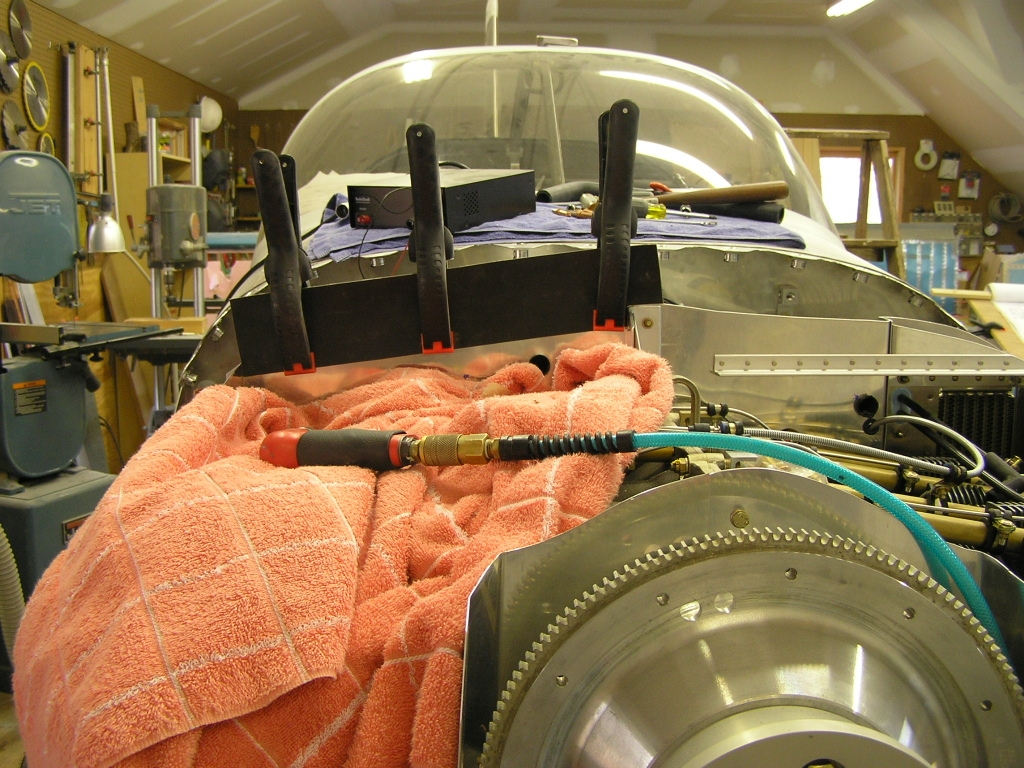
Trimming the Baffles |
||
| 12/22/08 | I started trimming the baffles by starting at
the front and slowly moving down the sides. I would mark
0.50" and cut it off with the Dremel. Deburr and set the
top cowl in place and repeat. I am using a trick I learned
from Bill Repucci that involves placing jumbo paper clips spaced
every 4-5 inches around the baffles. When you place the
top cowl in place, you can see how far the cowl "pushes" the
clips down and indicate where the baffles need to be trimmed.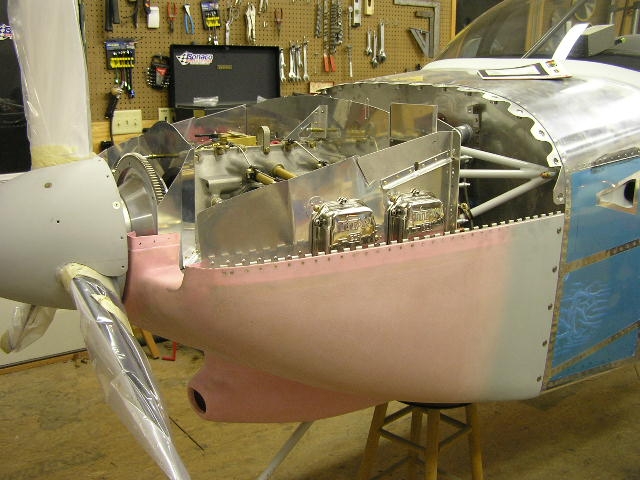   |
3.0 |
| 12/28/08 | Continued trimming and cutting until I had a
consistent 3/8" gap all around with the top cowl in place.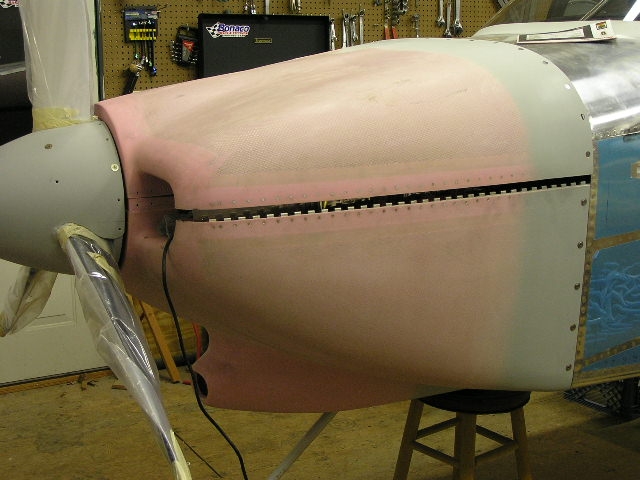 
I needed to stiffen the baffle area around the oil cooler due to
the number of builders who report baffle cracks developing in
this area. I used 3/4" AL angle and riveted it along the
rear. Later, I will add a brace from the stiffener to an
engine centerline case bolt. |
4.0 |
|
Finishing the FWF |
||
| 1/1/09 | Happy New Year! This completes three
years of construction on this plane. I celebrated by
Drilling holes on the rear baffles for installing cooling tubes
for the P-Mags. I also installed a cooling tube for the
alternator off the right front inlet ramp.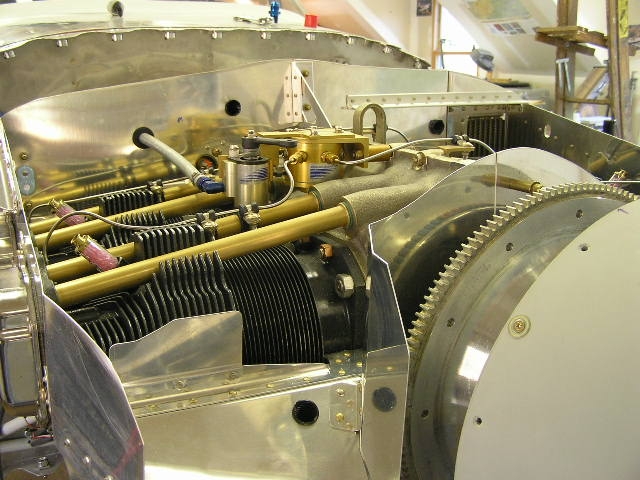
I also finished securing the lower baffle seals around the #2
and #4 cylinders by using safety wire instead of the threaded
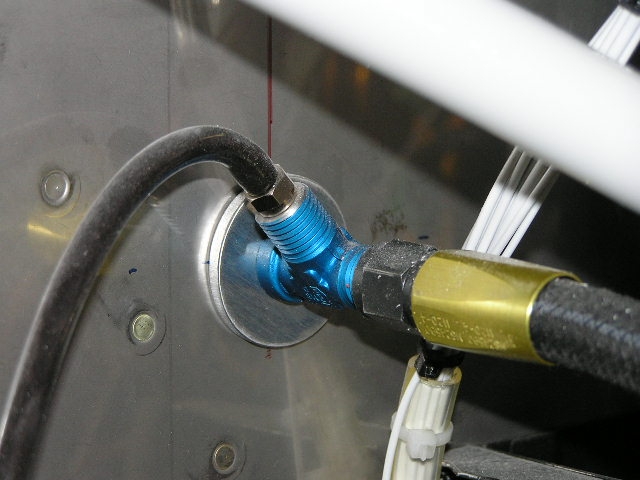
rod. I drilled the hole for the fuel purge return line in the
lower right corner of the firewall. I need to finish up some loose wiring so I started by wiring
up my P-Mag and E-Mag. I also connected the manifold
pressure line to each Mag. |
|
|
Fabricating Spark
Plug Harnesses |
||
| 1/2/09 | I started fabricating the wiring harnesses for
my E-Mag and P-Mag ignitions. You get a couple rolls of
wire, some connectors and a crimping tool. After about an
hour of reading and re-reading the plans I started fitting the
wires. I also tested each wire with my OHM meter to verify
good connectivity.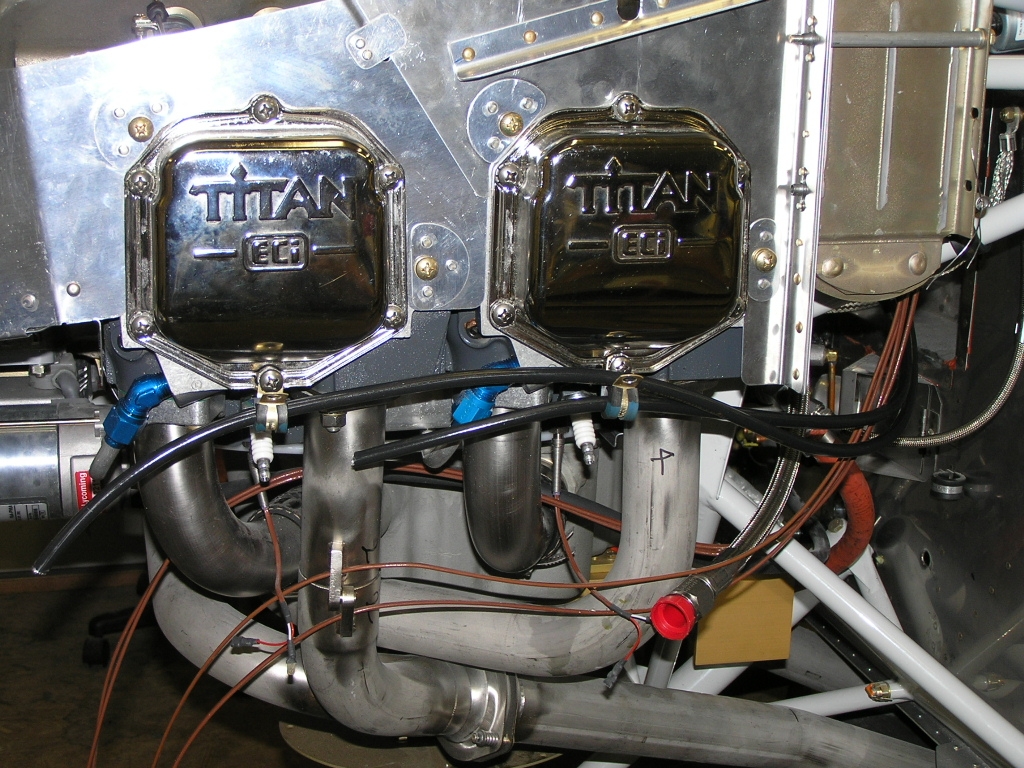 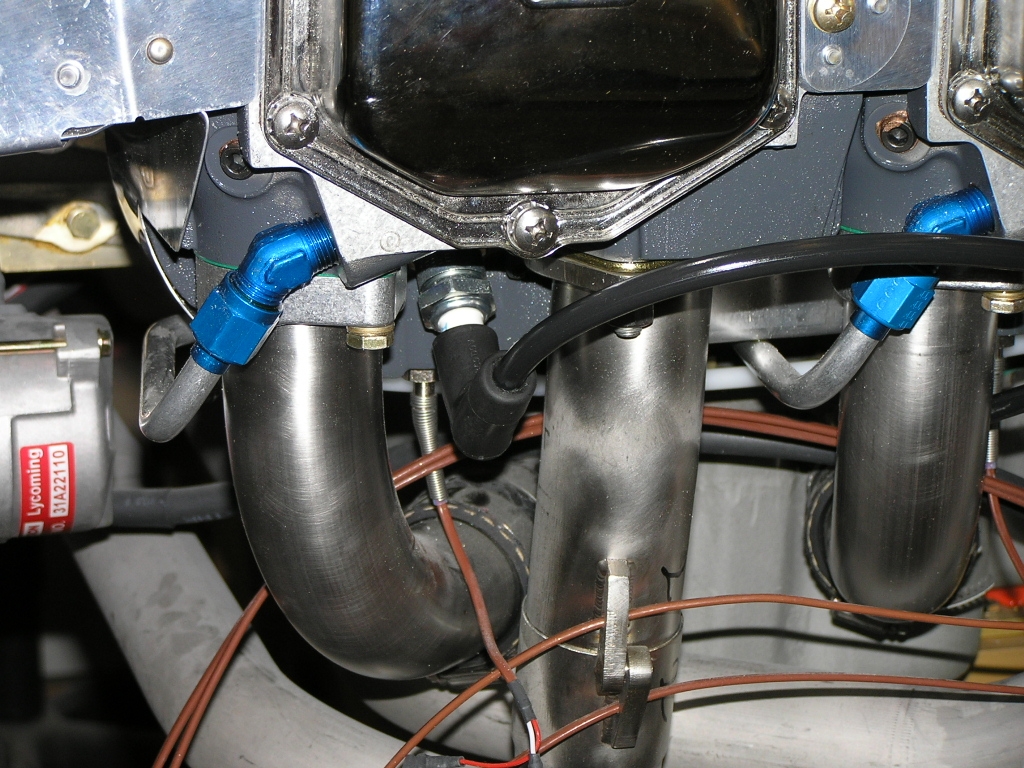 |
5.0 |
| 1/3/09 | I finished the plug wires and started tidying
up the engine wiring. I used zip-ties for the spark plug
wires and Adel clamps wherever I could. I need to place an
order for more clamps as well as a few other things.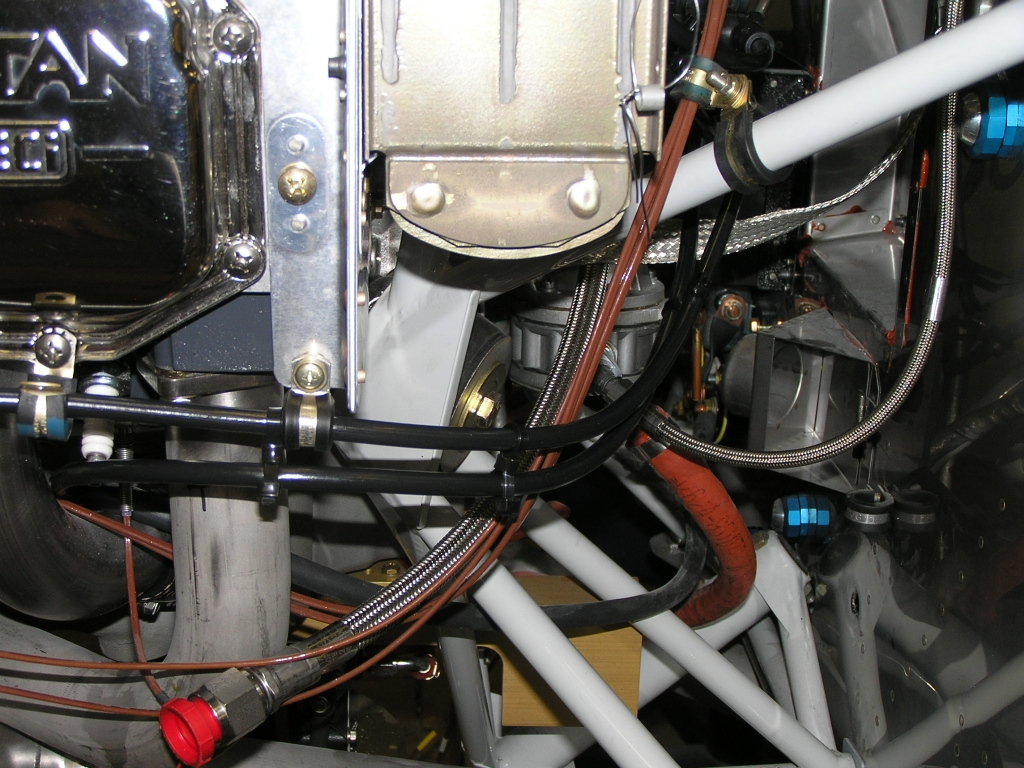 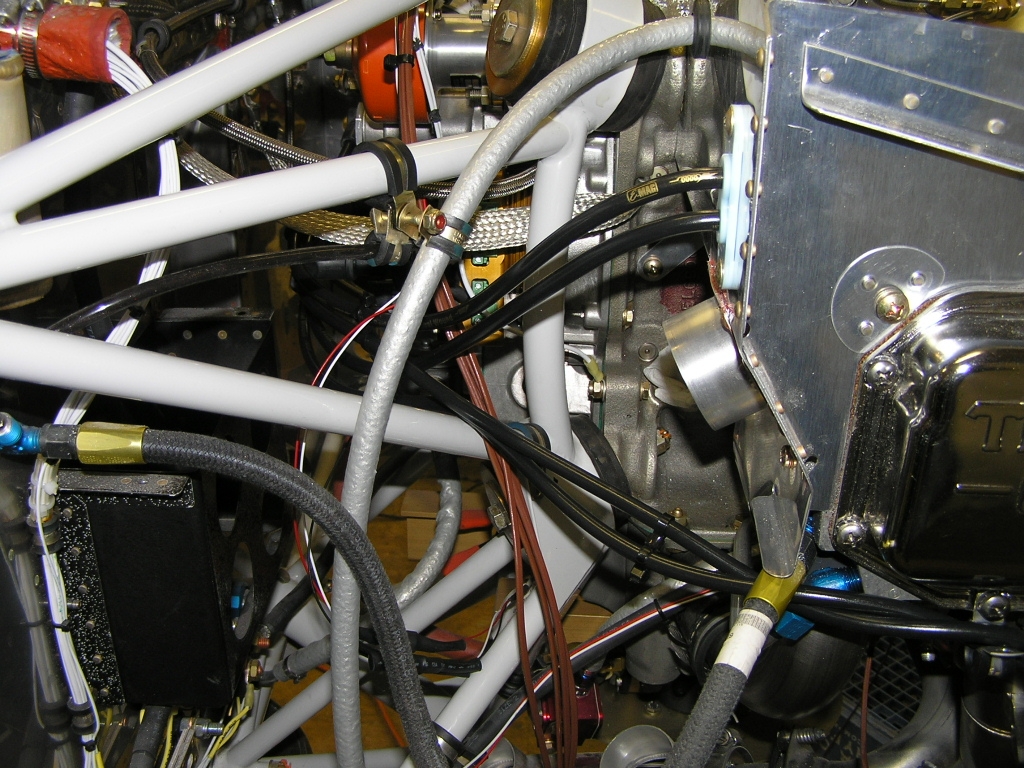 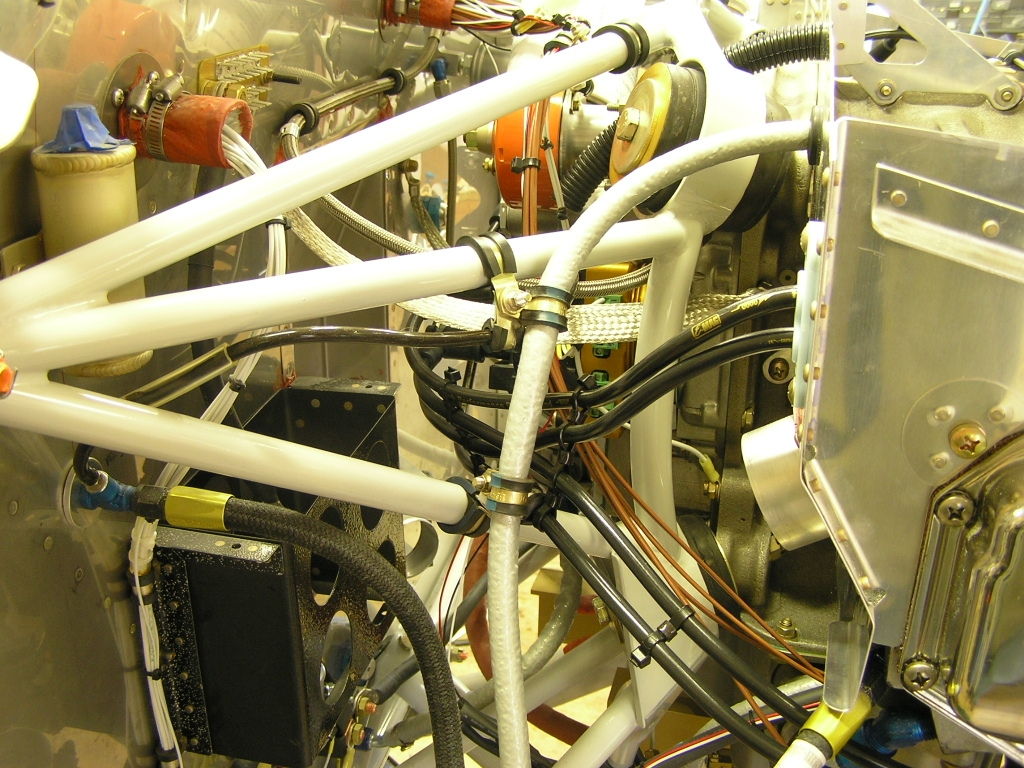 |
|
|
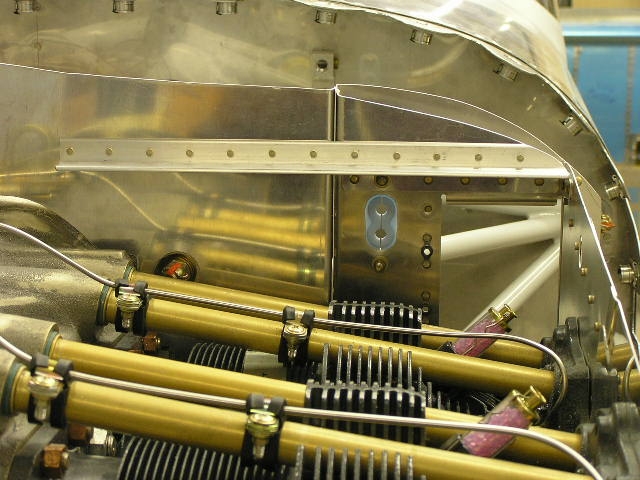
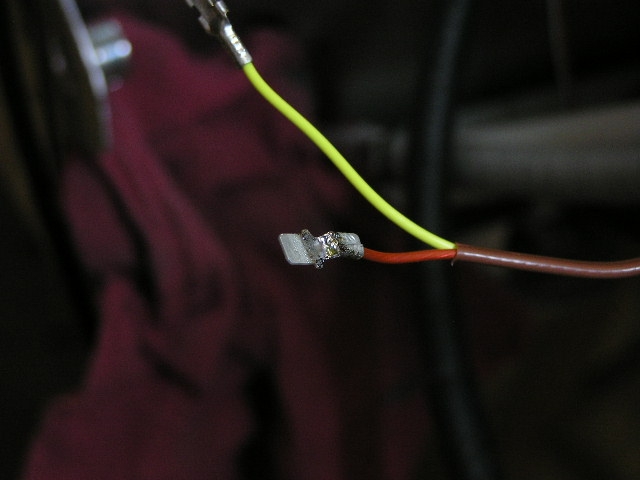
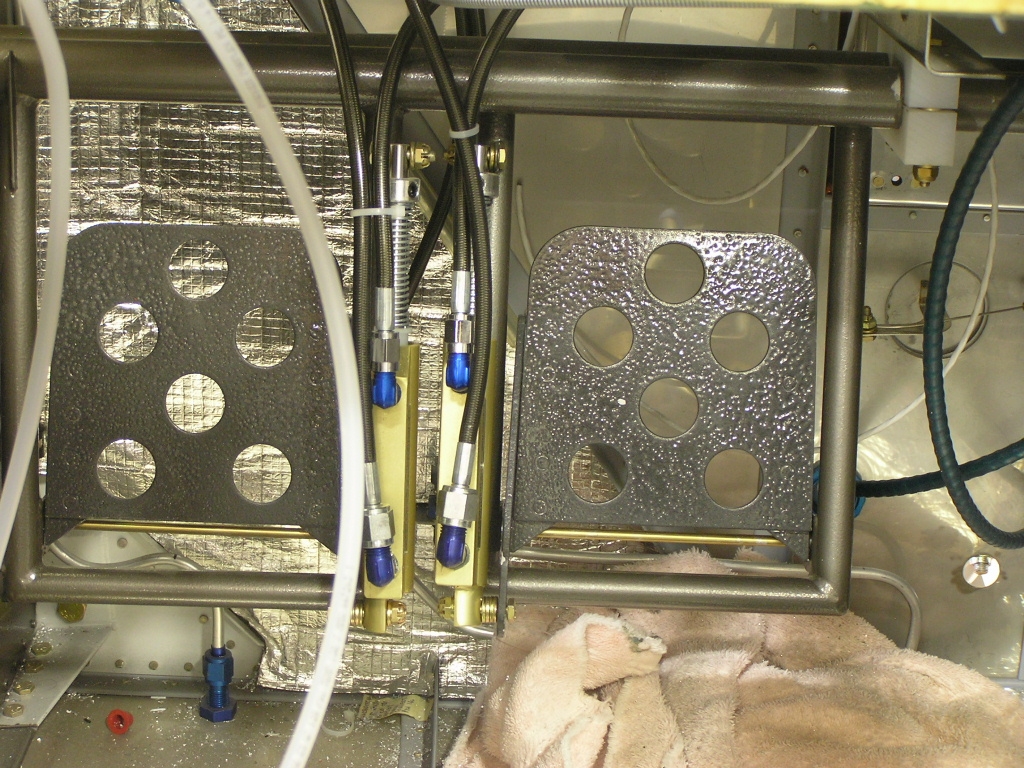
CHT & EGT Sensors |
||
| 1/9/09 | I picked up some Alpha Metals soldering flux
today at the local Ace Hardware so I could start the EGT and CHT
sensor installation. I decided to drill the EGT sensors
2.0" below each flange due to the #3 cylinder having a welded
connector which ruled-out any location between 2.25"-6.25".
I drilled each cylinder probe hole #30 and installed the probes.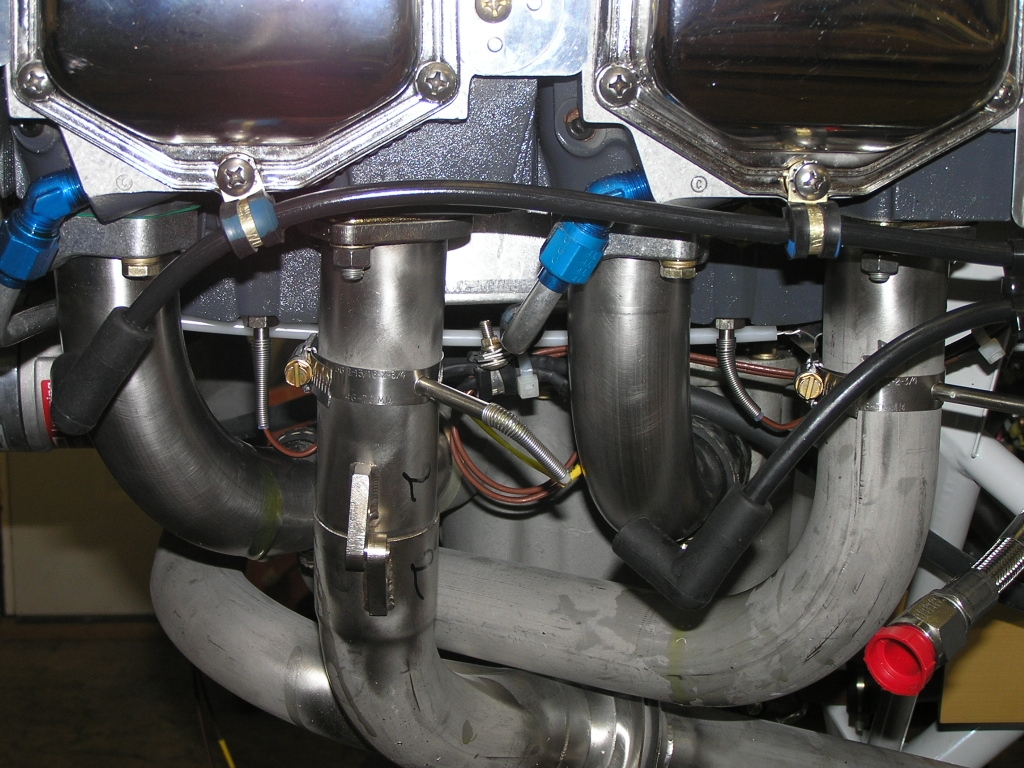 I also had previously installed each CHT probe so I measured the sensor
wires allowing for a "drip-loop" and crimped on the connectors.
After heat-shrinking the connectors I tied up the loops with zip
ties or Adel clamps.
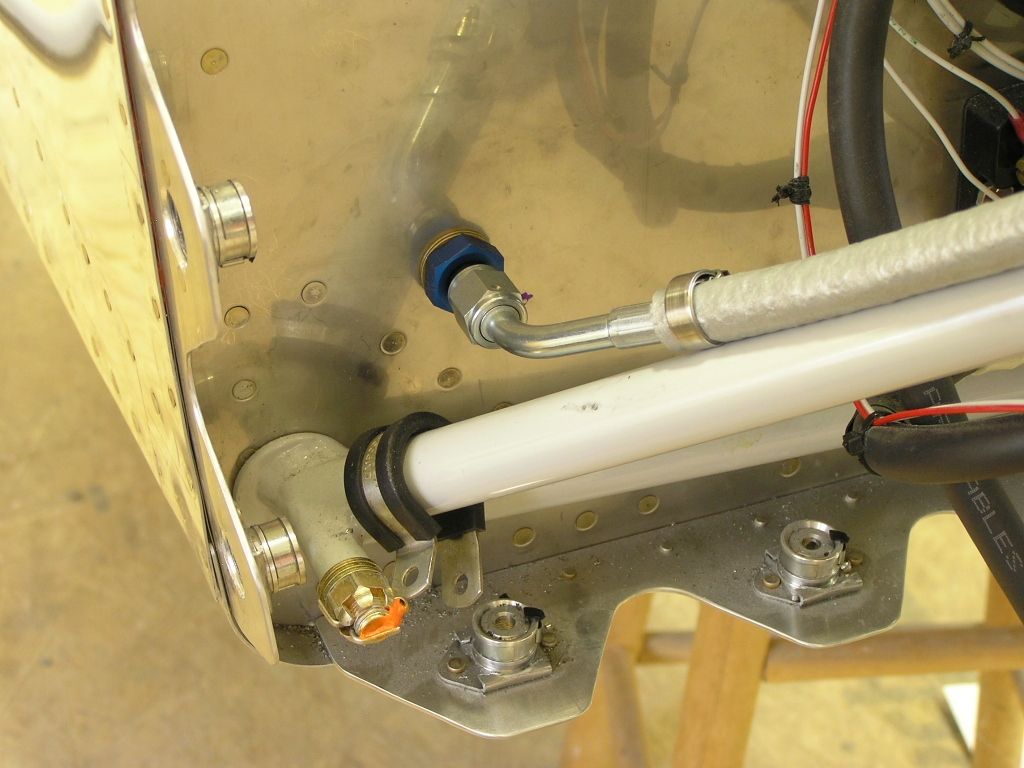
I also finished installing the bolts and oil line fittings for
the oil cooler. |
4.0 |
| 1/10/09 | I finished connecting the EGT & CHT sensor
connections on the right side today and tied up all the loose
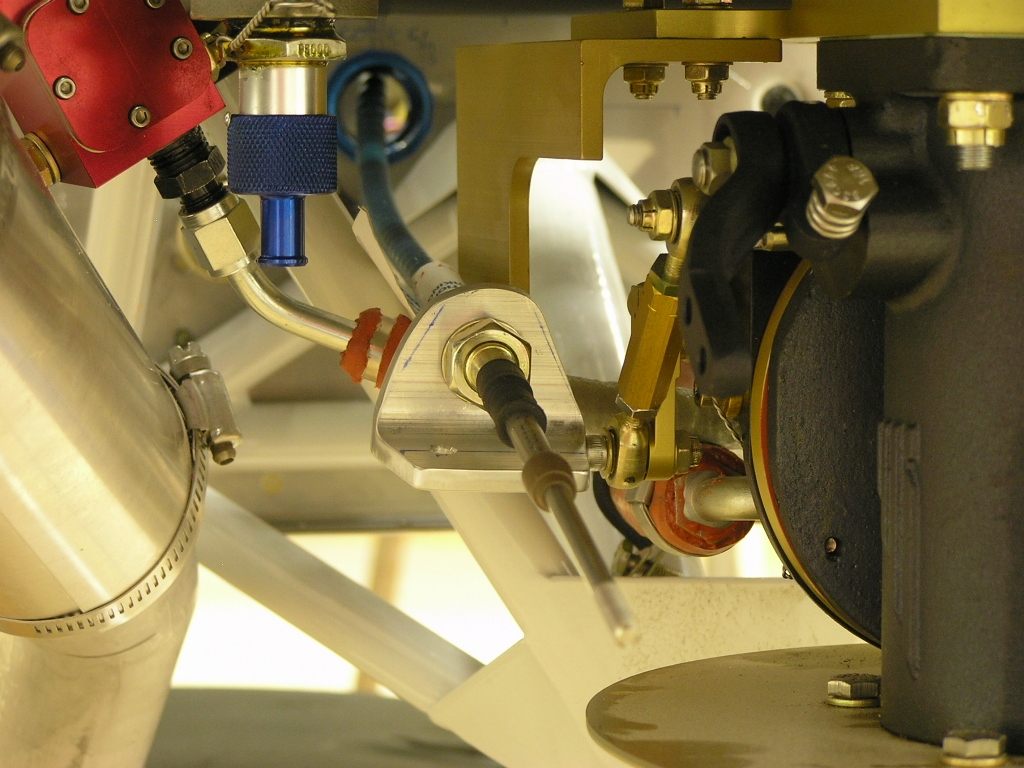
wiring. I also tied up the wiring for the fuel flow meter. Throttle and Mixture Cable Installation I received my cables today from Van's.
I started with the throttle cable and ran it through the
firewall to the quadrant in order to determine how to fabricate
a bracket for attachment. |
6.0 |
| 1/11/09 | I fabricated another bracket for the purge
cable that would allow attachment to two engine bolts and allow
a single bolt for attaching both the purge cable and fuel line
support. Terry Tibbits came by today to help me
pre-oil the engine. I bought an oil pressure gauge and
we were able to spin the prop using the starter until it read 40
psi. Good enough. |
3.0 |
| 1/16/08 | Today, Jim Olson came by and helped me with a
few firewall items and later on, Karl Lambert, another EAA
Chapter member came over and helped me finish installing the
throttle, mixture and purge valve cables. 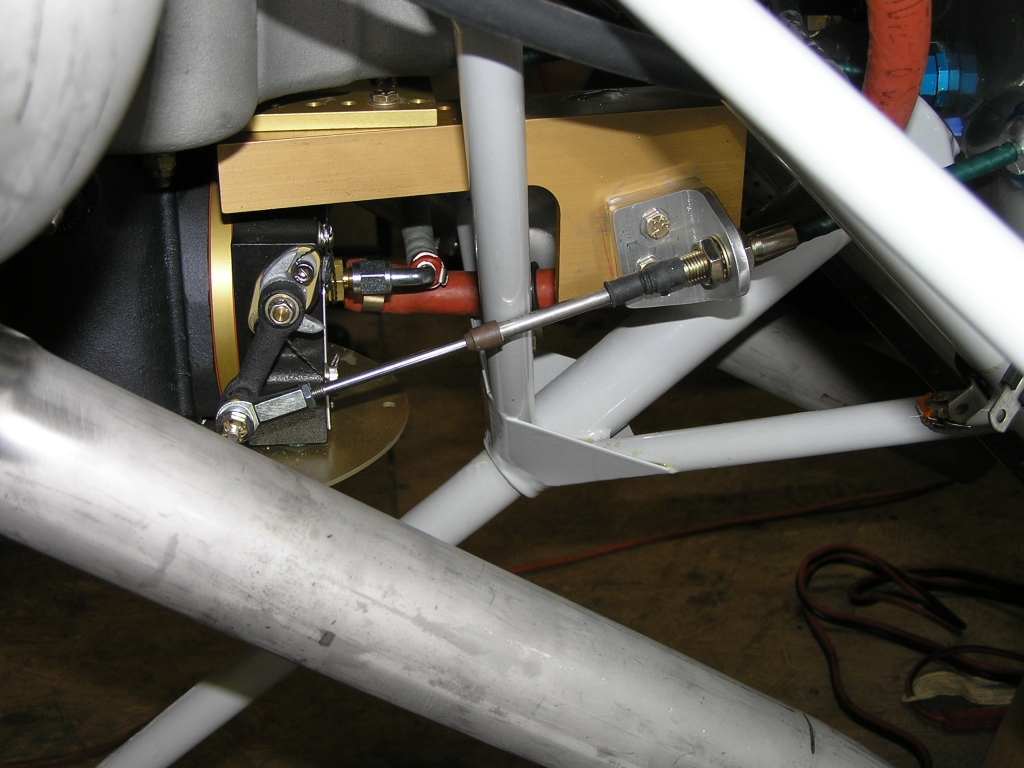 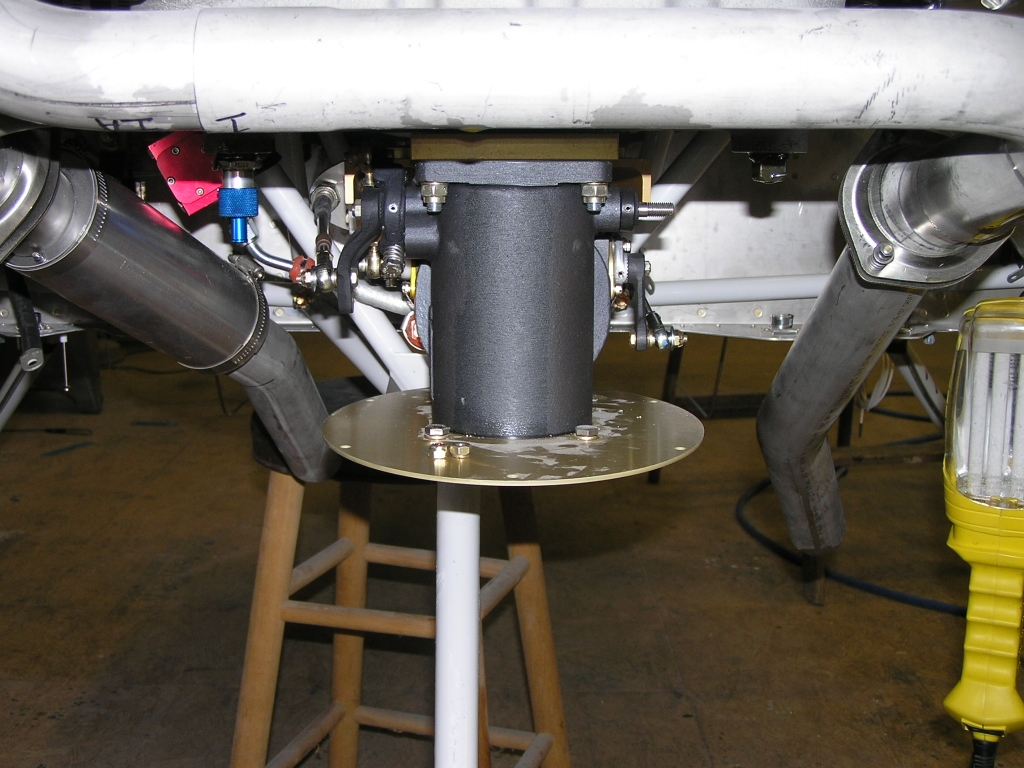
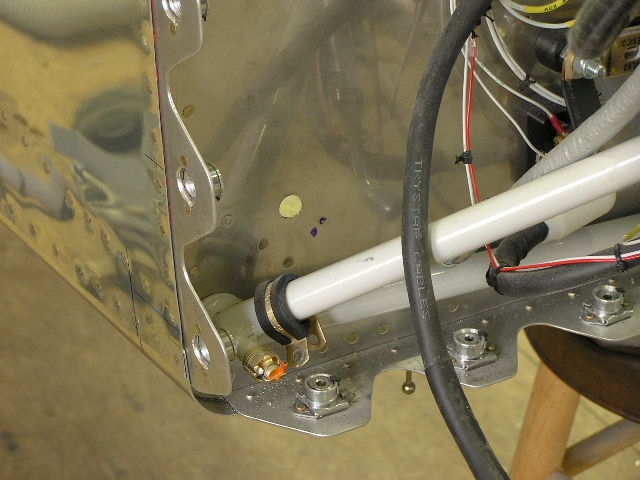
I also installed the purge return line to the firewall bulkhead
fitting. |
6.0 |
| 1/18/09 | I attached some more Adel clamps where needed.
I mostly worked on installing the
wing tips. |
1.0 |
|
Filtered Air Box
Construction |
||
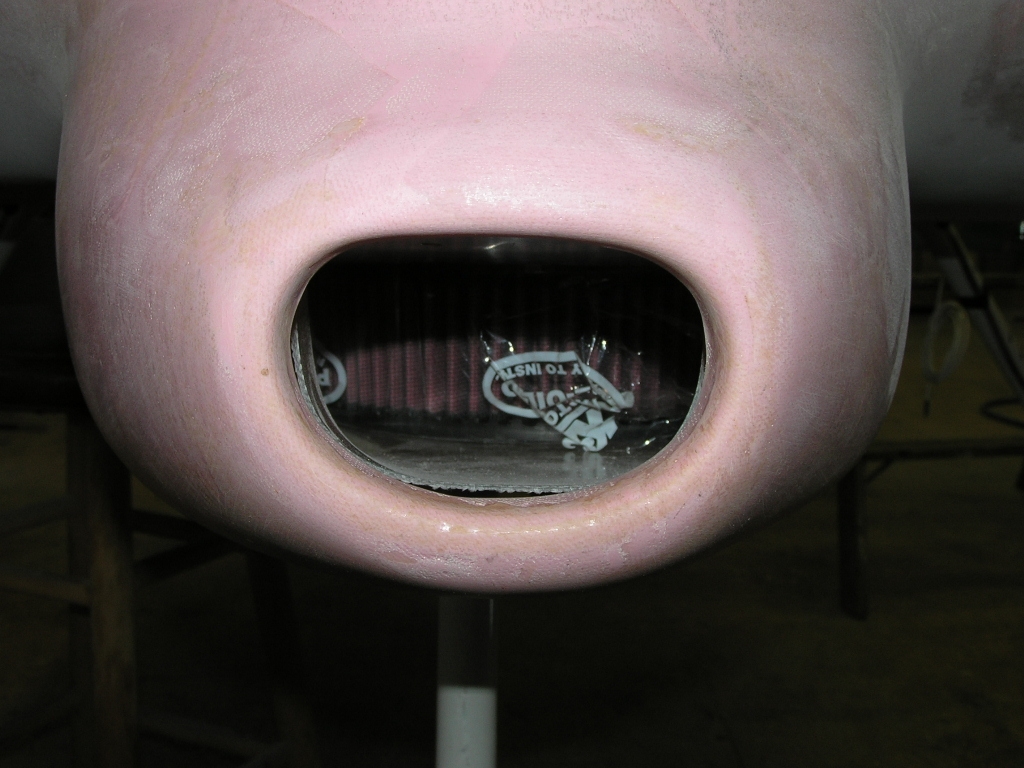
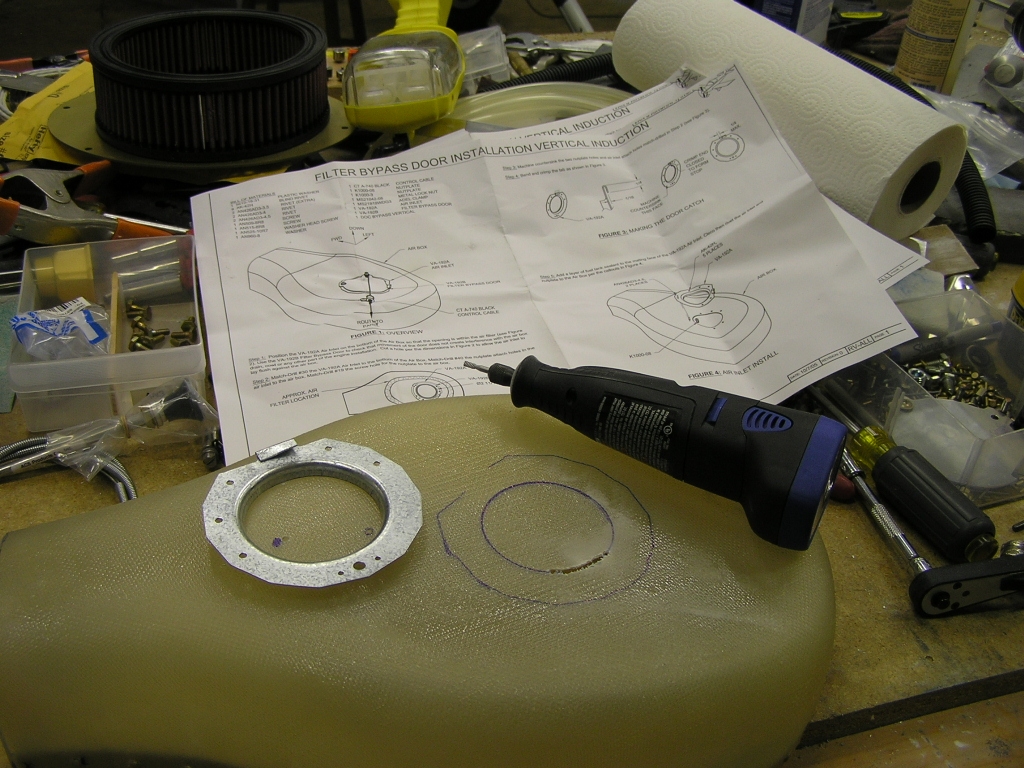
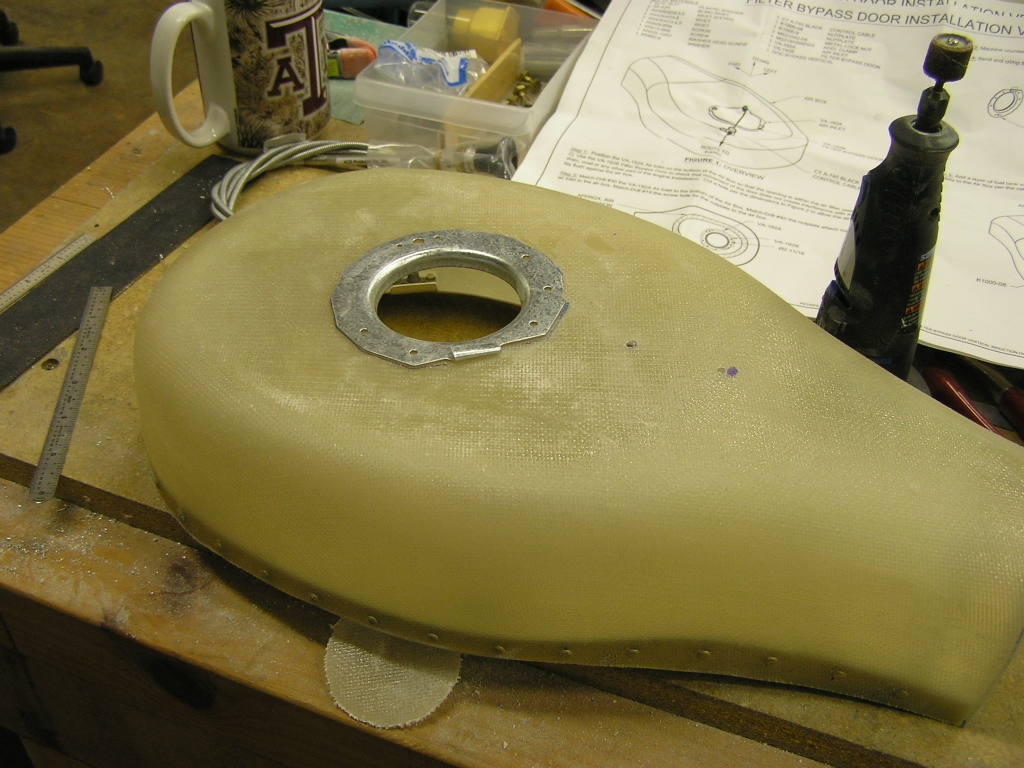
| 1/25/09 | I need to order more epoxy so I started to work
at fitting the FAB. The first thing needed was to remove
the prop in order to install the lower cowl and check the
alignment of the FAB. Initially, I needed to cut off 1.50"
from the front in order to allow the cowl to drop down without
hitting it.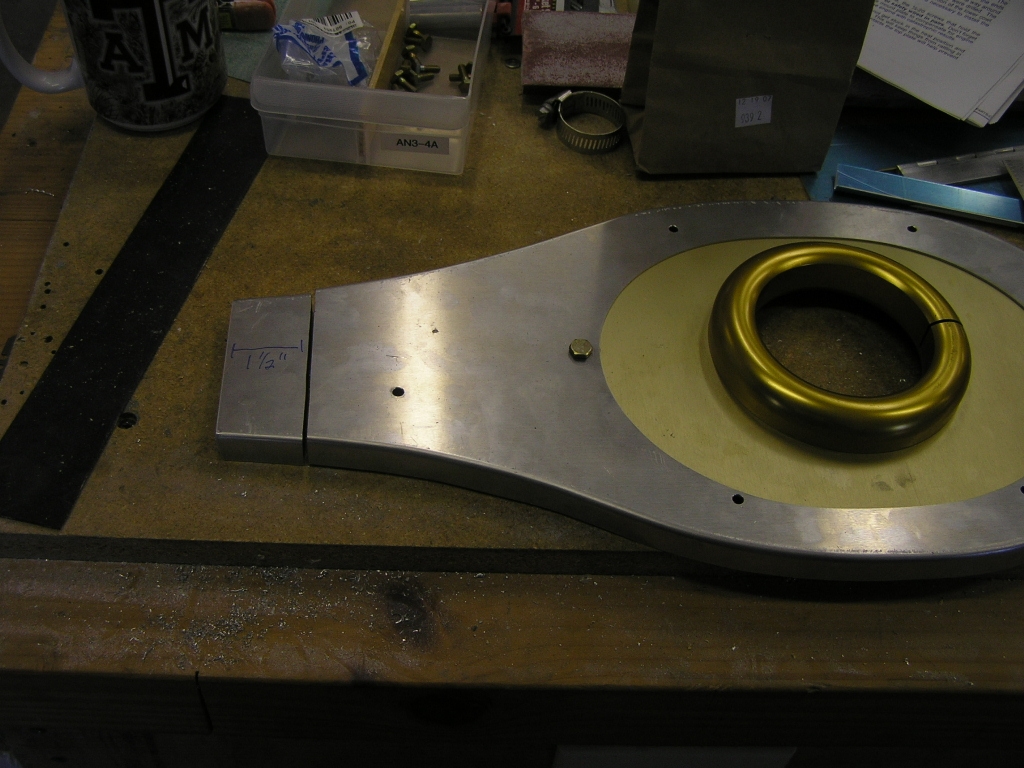
Then, I fluted the airbox flange in order to create a slight
upward slant to match the cowl inlet. I drilled the
mounting plate to the airbox and installed the filter clips and
platenuts. I also riveted the fiberglass lower portion to
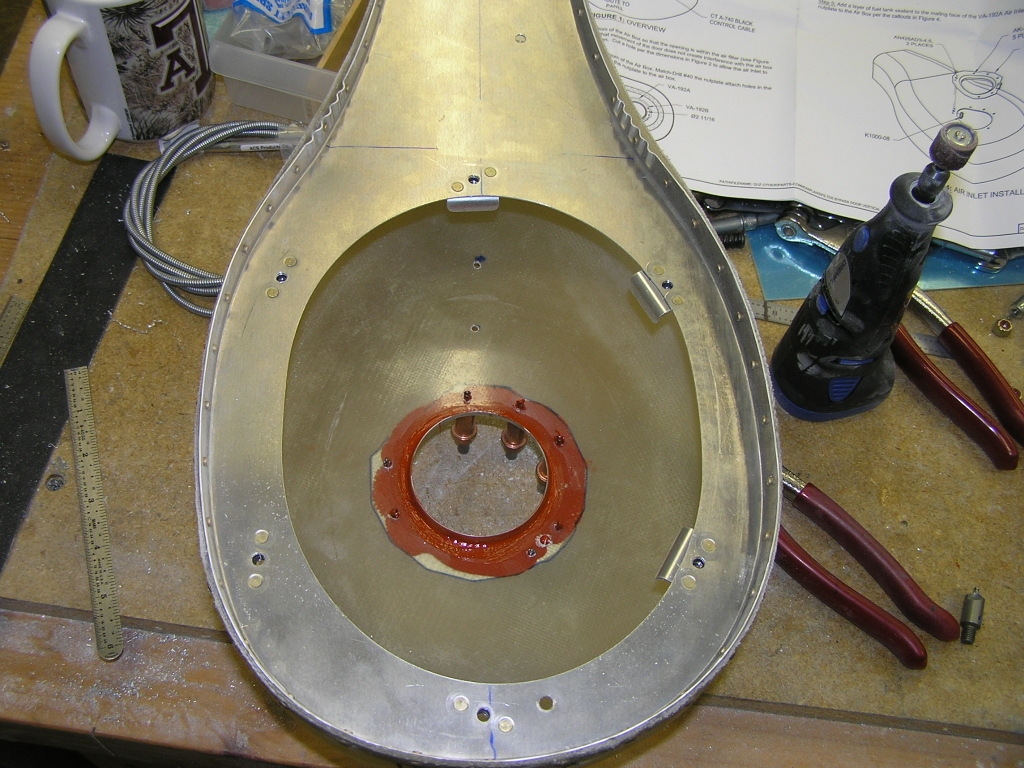
the top plate. With it all together, the fit is perfect. I then cut the hole in the bottom of the airbox for the
bypass gate. I drilled it and installed the base using RTV
as a sealant. I also drilled two #30 holes for drainage. |
6.0 |
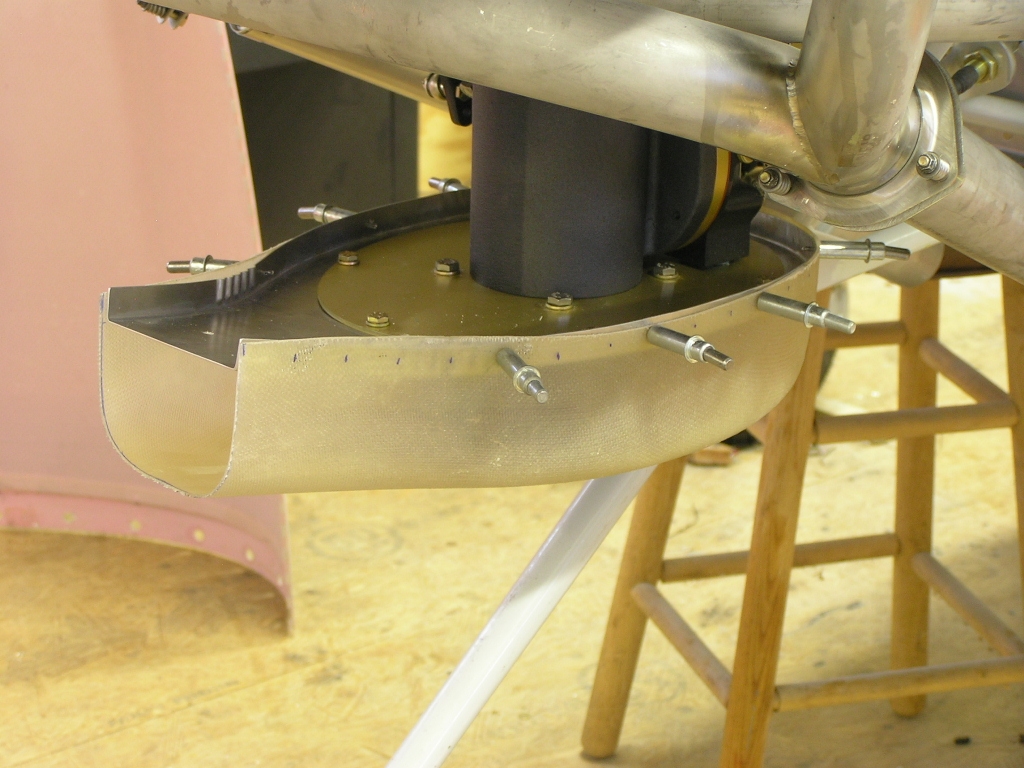
| 1/31/09 | Today I trimmed the block and glued it to the
cowl using E-6000. Later, I carved it to match the opening
in the lower cowl. I then laid up three layers of BID to
extend the opening to the FAB.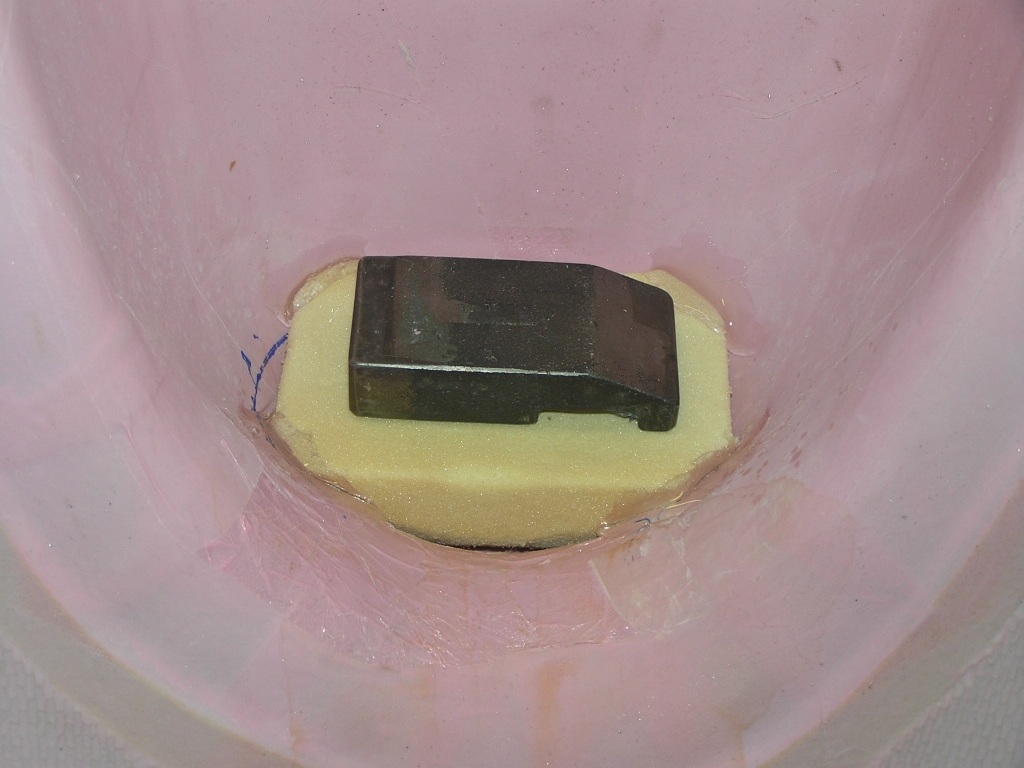 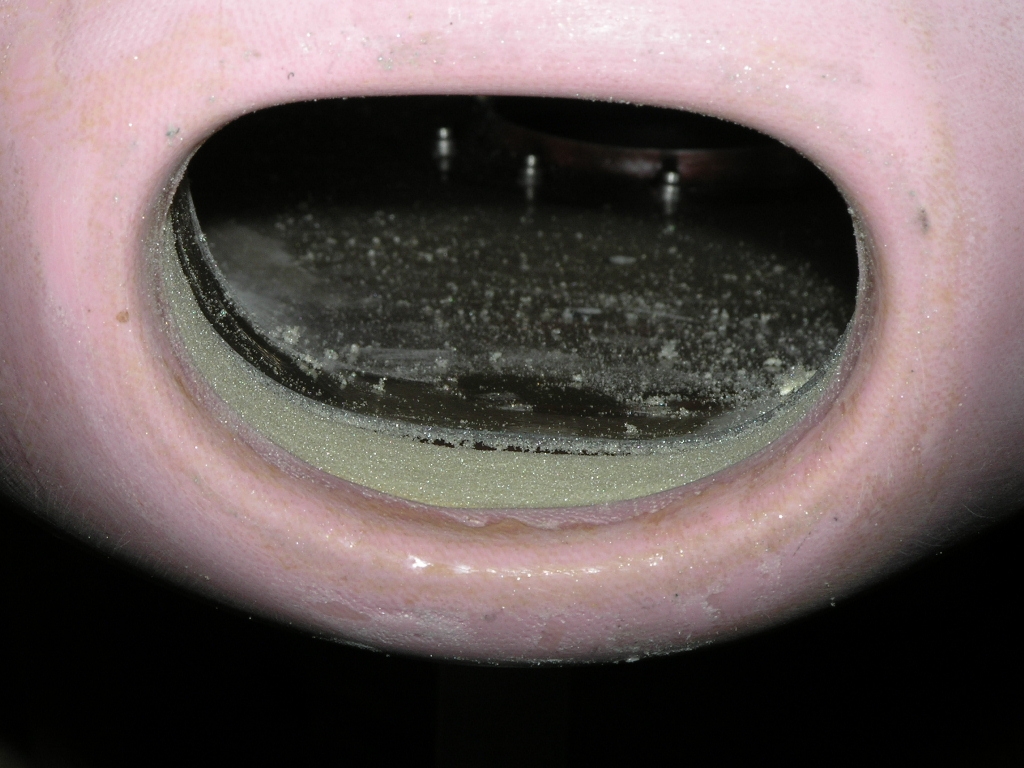 While I had the epoxy mixed, I added some flox and bonded and riveted the right wingtip upper hinge. I safety wired the FAB plate to the throttle body. |
4.0 |
| 2/6/09 | I laid up three layers of glass for the cowl
extension and held it in place with a balloon.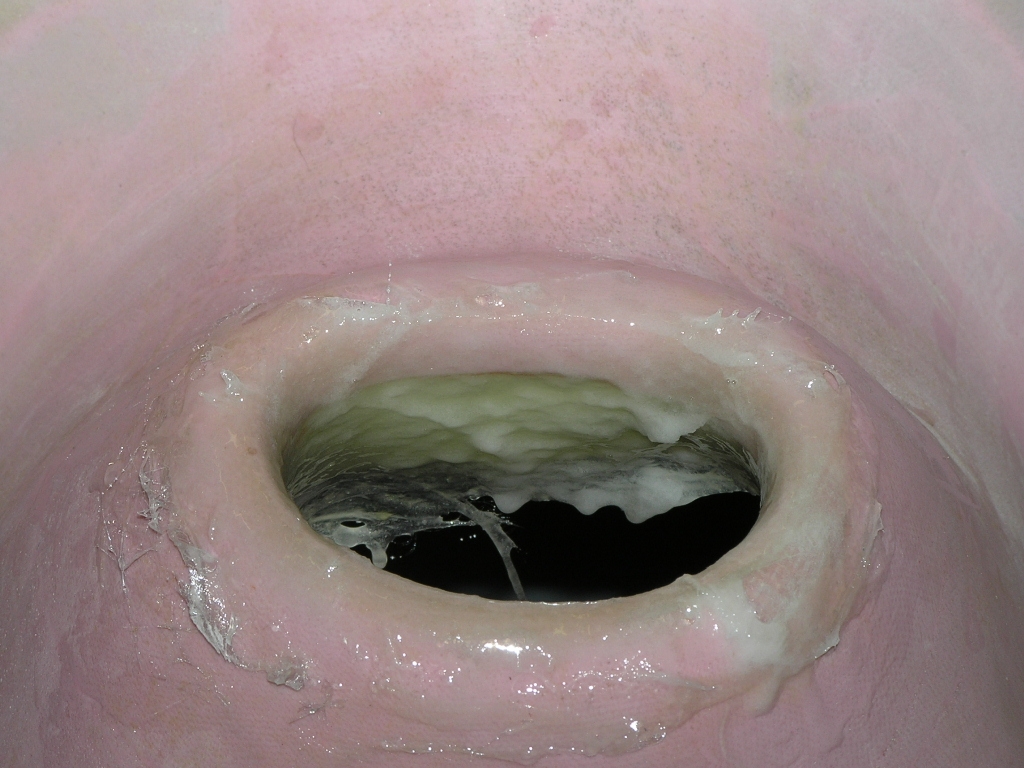 |
1.0 |
| 2/7/09 | I trimmed the foam back and trimmed the excess
glass. I then laid up another layer of glass inside the
cowl for reinforcement.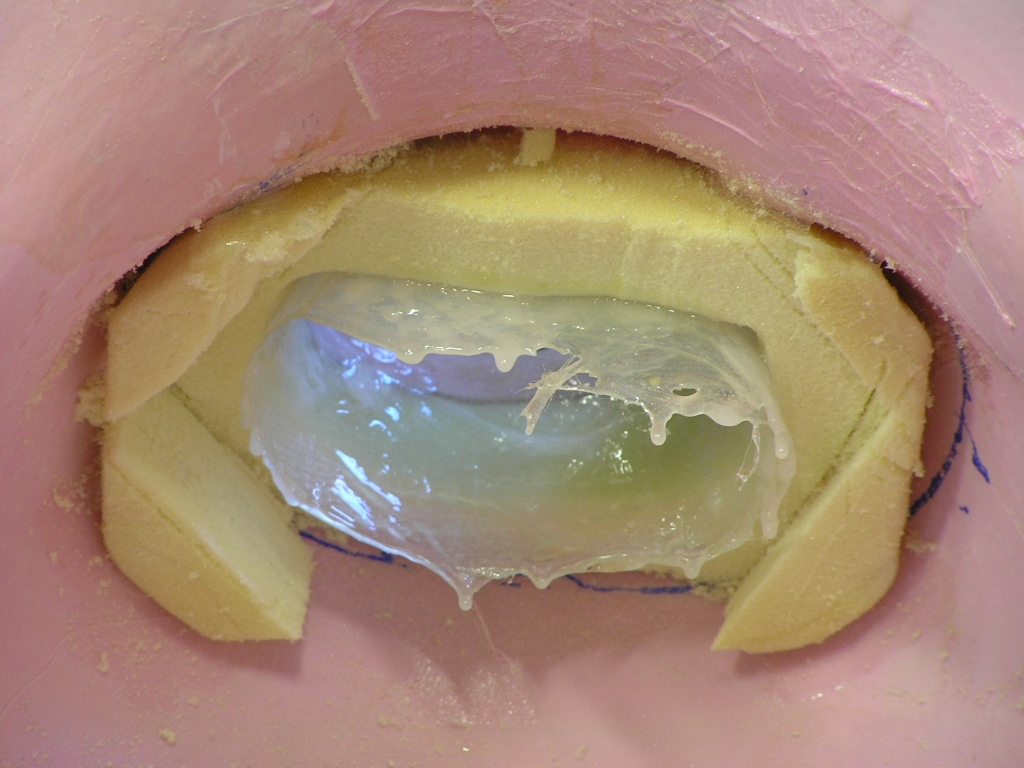 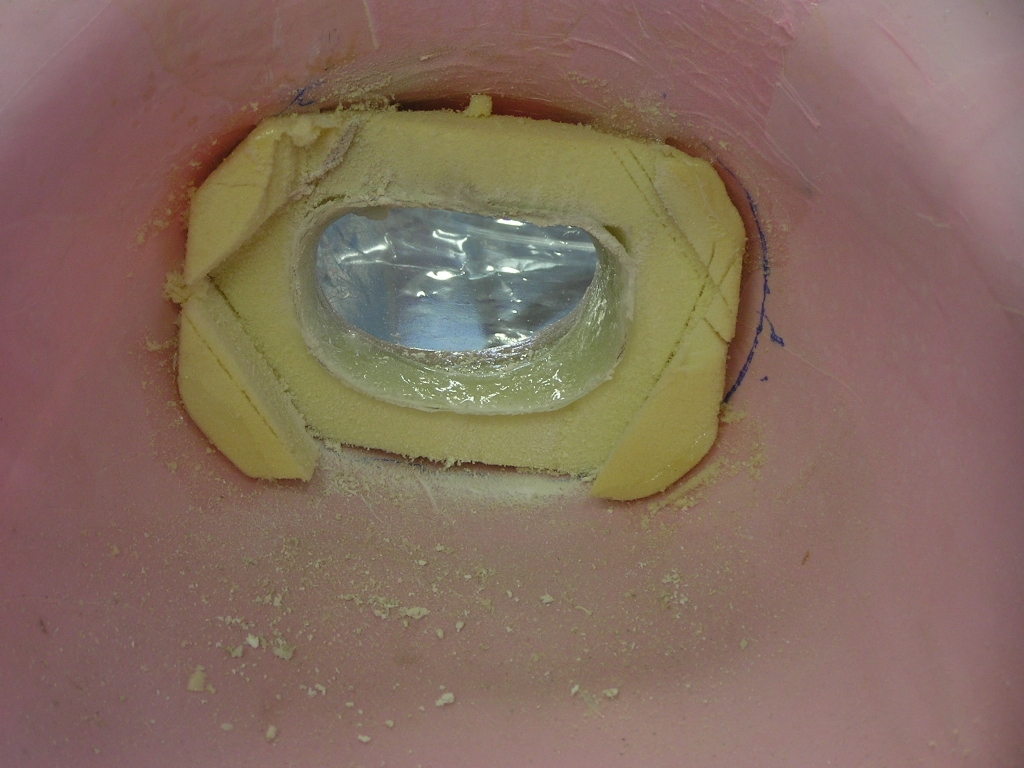 |
1.0 |
| 2/8/09 | I sanded the opening smooth and added another
coat of epoxy.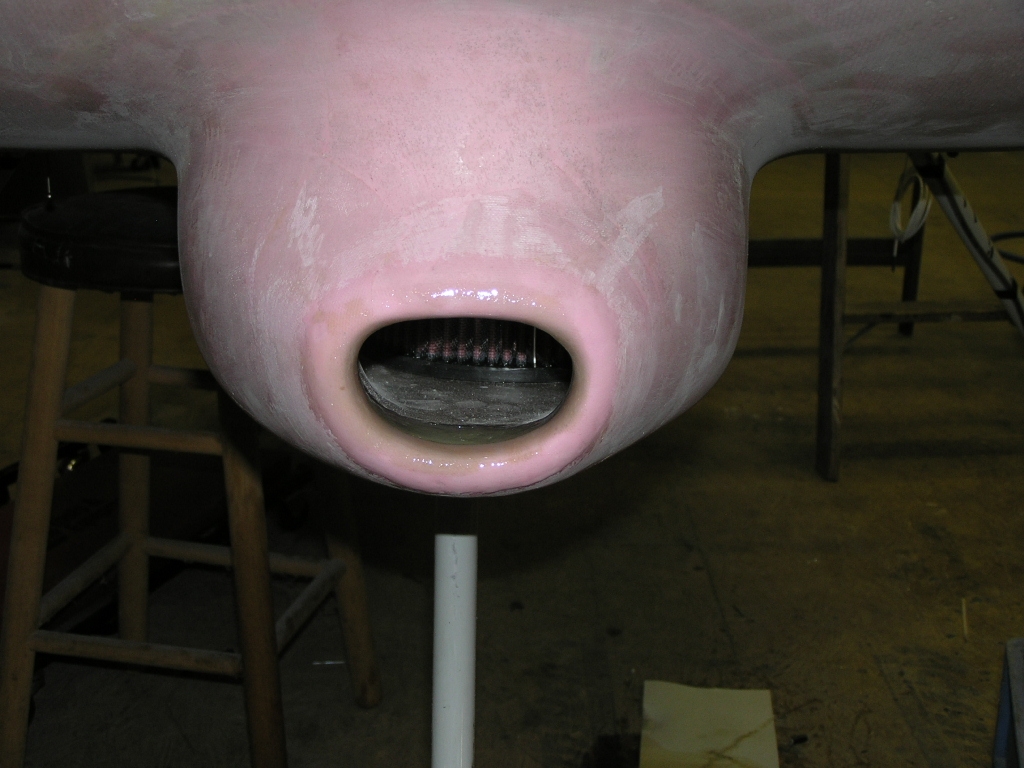  |
6.0 |
|
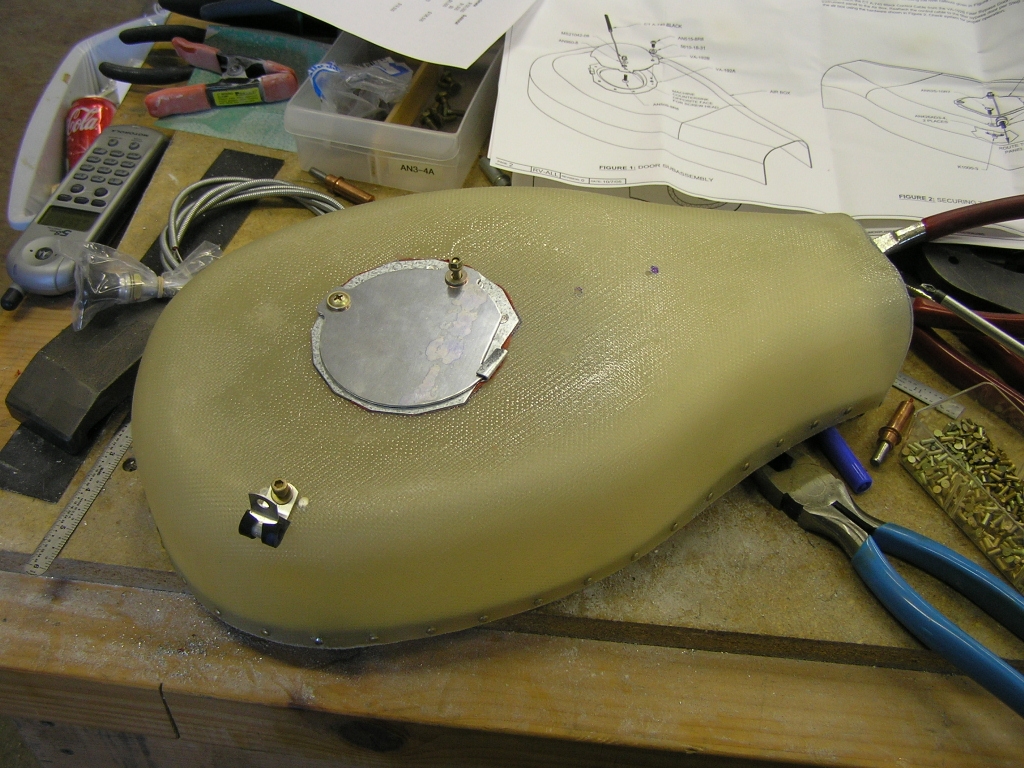
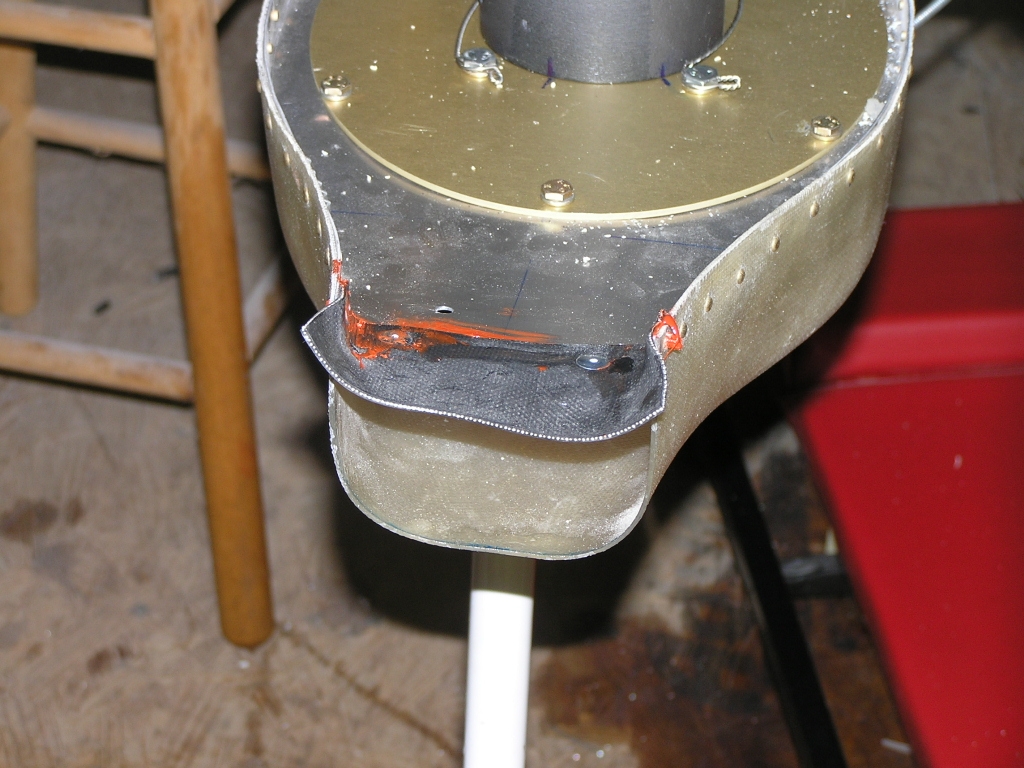
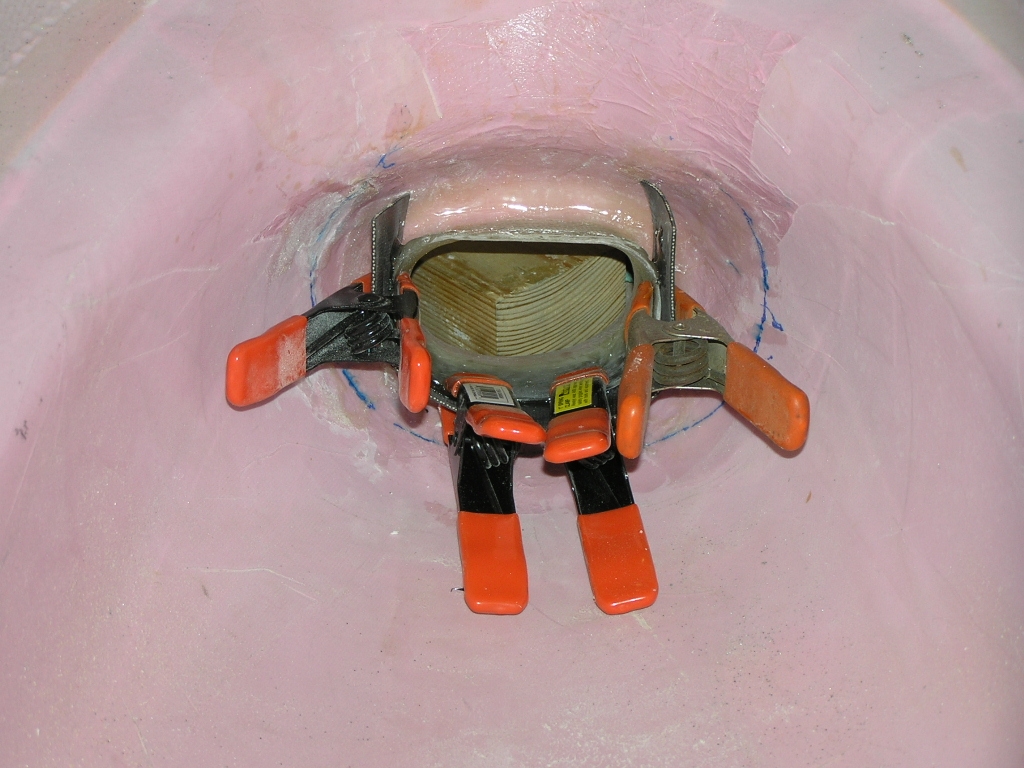
GPS Antenna Tray |
||
I fabricated the Antenna tray for the three GPS
antennas and the XM Radio puck. I riveted the firewall
hinge side to allow the tray to sit 3.0" below the cowl.  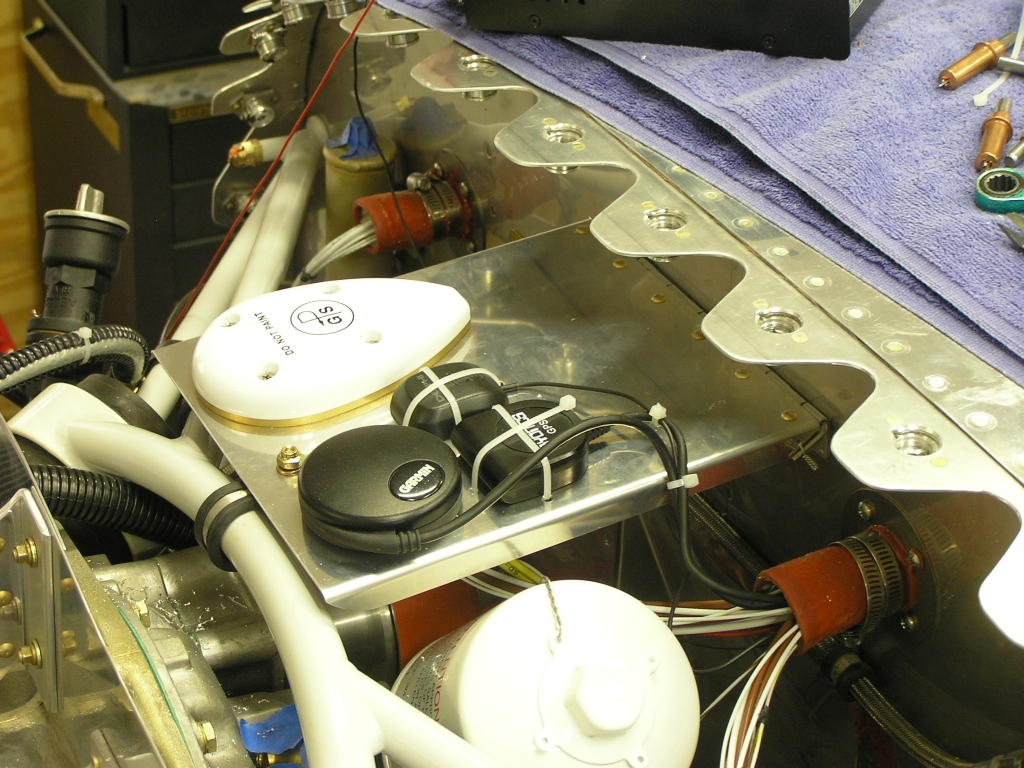
I also wanted to finish the top cowl so I drilled and clecoed
the "elephant ear" ramps. By placing the top cowl in place
I was able to see how much to trim off the baffeling. I
then epoxied the ramps in place as well as the oil door latch
cable and installed the top cowl to allow the epoxy to set with
it all in place. |
||
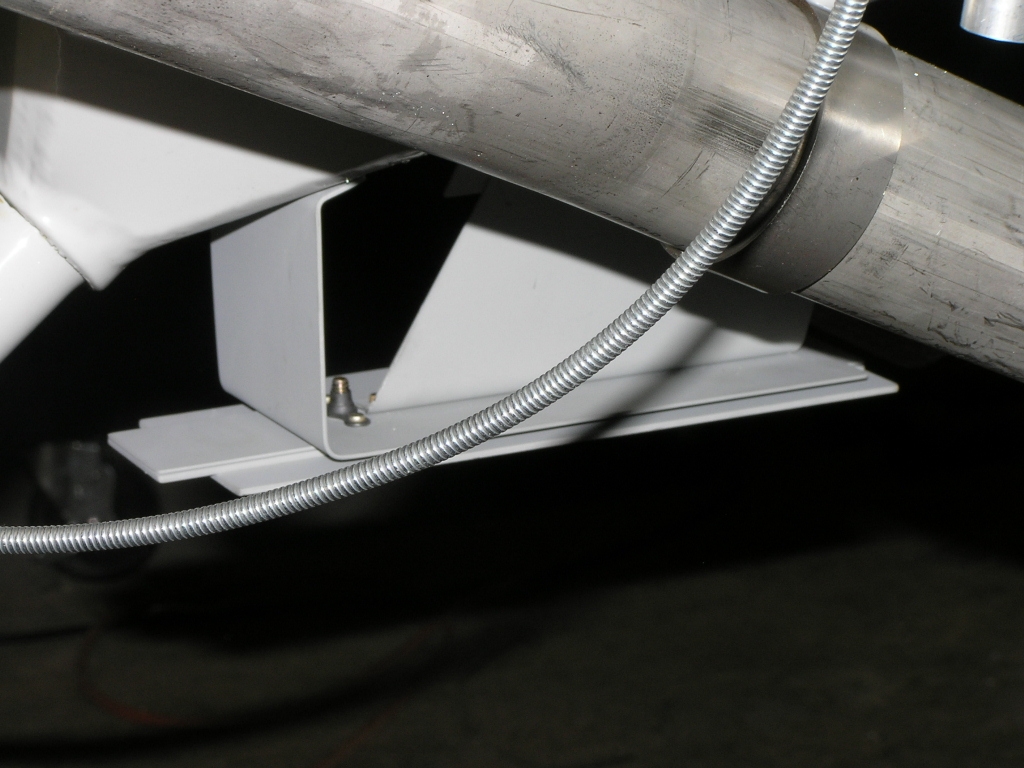
| 2/13/09 | I continued working on the FAB. I
installed the Alternate Air cable by bolting a flange below the
sub panel connected the cable to the air box door.
I then riveted the seal on top of the air box using RTV to seal
the gaps. On the inside of the lower cowl I used E-6000
epoxy and clamps to secure the seal. This area is too
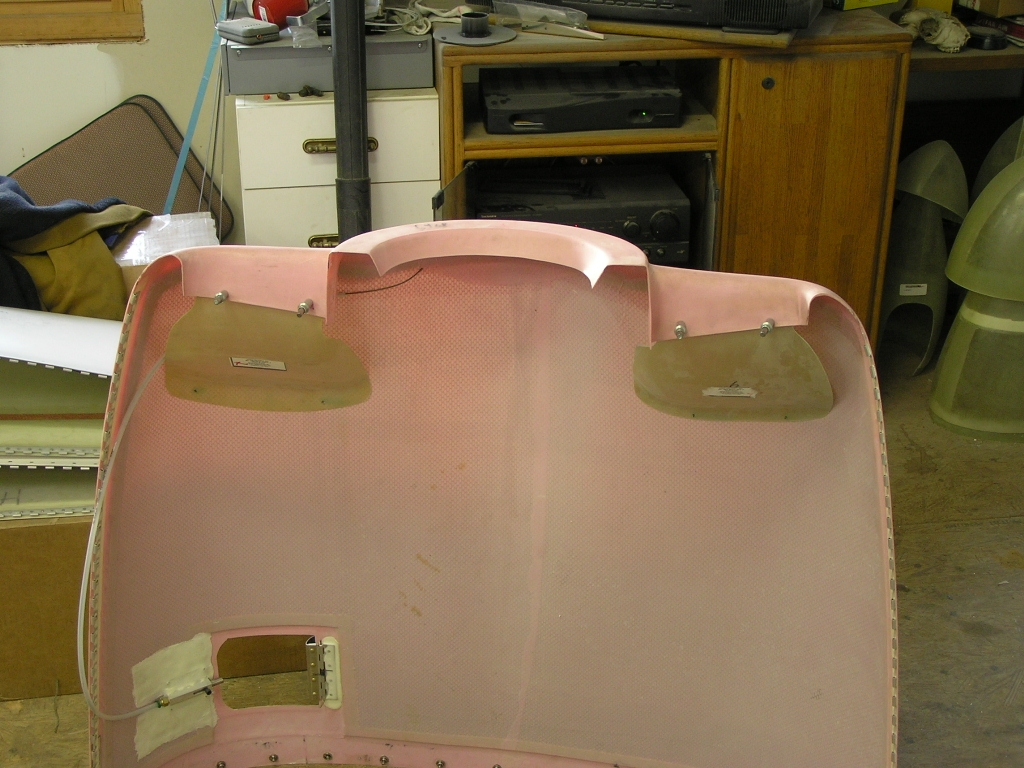
tight to get a pop rivet gun into. I then removed the empennage fairing and trimmed it to final
shape. I then drilled each screw hole for platenuts in the
areas I could reach. I will need to remove the VS and HS
in order to rivet the platenuts. |
8.0 |
| 2/14/09 | I installed the platenuts to the front of the
lower canopy by first epoxying a piece of .040 AL to the back
where the platenut would be riveted. I then countersunk
and riveted the platenuts.
I then focused on attaching the gasket seal on the baffles.
This is an iterative process that involves cutting 3.0" strips
of the seal material and drilling it to the baffles.
Starting at the rear and moving forward along the sides you have
to drill and cleco the material on each baffle section in case
you ever need to remove the baffles. I also drilled and installed the air inlet seals. |
8.0 |
| 2/15/09 | Today I drilled the attachment strips for
attaching the rudder pedals to the rudder cables. I cannot
find the clevis bolts needed to assemble so I will wait until my
order arrives next week. I spent the rest of the day working
on my wing tips. I mounted each wing tip on the wings and
measured the W-916 wing tip ribs. Due to interference with
the hinges, I had to trim the ribs to fit. I then removed
the left wing tip and drilled the rib to the tip. I also
fit and started drilling the W-931 wing tip rib. |
8.0 |
| 2/20/09 | Fellow EAA member, Karl
Lambert, came by and helped me decipher the instructions
for installing the exhaust support brackets.
I installed the rudder cables to the rudder bars since I have
the correct clevis bolts now. I also went ahead and
drilled the brake master cylinders to the pedals. With Karl's help I crawled into the tail and covered the
loose wiring running aft with corrugated tubing for chaff
protection. |
6.0 |
| 2/21/09 | I got and early start and installed the fuel
overflow tube as well as the oil overflow tube.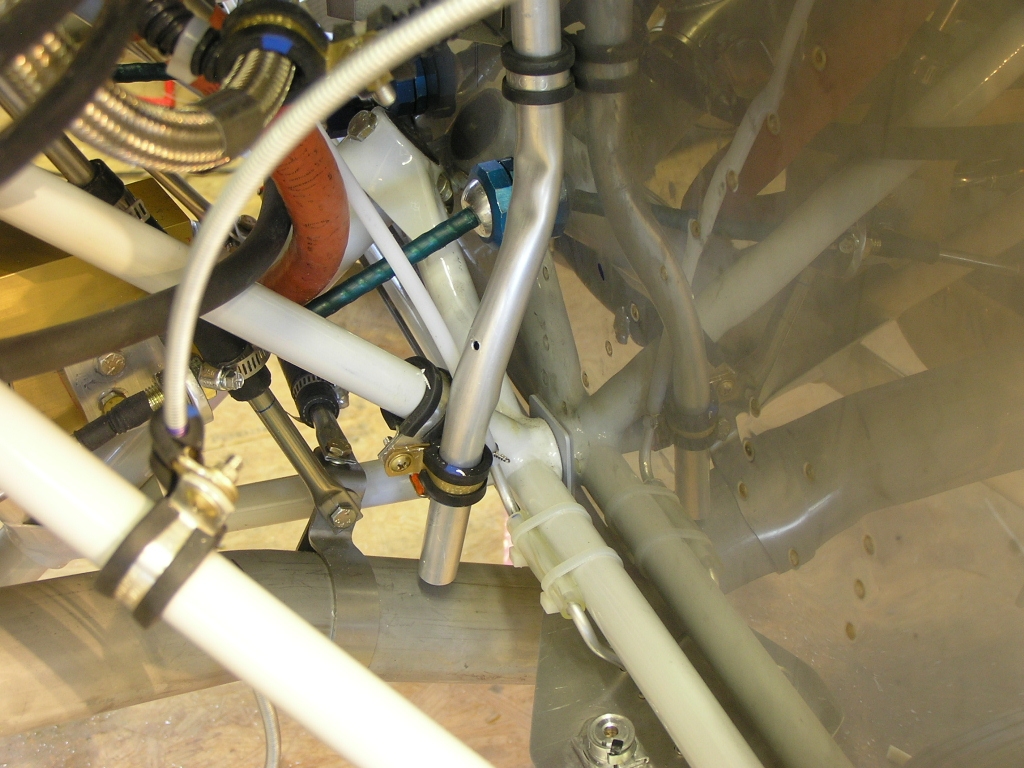 I had a site visit by Vern Darley today. Vern will be helping me out in several ways. I will be taking my transition flight training with him on March 7th. He will also be serving as my DAR and this was the first time he has seen my project. (Fortunately, he found no fatal flaws). Lastly, Vern will be conducting the first flight for N16BL. After Vern left I fabricated the lower cowl support bracket. |
6.0 |
| 2/22/09 | Today I focused on the
wing tips. |
|
| 3/6/09 | I fabricated the fuel return line from the
firewall to the right tank.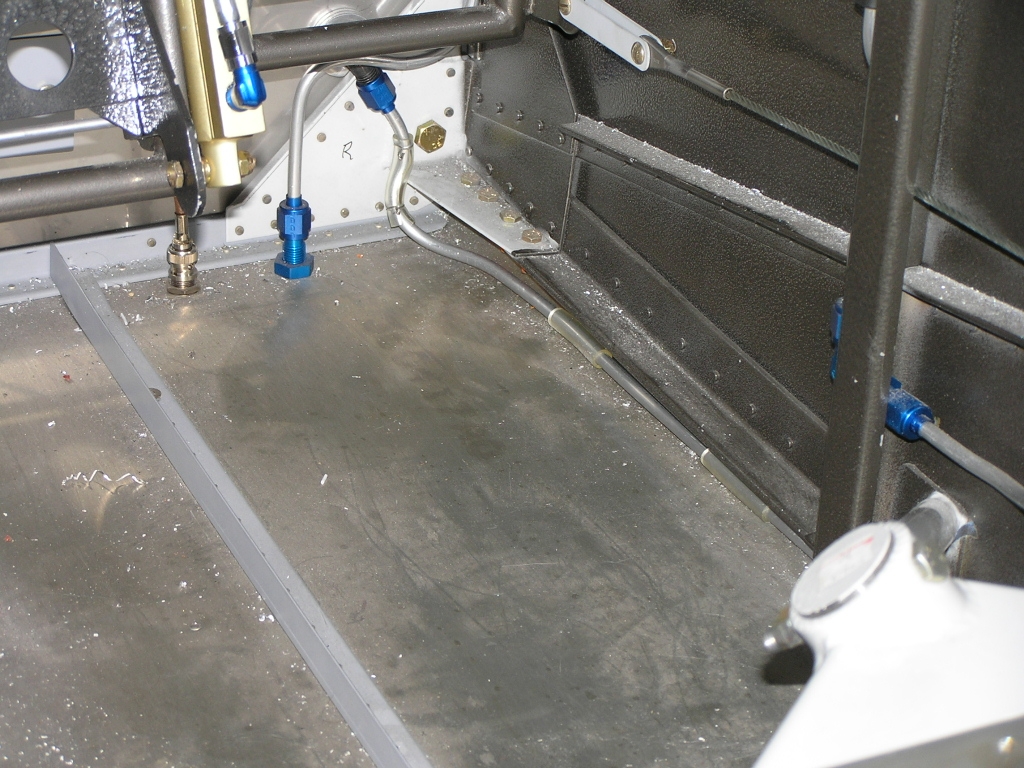 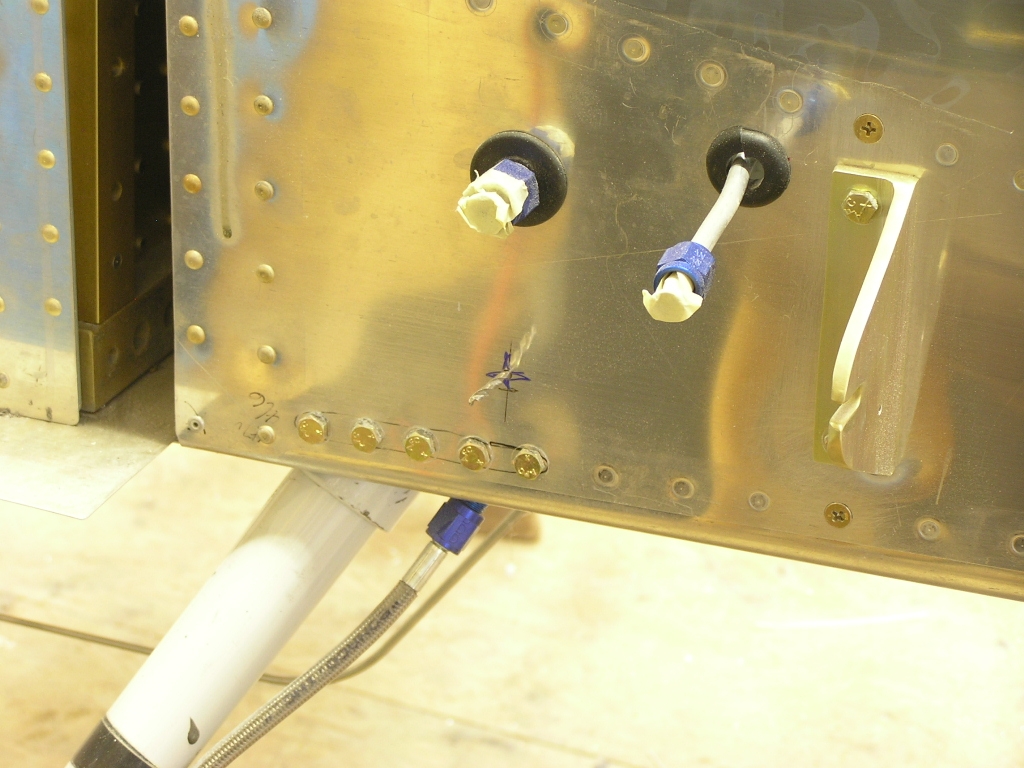
I also fabricated and installed the main fuel line running from
the boost pump to the firewall. |
6.0
|
|
Total Hours this Page |
||
|
Total Hours Firewall Forward |


Copyright ©2005-09
Hosted by NTI Networks