
Home
Shop
Tools
Empennage
Wings
Fuselage
Panel
Firewall Forward
Canopy
Wiring
Engine
Miscellaneous
The Ultimate HID Light System for Experimental Aircraft
| 90MM High Intensity Discharge System (50W) | ||
| Installing the HID landing/taxi lights using the Duckworks wing leading edge mount | ||
| Note: DO NOT HANDLE THE HID LIGHT BULB. KEEP
IT IN ITS PROTECTIVE TUBE UNTIL FINAL ASSEMBLY. IF IT GETS
TOUCHED YOU MUST CLEAN IT WITH ALCOHOL. |
||
| Pre-install |
||
Inventory your components. Kit components are:
1) complete HID light assembly 2) HID Ballast 3) HID
adapter plate blank 4)Template to use for fabricating the HID
adapter plate 5) Two platenuts 6) Two #8 screws for mounting
the modified HID unit to the modified Duckworks mounting plate. |
||
| Note the naming conventions we will be using.
Any part that came as a component of your
Duckworks lights will be called
Duckworks xxx. Any component
contained in the new HID kit will be called
HID xxx. Please study these
instructions and look at the photos so that you understand the
steps before you begin. |
||
| Because the RV-3,4,6 wings rib holes are too
small to install an assembled HID light assembly, we will be
modifying the whole HID Light assembly by disassembling it,
fabricating a new mounting system out of an aluminum plate and
some platenuts, and reassembling it through the wing tip rib
holes and the leading edge Duckworks hole. There is plenty of
room to do so after the wing tip is removed. The original
Duckworks mounting plate will have to be modified slightly in
order to accommodate the modified HID light assembly and HID
adapter plate. You may modify your original Duckworks wiring to
power and ground the new HID unit. No new wiring is necessary. |
||
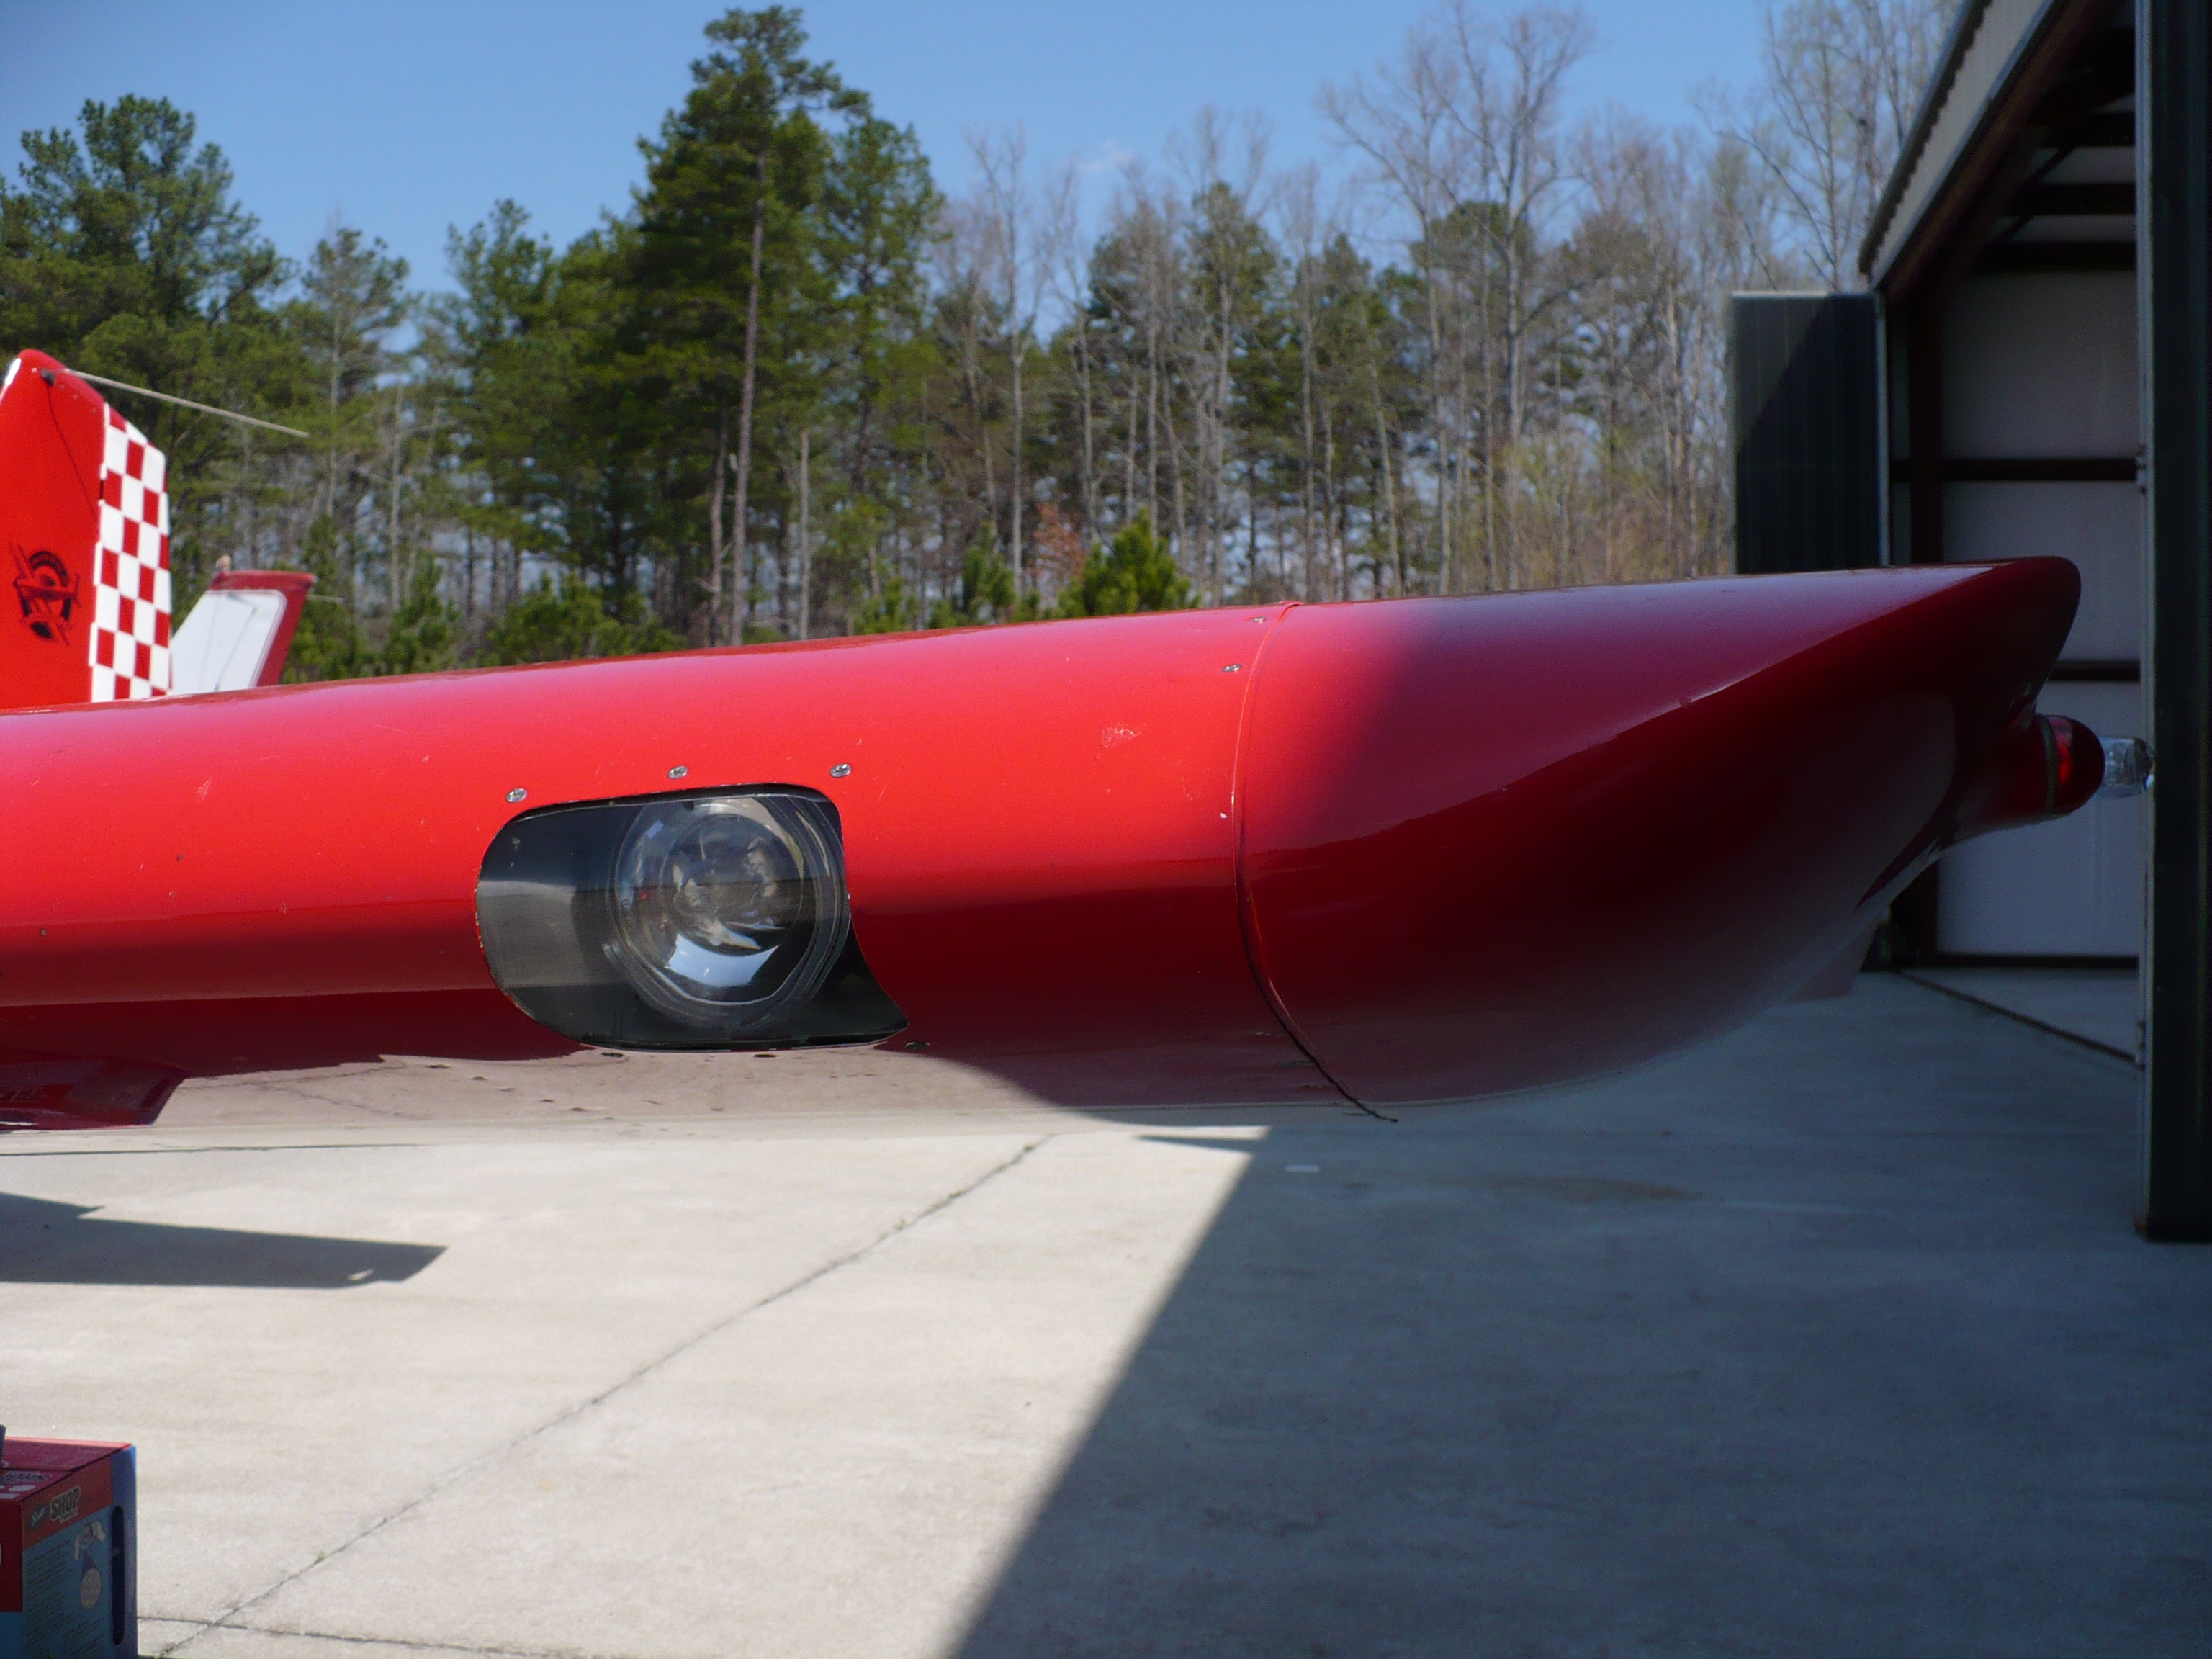
|
Remove your wingtip. If it is attached by antenna and
lighting wires, simply hang it from the lower wingtip
mounting holes using some safety wire.
Remove the Duckworks clear plastic lens cover.
Remove the Duckworks mounting plate by unscrewing the screws
and washers on each end of the unit. Then ease it out of the
leading edge hole very carefully. Note it's
orientation so you can re-assemble it later. |
||
| Modifying the HID
light assembly |
||
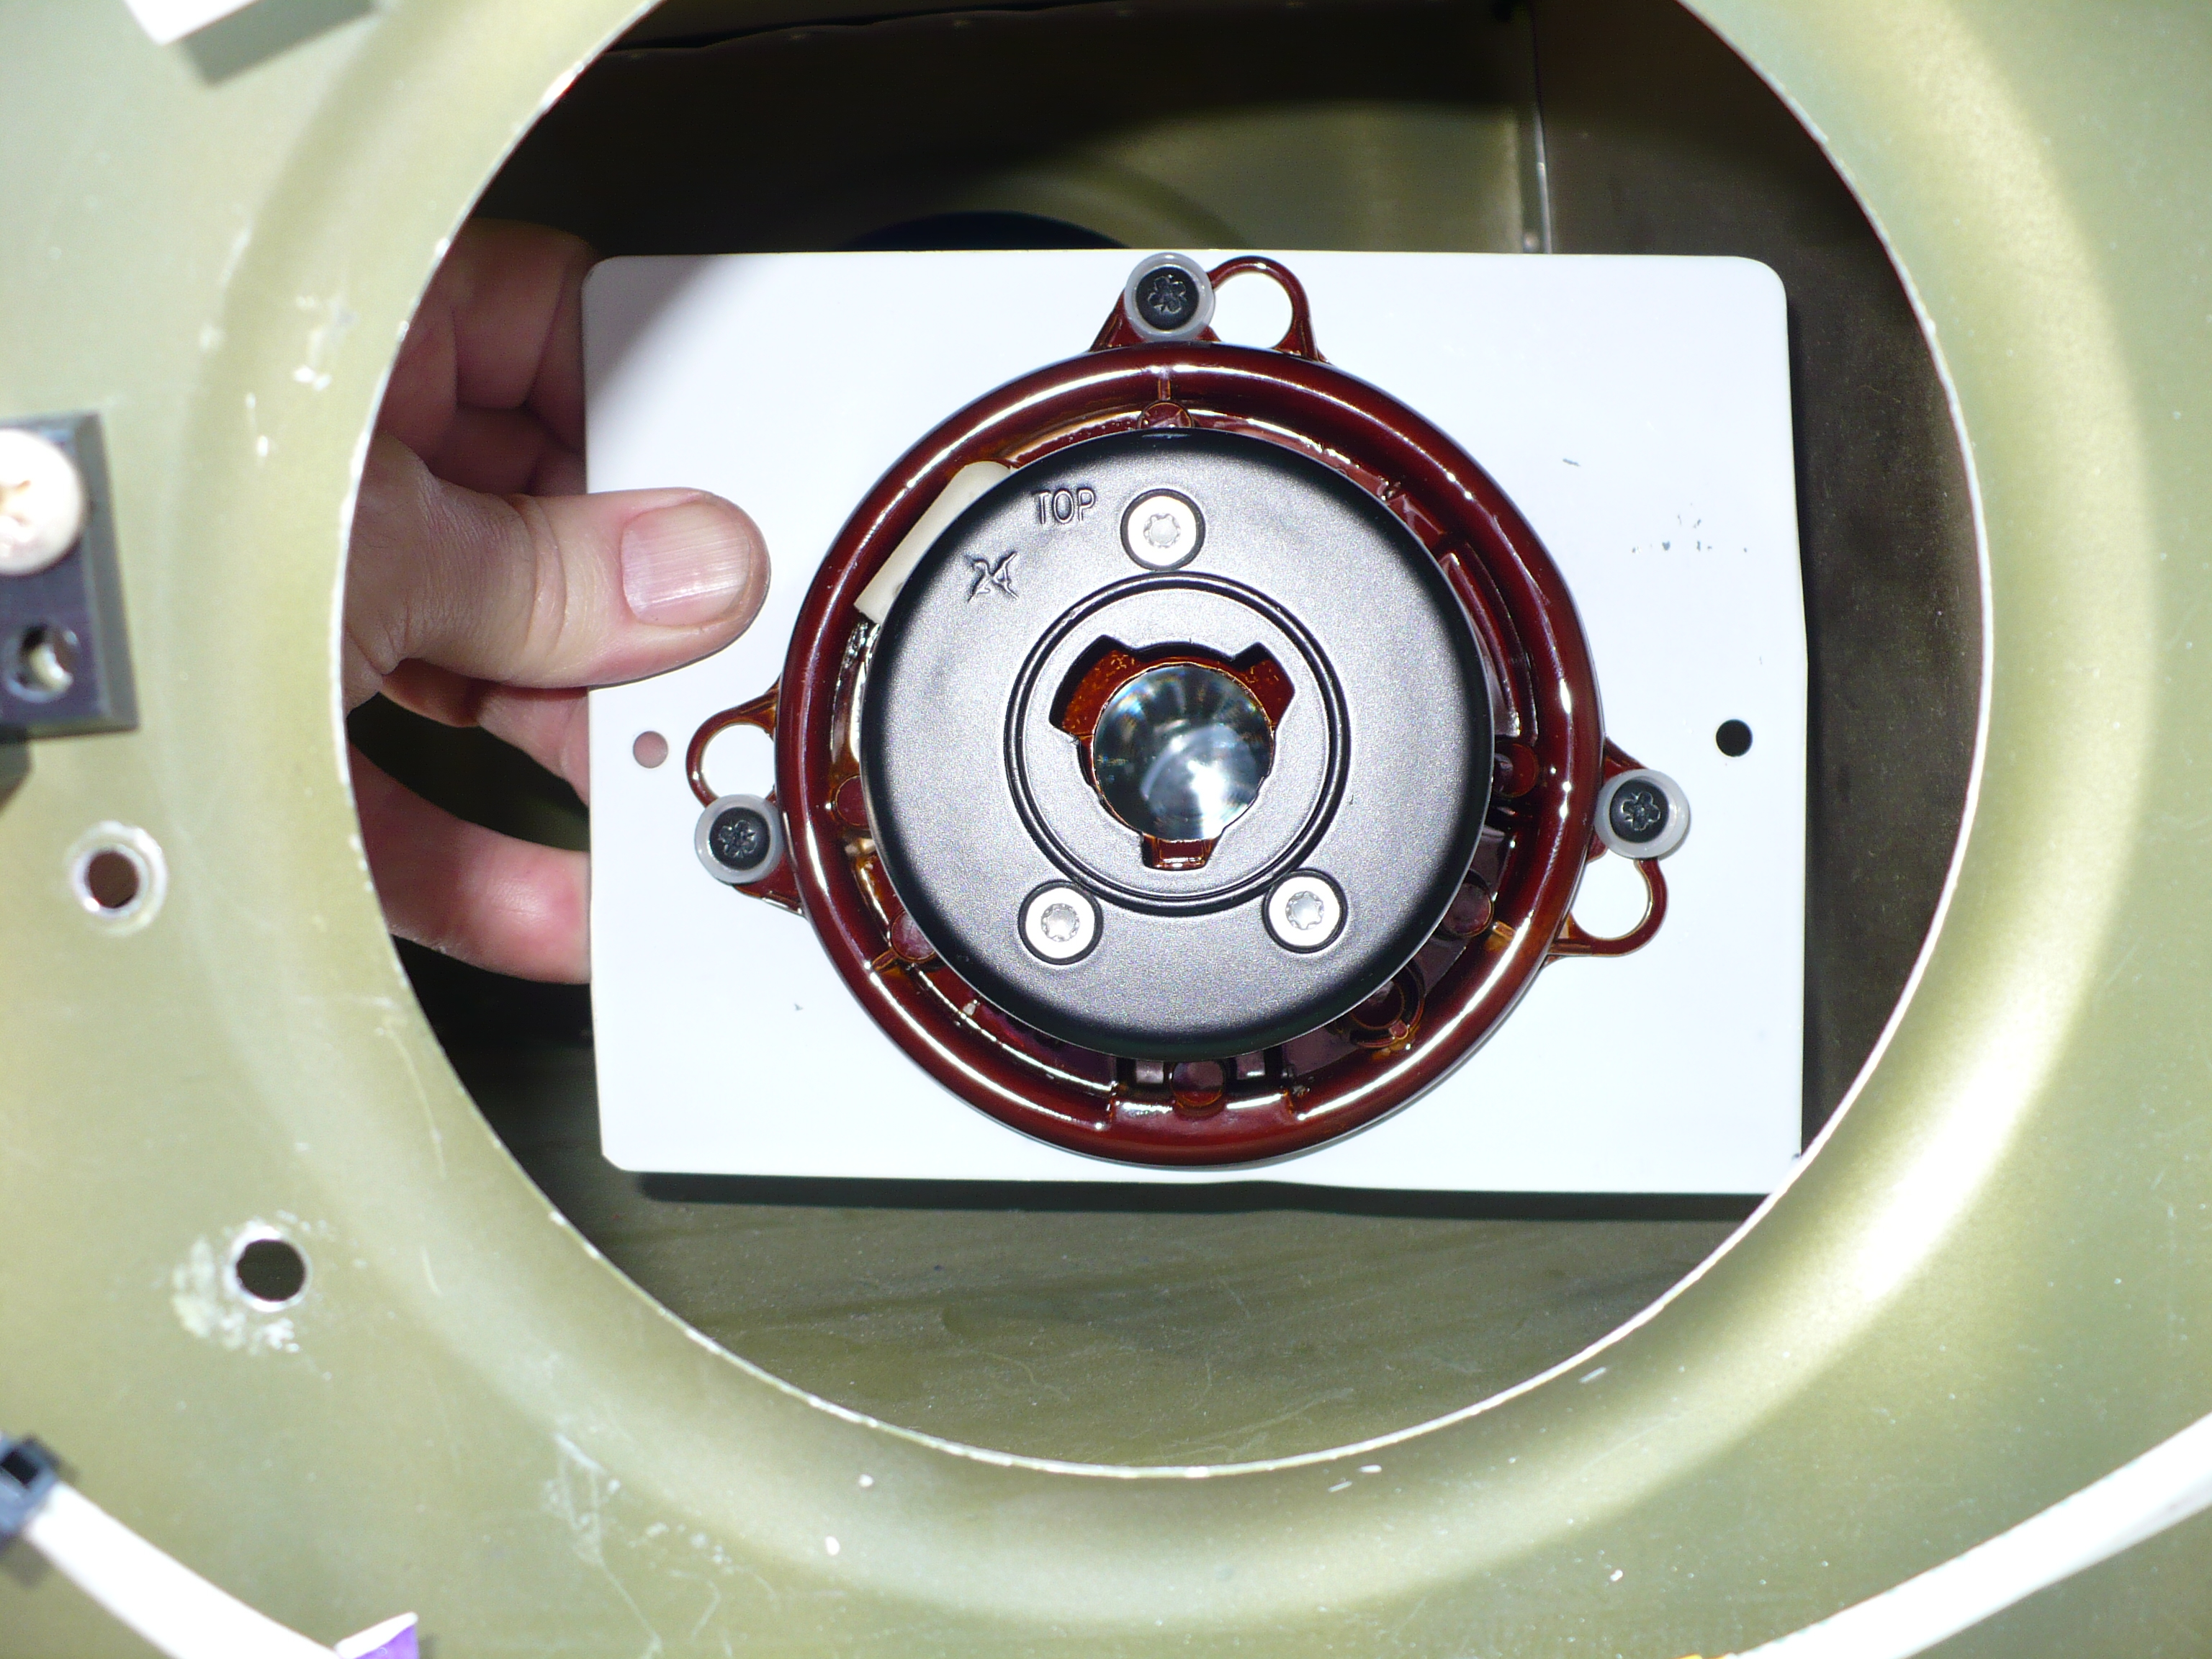
| The three long adjusting screws must be removed.
They come off the HID light unit with a quarter-turn twist. Set
them aside. (They are not used in the 3,4,6 install.) The
three short screws are removed using a Phillips screwdriver. You
will re-use them to hold the HID adapter plate between halves of
the HID light assembly. Separate the front and back halves of
the HID light assembly. Fabricate the HID adapter plate using
the enclosed template. Note that there is a small 'V' shaped
notch that will have to be cut in the circular cutout in order
to allow the HID light assembly to be reassembled with the HID
adapter plate between the two halves of the HID light assembly.
Test the fit by assembling the HID light halves with the HID
adapter plate between the halves. Make sure the screw holes are
oriented correctly and mark the rear and top of the HID adapter
plate so you will be able to correctly reassemble the unit
inside the wing tip. Disassemble them. |
||
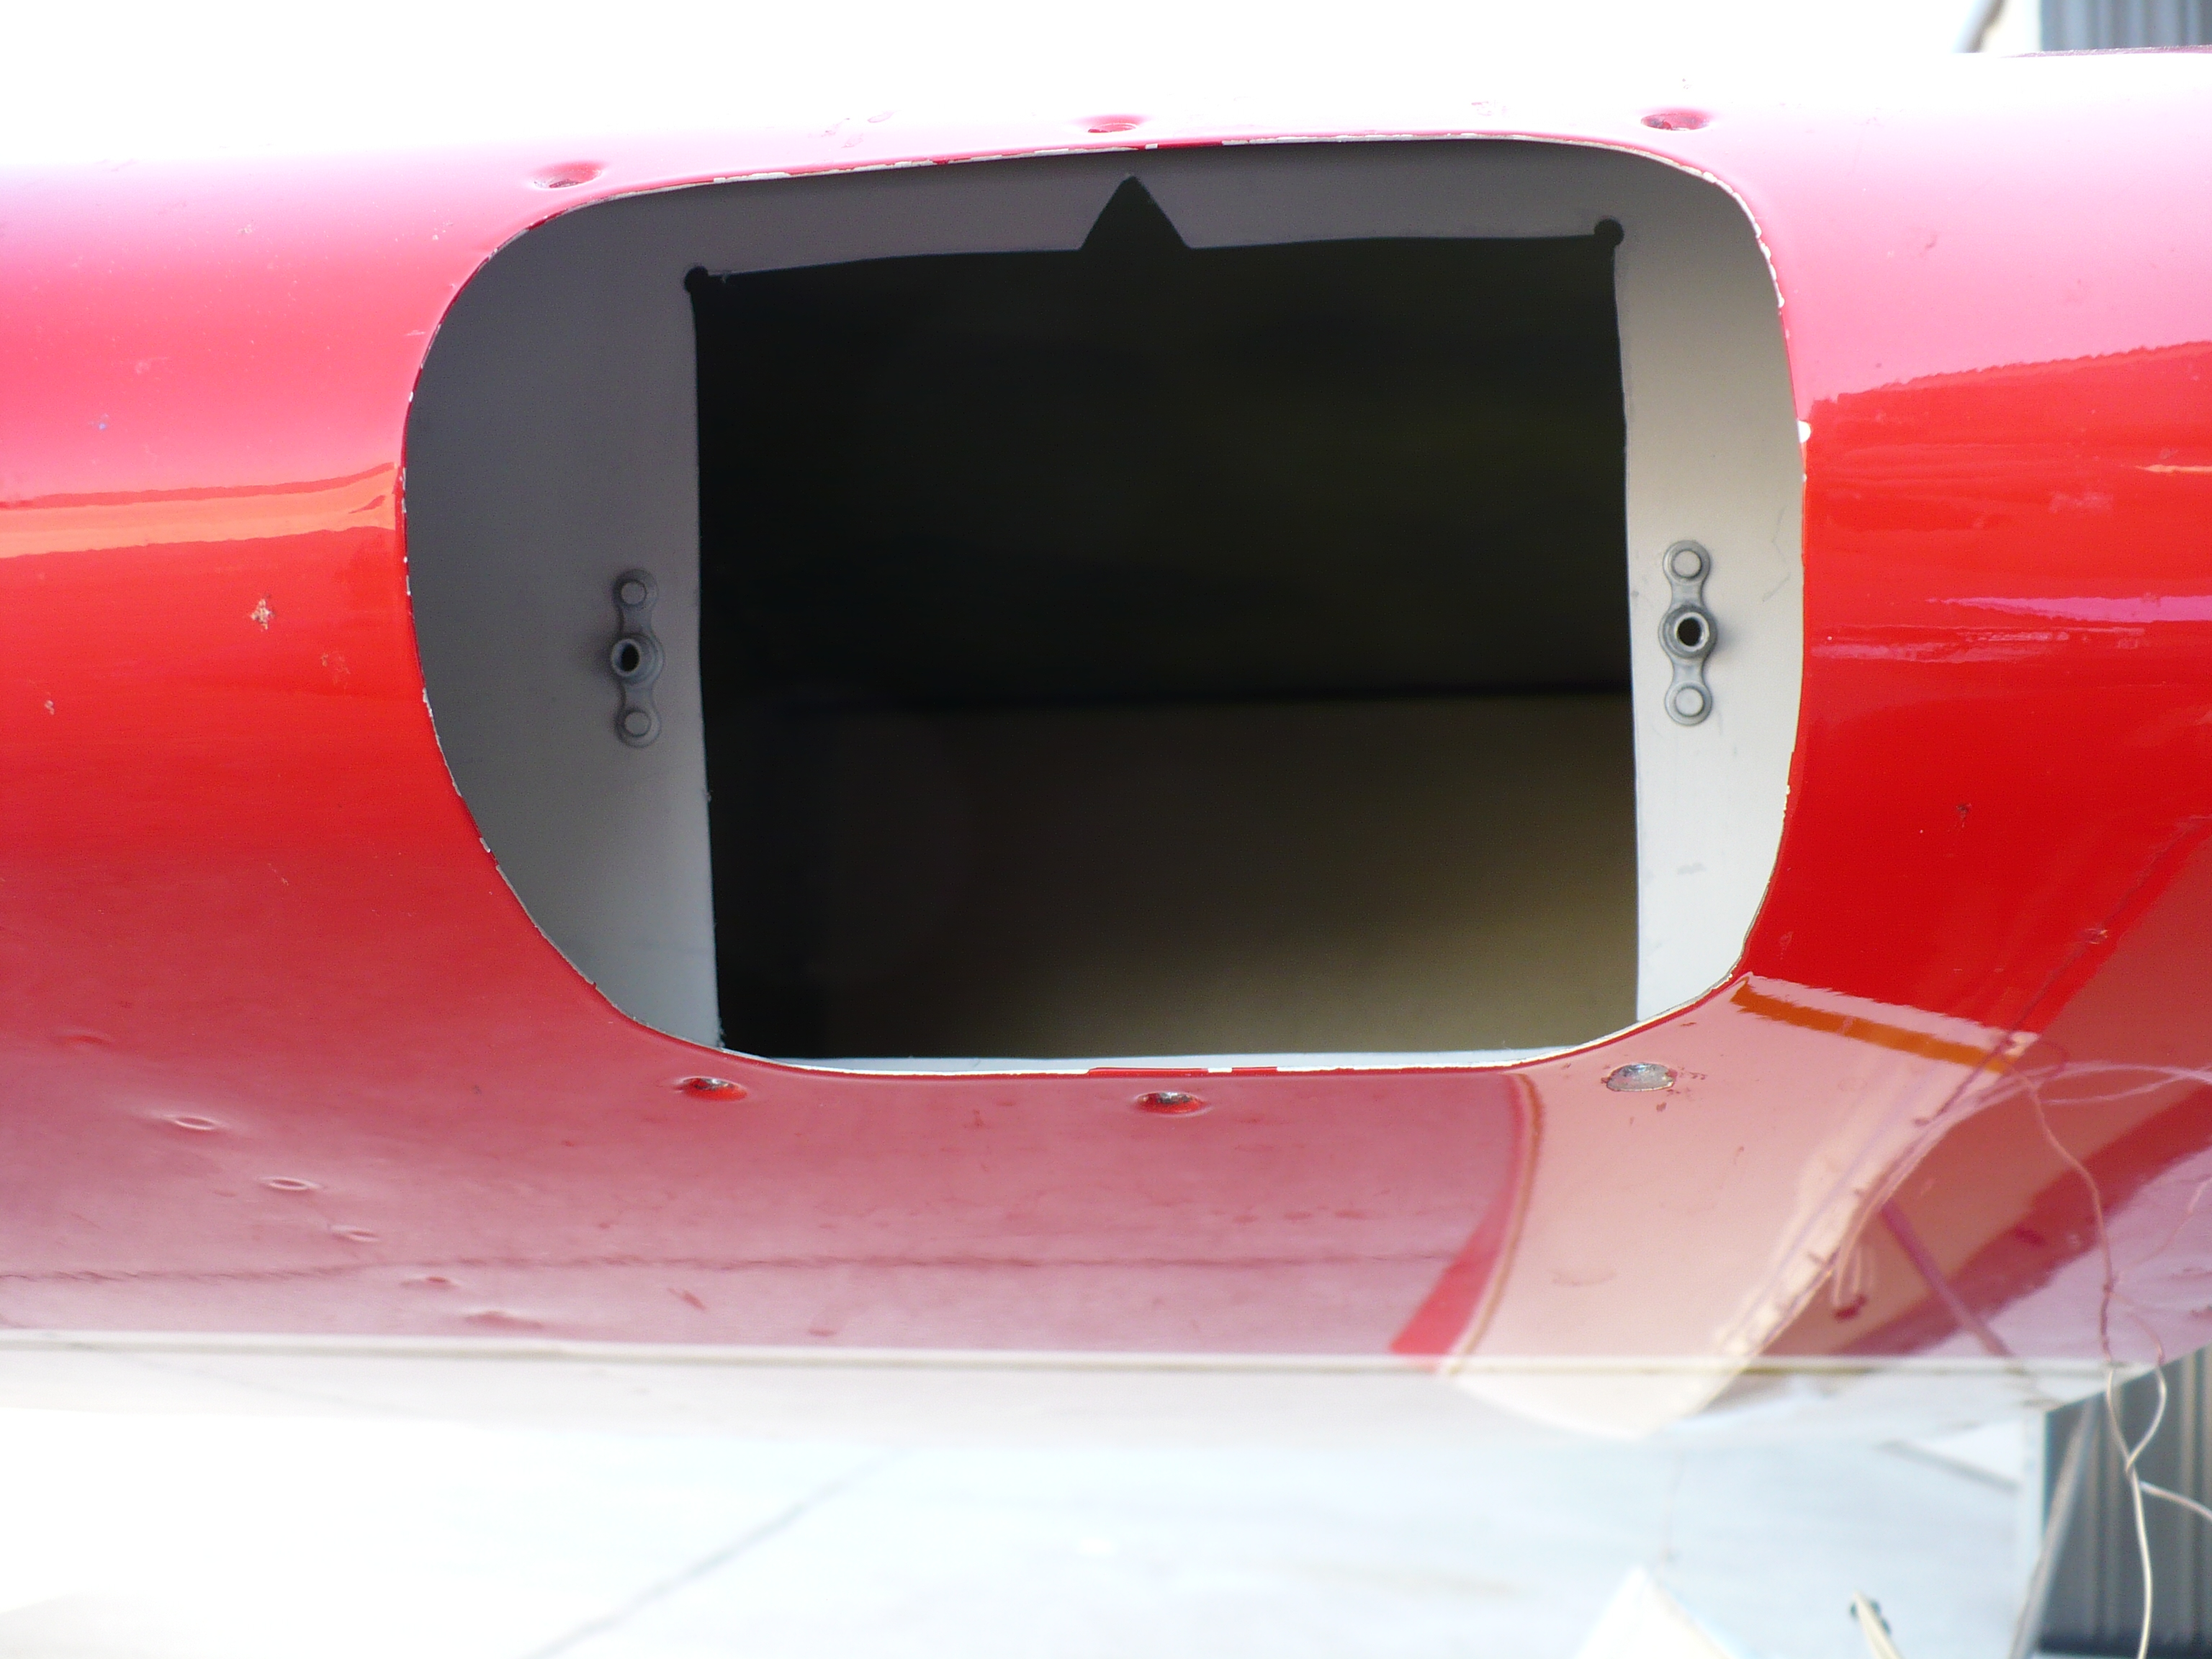
| Using the HID adapter plate, enlarge the cutout
in the Duckworks mounting plate so the the HID adapter plate and
modified HID light assembly fit in the hole. Mark the HID
plate location screw holes. Remove the HID adapter plate and
modified HID light assembly and install the two plate nuts on
the forward side of the Duckworks mounting plate. Dimple and
flush rivet them onto the Duckworks mounting plate. Run the #8
screws thru the holes once and remove them so final install will
be easier. |
||
| Assembly |
||
Position a small stool so you are facing the end
rib. Place the HID adapter plate, and both halves of the
modified HID light assembly into the end rib hole.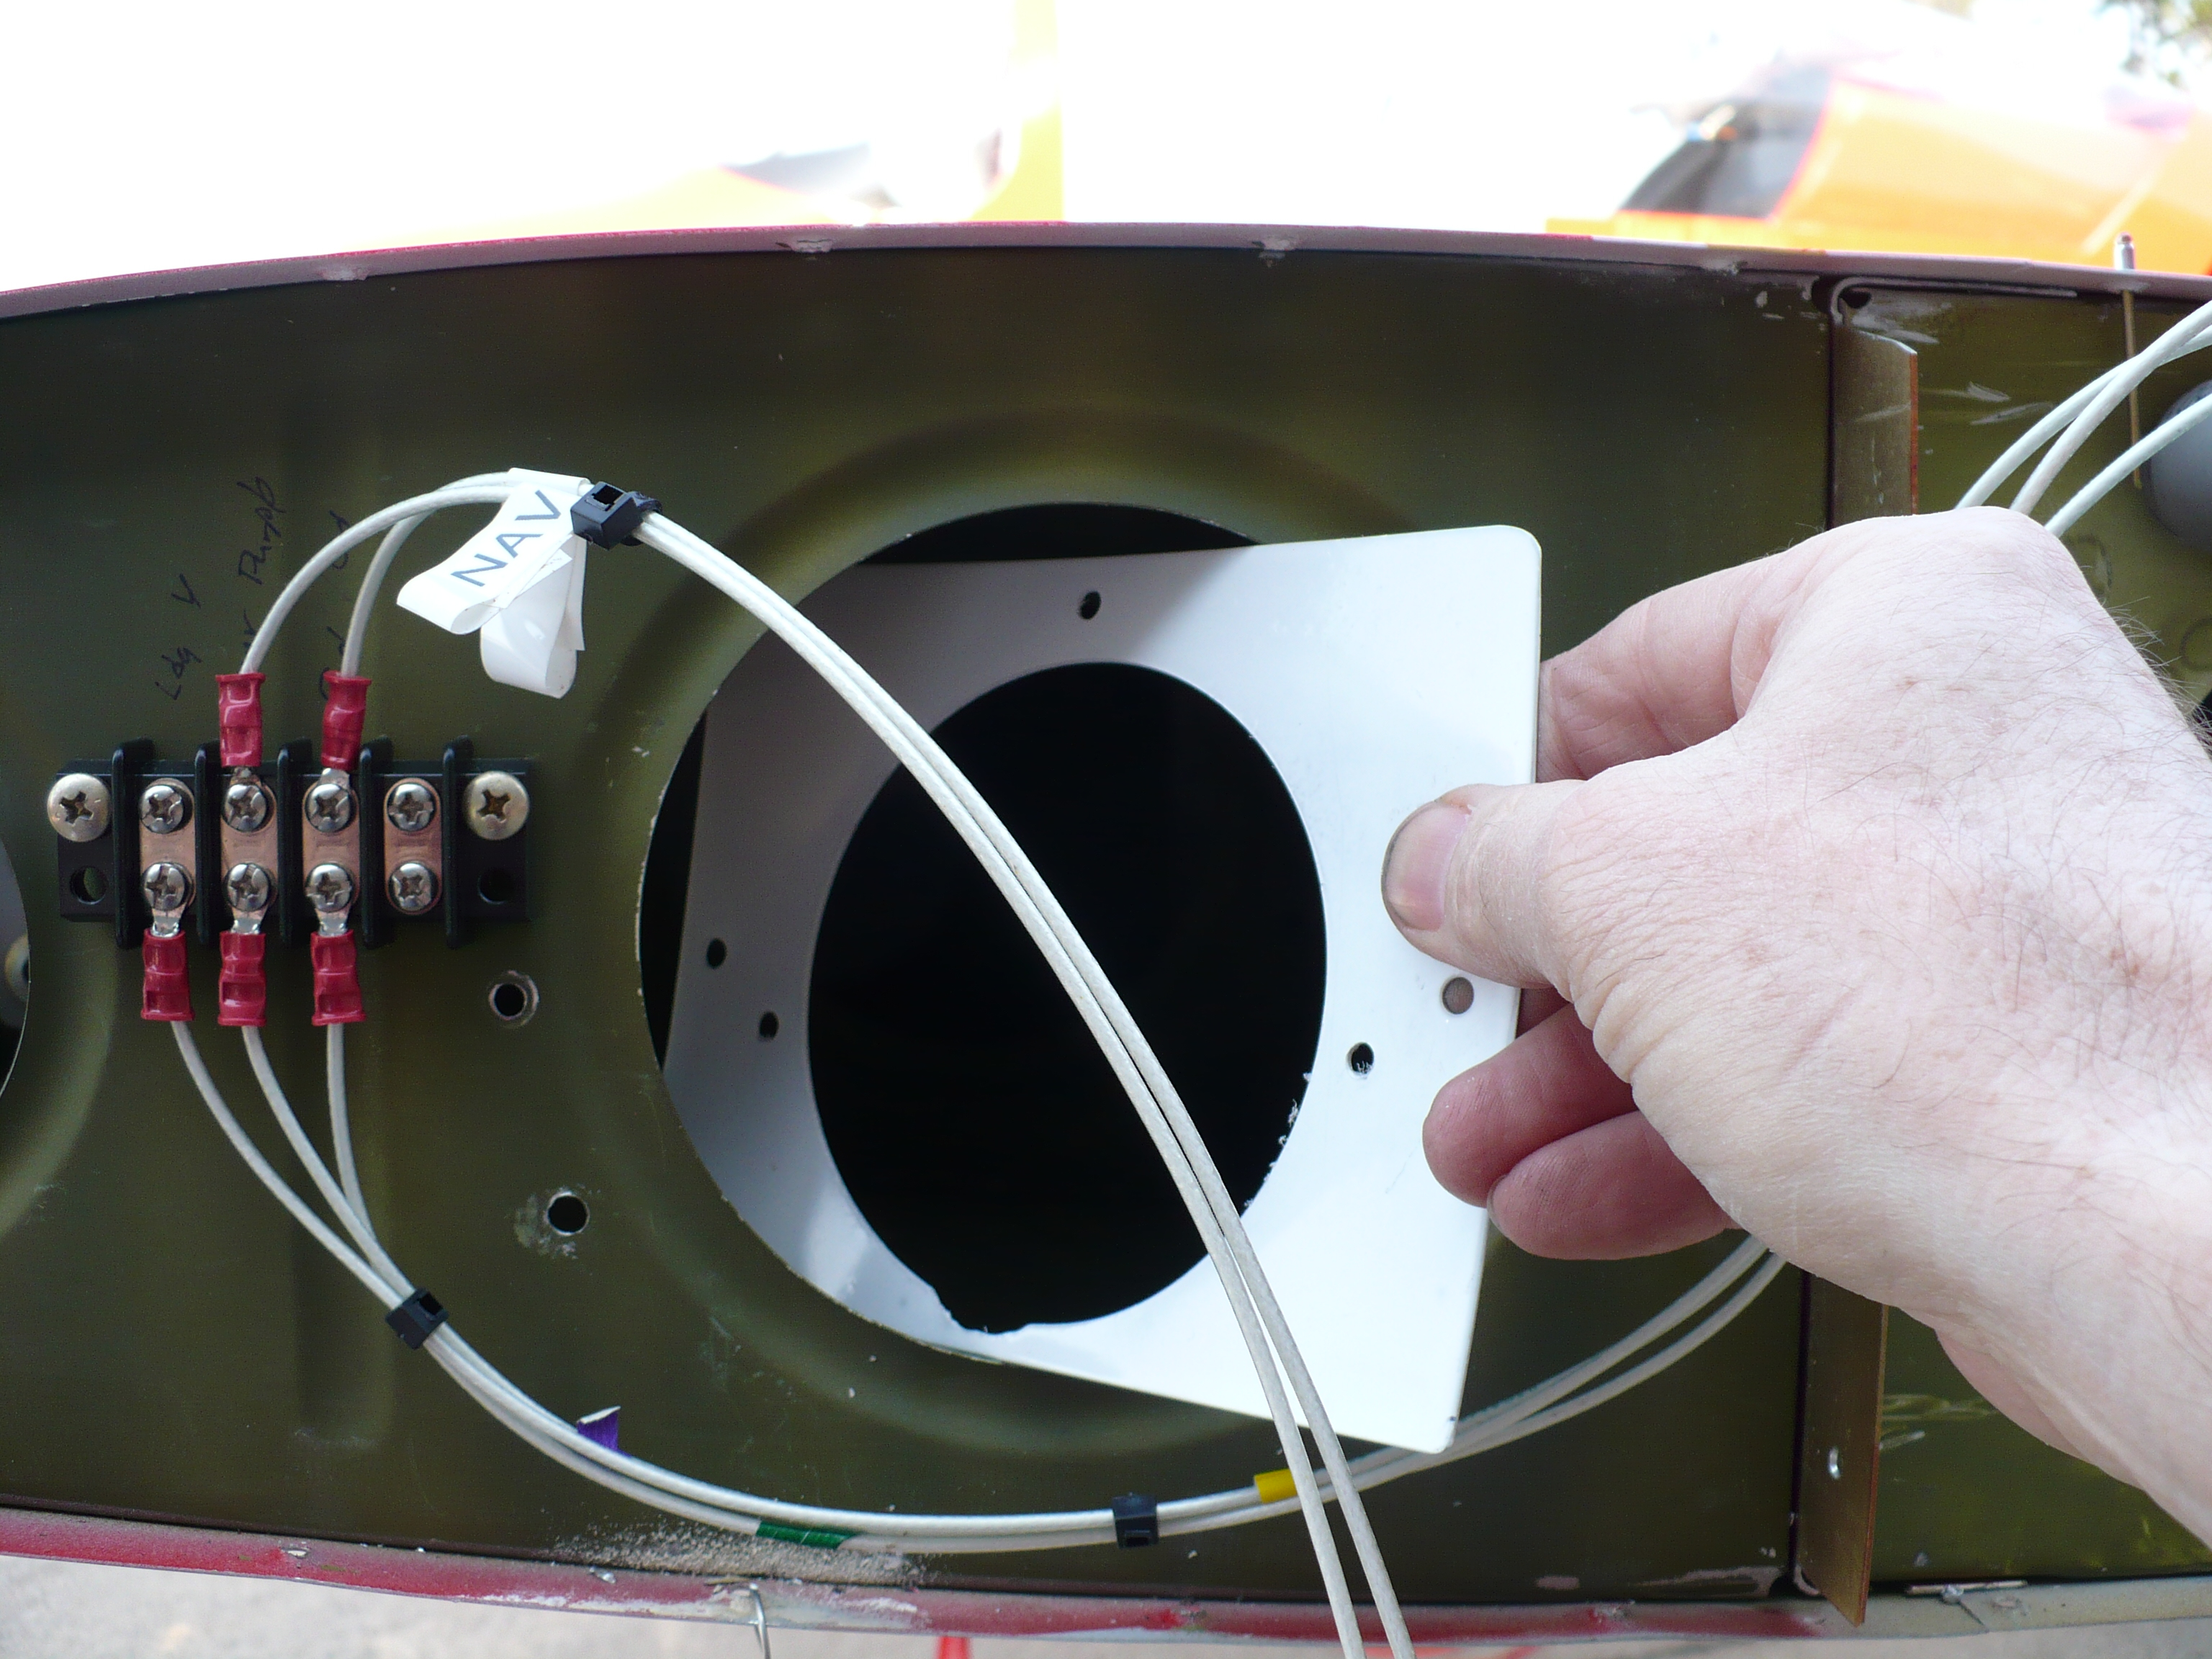 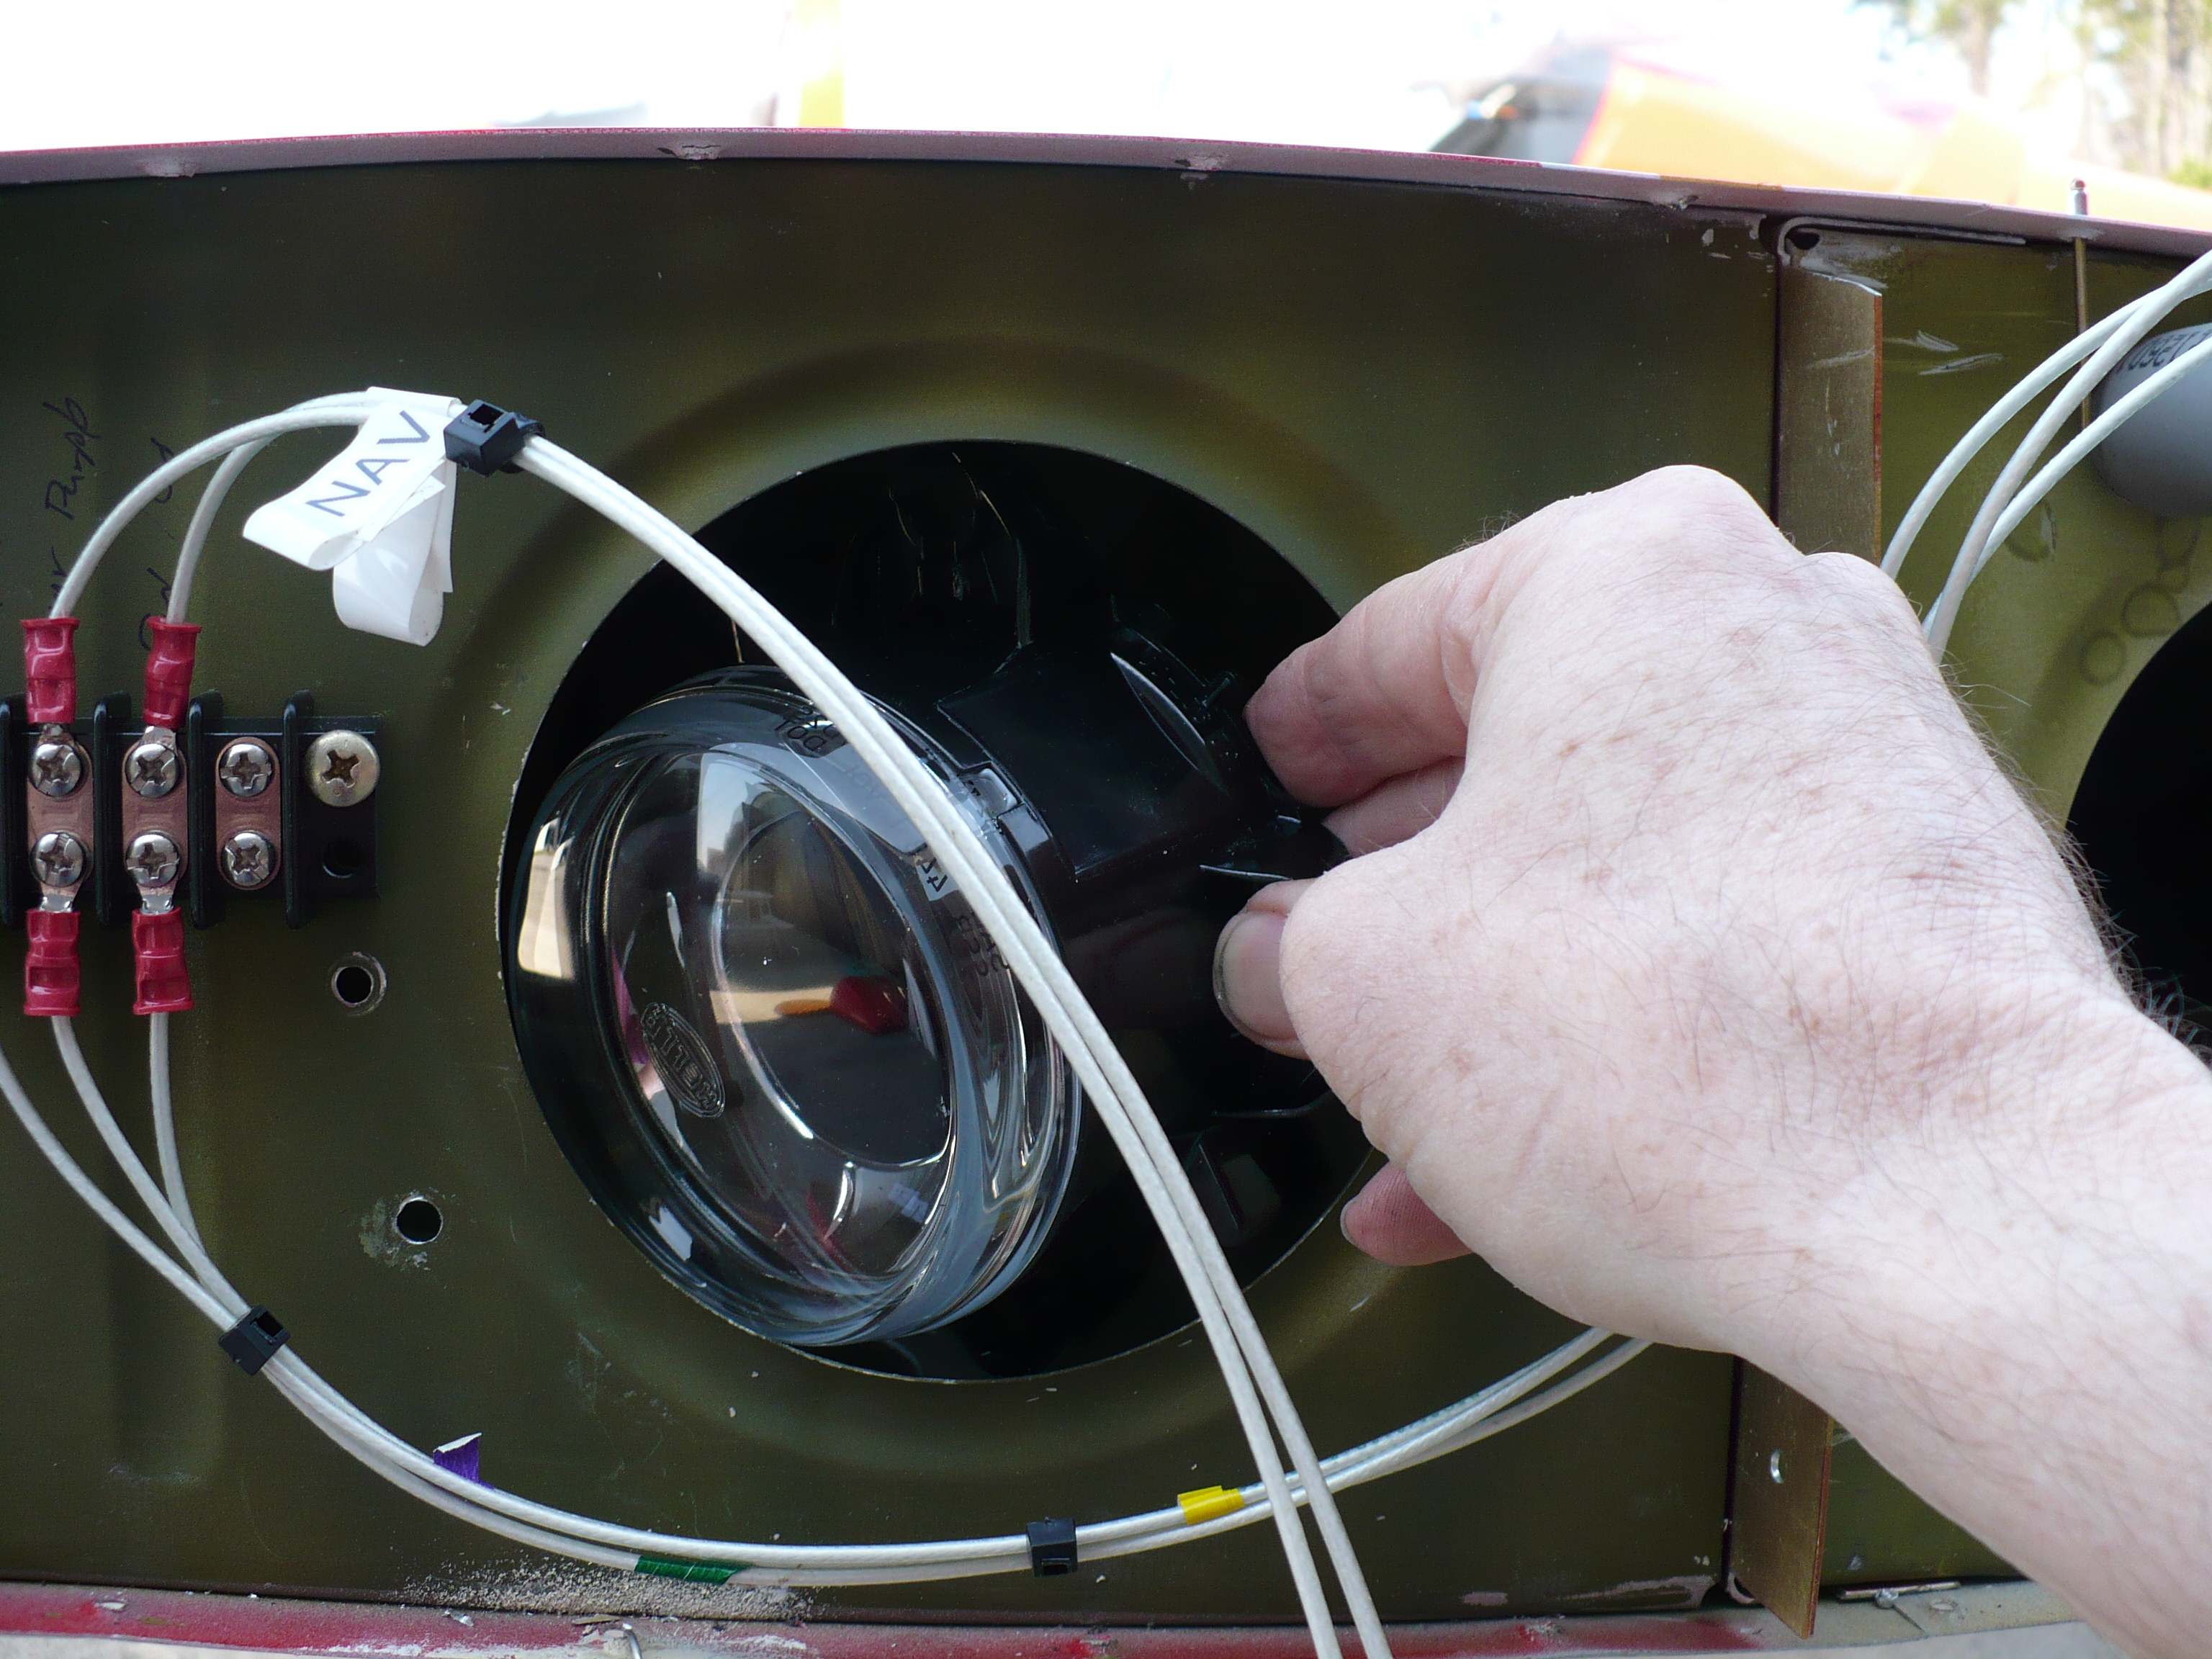 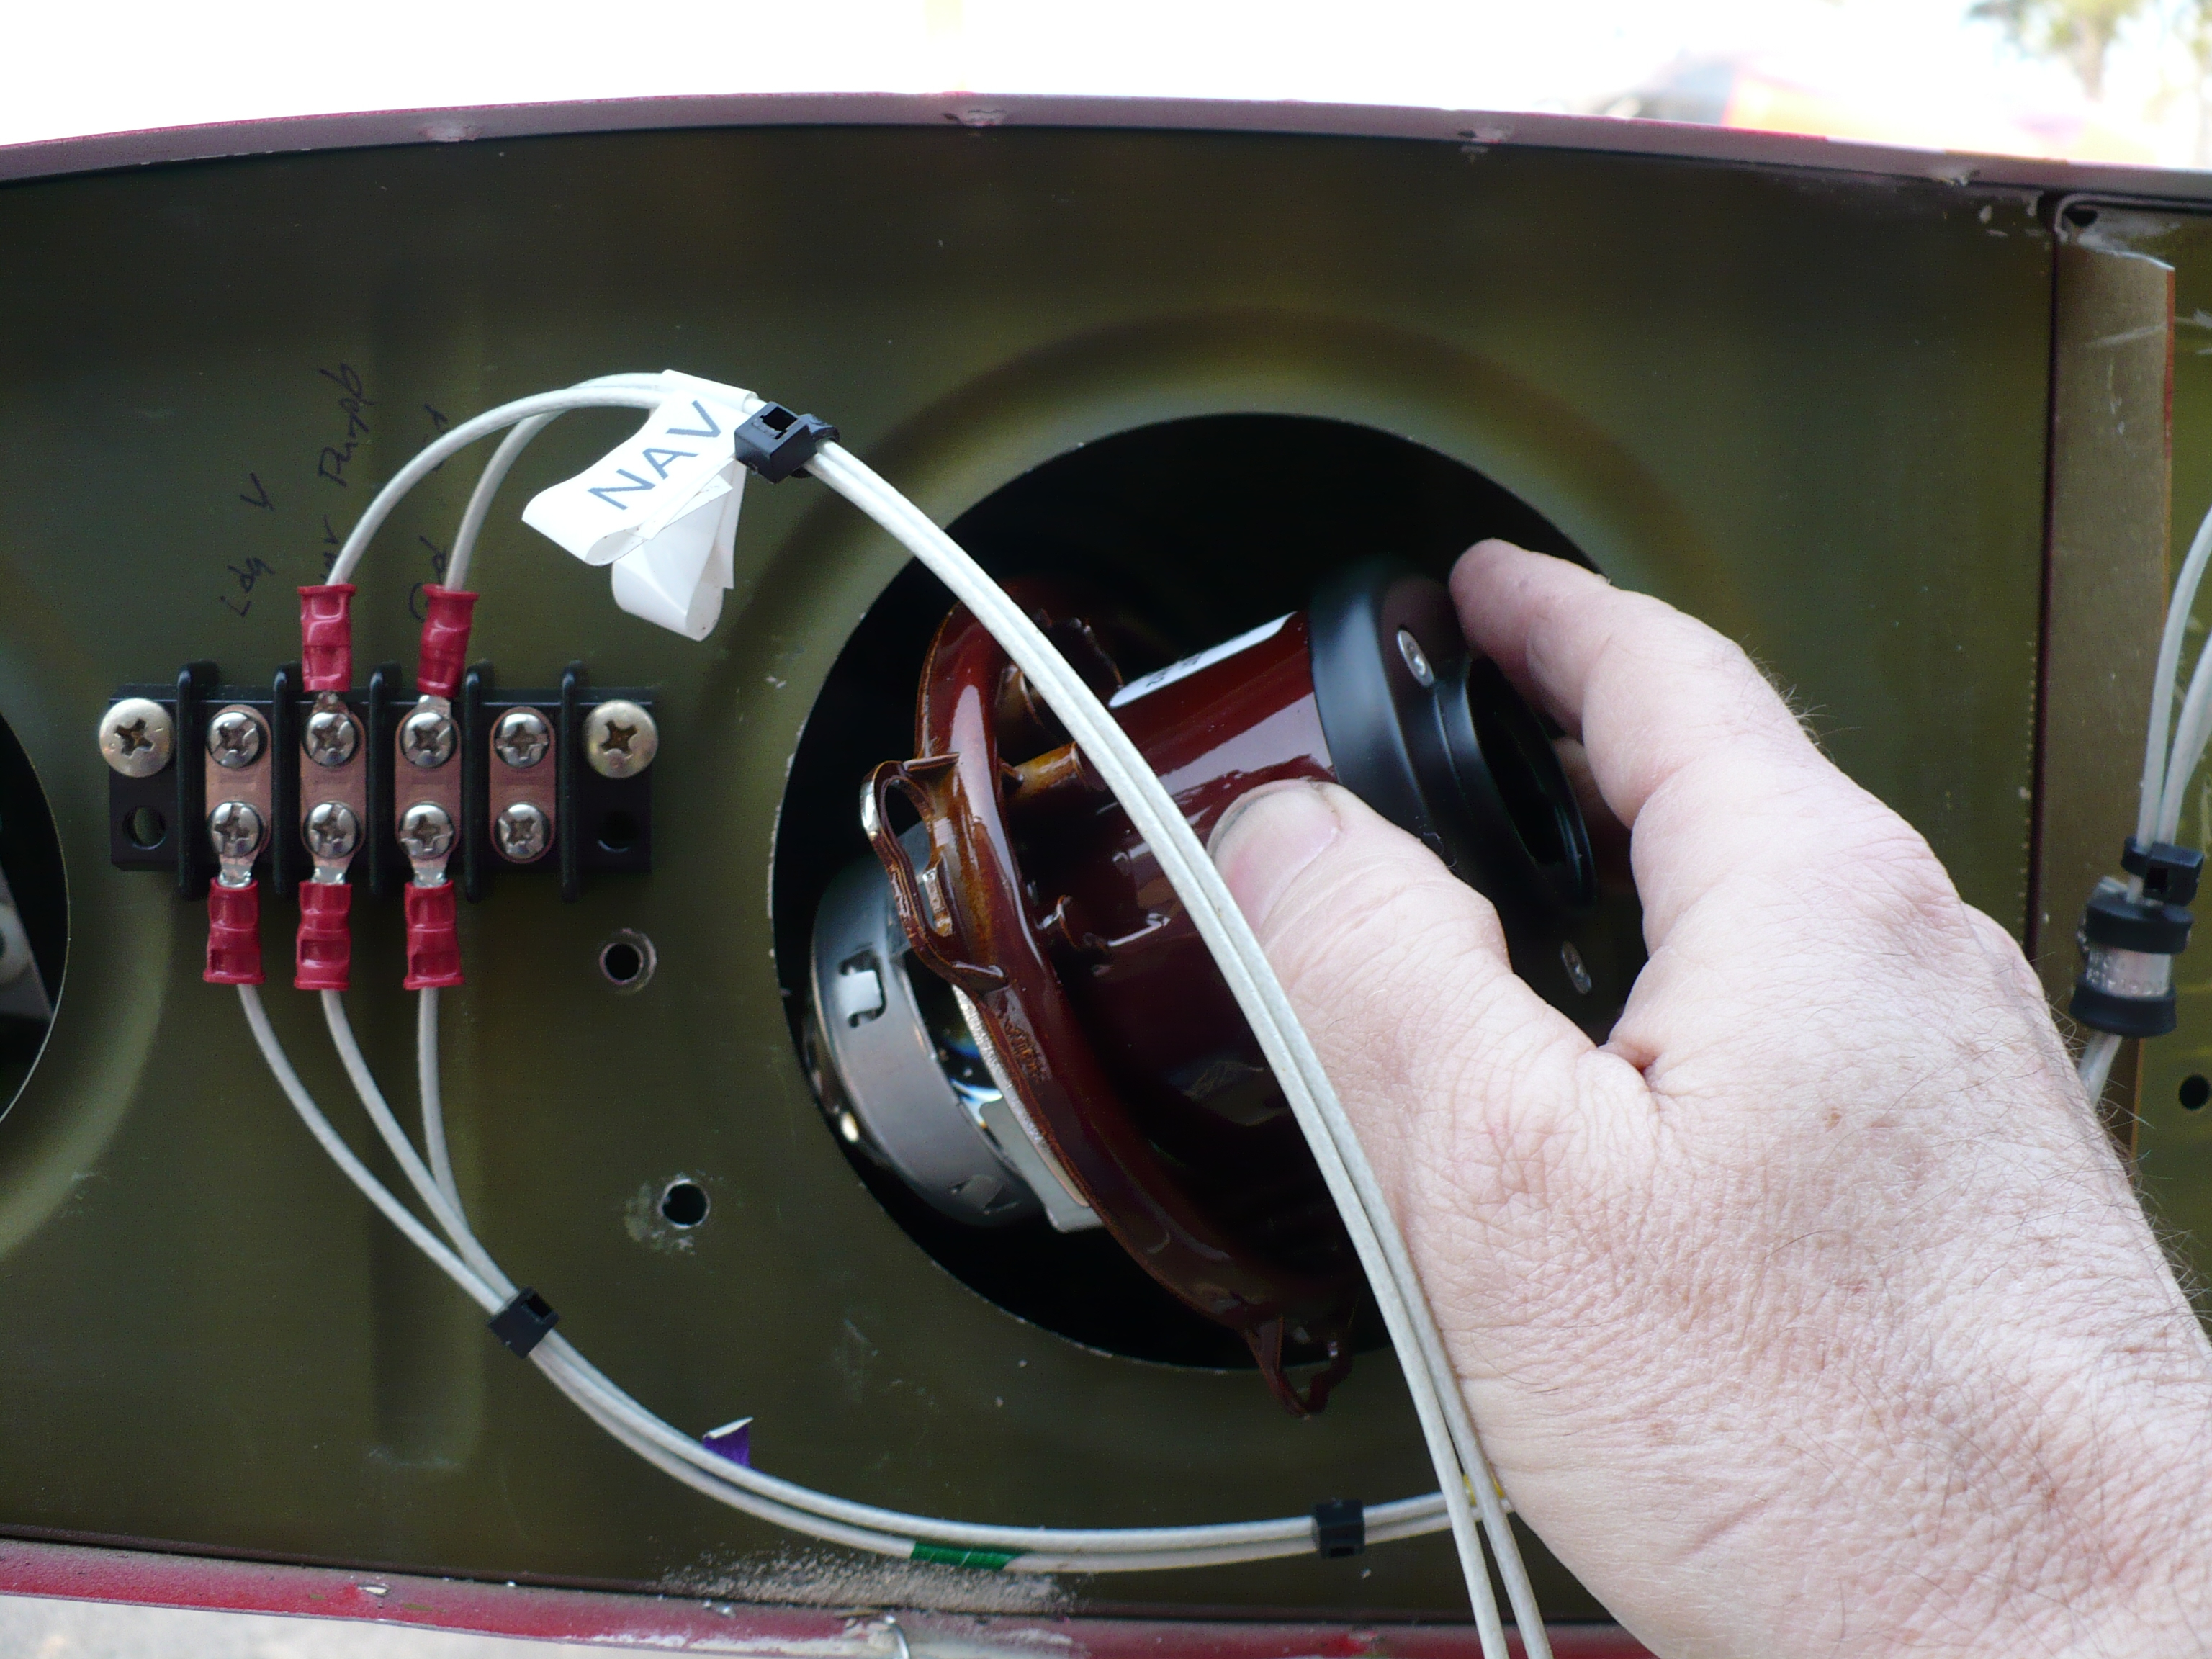
Reaching in thru the holes, re-assemble the modified HID
light unit inside the wing tip. Orient and install the Duckworks mounting plate back into its
location. Install the screws on each end and tighten. Adjust the
preliminary aim of the light using the screws and washers on the
ends of the Duckworks mounting plate. Install the Duckworks lens
cover. It cannot be installed after the HID light assembly is
installed due to space constraints. Leave the bottom middle
screw out for now. You may have to shorten this screw to avoid
interference with the final assembled HID light unit. |
||
Drill a hole for an AN-3 bolt in the end rib and
mount the HID ballast.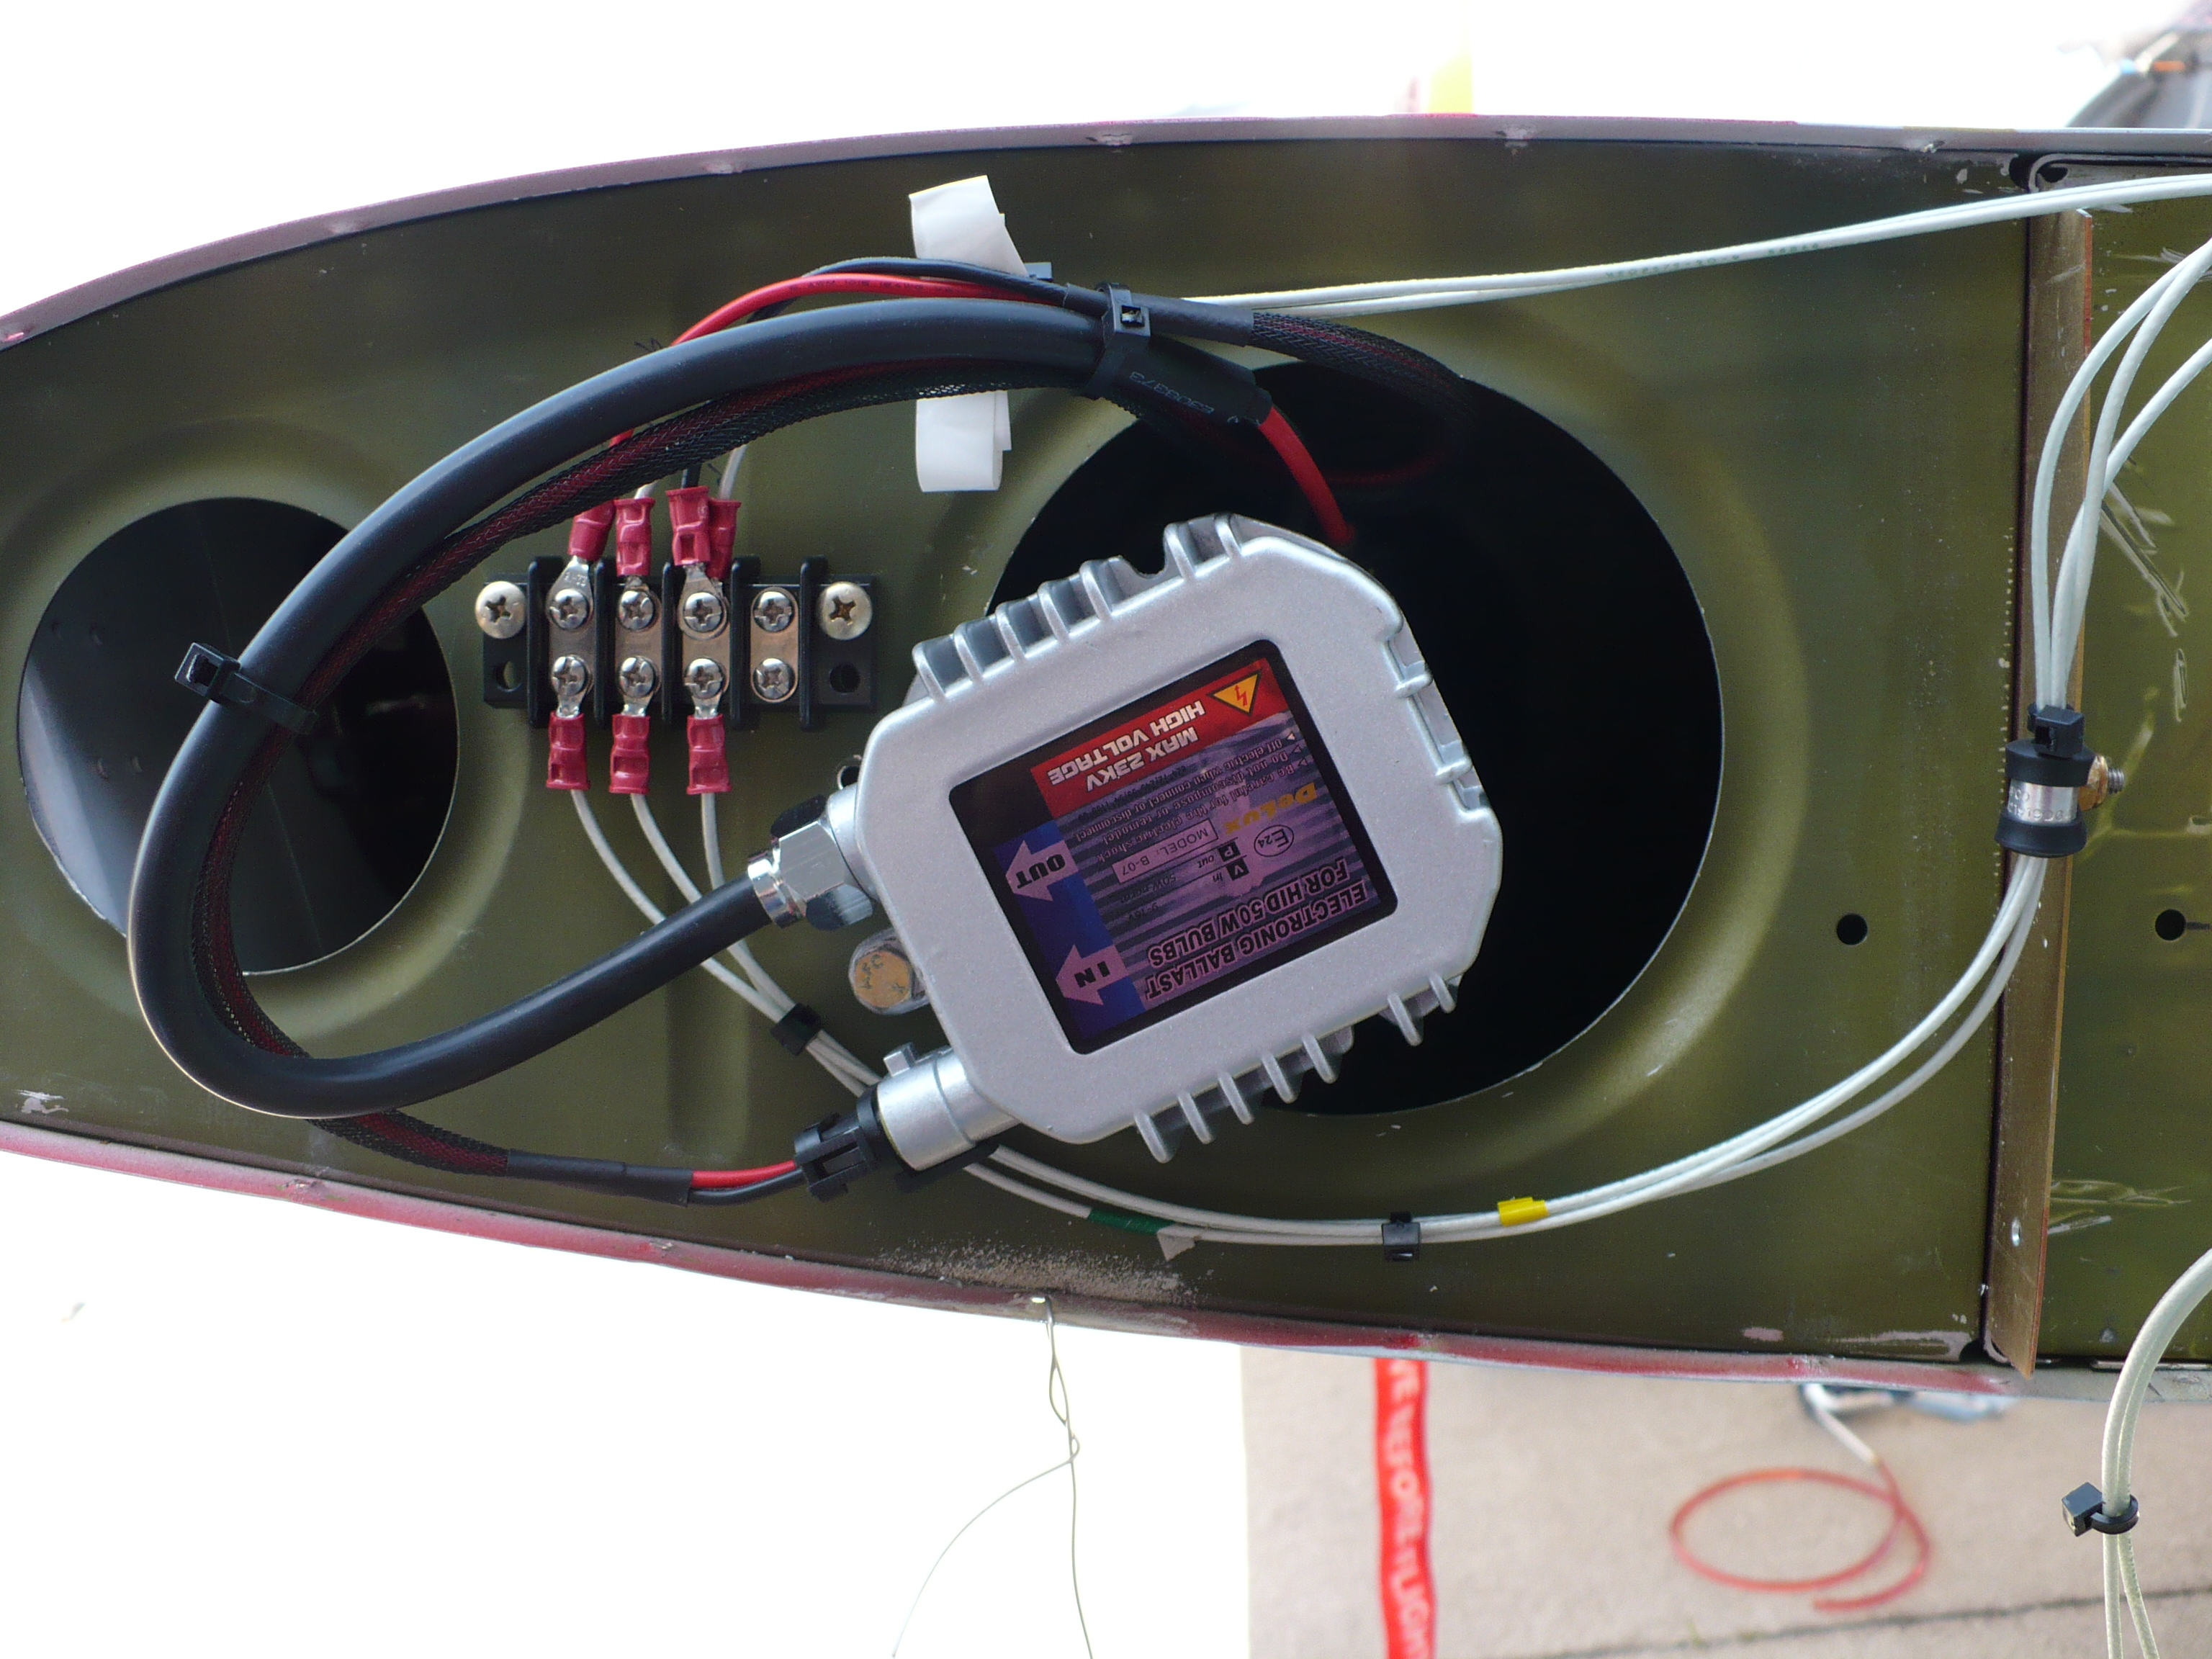
Carefully remove the HID lamp from its clear protective case
and install it in the rear of the modified HID lamp assembly.
Connect the wiring harnesses from the HID ballast units to the
HID light unit. Connect your original power and ground wires to
the HID ballast unit. Note: Match positive power to red and
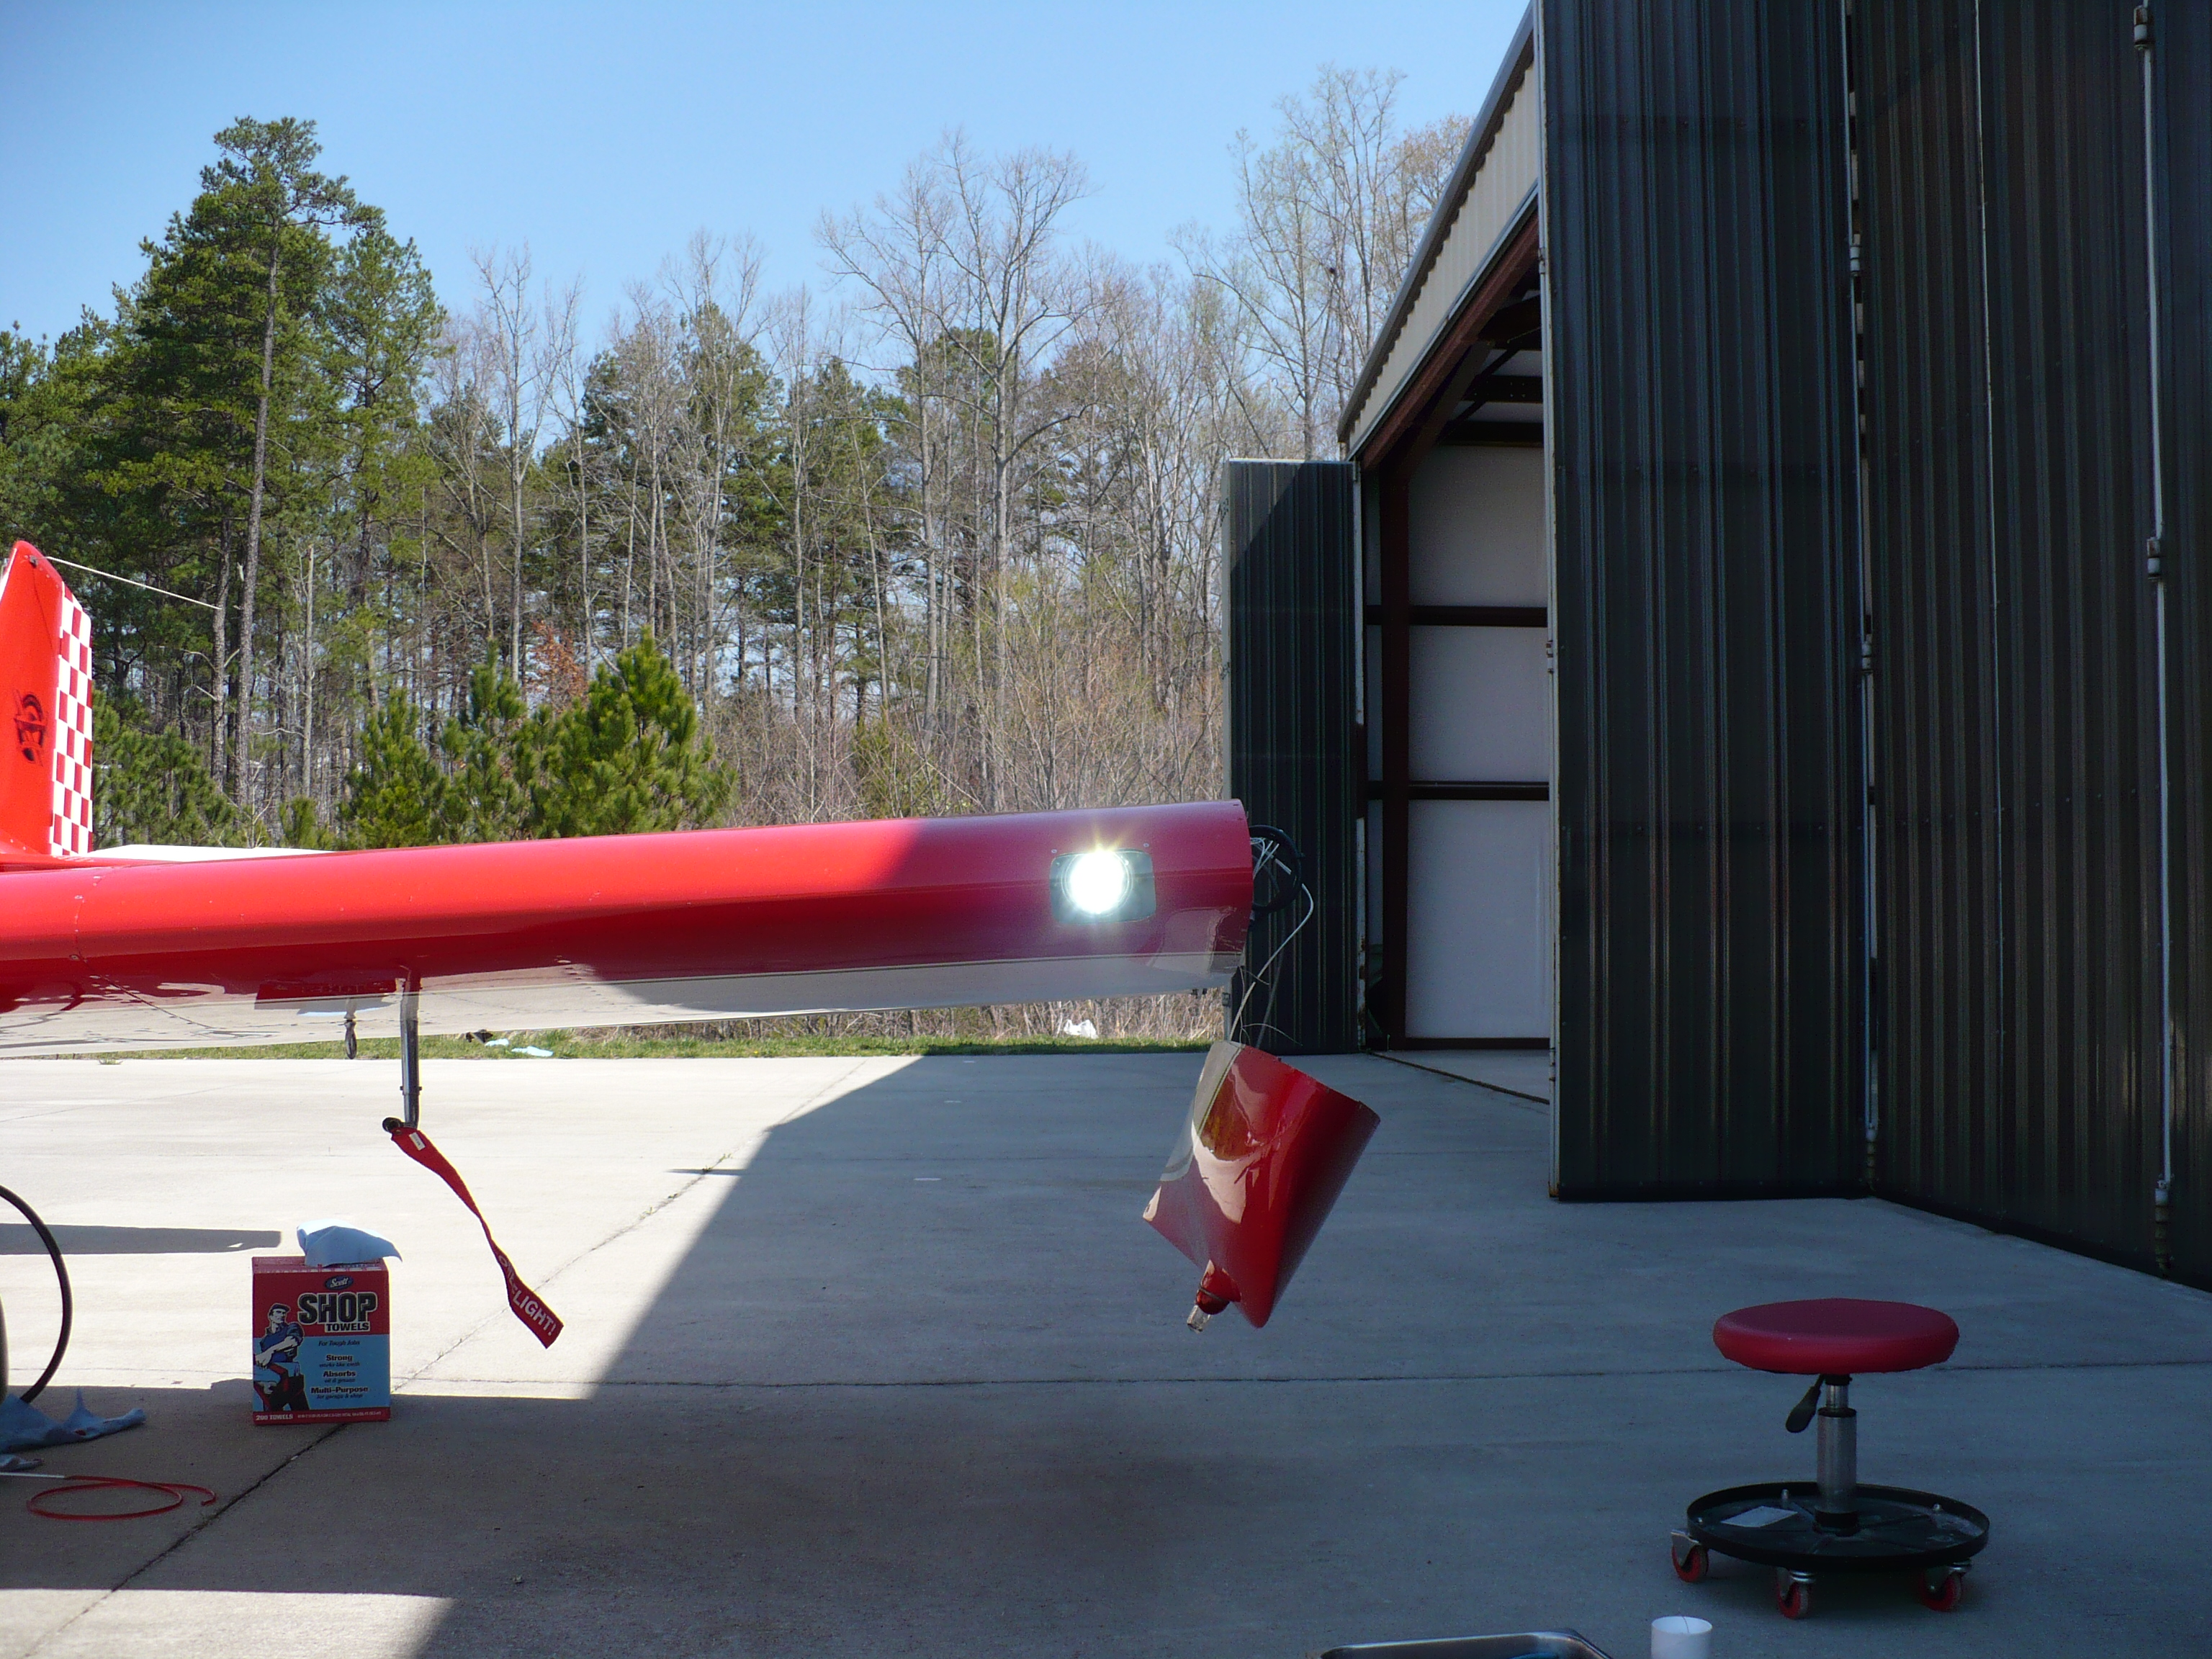
ground to black as the ballast requires this. Confirm that all
parts and wires are correct, remove all tools, then turn on
your light switch from the cockpit. Aiming at a hangar or
distant object, finalize your light aim, then reinstall the
wingtip. |
||
|
Congratulations! You are about to enjoy enhanced safety
and reliability from your new HID lights. Enjoy!
|
||
| Also, 50MM HID Wingtip Light System Install (For RV-7, RV-9) | ||
|
|
||


Copyright ©2005-07
Hosted by NTI Networks